

Installing an access control system can feel overwhelming at first, especially with wiring, hardware, and software all working together.
I wrote this guide to make the process clear, simple, and easy to follow, even if this is your first time handling a setup like this.
The goal is to explain each stage clearly, so every step feels manageable and easy to complete.
This post focuses on installing an access control system in a practical way, breaking it down into clear steps, helpful checklists, and setup tips that actually matter during installation.
Straightforward language and focus on what needs to be done, why it matters, and what to double-check before moving on.
By the end of this post, everything should feel more manageable, organized, and ready to put into action without guesswork.
What is Access Control System Installation?

Access control system installation is the process of setting up hardware and software that control who can enter a building or specific areas.
This setup includes installing door locks, access readers, control panels, power supplies, and connecting all parts through wiring or a network.
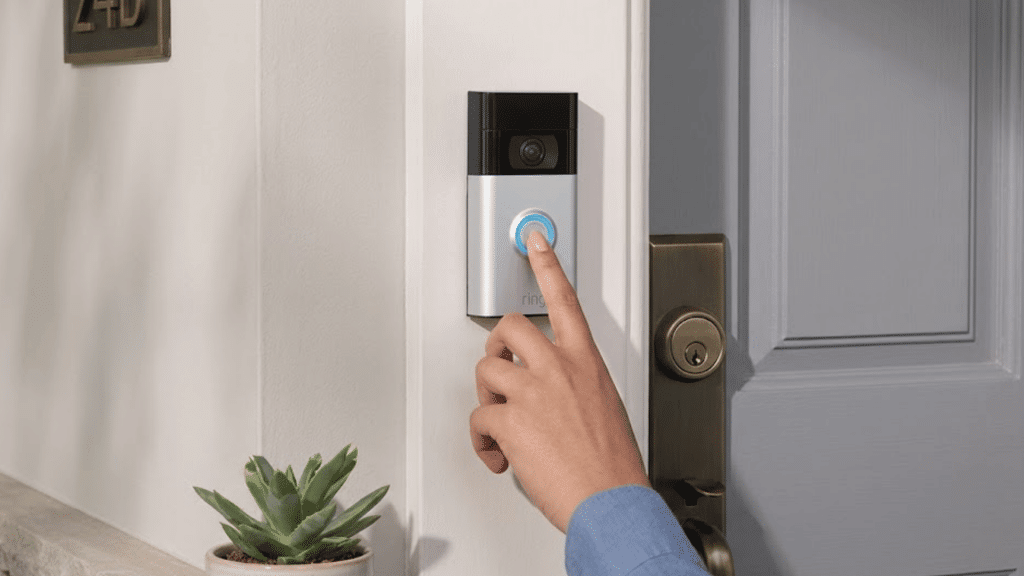
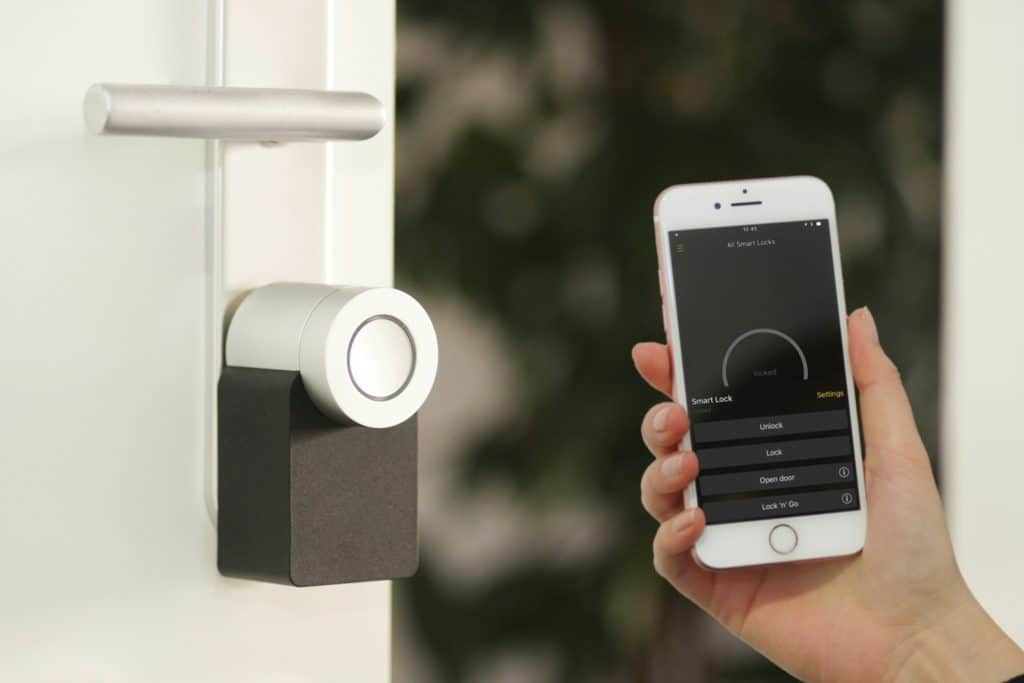
Once the hardware is in place, the system is configured to allow or restrict entry using cards, PIN codes, mobile credentials, or biometric data.
Proper installation also involves testing each door, reader, and connection to ensure everything works as expected.
A well-planned control system installation helps improve security, organize entry points, and reduce unauthorized access.
It also supports smooth daily operations by making entry and exit simple for approved users while keeping restricted areas protected at all times.
Materials Required for Access Card Installation
Having the correct tools and components ready before starting helps keep the installation process smooth and organized.
- Access Control Panel: Acts as the central control unit that manages communication between the keypad, electric strike, and power supply.
- Power Supply and Backup Battery: Provide consistent power and keep the system running during outages.
- Access Control Panel: Acts as the central control unit that manages communication between the keypad, electric strike, and power supply.
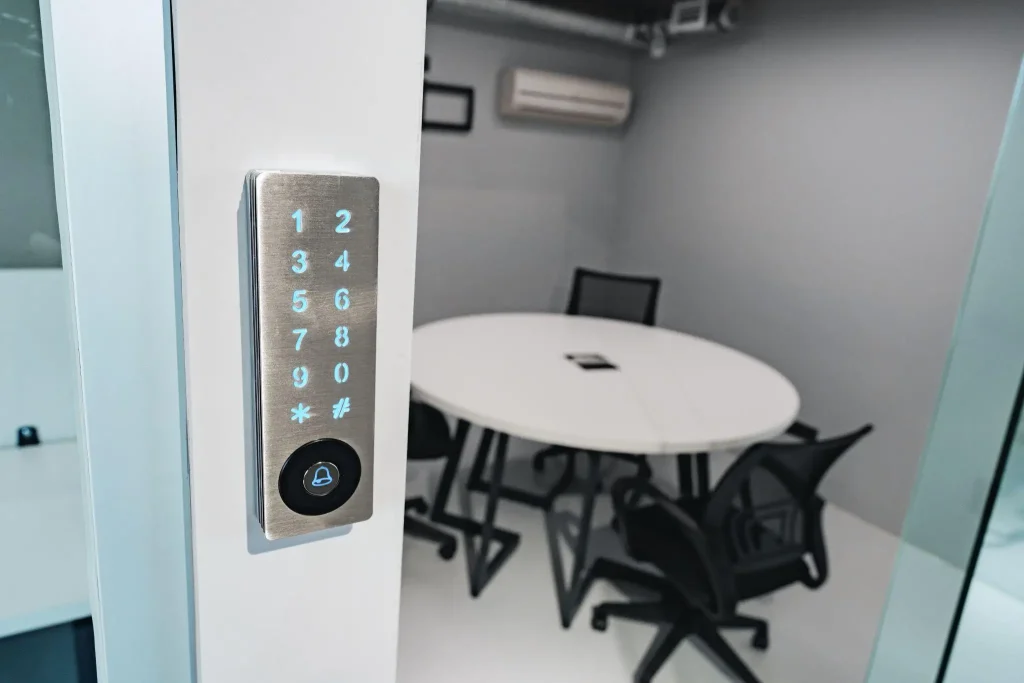
- Access Readers or Keypads: Allow users to enter access codes or credentials to unlock the door securely.
- Power Supply and Backup Battery: Provide stable power to the system and keep it running during power outages.
- Installation and Wiring Tools: Include drills, screwdrivers, wire strippers, cables, and connectors needed for proper mounting and clean wiring.
Steps to Install an Access Card Control System
Follow these straightforward steps to install an access control system, from planning device placement to wiring, power connection, and final testing for smooth operation.
Step 1: Plan Device Placement
You begin by reviewing the door, wall, and frame to decide where the keypad and surface-mount electric strike should be installed.
The keypad is placed at a comfortable height for users, while the strike is positioned to line up with the door latch.
This step helps you understand how the door will unlock, open, and relock.
Careful planning here prevents alignment problems and sets the foundation for a smooth access control system installation.
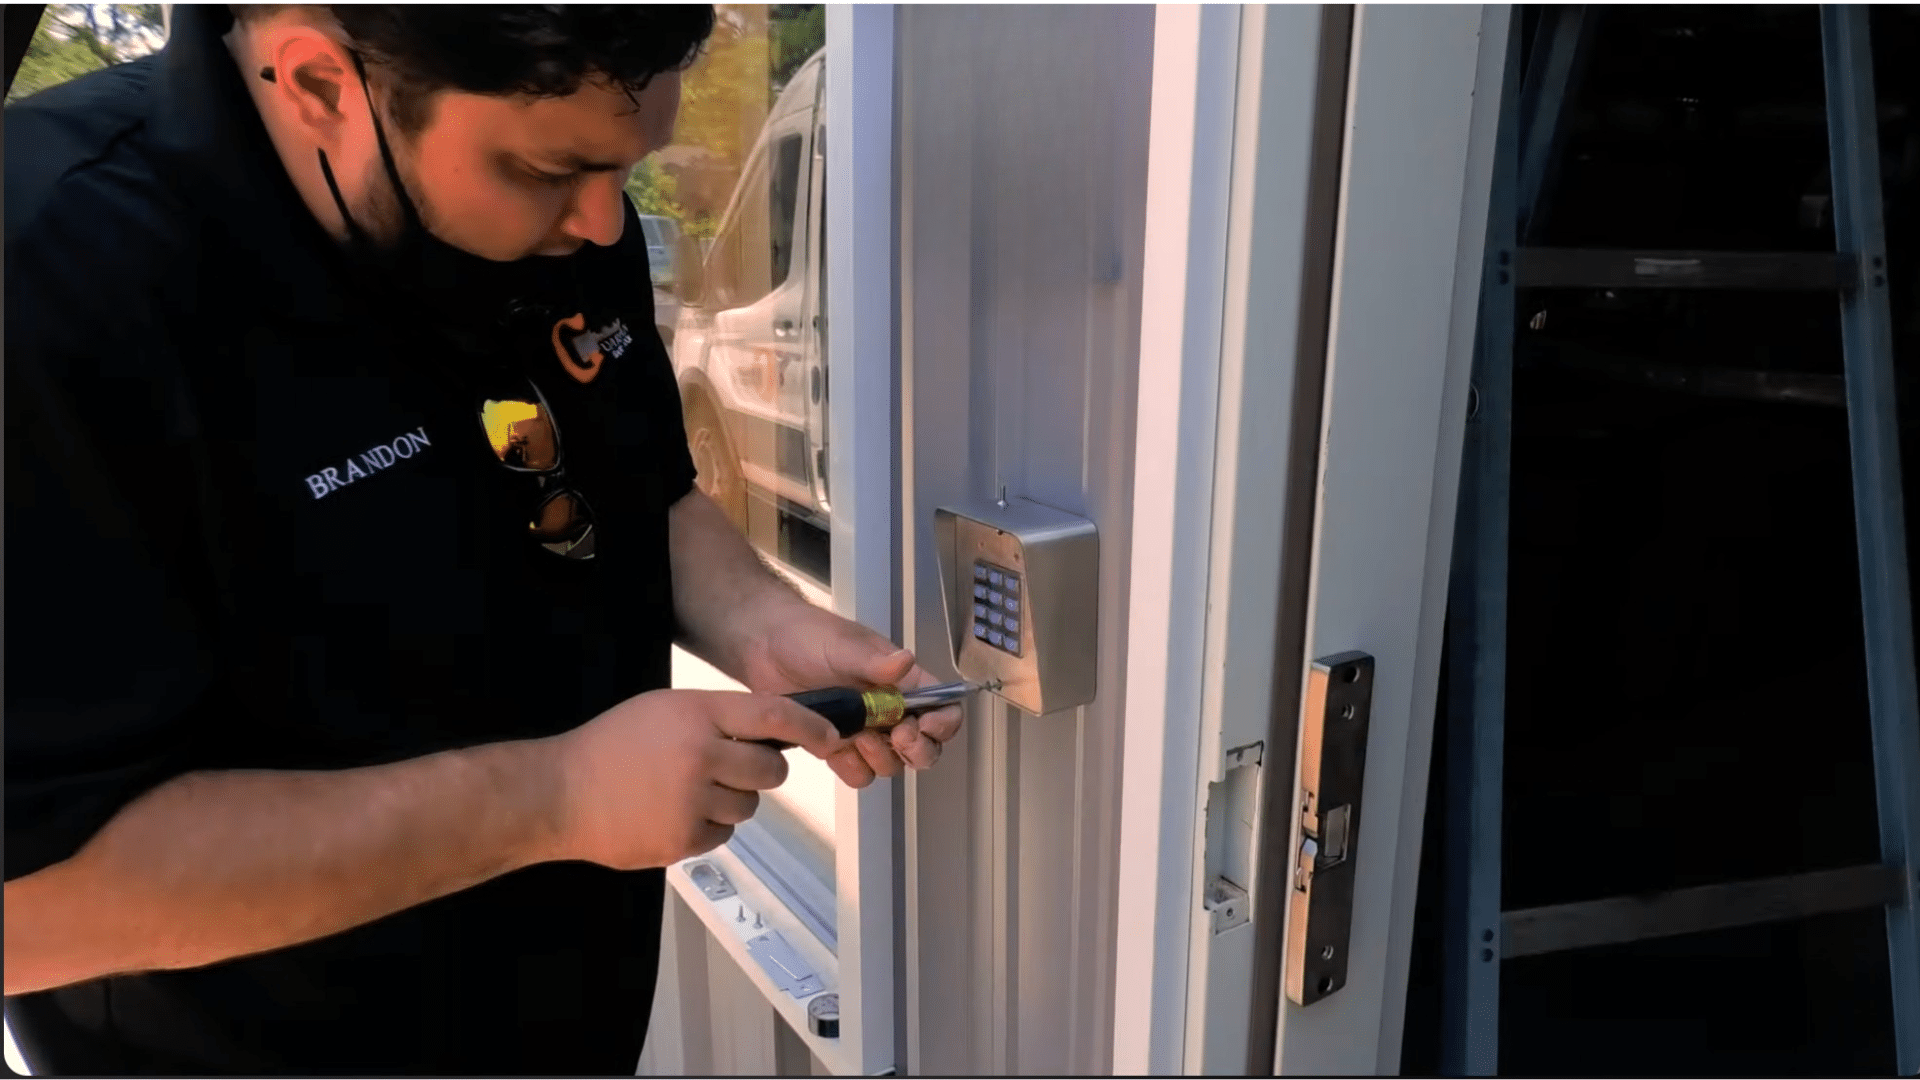
Step 2: Mount Keypad and Strike

After confirming placement, the keypad is mounted firmly to the wall and sealed with silicone to help keep moisture out.
The surface-mount electric strike is then installed on the door frame so it remains locked until the correct code is entered.
You want both components mounted straight and tight to avoid movement. Proper mounting helps the system respond consistently and reduces wear during daily door use.
Step 3: Measure and Drill Openings

Next, you measure and mark the exact heights for the keypad and electric strike.
Drill points are chosen carefully so wiring can pass through the wall and frame without being exposed.
In this setup, a slat wall requires extra attention to keep wires hidden behind the surface.
Aligning the strike with the door latch is critical, as this allows the latch to sit centered and operate smoothly every time.
Step 4: Run and Route Wiring
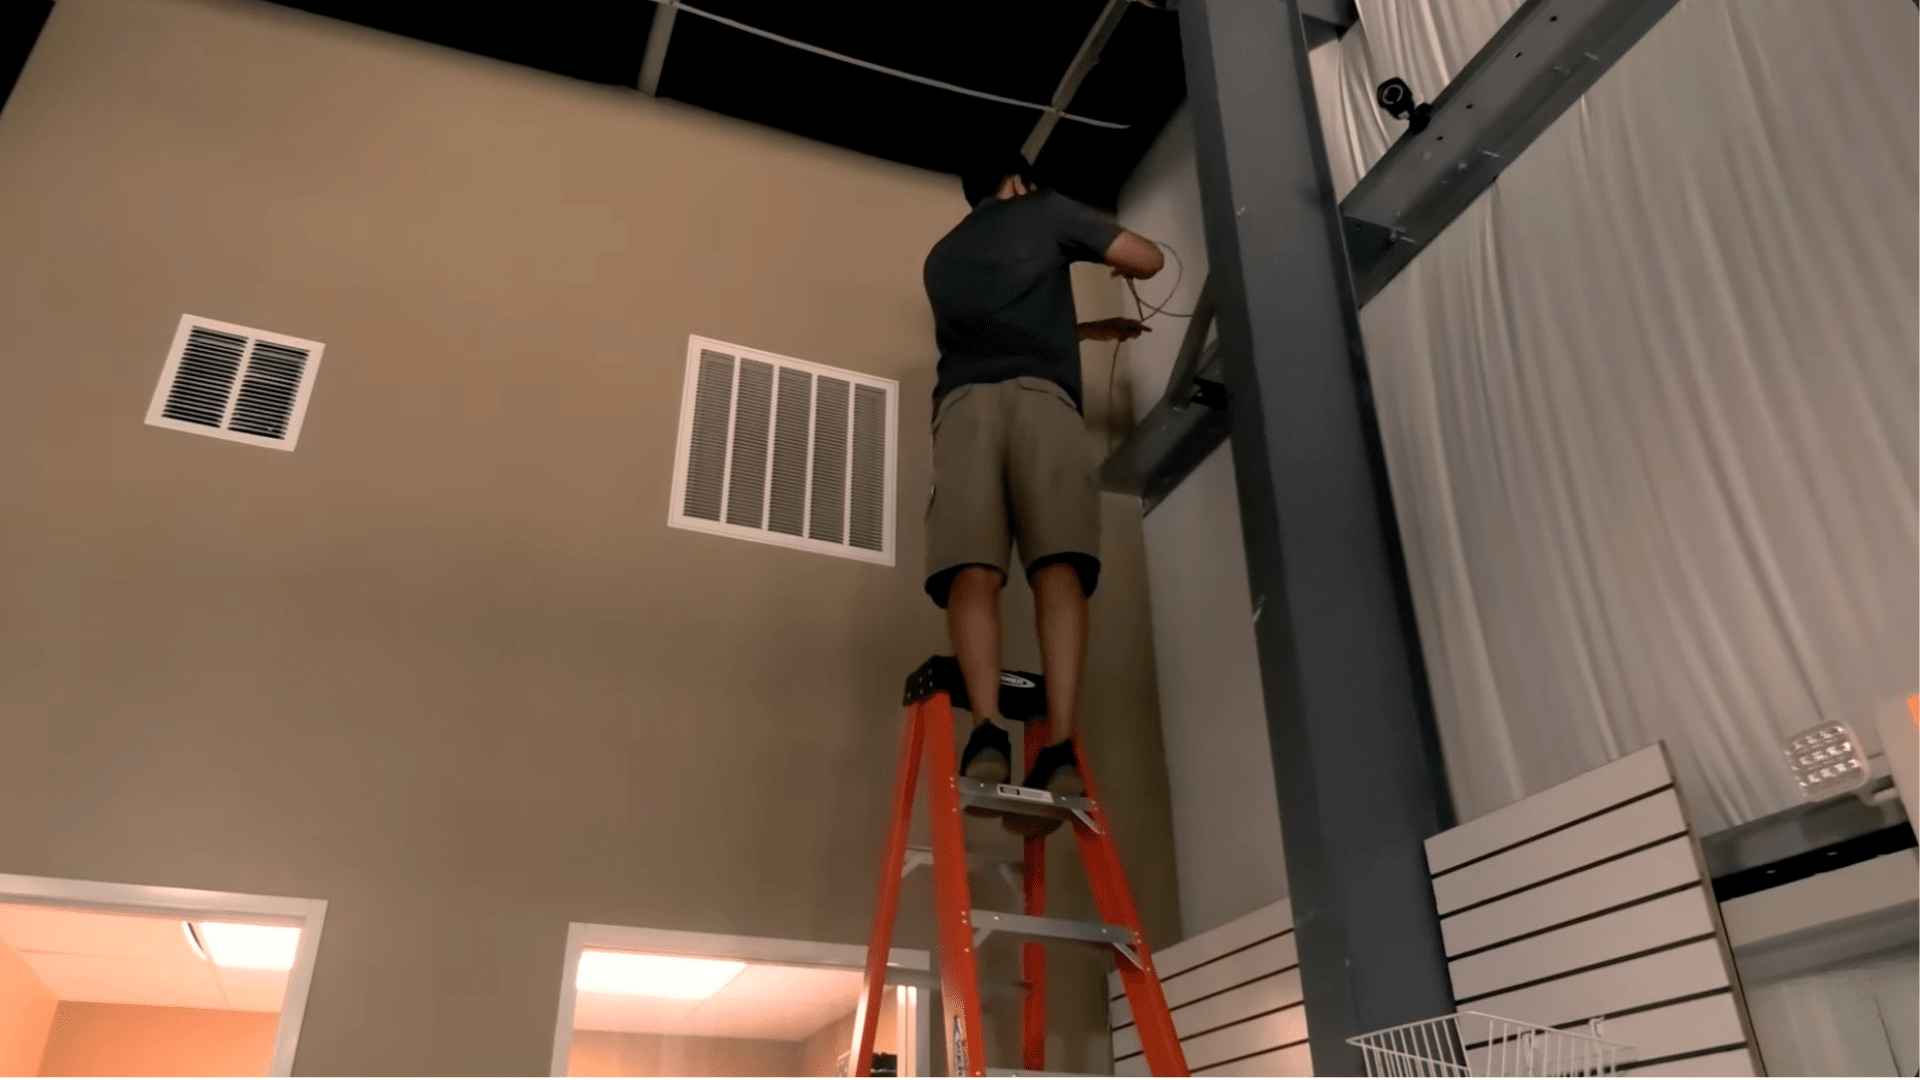
With access holes drilled, wiring is run from the keypad to the electric strike and routed through the ceiling to keep everything concealed.
Tools like magnetic pull chains make it easier to guide wires through tight spaces without damage. An extra cable is left as a service loop to allow future adjustments.
Clean wire routing improves reliability and makes future troubleshooting much easier during access control system installation.
Step 5: Connect Power and Wiring
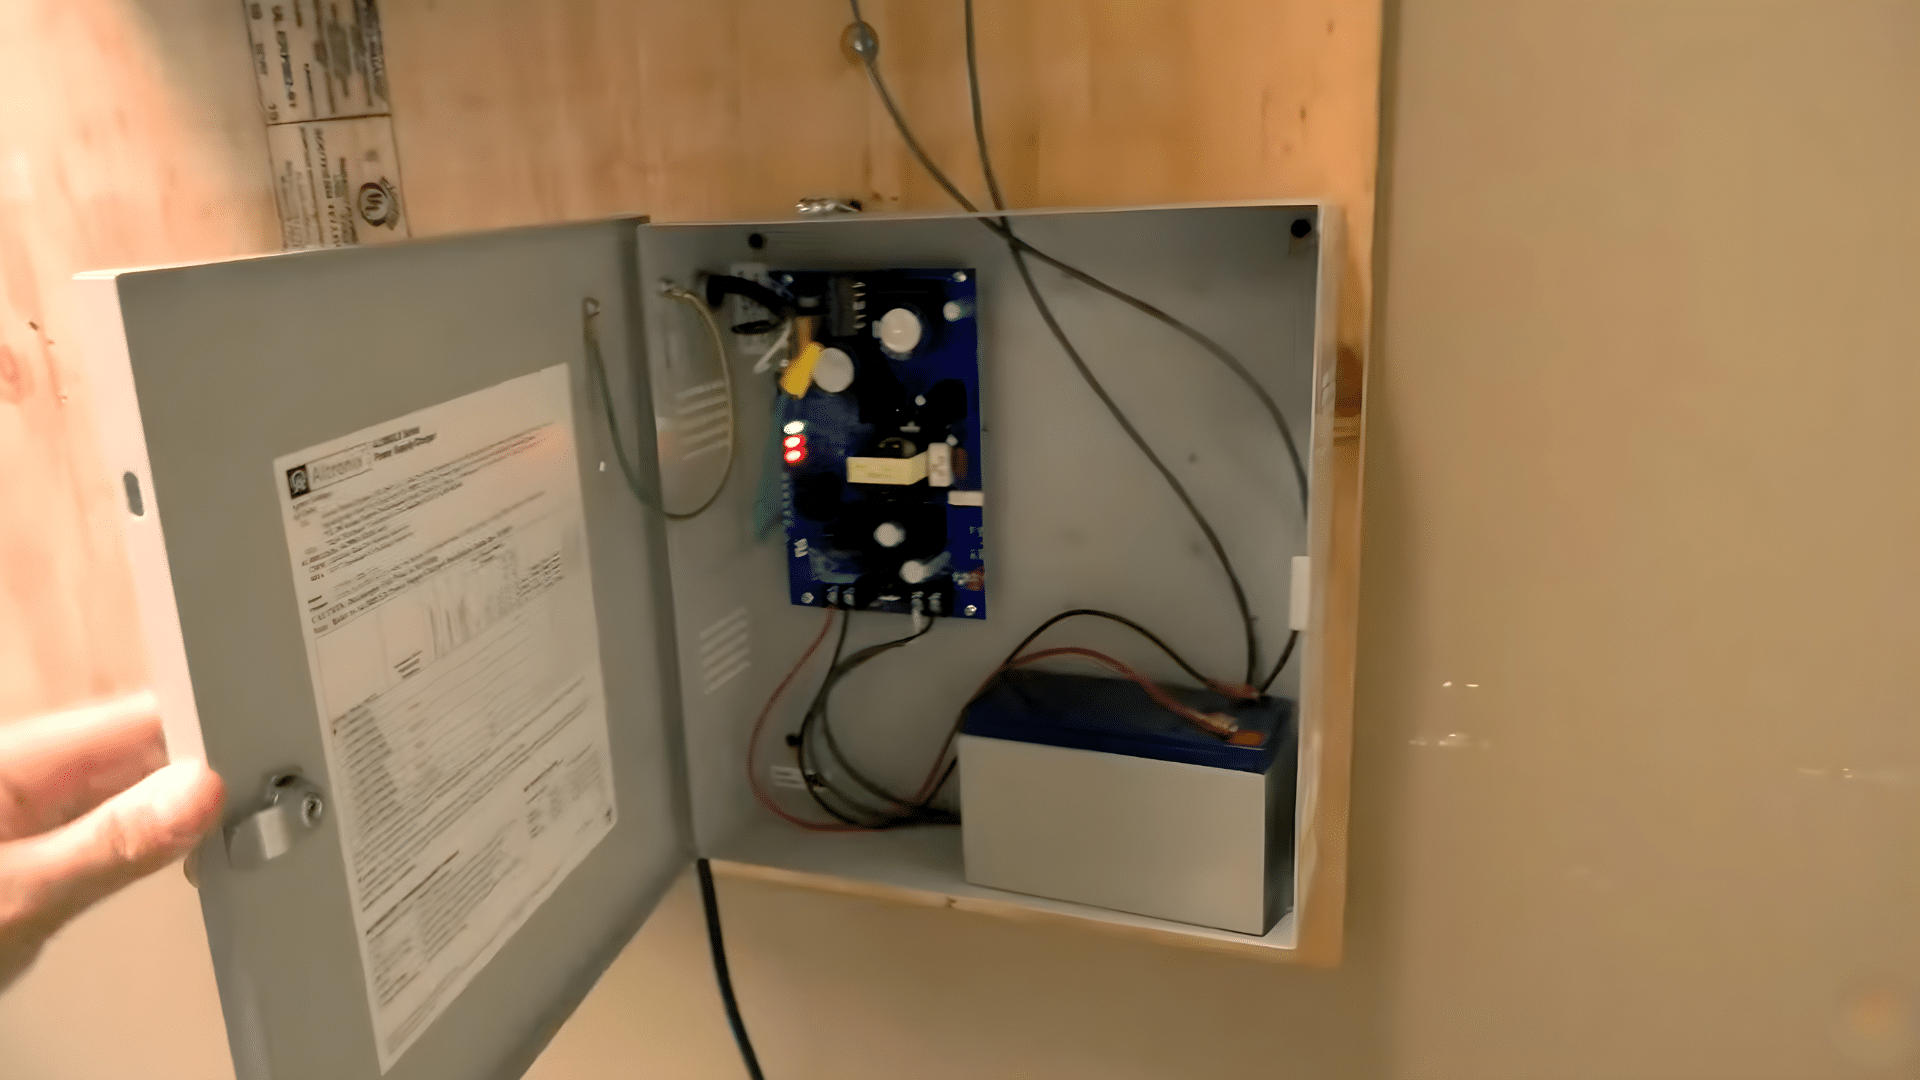
A three-amp power supply is installed to support both the keypad and the electric strike.
You connect the wiring harnesses, confirm the correct voltage setting, and secure all connections using proper connectors.
This step ensures steady power delivery and prevents unexpected shutdowns.
Taking time to double-check wiring helps protect the system and supports long-term performance without interruptions or electrical issues.
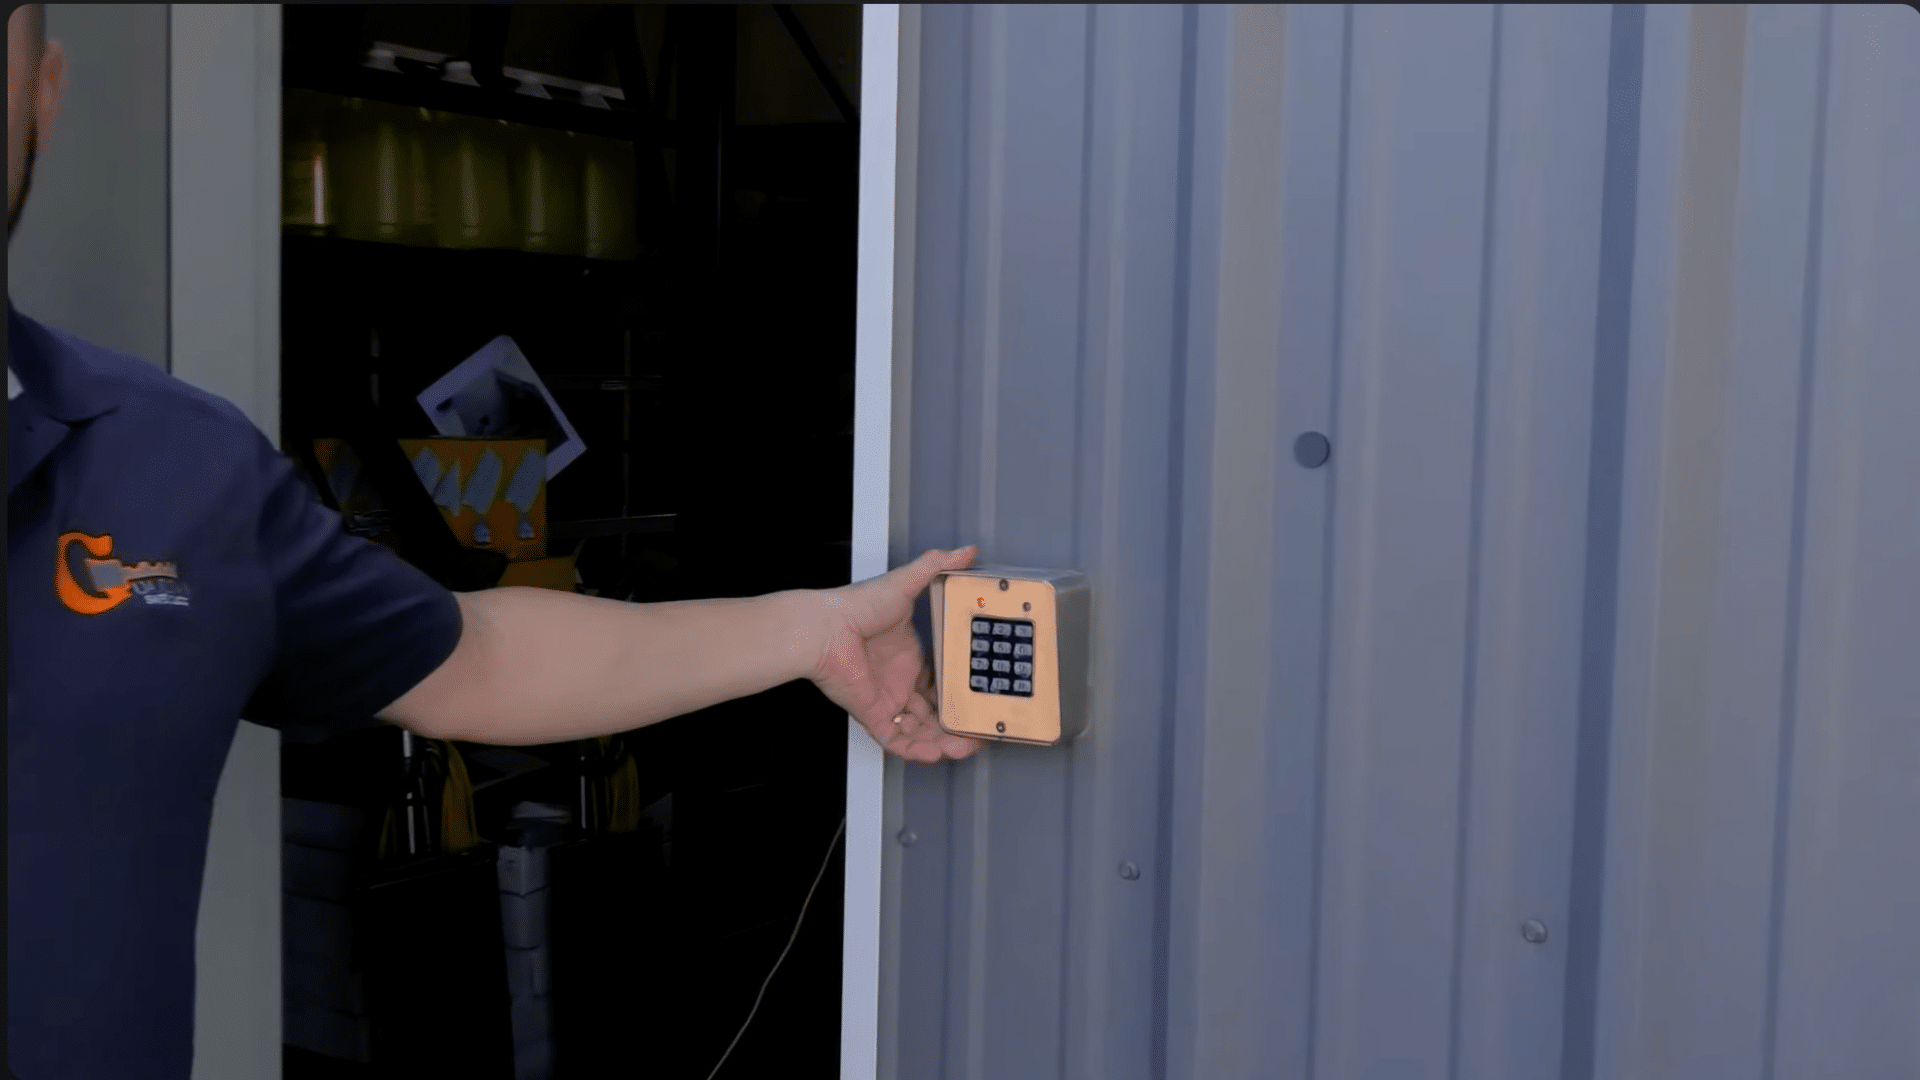
Step 6: Test and Adjust the Door
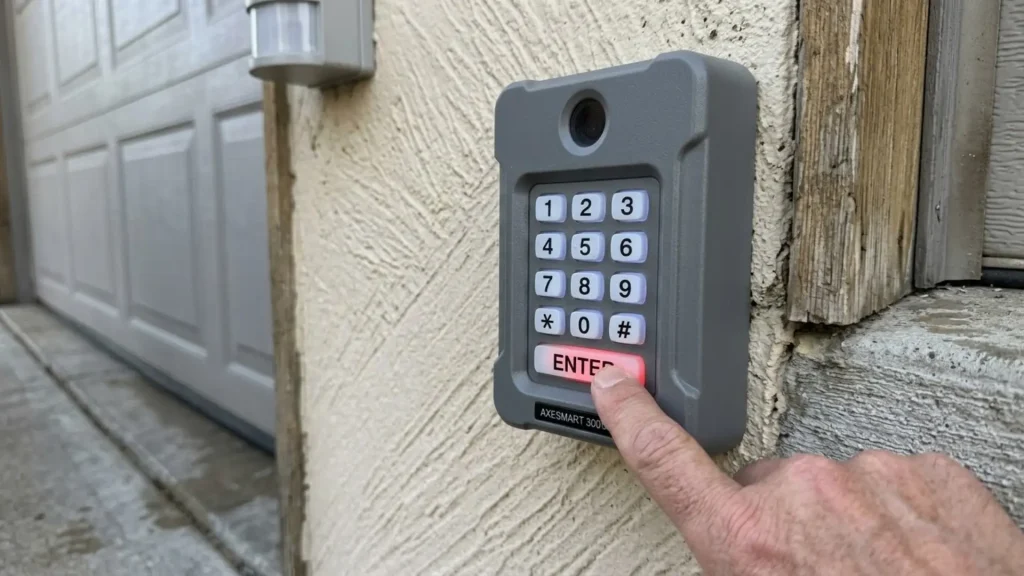
Once wiring is complete, the system is powered on and tested by entering the programmed access code.
The electric strike should release smoothly, allowing the door to open and relock correctly.
You then adjust door pressure, latch alignment, and the door closer as needed.
Final testing confirms the access control system installation is working correctly and ready for consistent, everyday use.
This tutorial is based on a helpful video by Guardian Safe & Lock. You can check out the original video on their YouTube channel here or watch it below.
Final System Testing Checklist
Before the system is used daily, testing helps confirm everything is working correctly and that no steps were missed.
This stage focuses on making sure the door hardware, keypad response, and settings all work together as expected after the access control system installation.
- Enter the access codes to confirm that the keypad activates the electric strike.
- Open and close the door to check smooth unlocking and relocking
- Inspect wiring, power indicators, and backup power connections
- Review user access settings and confirm permissions are correct
After completing these checks, a final walkthrough helps ensure all components are secure and properly adjusted.
Taking a few extra minutes at this stage helps prevent access issues later and ensures the system is ready for consistent, trouble-free use by everyone who relies on it.
Software and Access Access Control System Configuration
Follow these steps to set up access control software, sync devices, create user profiles, set access rules, and test settings for secure and efficient system operation.
- Install the Access Control Software: Set up the software on a local system or web platform and confirm it connects to all installed hardware.
- Detect and Sync Connected Devices: Verify that the keypad, electric strike, and power supply appear correctly within the software interface.
- Create User Profiles: Add individual users and assign unique PIN codes or credentials for controlled entry.
- Set Access Rules and Schedules: Define when users can enter by setting time-based or day-based access permissions.
- Test Codes and Review Settings: Enter test codes to confirm proper unlocking and check door behavior, delays, and security settings.
Tips for Smooth Installation of Access Control System
These tips help reduce common setup issues and improve long-term system performance. Following these suggestions can make installation more reliable and easier to maintain.
- Label all wiring clearly: Helps identify connections quickly during maintenance or troubleshooting.
- Leave service loops in cables: Allows easy adjustments without needing to rerun wires.
- Confirm device alignment early: Prevents doors from sticking or failing to unlock properly.
- Test backup power in advance: Ensures the system stays active during power outages.
- Secure control panels correctly: Reduces the risk of damage or unauthorized access.
- Tighten all mounting hardware: Prevents loose components that can affect system performance.
- Document system settings: Makes future updates and troubleshooting faster and easier.
Conclusion
I created this guide to keep the installation process clear and easy to follow from the start, without adding unnecessary steps.
The goal is to help each stage feel manageable and organized as the setup moves forward.
When every step is planned, access control system installation becomes simpler and less confusing.
The focus stays on simple actions, clear checks, and practical details that matter during setup. These small details help reduce mistakes and keep progress steady.
From preparing tools to testing the final system, each stage works best when nothing feels rushed or skipped. Careful attention helps improve results.
A properly installed system supports smooth door operation, organized access, and fewer issues over time.
Need help with your control system installationor planning the next step? Use this guide as your checklist and get started with confidence today.
Frequently Asked Questions
Can Access Control Systems Be Installed on Any Door?
Yes, most systems can be installed on wood, metal, or aluminum doors when the correct hardware and mounting method are used.
What Happens to The System During a Power Outage?
If a backup battery is installed, the system continues working until power is restored, keeping access active during an outage.
How Often Should an Access Control System Be Checked?
Basic inspections every few months help ensure wiring, locks, and settings continue working properly and prevent unexpected issues.


One Response
Hello.
I am the manager of ECF GOV, my name is Ramdil.
We have our own detached building, and we need an access control installation wizard.
Thanks