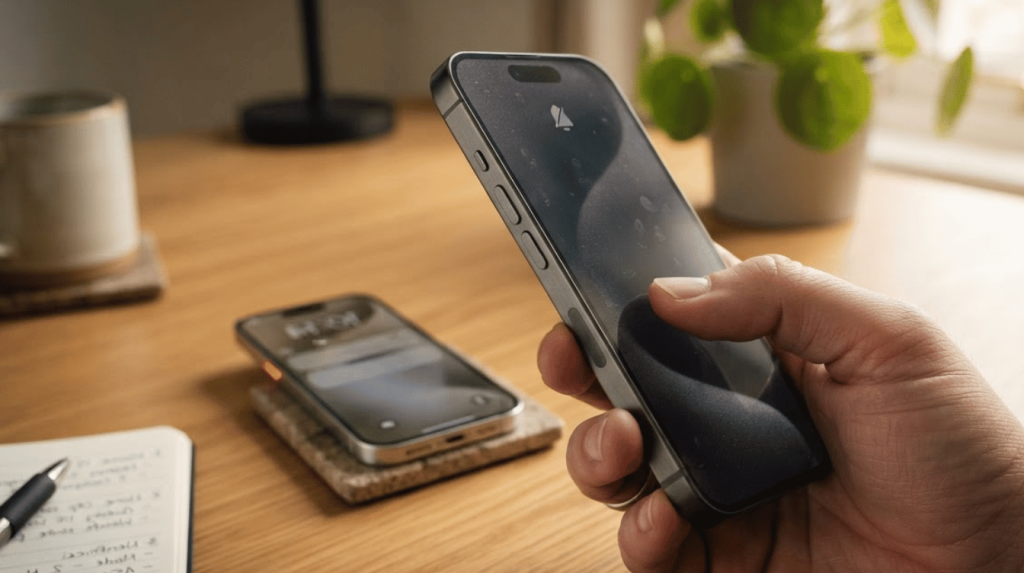
A toddler can close a video with one swipe and end up three menus deep in your email app before you notice. A store display can drift from its product demo to random taps just as easily.
Apple built a fix for exactly this kind of moment: Guided Access, an accessibility feature that locks an iPhone or iPad to a single app until you choose to unlock it.
I started using it years ago to hand my phone to my kids without hovering over every tap, and it has since become one of the settings I recommend most.
Below is how to turn it on, lock a device to one app, start and end a session, and fix the most common problems.
What is Guided Access?
Guided Access is a built-in accessibility feature on iPhone and iPad that keeps the device in one app until you end the session manually.
Apple places it under Accessibility rather than general Settings, alongside features like VoiceOver and Switch Control, since it was originally built for people who need a stable, distraction-free screen. I think of it as a lightweight kiosk mode: no supervision, no configuration profile, just a toggle in Settings.
Parents use it to hand a phone to a child without worrying about what else gets tapped. Teachers use it to keep a classroom iPad on one activity.
Businesses use it to keep a device locked to a product display or sign-in screen. It requires no extra download, subscription, or separate hardware.
Guided Access vs. Screen Time: What is the Difference?
People often confuse these two, so it is worth separating them clearly before setup. Screen Time tracks and limits app usage over days or weeks, and it is meant to shape long-term habits. This feature does something narrower: it locks the device to one app for a single session, with no tracking or history involved.
|
Feature |
Guided Access |
Screen Time |
|---|---|---|
|
Scope |
One app, one session |
Multiple apps, ongoing |
|
Best for |
Short handoffs, kiosks, focus sessions |
Daily habit limits, parental oversight over time |
|
Ends |
Manually, with a passcode or Face ID |
Automatically when a set limit is reached |
|
Setup location |
Settings > Accessibility |
Settings > Screen Time |
The two are not mutually exclusive. A parent might use Screen Time for daily limits and still reach for this feature when handing over the phone for ten minutes at a restaurant table.
How to Set Up Guided Access on iPhone or iPad
Set it up once per device in the Accessibility menu. Open Settings, tap Accessibility, open the single-app setting, then turn on the toggle to reveal these options.
1. Set the Passcode
Under Passcode Settings, set a passcode, or turn on Face ID or Touch ID as a faster way to pause or end sessions later.
This step matters more than it might seem. If you do not set a passcode during setup, the device prompts you to create one when you start your first session. Once you set up authentication, ending the app lock requires the passcode, Face ID, or Touch ID you selected.
2. Choose Time Limit Alerts
Under Time Limits, choose whether to play a sound or speak the remaining time before a timed session expires. This gives whoever is using the device a warning before the limit is reached instead of ending the activity without notice.
It works well for kids who might otherwise get frustrated by a sudden stop, and it also helps in classroom or kiosk settings where a countdown needs to feel predictable rather than abrupt.
3. Turn on The Accessibility Shortcut
Turn on Accessibility Shortcut if you want the Accessibility Shortcuts panel available during a single-app session.
This can make the control easier to reach if you also use other accessibility features. When the shortcut panel appears after the supported button gesture, select this feature to return to its controls.
4. Set Display Auto-Lock
Under Display Auto-Lock, set how quickly the screen locks automatically when the device is idle during a restricted session.
A shorter time can help save battery on a device that sits idle between uses, while a longer setting keeps the display available for reading, watching videos, or completing a quiz. Pick the timing that matches how you’ll actually use the device.
How to Lock an iPhone to One App
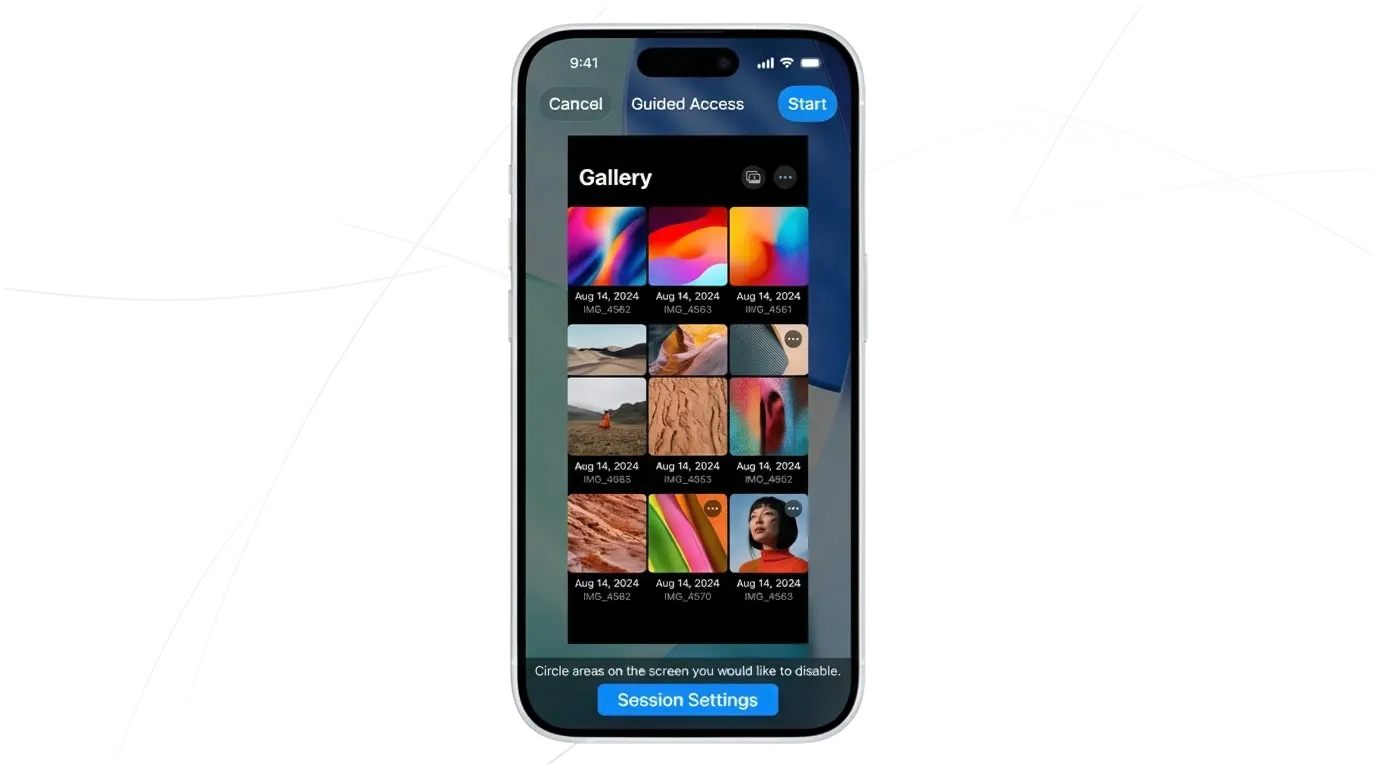
Locking a device to one app happens inside the app itself, right before the session starts. Circle the screen area you want to disable, then resize or move it using the handles.
|
Setting |
What It Does |
|---|---|
|
Touch |
Turn off all touch input so the screen stops responding entirely |
|
Motion |
Stop the screen from responding to shakes or rotating when the device moves |
|
Keyboards |
Prevent the on-screen keyboard from appearing |
|
Volume |
Block the physical volume buttons, and on iOS 26.1 or later, supported Bluetooth headphone volume controls too |
|
Side, Top, or Home Button |
Block the selected hardware button except when it is needed to pause the session |
|
Timer |
Show a full-screen message when the set time limit expires |
To use these controls, open the app, start the session setup, and adjust the settings that match your needs. When everything looks right, tap Done, then tap Start to lock the device.
How to Start and End a Guided Access Session
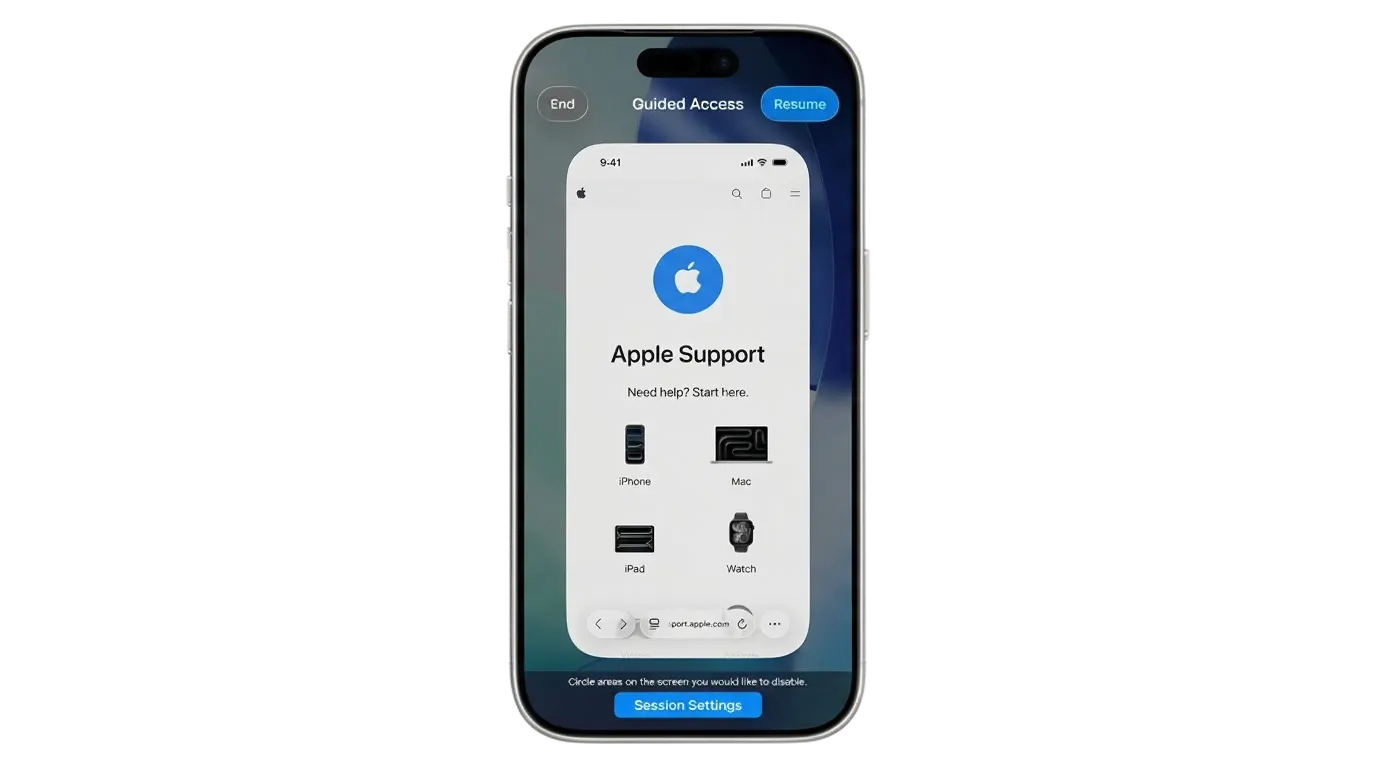
Once a device is set to stay inside one app, starting and stopping the restricted mode comes down to a quick button shortcut.
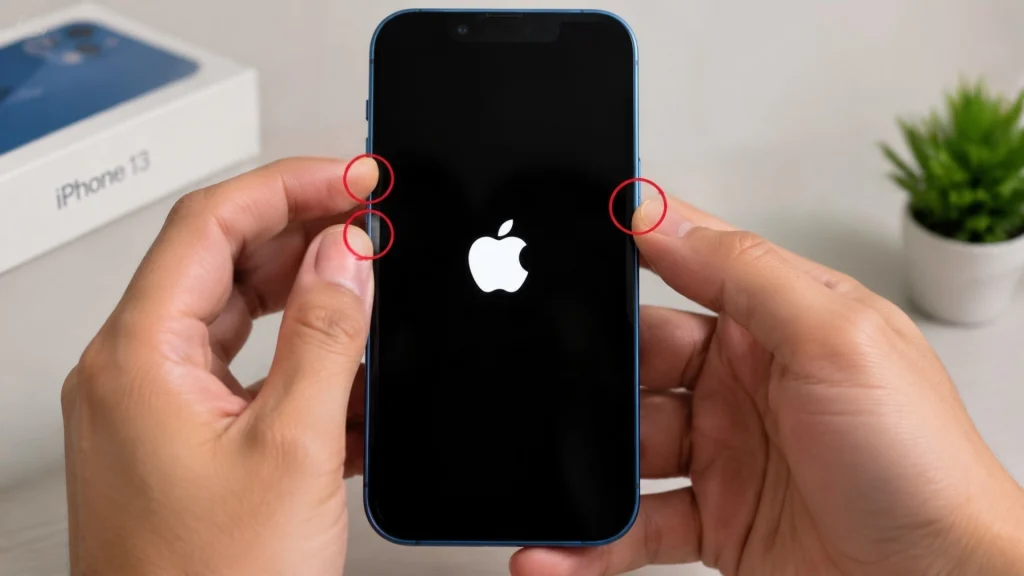
Starting a session: Open the app you want to use, then triple-click the Side button on iPhone, Top button on iPad, or Home button on an older device.
If the Accessibility Shortcuts panel appears, tap Access. You can also start it through Siri, Control Center, or the Accessibility Shortcut.
To pause or end a session: Use the same button shortcut again. On iOS 18, iPadOS 18, or earlier, double-click; on newer software, it is a triple-click. Authenticate with your passcode, Face ID, or Touch ID.
From there, tap Resume to continue the same session, or tap End to close it and restore normal access. Pausing does not exit the restriction on its own; it only reopens the settings screen. The app stays locked until you tap End.
How to Fix Common Guided Access Problems
Most Guided Access issues come from a shortcut, passcode, or session setting that is easy to miss. Checking these common causes first can usually restore normal control without changing the rest of your device setup.
- Triple-click does nothing: Check Settings > Accessibility> Accessibility Shortcut, and confirm app-lock mode is selected.
- Forgot the passcode: Try the authentication method you configured, such as Face ID or Touch ID, if available.
- Screen stopped responding: Touch may have been turned off in Session Settings; pause the session and turn Touch back on.
- A button will not disable: Confirm the control is supported on your device and software version.
- Session will not start: Another triple-click shortcut, such as one set up for a different accessibility feature, may be capturing the gesture first. Check Accessibility Shortcut and remove conflicting options, or restart the device if the shortcut menu freezes.
- Time limit alert stays silent: Check that the ringer switch is not muted and that Time Limits is set to play a sound rather than speak only, since a muted device will skip the audio alert entirely.
After checking the shortcut, authentication method, touch controls, and button support, you can resolve most problems quickly. If the issue continues, review the related Accessibility settings before changing anything else on the device.
Guided Access Safety and Privacy Notes
A single-app lock is not a substitute for the device’s main security controls, and it will not encrypt or hide anything already sitting on the phone. Keep the session passcode private, especially on a shared or public device, since anyone who knows it can exit the session and reach everything else.
Apple notes that Crash Detection and Emergency Services are not available while a session is active; end the session first if you need either. App-lock mode also mutes most notification banners and lock screen alerts by default while it runs, so whoever is using the device will not see incoming texts or app alerts pop up mid-session.
Treat it as a temporary lock for one task, not a permanent security setting, and pair it with Screen Time if you need longer-term limits.
Final Thoughts
Guided Access turns any iPhone or iPad into a single-purpose device for as long as a session runs, and setup takes only a few minutes inside Accessibility settings.
The real payoff shows up afterward: a passcode only you control, a screen that ignores accidental taps, and a session that ends exactly when you say so.
I have tested this across an iPhone, an older iPad with a Home button, and a newer model with Face ID, and the same steps worked on all three, including the Bluetooth volume lock iOS 26.1 added.
Try locking a device to one app the next time you hand one off, and share how it works for you in the comments.
Frequently Asked Questions
Can I Still Receive Phone Calls During a Session?
Yes. Incoming calls still come through, but you will need to pause or end the session to use the rest of the phone once the call finishes.
Does Guided Access Block Notifications While It Is Active?
Yes, by default. Most banners, alerts, and lock screen notifications stay hidden until the session ends, which is part of why the feature works well for handing off a device to someone else.
Does the Session Pause if The Screen Locks?
No. If the screen locks and you open it again, the same session continues until you pause or end it manually.
Can One Session Include More than One App?
No. Each session is limited to a single app. To switch apps, end the current session and start a new one inside the app you want next. Organizations that need several approved apps at once typically use an MDM kiosk mode instead.
Does Guided Access Work on A Mac?
No. Guided Access is limited to iPhone, iPad, and iPod touch. macOS does not include a matching built-in single-app lock.