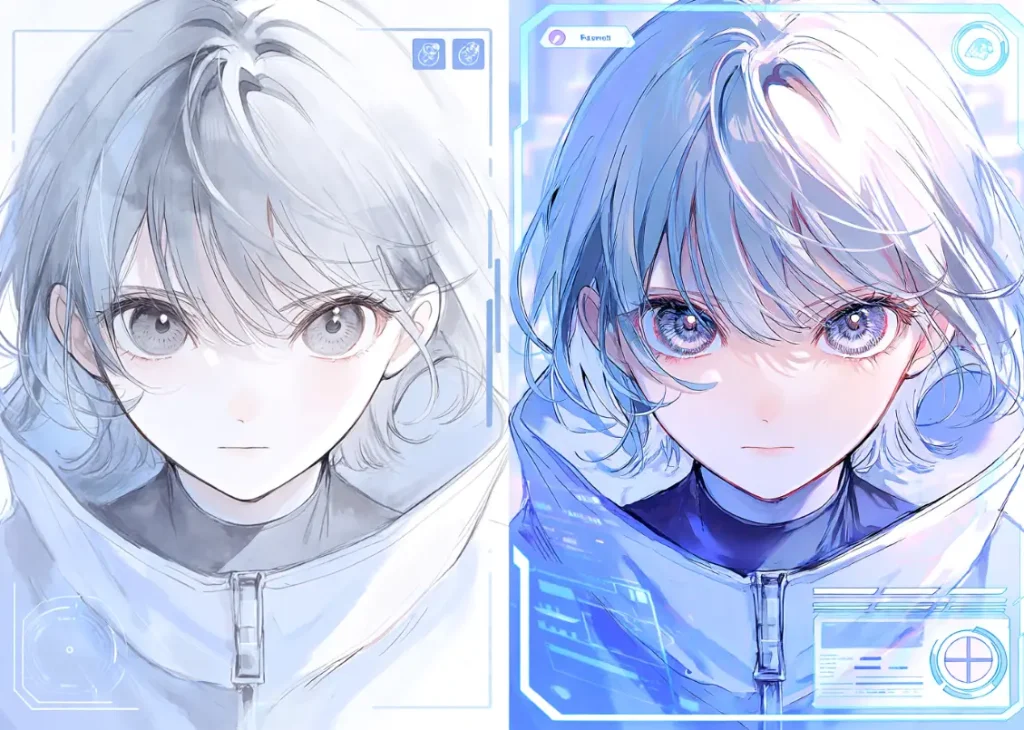
Plenty of AI-generated anime images look great at their original size but turn soft, muddy, or distorted the moment you try to enlarge them. That’s not bad luck — it’s a mismatch between the tool and the content. Anime artwork depends on clean linework, flat color regions, and sharp facial features in a way photographs simply don’t, so standard photo upscalers, which are built for gradients and realistic texture, tend to handle it poorly.
This guide explains what AI upscaling actually does, why generic photo upscalers so often damage anime art, and what a realistic, anime-aware workflow looks like. PixAI comes up throughout as an example, since its enhancement tools were built specifically for anime-style artwork rather than adapted from photo-editing software.
What Does an AI Anime Upscaler Actually Do?
AI upscaling increases an image’s resolution by predicting the missing pixels that would plausibly exist at a larger size, based on patterns learned from the original image and the model’s training data. Done well, it enhances perceived detail without introducing artifacts or noticeable degradation — a 512×512 image might become a clean 2048×2048 image, a 16x increase in pixel count, while still looking like the same artwork, just larger and sharper.
It’s worth being clear about what this is and isn’t. Upscaling improves an existing image; it doesn’t recreate missing artwork out of nothing. It can sharpen edges, smooth out compression noise, and make an image genuinely more print- and display-ready, but it can’t invent detail that was never present in the source image to begin with.
Why Generic Photo Upscalers Often Damage Anime Art
Photo upscalers are trained on and optimized for photographic content, where smooth gradients, realistic texture, and soft transitions are the norm. Anime art works on the opposite principles — clean, deliberate linework and flat, evenly bounded color regions. When a photo-oriented model is pointed at anime artwork, it tends to introduce a predictable set of problems:
• Blurred line art — crisp outlines turn soft and fuzzy
• Smudged eyes — one of the most expression-critical areas of an anime face, easily destroyed by photo-style smoothing
• Softened hair details — individual strands and highlights blur into a generic mass
• Color bleeding — flat color regions lose their sharp boundaries and bleed into neighboring areas
• Artificial textures — photo upscalers sometimes add grain or texture that doesn’t belong in flat-shaded artwork
• Distorted facial features — the model tries to “correct” stylized proportions toward something more photorealistic
These issues are especially noticeable in anime art precisely because the style depends on precision — a slightly blurred line in a photograph is barely noticeable, but a slightly blurred line around a character’s eye changes the entire expression. This is why anime-aware enhancement tools, designed to preserve clean lines and flat color regions rather than smooth everything toward photorealism, tend to produce meaningfully better results than general-purpose photo upscalers.
How Large Can You Realistically Upscale Anime AI Art?
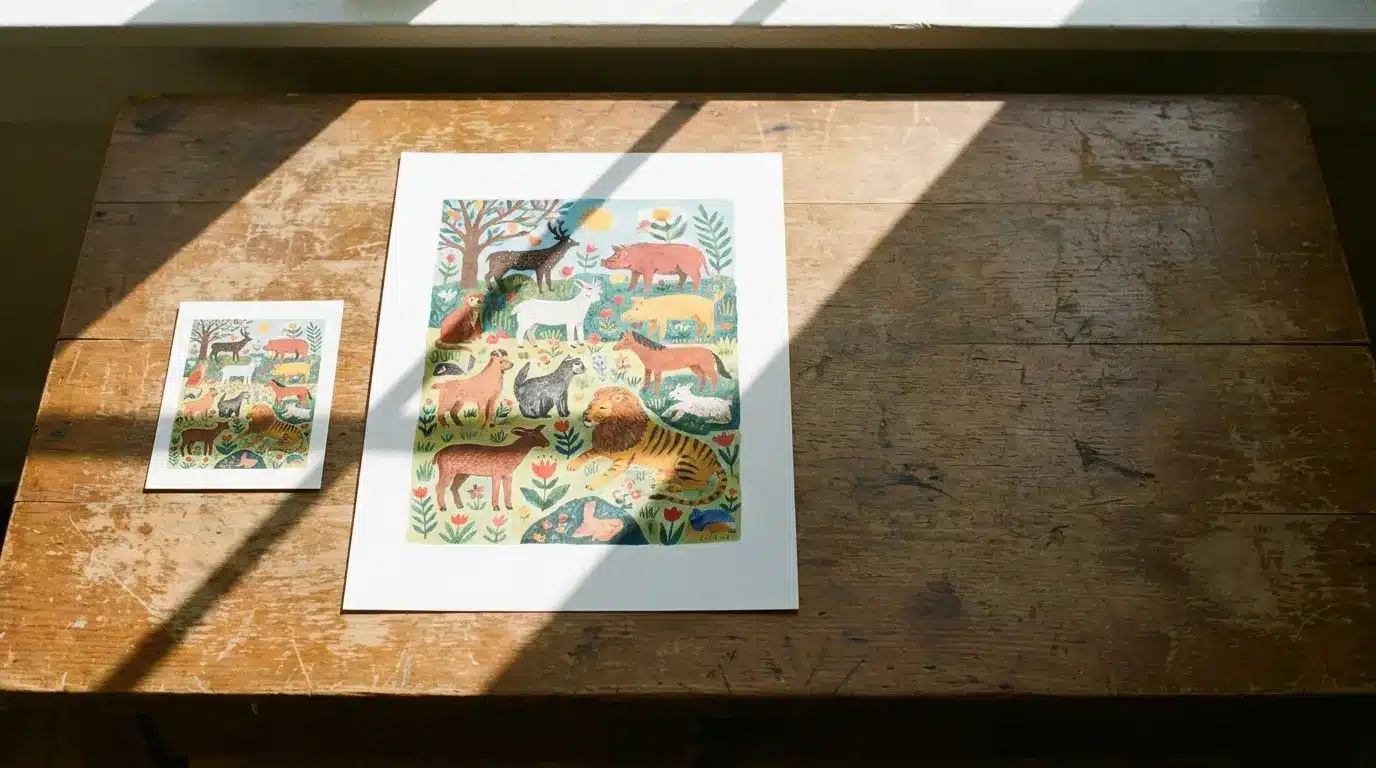
It helps to set expectations before you start. Modest enlargements — roughly 2x to 4x — tend to hold up well, preserving detail while noticeably increasing usable resolution. Pushing much further, into 8x territory or beyond, is where artifacts and unnatural detail become far more likely, since the model is being asked to invent a lot more information than the source image actually contains.
How far you should go also depends on intended use. Web display generally only needs modest resolution. Wallpapers benefit from more headroom, since they’re often viewed at full screen size. Print is the most demanding use case, since physical output reveals softness and artifacts that a screen might hide. In every case, your results are bounded by your starting point — a very low-resolution or heavily compressed source image can’t be perfectly restored no matter how good the upscaler is, since fine detail that was never captured in the first place simply isn’t there to recover.
A Simple Workflow for Upscaling Anime AI Art
1. Start with the highest-quality original image available — upscaling amplifies whatever is already there, including flaws, so begin from your best version
2. Choose an anime-aware upscaler rather than a general photo tool
3. Compare before-and-after results at full zoom rather than judging from a thumbnail
4. Check facial features and line quality specifically, since these are where problems show up first
5. Save the final version at the resolution you actually need for your intended use
For the upscaling step itself, the PixAI Image Upscaler is an anime-focused option built to enlarge illustrations while preserving the clean linework and smooth color regions that define the style, rather than smoothing everything toward a photographic look. Whichever tool you use, always compare results at full zoom before finalizing anything — thumbnails hide exactly the kind of softness and artifacts you’re trying to catch.
Check Important Details After Upscaling
Before exporting a final version, take a few minutes to manually review the image rather than trusting the process blindly. Automated upscaling is generally reliable, but it can still miss localized issues that are obvious once you’re actually looking for them. Check:
• Eyes — for smudging or loss of highlight detail
• Hair strands — for blurring or merged clumps
• Line consistency — for wavering or broken outlines
• Clothing details — for softened folds, patterns, or trim
• Hands — a common weak point in AI art generally, and easy to miss at a glance
• Background elements — for artifacts introduced in busier areas
• Flat color regions — for bleeding or banding along edges
A few minutes of manual review at full resolution catches most of the issues that slip past automated processing, and it’s far easier to fix a problem now than after the image is already in use somewhere.
When to Use Additional Image Enhancement
Upscaling addresses resolution, but it’s only one part of getting AI artwork to a genuinely polished, publication-ready state. Depending on what your source image needs, you might also want to improve facial details, refine hands, sharpen edges, or reduce artifacts left over from generation.
For this stage, PixAI’s 6 AI image enhancement tools combine upscaling with additional features like face refinement, which improves eye detail and facial clarity, and hand correction, which addresses one of the most persistent weak points in AI-generated art. Using these tools together, rather than relying on upscaling alone, tends to produce a noticeably more finished result — face enhancement in particular is worth applying after upscaling, since enlarging an image can make small facial imperfections more visible than they were at the original size.
Common Mistakes When Upscaling Anime Images
• Upscaling images that are too small to begin with — there’s a floor below which no upscaler can recover meaningful detail
• Using photo-only upscalers on anime art — the single most common cause of blurred lines and smudged eyes
• Enlarging beyond practical limits — pushing past 4-8x invites artifacts you’ll likely need to fix afterward anyway
• Ignoring artifacts after processing — skipping the review step and exporting the first result
• Saving highly compressed files — undoing upscaling gains with aggressive compression on export
• Skipping quality checks altogether — assuming the upscaler got everything right without verifying at full zoom
Most of these are easy to avoid simply by slowing down at the review stage and choosing tools built for anime art specifically, rather than reaching for whatever upscaler happens to be free or already installed.
Why PixAI Fits This Workflow
Pulling the pieces above together, PixAI fits this workflow because it treats anime artwork as a distinct category rather than an afterthought bolted onto general photo tools:
• An anime-focused image upscaler built to preserve clean lines and flat color regions
• A broader enhancement toolkit covering more than resolution alone
• Face enhancement for eye and facial clarity after enlargement
• Hand correction for one of AI art’s most persistent problem areas
• A beginner-friendly workflow that doesn’t require technical image-editing knowledge
• Tools suited to finished anime artwork, whether headed for web, wallpaper, or print
As with any upscaling tool, PixAI can’t perfectly restore every low-resolution or heavily degraded image — the fundamentals covered earlier still apply. What it offers is an approach built around anime’s specific visual conventions rather than general-purpose photo processing, which tends to matter a great deal for how the final result actually looks.
Final Thoughts
Successful anime upscaling isn’t really about making an image larger — it’s about preserving the clean line art, smooth flat colors, and character detail that make anime art recognizable in the first place. Generic photo upscalers, built for an entirely different kind of image, tend to work against those qualities rather than for them.
Choosing an anime-aware upscaler, reviewing your results carefully at full zoom, and layering in additional enhancement where it’s genuinely needed will get you far more reliable, consistent results than reaching for whatever generic tool is fastest. With a bit of care at each step, you can enlarge your AI artwork to the size your project actually needs while keeping the quality that made you want to use it in the first place.