Bluetooth headphones make it easy to listen wirelessly, but pairing failures, missing Bluetooth options, and random connection drops can quickly become frustrating.
In many cases, a simple reset or a few Windows 11 settings can solve the problem without replacing your headphones.
Whether you need to reset Bluetooth headphones, turn on Bluetooth in Windows 11, or understand why your
Bluetooth is not working; the right steps depend on the issue you’re facing. This article explains pairing resets, factory resets, device-specific methods, and practical troubleshooting tips in a clear, step-by-step format.
Keep reading to restore your Bluetooth connection, reconnect your devices, and get your headphones working smoothly again.
Quick Answer: Why Is My Bluetooth Not Working?
Bluetooth may not be working because it is turned off, Airplane Mode is enabled, your headphones are not in pairing mode, or the battery is too low.
On Windows 11, outdated Bluetooth drivers, disabled Bluetooth services, or hardware issues can also prevent devices from connecting.
Existing pairing records may become corrupted, causing failed or unstable connections.
Start by turning Bluetooth off and back on, restarting your device, forgetting and reconnecting the Bluetooth device, and checking for driver or software updates.
If the problem continues, reset your Bluetooth headphones or reinstall the Bluetooth adapter to restore normal functionality.
When Should You Reset Bluetooth Headphones?
A Bluetooth reset is often the quickest way to fix connection problems without replacing your headphones. Resetting clears pairing errors and gives your device a fresh start when standard troubleshooting doesn’t work.
- Headphones Won’t Pair: If your headphones cannot connect to your phone, laptop, or tablet, resetting them removes old pairing records. This allows you to establish a fresh Bluetooth connection.
- Frequent Connection Drops: When audio cuts in and out or the connection keeps disconnecting, a reset can clear temporary Bluetooth glitches. It often restores a stable wireless connection.
- Connected but No Sound: Sometimes headphones appear connected, but audio still plays through another device or doesn’t play at all. Resetting helps refresh the Bluetooth profile and audio settings.
- Unable to Find the Headphones: If your device cannot detect the headphones during a Bluetooth scan, a reset usually puts them back into pairing mode. This makes them visible for a new connection.
- Problems After Connecting to Multiple Devices: Headphones paired with several phones, tablets, or computers may become confused about which device to connect to.
- Bluetooth Issues After an Update: Software or firmware updates can occasionally affect Bluetooth performance. Resetting the headphones helps them reconnect properly with the updated device.
How to Reset Bluetooth Headphones?
Most Bluetooth headphones follow a similar reset process, although the exact button combination varies by brand. Follow these steps in order to restore the default settings and reconnect your headphones successfully.
Step 1: Turn Off Your Headphones and Disconnect All Cables
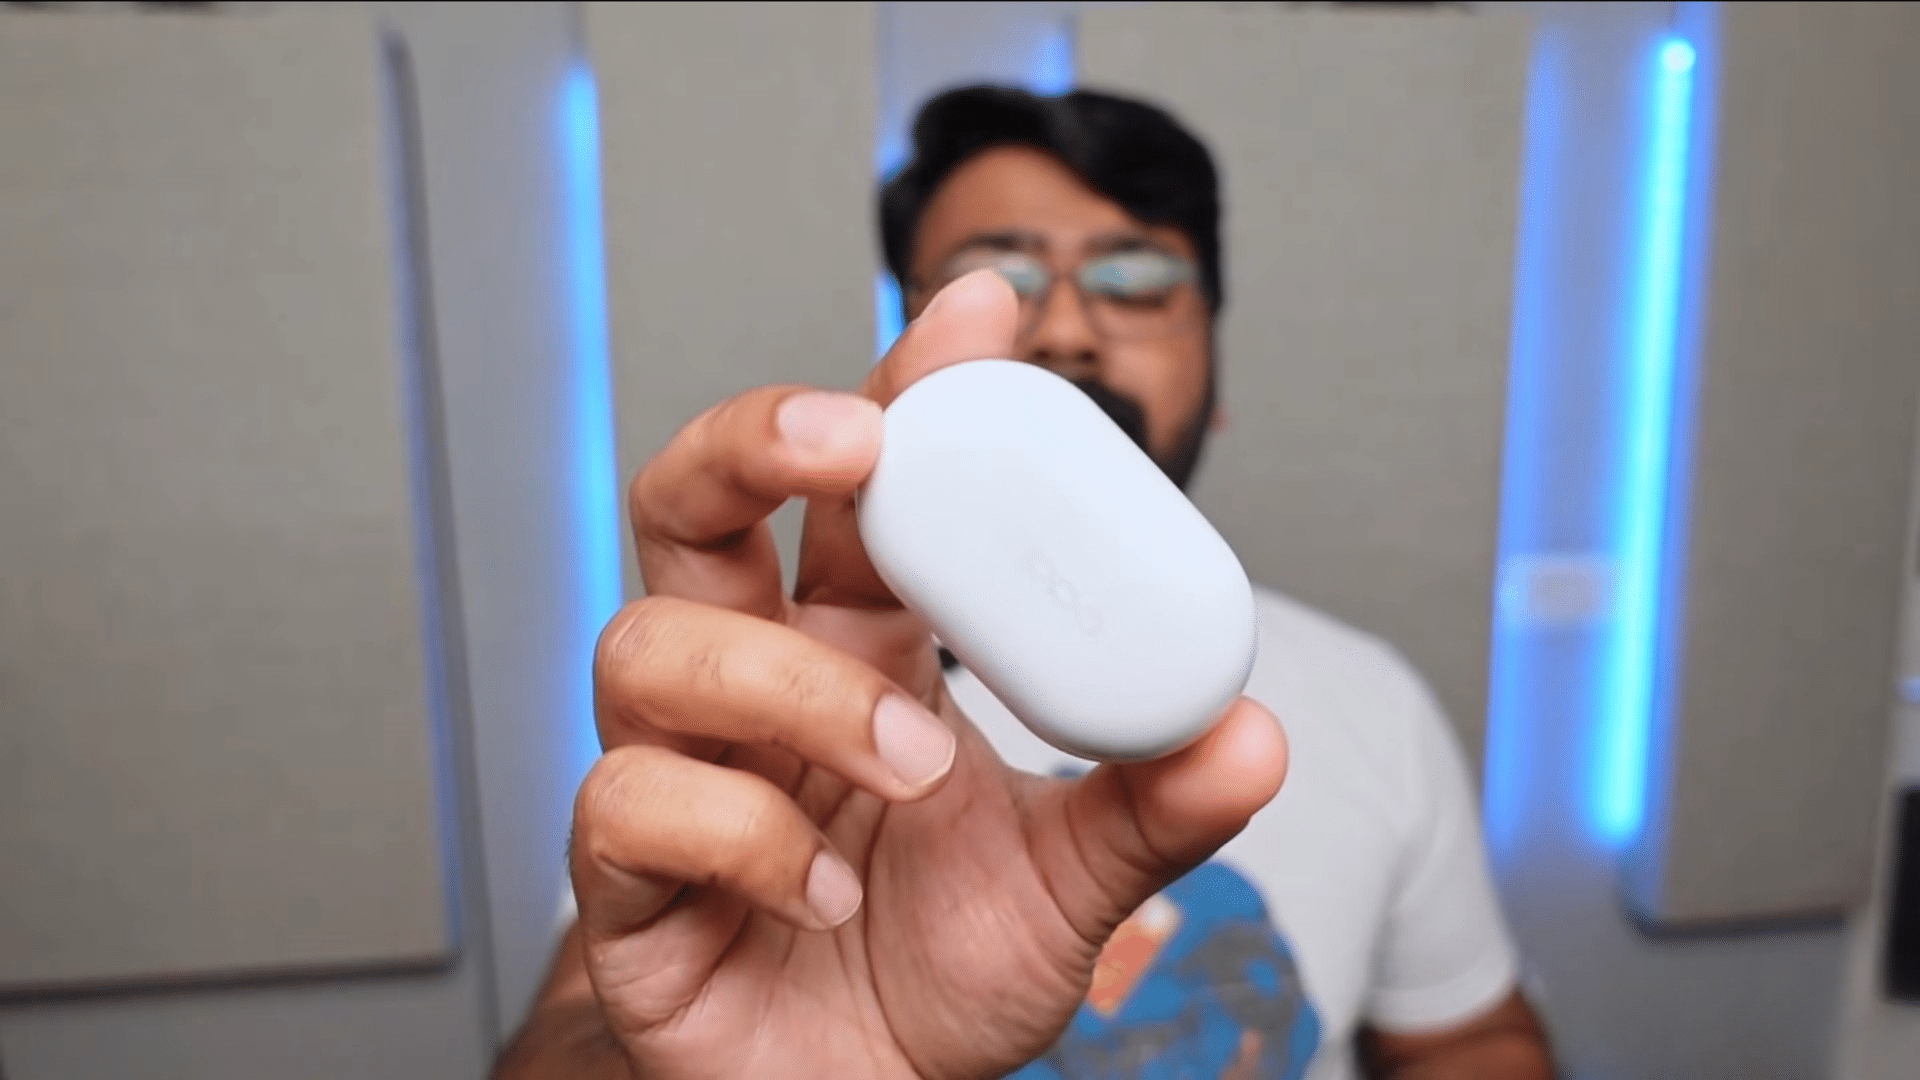
Start by turning off your Bluetooth headphones or earbuds completely. If they are connected to a charger, USB cable, or 3.5 mm AUX cable, disconnect everything before continuing.
Many manufacturers recommend performing a reset only when the device is not charging or connected to another accessory.
This prevents interruptions during the reset process and ensures the headphones can properly clear temporary Bluetooth errors and stored pairing information.
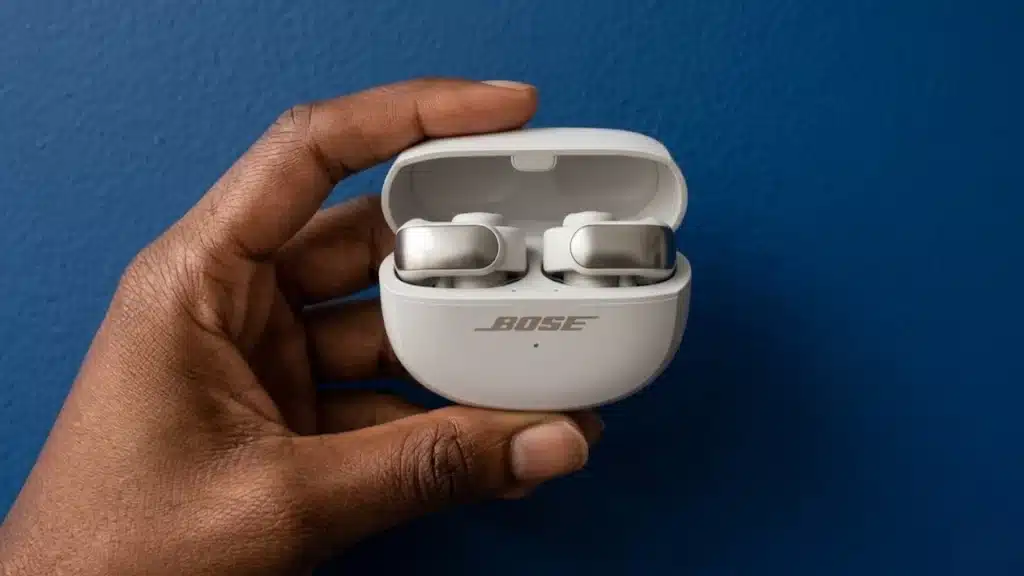
Step 2: Open the Charging Case Before Resetting Wireless Earbuds
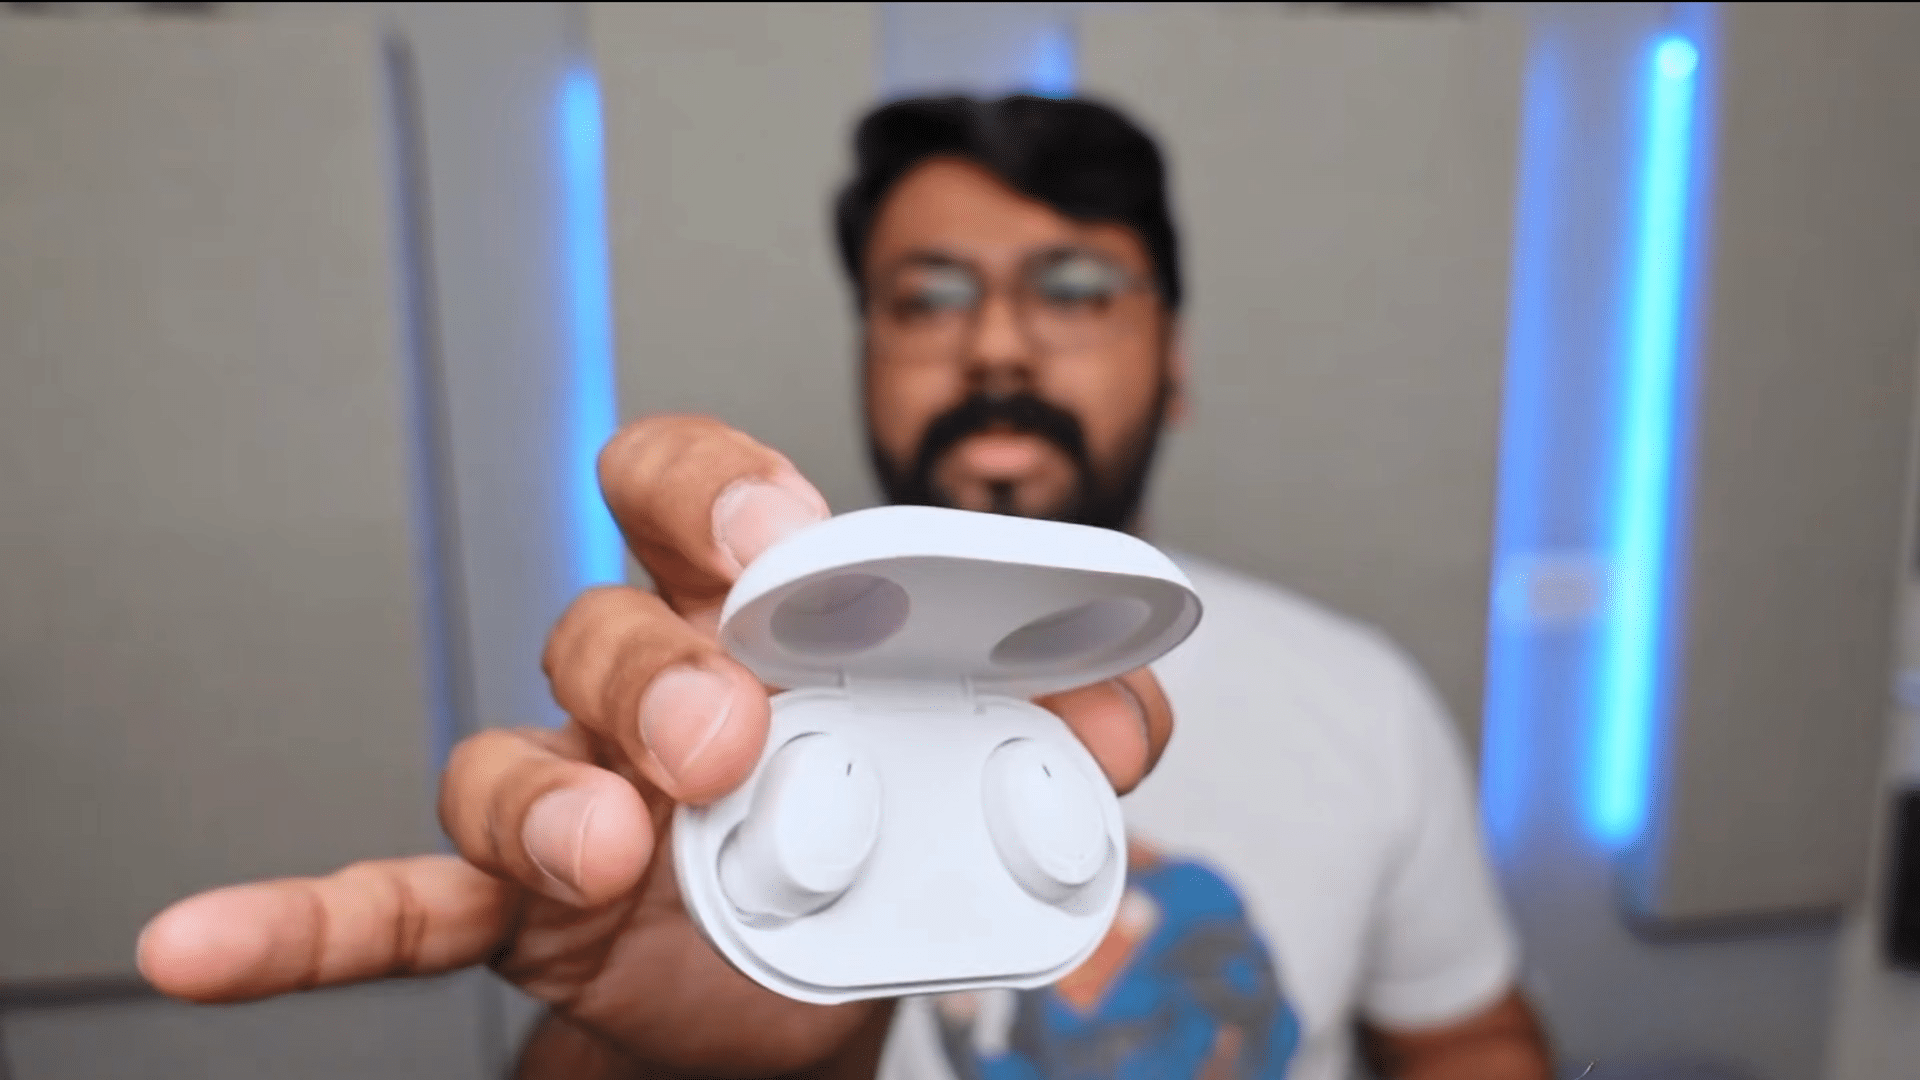
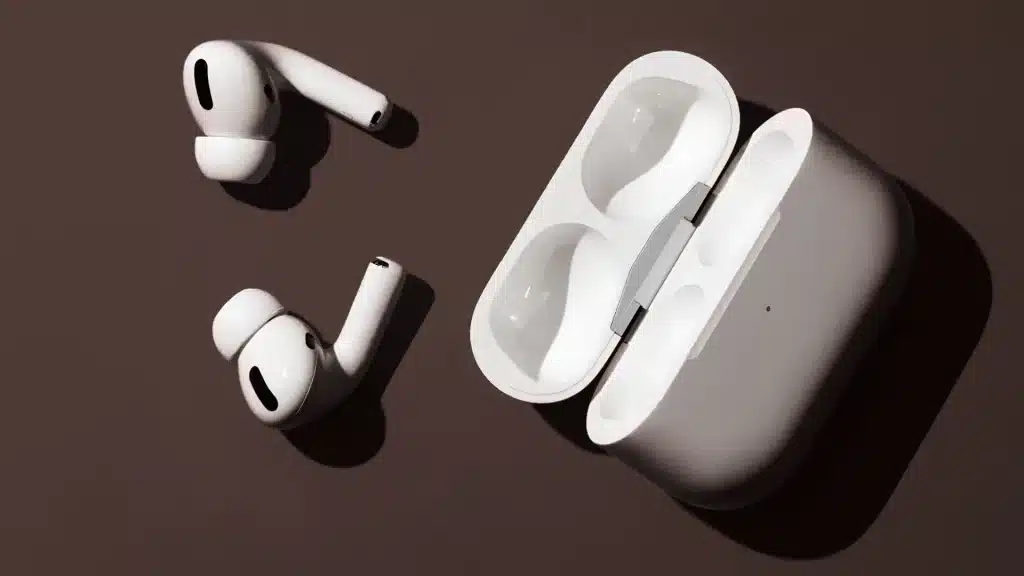
If you are using true wireless earbuds, open the charging case before attempting the reset. Several earbuds will not respond to the reset command while the lid is closed.
Leave both earbuds in the case unless your model requires otherwise.
Keeping the case open allows the earbuds to receive the reset command correctly and prepares them to enter pairing mode once the process is complete.
Step 3: Press and Hold the Reset or Pairing Button
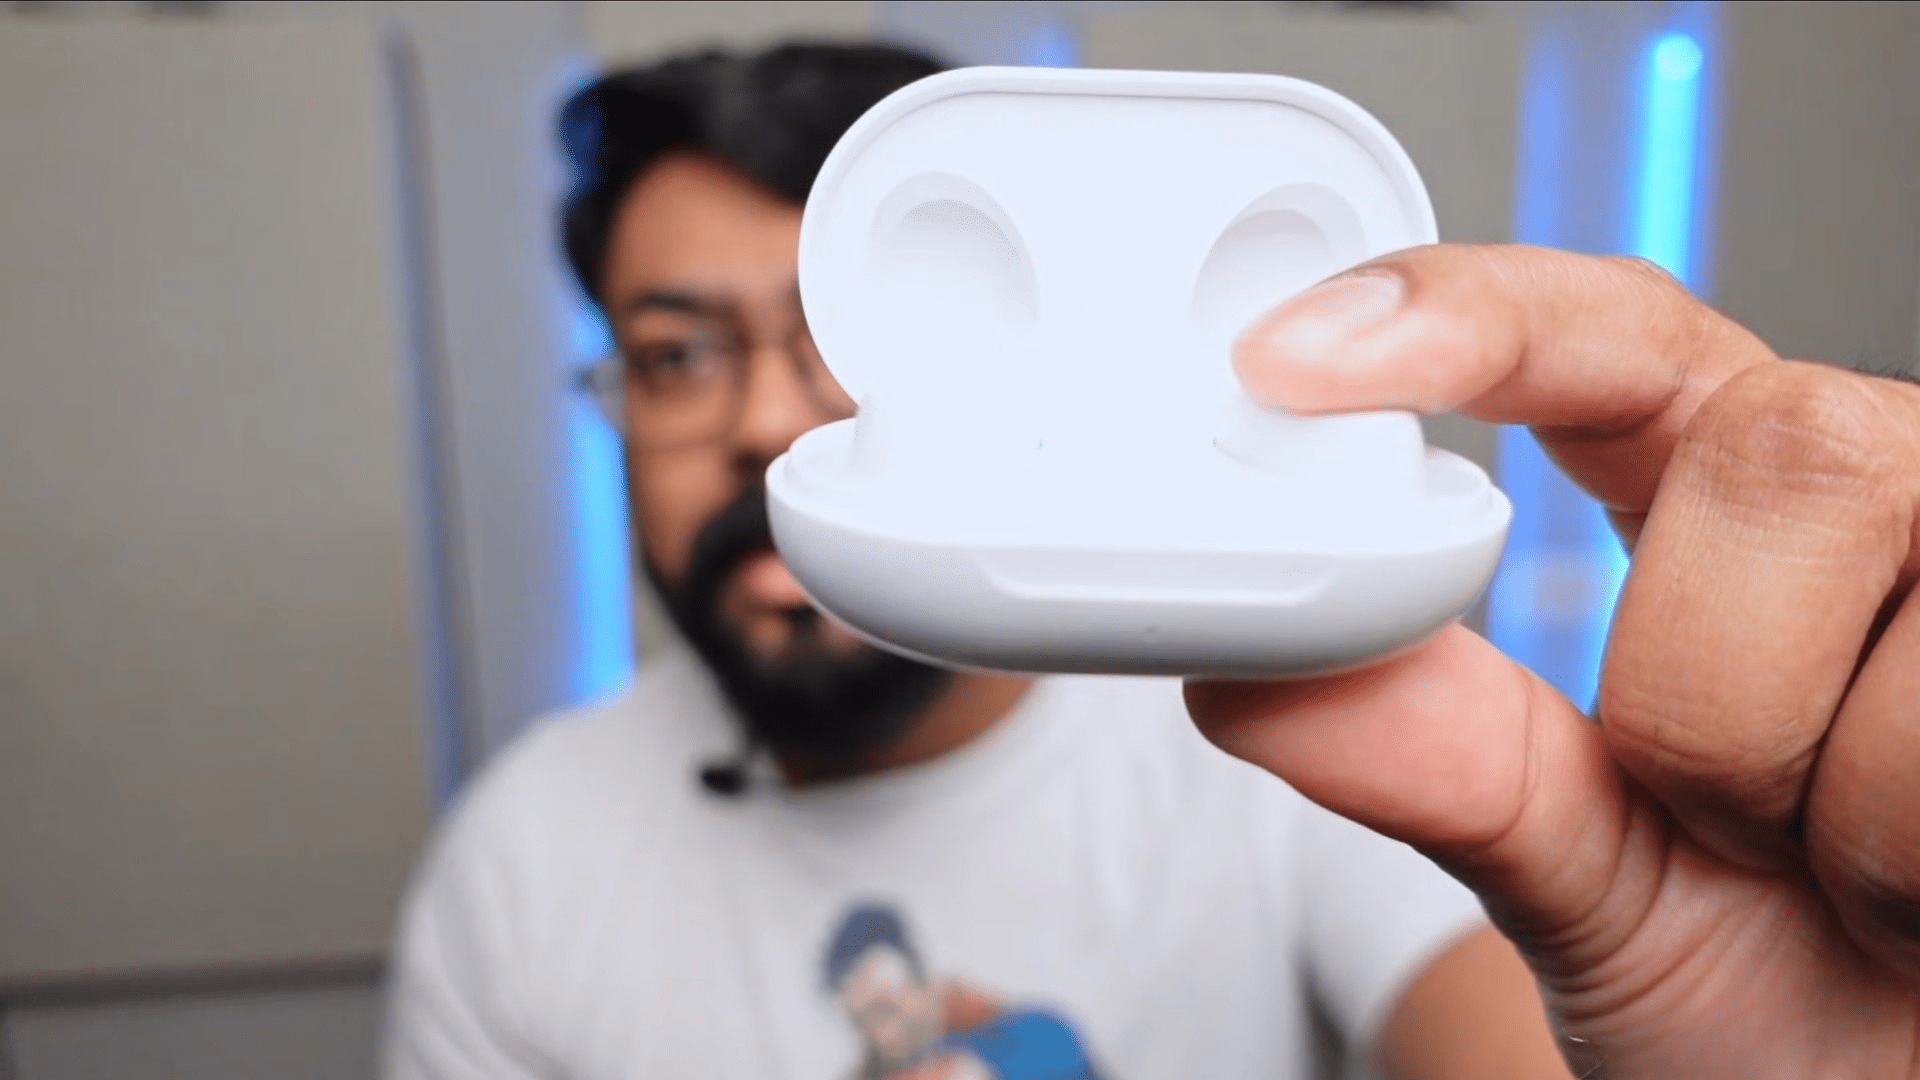
Find the reset or pairing button on your headphones or charging case. Some brands place the button inside or underneath the charging case, while others require pressing one earbud instead.
Hold the button until the LED indicator begins flashing, as indicated in your model’s instructions.
This action clears the stored Bluetooth pairing records and restores the headphones to their default settings, helping resolve many common connection and pairing issues.
Step 4: Wait for the LED Light to Confirm the Reset
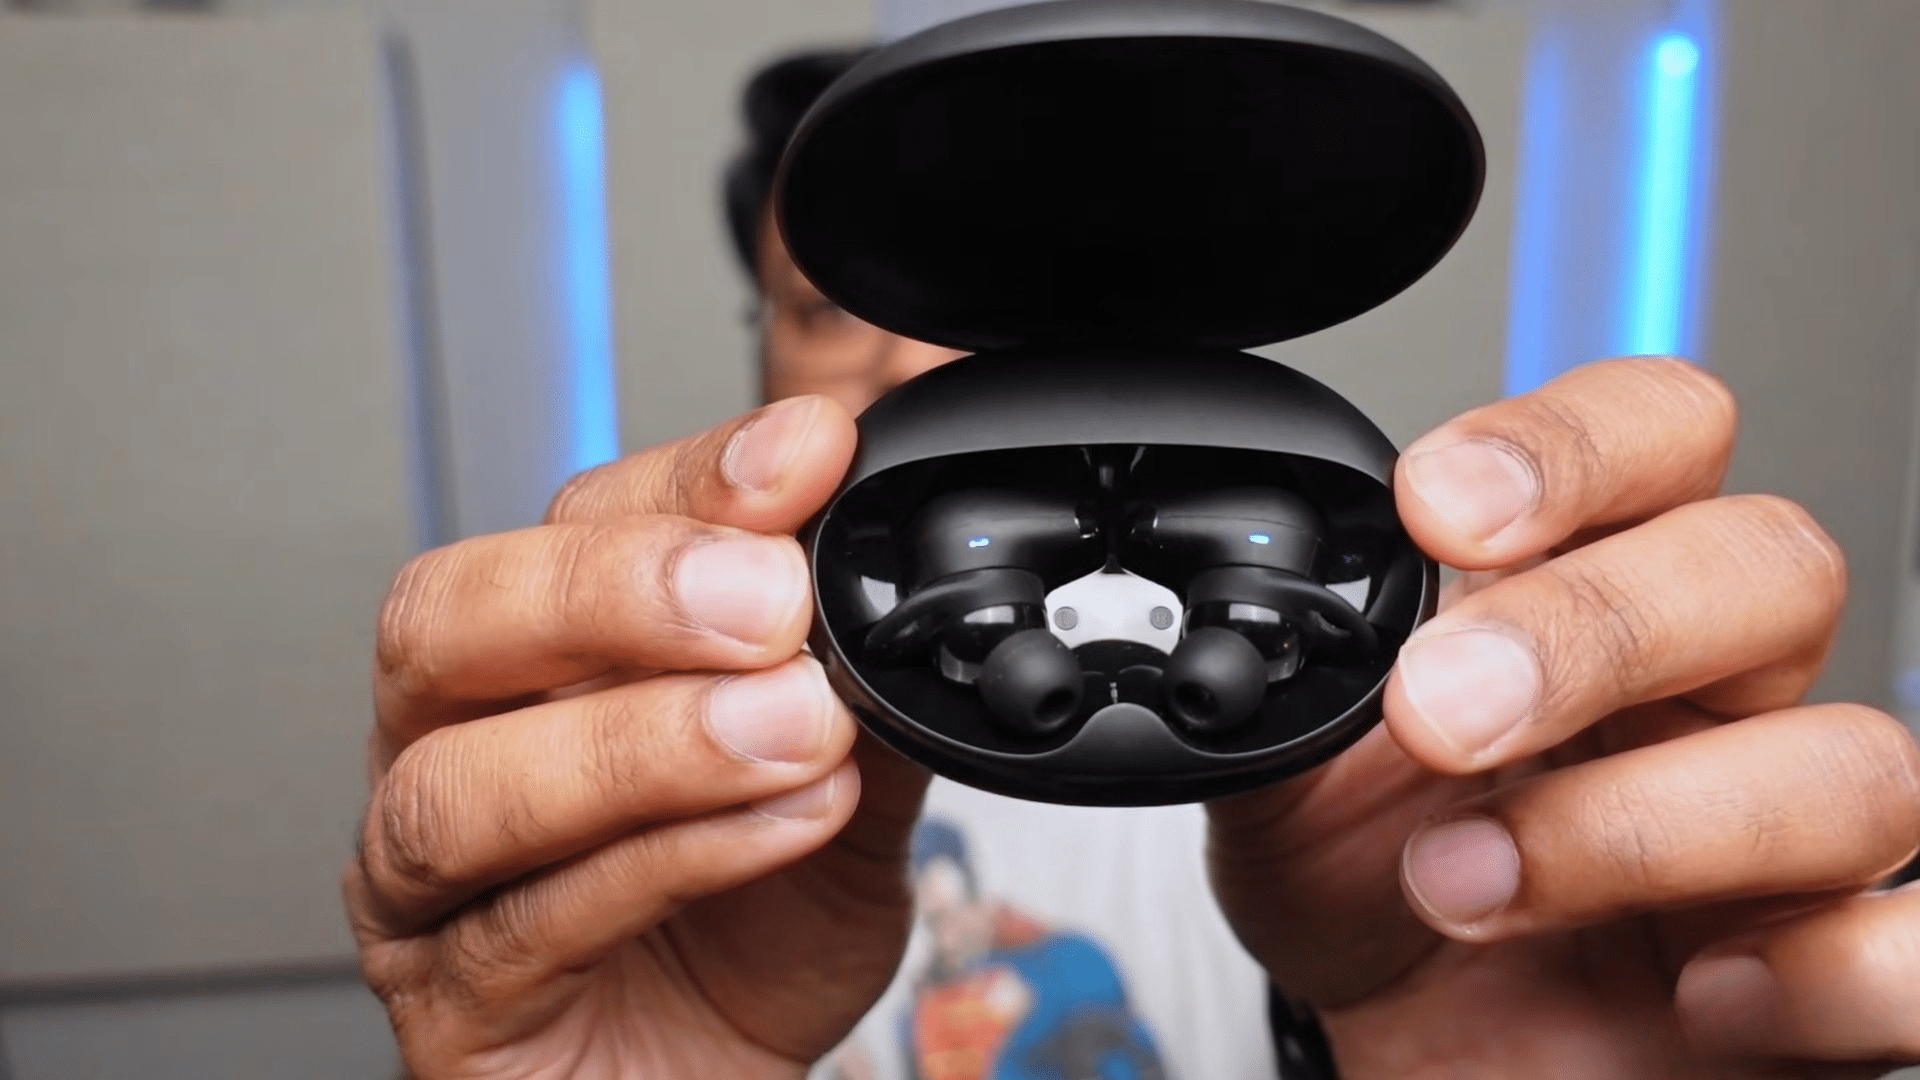
Continue holding the button until the LED indicator flashes in the pattern specified by your manufacturer.
In the examples shown, several earbuds flash red three times to confirm that the factory reset has finished.
Avoid releasing the button too early, as it may only activate pairing mode rather than completing a full reset. Waiting for the correct light sequence confirms the reset has been successfully completed.
Step 5: Remove the Headphones from Your Bluetooth Device
Once the reset is complete, open the Bluetooth settings on your phone, tablet, or computer and remove the saved connection for your headphones.
Depending on your device, this option may be labeled Forget, Remove, or Unpair.
Deleting the old Bluetooth profile prevents your device from trying to reconnect using outdated settings and allows you to establish a completely fresh connection during the next pairing process.
Step 6: Pair the Headphones Again Like a New Device
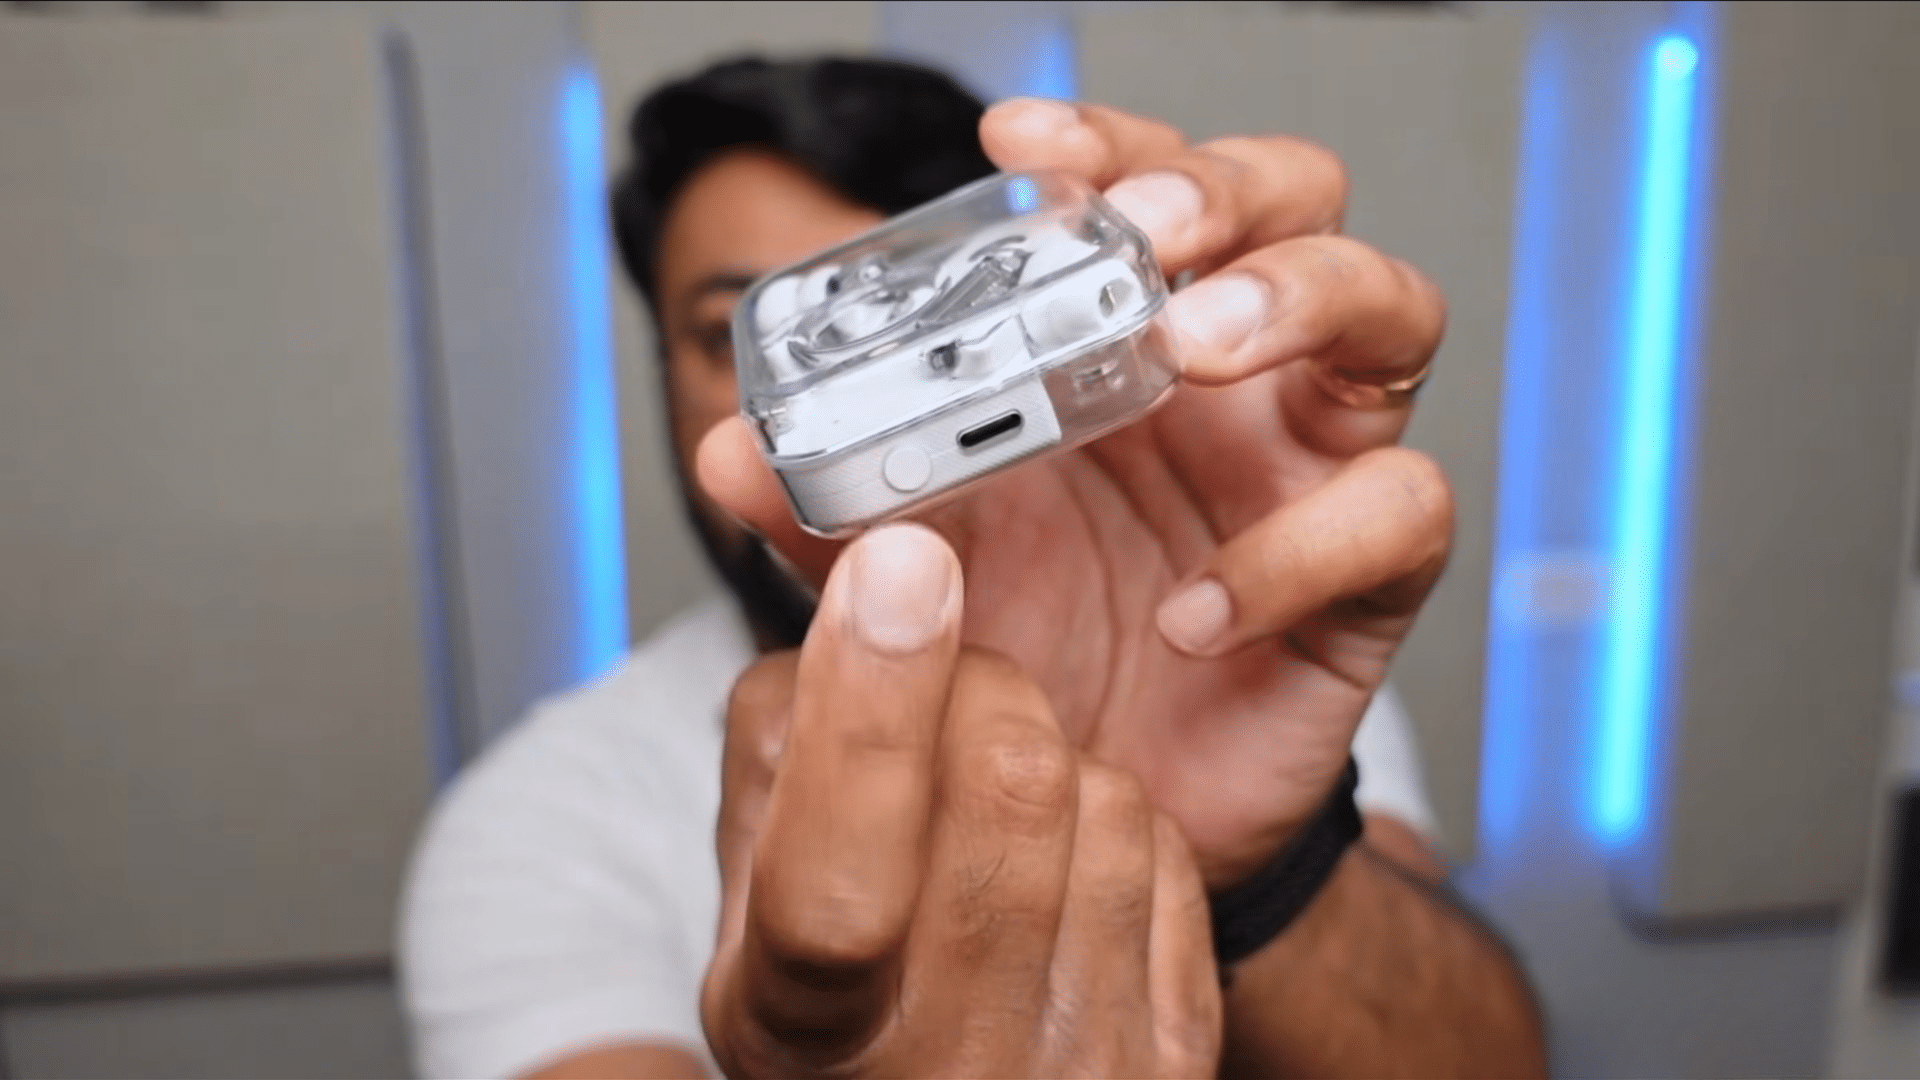
Enable Bluetooth on your phone or computer and place the headphones into pairing mode if they do not enter it automatically after the reset.
Search for available Bluetooth devices and select your headphones from the list.
Complete the pairing process exactly as you did when you first used the headphones.
A fresh Bluetooth connection often resolves pairing failures, audio interruptions, and other common wireless connectivity problems.
Step 7: Use Brand-Specific Reset Instructions when Necessary
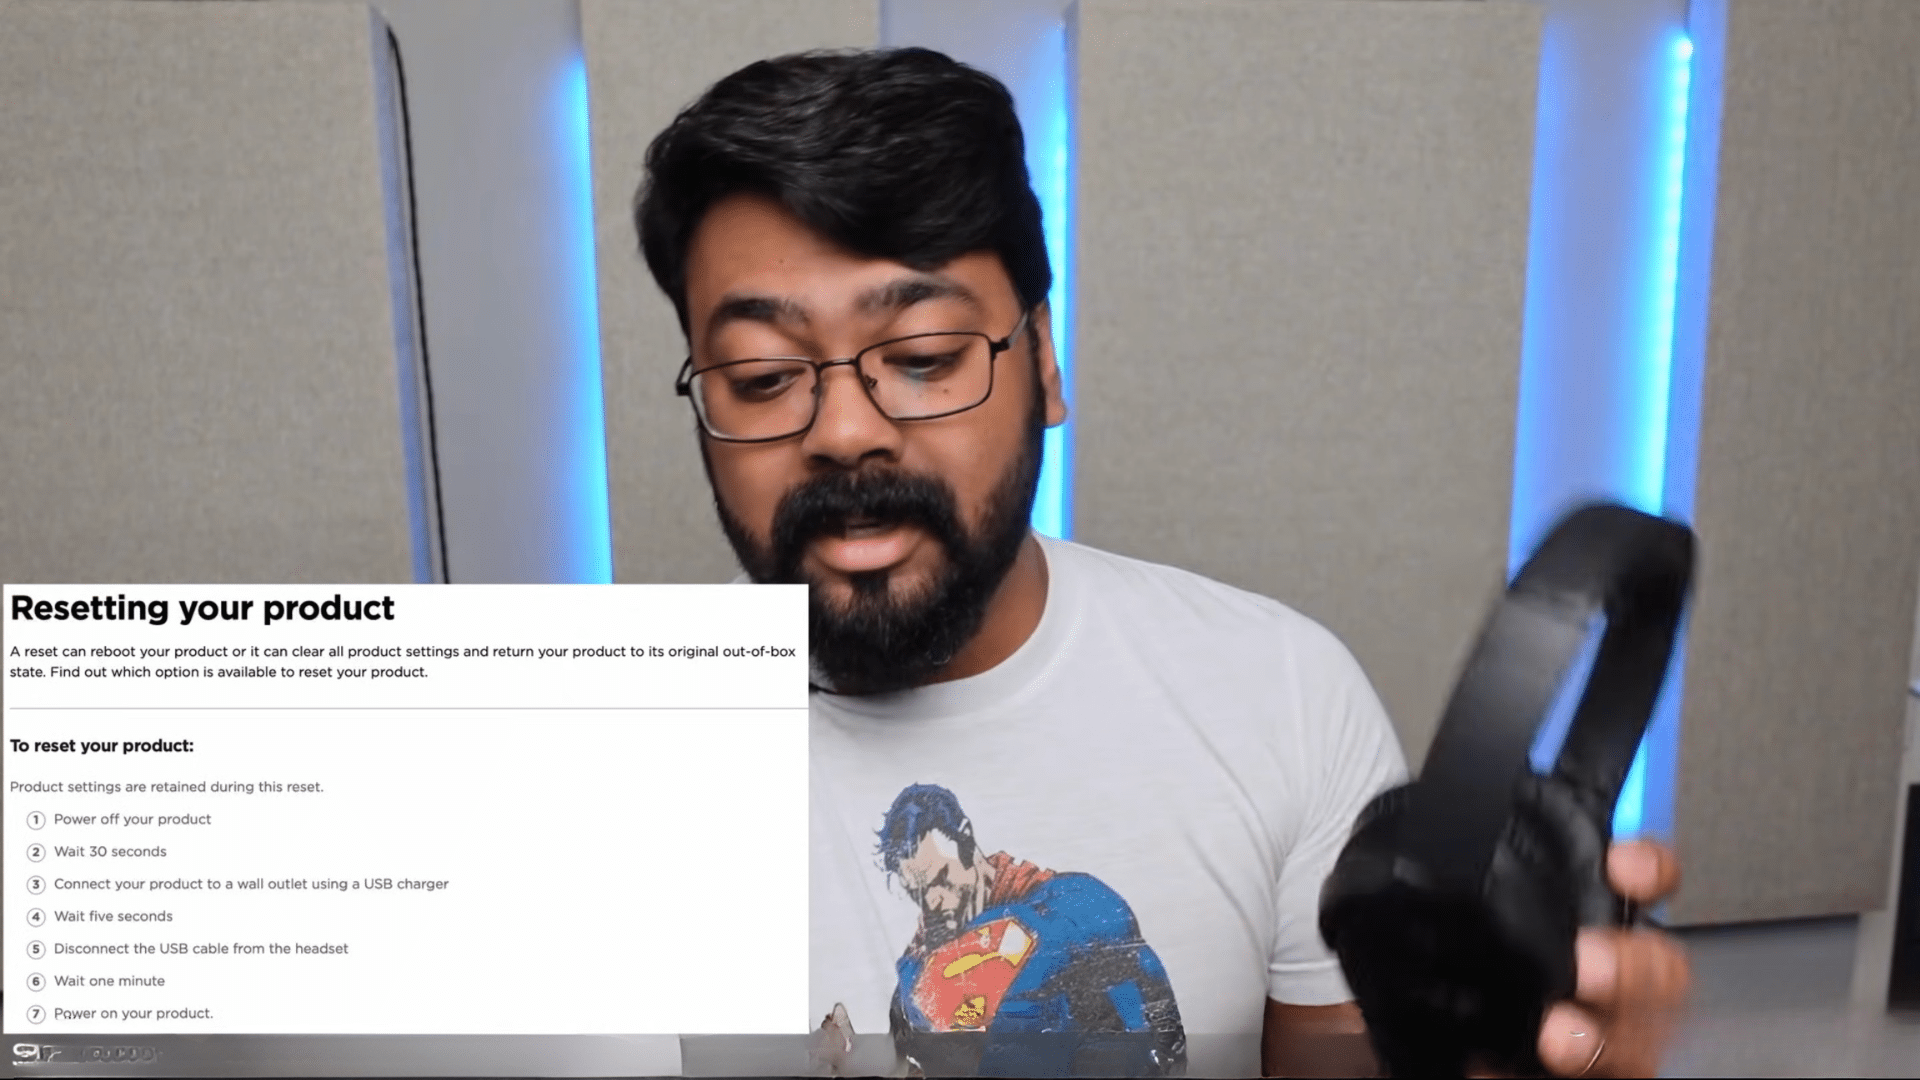
Some headphone manufacturers use different reset methods that cannot be replaced with a universal button combination.
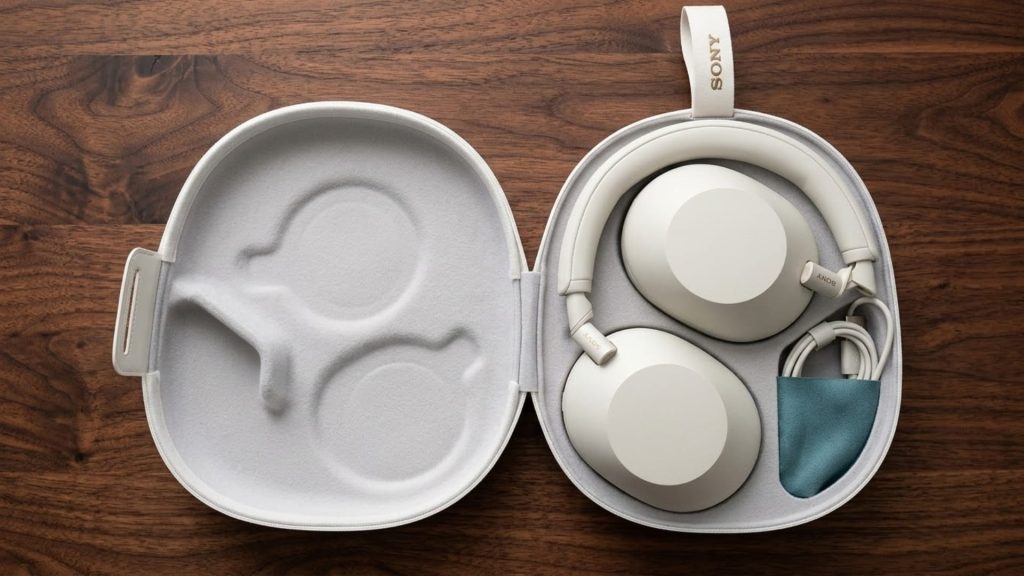
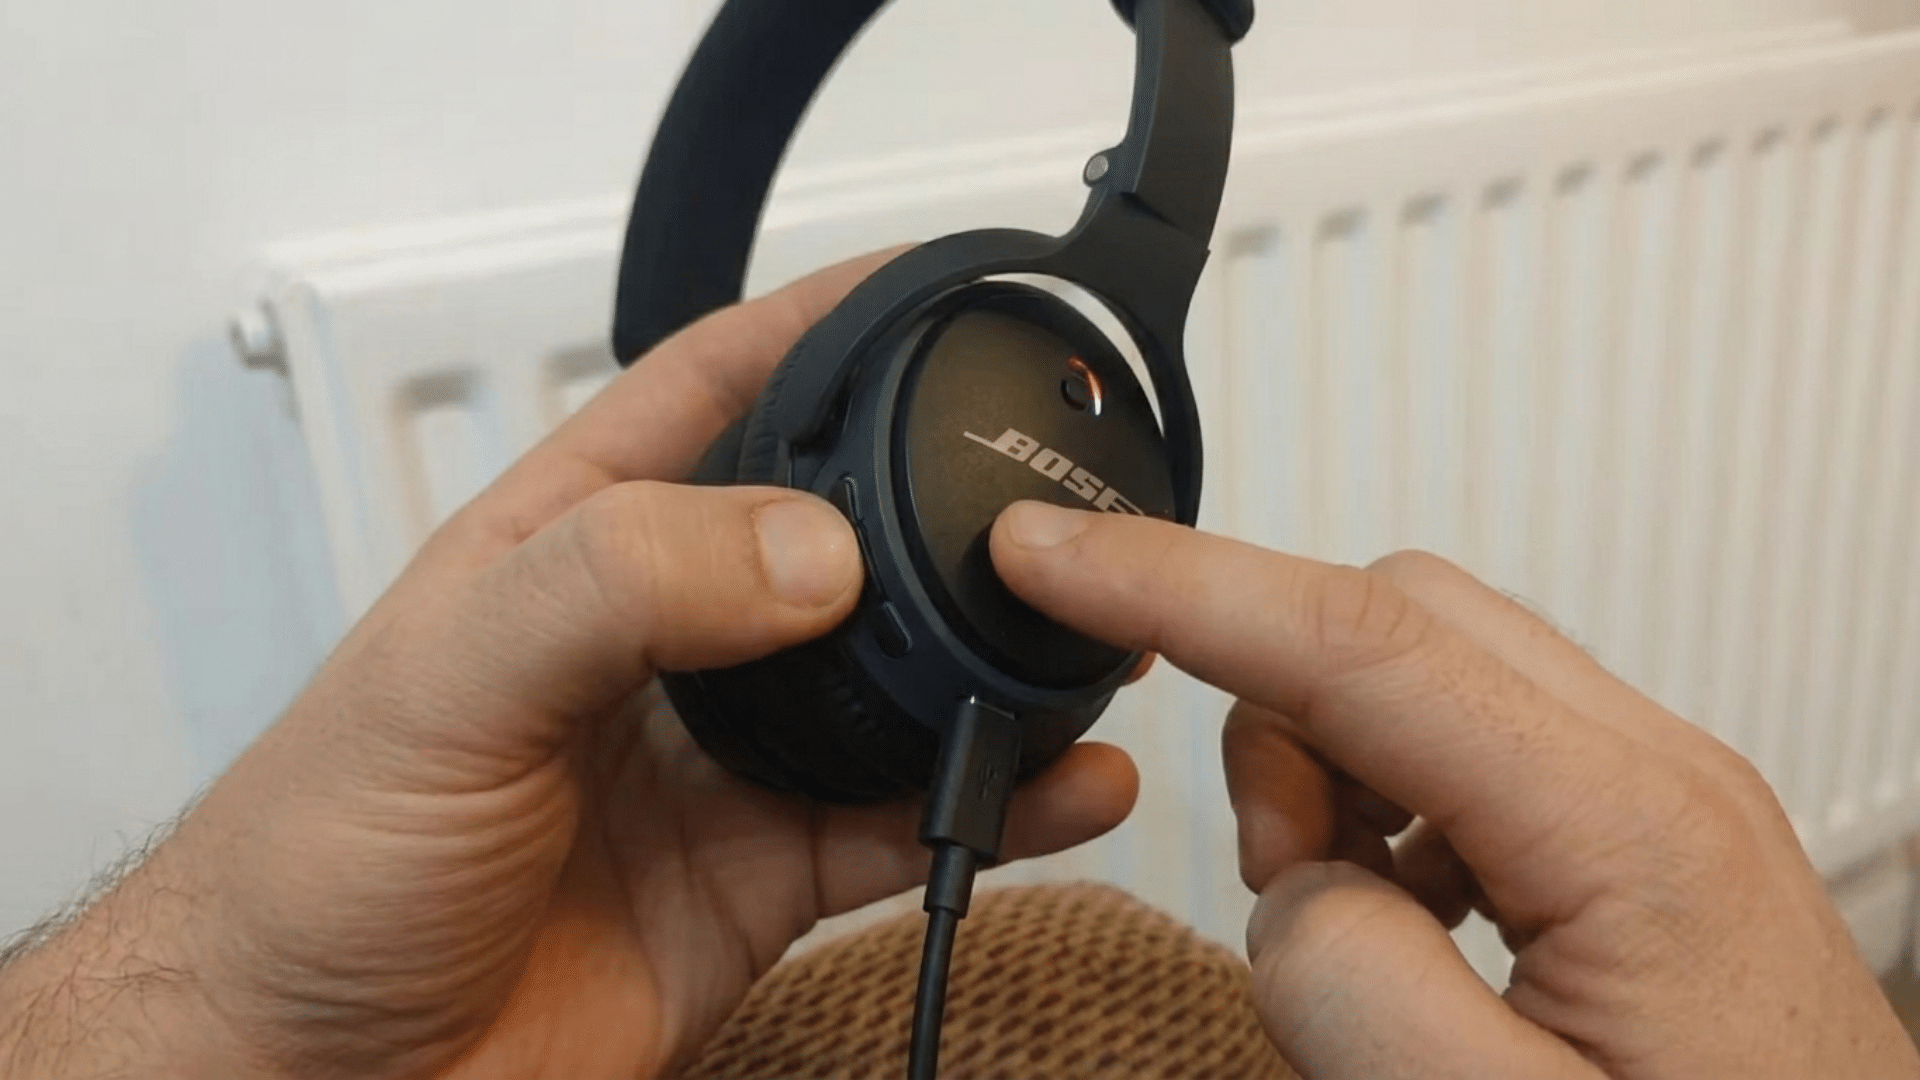
For example, Sony headphones require holding the Power and Custom buttons together, while certain Bose models follow a sequence involving charging, unplugging, waiting, and restarting.
If the standard reset procedure does not work, refer to your manufacturer’s official instructions to complete the correct factory reset for your specific headphone model.
This tutorial is based on a helpful video by Paul’s POV. You can check out the original video on their YouTube channel here or watch it below.
Primary Reasons for Bluetooth Not Working
Bluetooth problems can occur for several reasons, ranging from simple settings issues to software or hardware problems. Identifying the cause makes it easier to apply the right fix and restore a stable connection.
- Bluetooth Is Turned Off: Bluetooth may be disabled on your phone, laptop, or tablet, preventing it from detecting nearby devices. Turn it on from your device’s settings or Quick Settings menu.
- Outdated or Corrupted Bluetooth Drivers: On Windows 11, outdated or damaged Bluetooth drivers can cause pairing failures or connection errors. Updating or reinstalling the drivers often resolves problems.
- Headphones Are Not in Pairing Mode: If your headphones are not in pairing mode, your device will not be able to discover them. Follow the manufacturer’s instructions to activate pairing mode.
- Low Battery on the Headphones: Low battery can degrade Bluetooth performance and prevent the headphones from maintaining a stable connection.
- Interference from Other Devices: Nearby Bluetooth devices, Wi-Fi routers, or other wireless electronics interfere with the Bluetooth signal. Reducing interference to the connected device can improve connectivity.
- Software or Firmware Issues: System updates, firmware bugs, or temporary software glitches can disrupt Bluetooth functionality. Restarting your device or resetting the headphones can often fix the issue.
How to Turn on Bluetooth on Windows 11?
Windows 11 provides multiple ways to enable Bluetooth, whether you want to connect headphones, earbuds, speakers, or other wireless devices.
1. Open the Quick Settings Panel
Click the Network, Volume, or Battery icon on the right side of the taskbar to open the Quick Settings panel. This menu gives you fast access to commonly used Windows features, including Bluetooth.
Before trying any advanced troubleshooting, check whether the Bluetooth option is already available here.
If you see the Bluetooth tile, you can enable it with a single click instead of opening the full Settings application, making this the quickest method for most Windows 11 users.
2. Turn on the Bluetooth Toggle
Find the Bluetooth tile in the Quick Settings panel and tap it once to turn Bluetooth on.
When Bluetooth is enabled, the tile becomes highlighted, indicating that your computer is ready to search for nearby wireless devices.
If clicking the tile does not activate Bluetooth, wait a few seconds and try again.
This simple step often resolves situations where Bluetooth was accidentally turned off during a previous session or after restarting your computer.
3. Enable Bluetooth from the Settings App
If the Bluetooth tile is missing or unresponsive, press Windows + I to open the Settings app. Select Bluetooth & devices from the left-hand menu and locate the Bluetooth switch near the top of the page.
Move the toggle to the On position if it is disabled.
This page also lets you manage paired devices, remove outdated connections, and view the status of every Bluetooth accessory currently connected to your Windows 11 computer.
4. Check the Bluetooth Adapter in Device Manager
Right-click the Start button and select Device Manager if Bluetooth is still unavailable.
Expand the Bluetooth category and locate your Bluetooth adapter in the list. If the adapter is disabled, right-click it and choose Enabledevice.
When the adapter displays a warning icon or error, update or reinstall the driver before restarting your computer.
This process often restores missing Bluetooth functionality caused by driver problems or incomplete Windows updates.
5. Put Your Bluetooth Headphones into Pairing Mode
Turn on your Bluetooth headphones and place them into pairing mode by following the manufacturer’s instructions.
Most models require holding the power or pairing button until the LED indicator flashes repeatedly. Pairing mode allows your Windows 11 computer to discover the headphones during a Bluetooth scan.
Make sure the headphones are fully charged and not currently connected to another nearby phone, tablet, or computer before attempting to pair them.
6. Add and Connect Your Bluetooth Headphones
Return to Settings > Bluetooth & devices, click Add device, and select Bluetooth from the available options.
Wait while Windows searches for nearby Bluetooth devices, then choose your headphones when they appear in the list.
Complete the pairing process by following any on-screen prompts until the connection is confirmed.
Once paired successfully, Windows 11 will usually reconnect to your headphones automatically whenever Bluetooth is enabled and the headphones are powered on within range.
Before You Reset Your Bluetooth Headphones
A factory reset should usually be your last troubleshooting step, as many Bluetooth issues can be fixed with simpler solutions. Checking a few basic settings first may save time.
- Charge the Headphones: A low battery can prevent your headphones from entering pairing or reset mode. Charge them to at least 50% before starting the reset process.
- Turn Bluetooth Off and On Again: Toggle Bluetooth off on your phone or computer, wait a few seconds, and turn it back on. This refreshes the wireless connection and can resolve temporary glitches.
- Restart Your Device: Restart the phone, tablet, or Windows 11 computer you’re trying to connect to. A reboot clears temporary software issues that may be affecting Bluetooth performance.
- Forget the Existing Bluetooth Connection: Remove your headphones from the list of paired Bluetooth devices before reconnecting them. This clears outdated pairing data that could be causing failure.
- Check for Software and Firmware Updates: Install any available updates for your device’s operating system and your headphones’ firmware.
- Keep Other Bluetooth Devices Away: Disconnect nearby Bluetooth accessories that are not in use to reduce connection conflicts. This helps your device detect and pair with your headphones more reliably.
Bluetooth Problems and Quick Fixes
Most Bluetooth issues have a specific cause, making them easier to fix once you identify the problem. Use the table below to match your issue with its likely cause and the most effective solution.
| Bluetooth Problem | Possible Cause | Quick Fix |
|---|---|---|
| Headphones won’t pair | Pairing mode is off, or old pairing data is causing a conflict | Put the headphones in pairing mode, forget the old device, and pair again |
| Bluetooth option is missing | Bluetooth adapter is disabled, or the driver is corrupted | Enable Bluetooth in Device Manager and update or reinstall the driver |
| Connected but no sound | Audio output is set to another device | Select your Bluetooth headphones as the default sound output |
| Bluetooth keeps disconnecting | Low battery, weak signal, or wireless interference | Charge headphones, stay nearby, and move away from other wireless devices |
| Windows cannot detect headphones | Headphones are connected to another device | Disconnect from other devices and scan again in Bluetooth settings |
| One earbud is not working | Earbuds are out of sync | Place both earbuds in the case, reset them, and pair again |
Tips to Prevent Future Bluetooth Problems
Regular maintenance and a few good habits can help keep your Bluetooth connection stable over time. These simple practices reduce pairing issues and improve the overall performance of your Bluetooth headphones.
- Keep Your Devices Updated: Install the latest Windows, phone, and headphone firmware updates as soon as they are available. Updates often fix Bluetooth bugs and improve compatibility with devices.
- Disconnect Devices You Are Not Using: Remove unused Bluetooth connections and disconnect accessories you no longer need.
- Keep Your Headphones Charged: Recharge them before the battery gets critically low. A healthy battery helps maintain a stable Bluetooth connection and reliable audio performance.
- Stay Within Bluetooth Range: Use your headphones within the recommended Bluetooth range, typically around 30 feet (10 meters). Staying closer to the connected device helps prevent signal drops.
- Avoid Wireless Interference: Keep your headphones away from crowded wireless environments when possible. Multiple Bluetooth devices can interfere with the signal and reduce connection quality.
- Reset Only When Necessary: Try simple fixes, such as restarting your device or reconnecting Bluetooth, before performing a factory reset.
Conclusion
Bluetooth issues can be frustrating, but they are often easy to fix with the right approach.
If you need to reset your Bluetooth headphones, turn on Bluetooth in Windows 11, or troubleshoot pairing or connection issues, following the correct steps can help restore a stable wireless connection.
Starting with basic checks, such as charging your headphones, updating drivers, and removing old pairings, can save time before performing a factory reset.
If the issue persists, manufacturer-specific reset instructions or customer support may be necessary.
Keep this guide handy whenever Bluetooth problems arise, and follow the recommended steps to reconnect your devices quickly and enjoy uninterrupted wireless audio.
Frequently Asked Questions
How Do You Fix Bluetooth Headphones that Won’t Pair?
Put the headphones into pairing mode, remove any old Bluetooth pairings, restart your device, enable Bluetooth, then pair again. If the problem continues, perform a factory reset.
Is There a Way to Force Factory Reset?
Yes, but the method depends on the headphone model. Usually, it involves holding a specific button combination for 10–30 seconds. Check your manufacturer’s instructions for the correct procedure.
Is There a Difference Between a Factory Reset and a Hard Reset?
Yes. A factory reset restores the device to its default settings and clears saved data, while a hard reset simply restarts the device without erasing stored settings or pairings.