There is nothing more disappointing than making a fresh cup of coffee only to realize it tastes dull, bitter, or strangely weak.
Most people blame the coffee beans first, but the real problem is often hiding inside the machine itself. Over time, mineral deposits and old coffee residue quietly build up where they are not easily seen.
Learning how to descale coffee maker systems properly can completely change that experience. A clean machine does not just brew better coffee, it also feels better to use every morning.
I have watched machines that brewed beautifully for years start underperforming simply because no one cleaned the inside.
Whether the coffee maker has started brewing more slowly or coffee no longer tastes as rich as before, a simple cleaning routine can bring back that fresh, smooth flavor many people did not realize they were missing.
Descaling vs Regular Cleaning: What’s the Difference
Descaling and regular cleaning are not the same thing, even though both help keep a coffee maker working properly.
Regular cleaning focuses on removing coffee grounds, stains, leftover oils, and residue from parts like the carafe, filter basket, and exterior surfaces.
This should be done often to keep coffee tasting fresh and the machine looking clean.
Descaling, on the other hand, targets mineral buildup caused by water, especially hard water that contains calcium and magnesium.
Over time, these minerals collect inside the machine’s internal parts and water lines, which can slow brewing and affect flavor.
In simple terms, regular cleaning keeps the outside and removable parts clean, while descaling cleans the inside of the coffee maker where mineral buildup happens.
If the machine is getting older and descaling no longer improves brewing performance, replacing it may be the better option. Comparing a few top automatic coffee machines can help make choosing a new one much easier.
Supplies Needed Before Descaling
Before descaling a coffee maker, it helps to keep all cleaning supplies ready in one place.
Having the right items nearby makes the process faster, easier, and more effective while helping remove both mineral buildup and leftover coffee residue from the machine.
- White Vinegar: Mix one part white vinegar with one part cold water for a 1:1 solution. For a standard 12-cup machine, use 6 cups of vinegar and 6 cups of water. This breaks down hard water buildup and mineral deposits effectively.
- Commercial Coffee Maker Descaler: A store-bought descaling product designed specifically for coffee machines. These typically contain citric acid or other descaling agents and are often gentler on internal components than vinegar. Always follow the product’s dilution instructions.
- Citric Acid Solution: A third option that works well for machines sensitive to vinegar smells. Mix one to two tablespoons of food-grade citric acid powder with a full reservoir of water.
- Cold Water: Needed to dilute the vinegar or descaling solution and rinse the machine thoroughly after cleaning.
- Dish Soap: Used for soaking and washing removable parts like the carafe, lid, and filter basket to remove coffee residue and stains.
- Spray Cleaning Mix: Helps clean exterior surfaces and hard-to-reach areas.
- Microfiber Towel: Used to wipe down internal surfaces and remove any leftover vinegar or cleaning residue.
From my own routine, I keep a small container of citric acid in the cabinet next to the machine. It has no lingering smell after rinsing and works just as well as vinegar on stubborn scale buildup.
How to Descale a Coffee Maker?
Descaling a coffee maker helps remove hard water buildup, old residue, and mineral deposits that collect inside the machine over time. These deposits can affect the taste of coffee and reduce brewing performance.
Step 1: Empty the Coffee Maker and Prepare the Descaling Solution
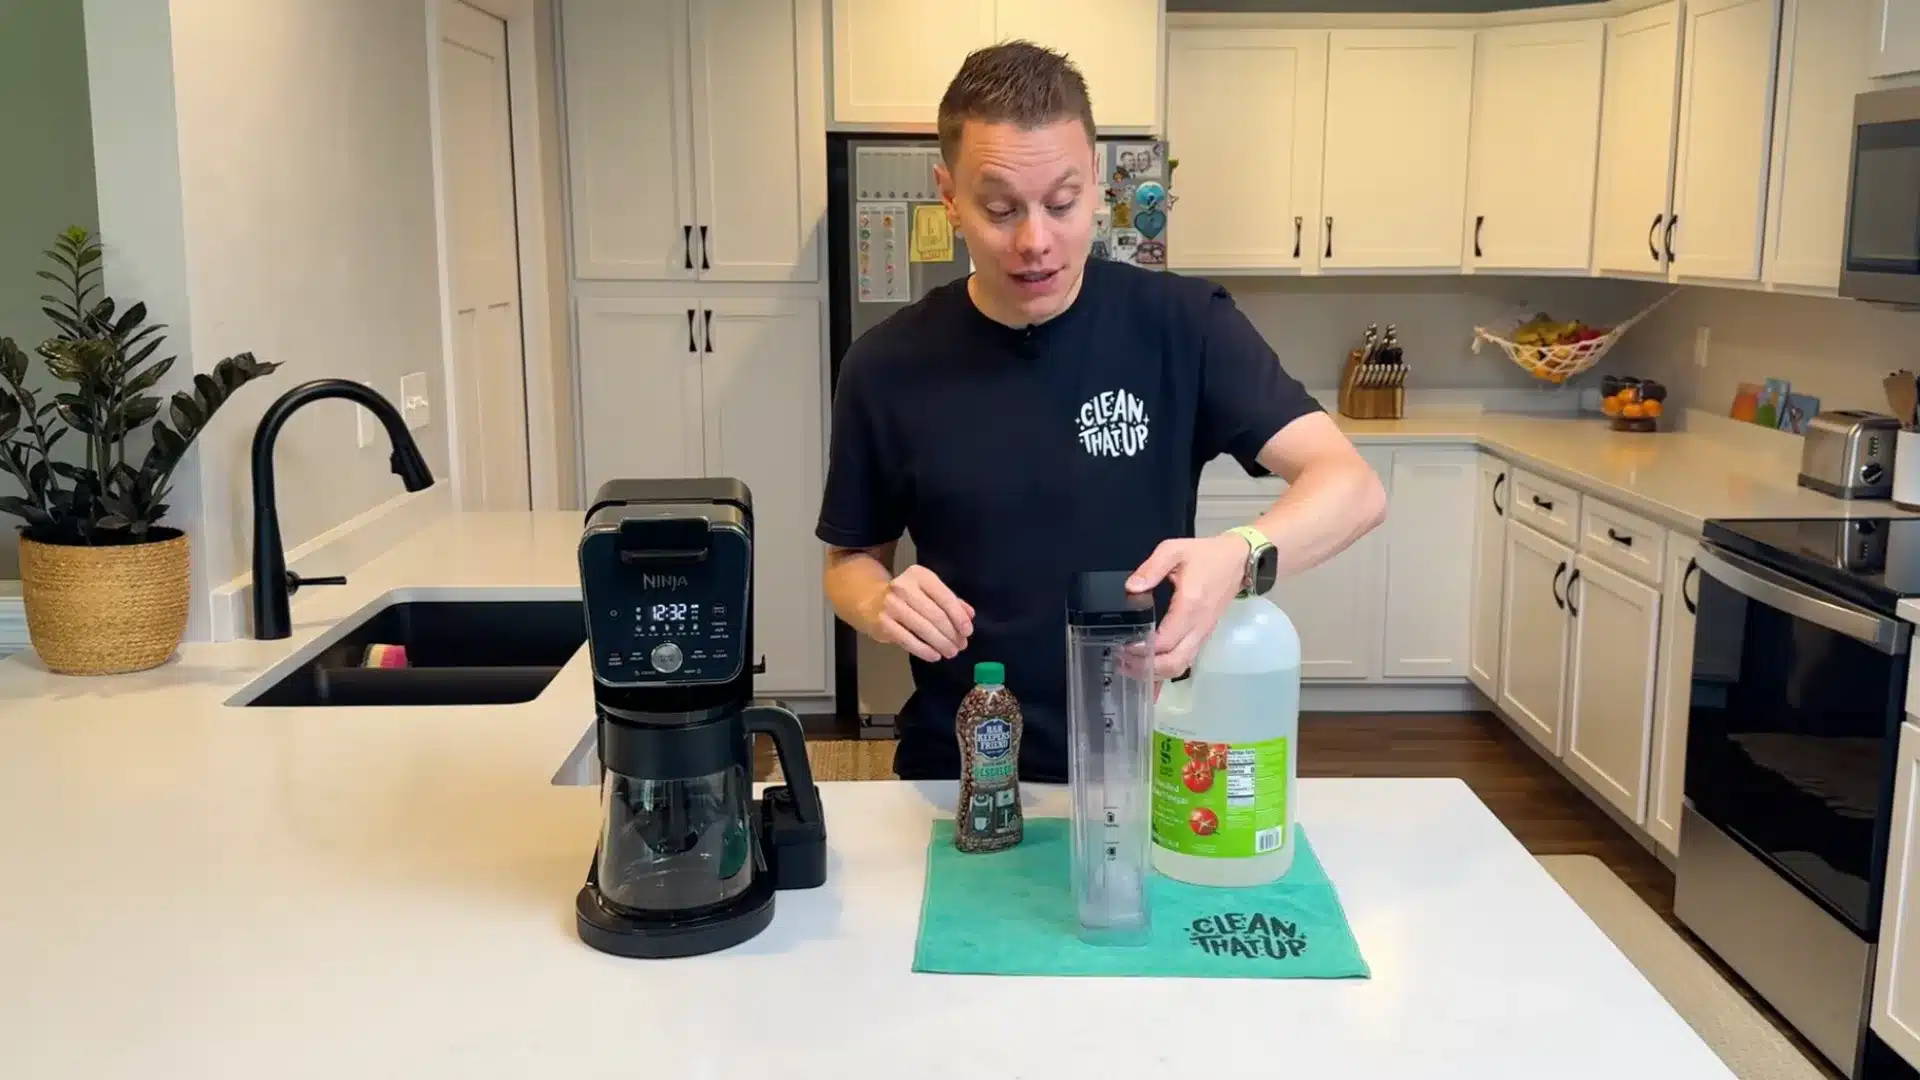
Before cleaning begins, remove any leftover coffee from the carafe and throw away old coffee grounds from the filter basket.
This helps prevent stale residue from mixing into the cleaning cycle. The next step is preparing the descaling solution. A mix of white vinegar and water works well, but a store-bought descaler can also be used.
This solution helps break down mineral buildup inside the machine, which often affects coffee flavor and brewing performance over time.
If using a commercial descaler, follow the packaging ratio rather than substituting the 1:1 rule, as concentration levels vary by brand.
Step 2: Run the Descaling Cycle
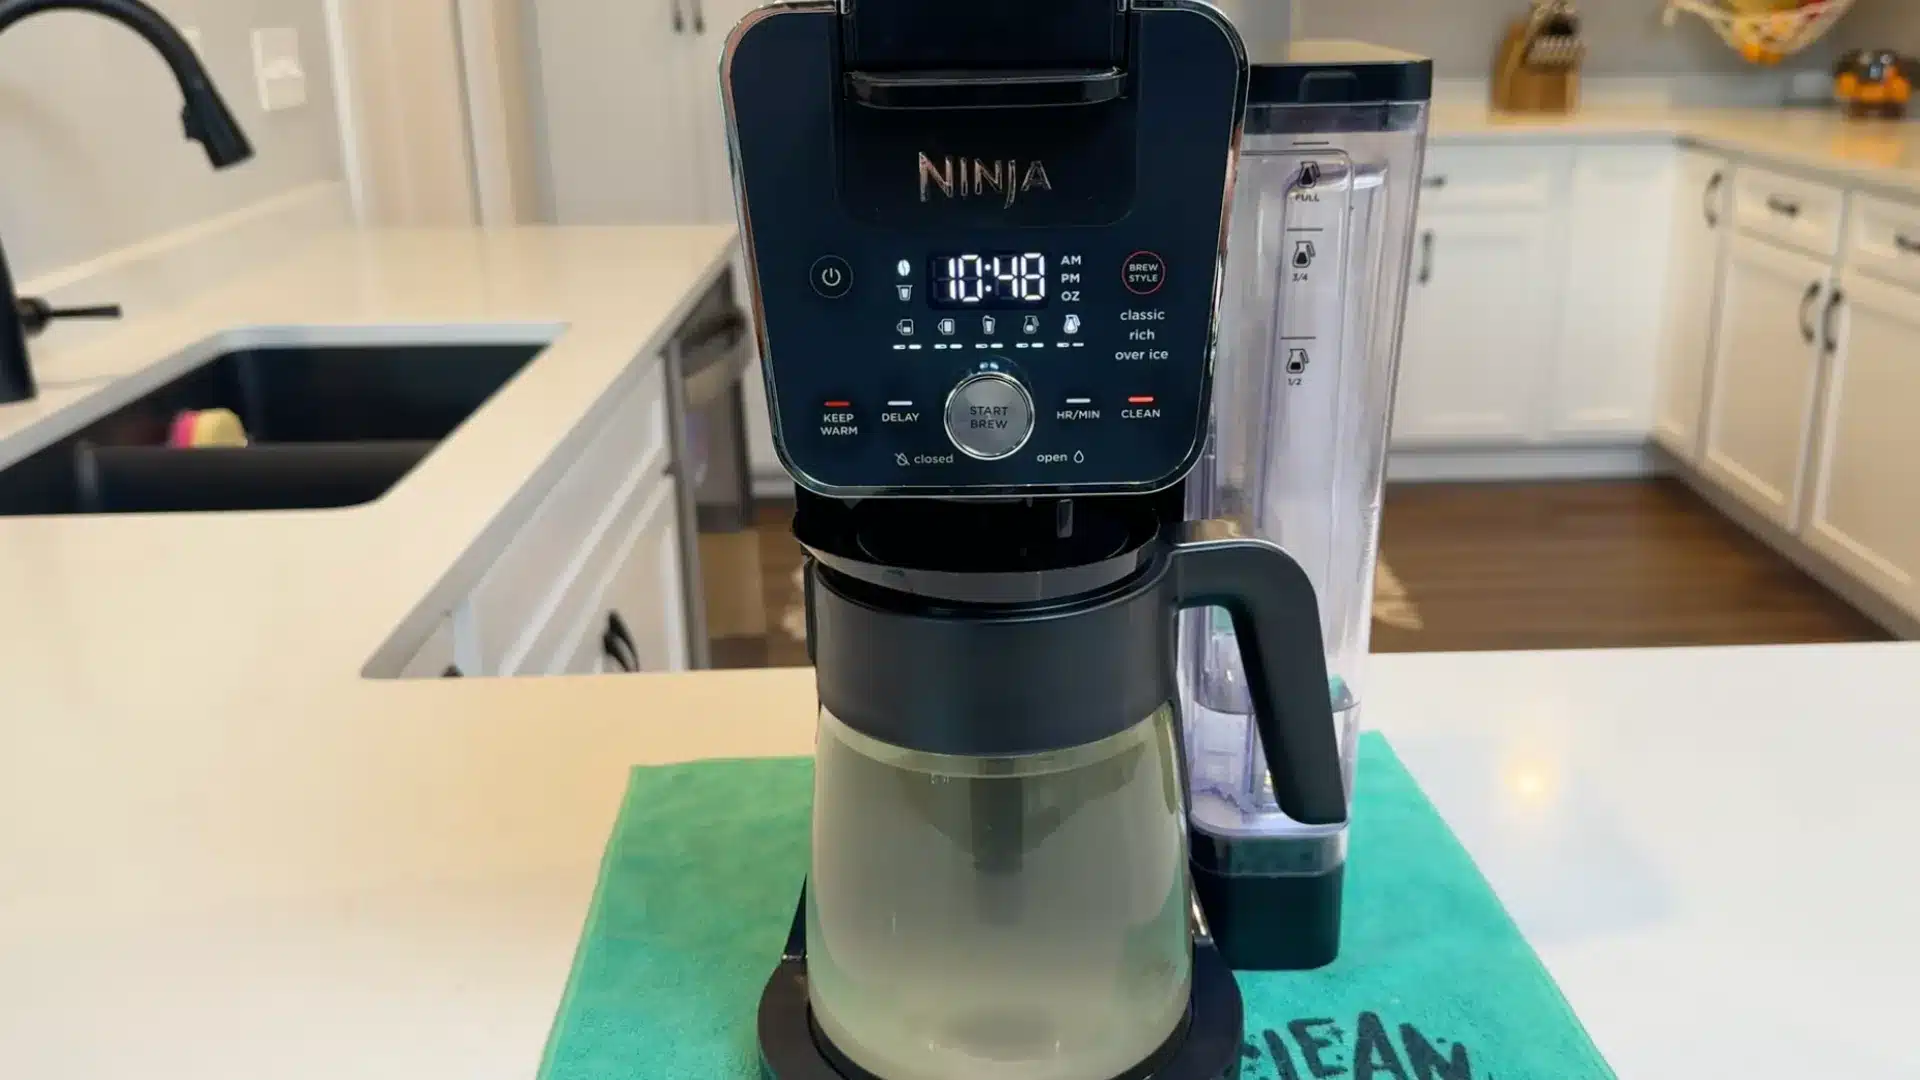
Once the cleaning solution is ready, pour it into the water reservoir and start the brew cycle. Many newer coffee makers include a clean button that handles the process automatically.
If the machine does not have that feature, let the cycle run halfway, then pause it for about 15 to 20 minutes. This pause step makes a bigger difference than most guides acknowledge.
Letting the hot solution sit inside the lines is what actually loosens the heavier calcium deposits, especially in machines that have not been descaled in several months.
After waiting, restart the cycle and allow the remaining solution to run through completely.
Step 3: Rinse the Machine Thoroughly
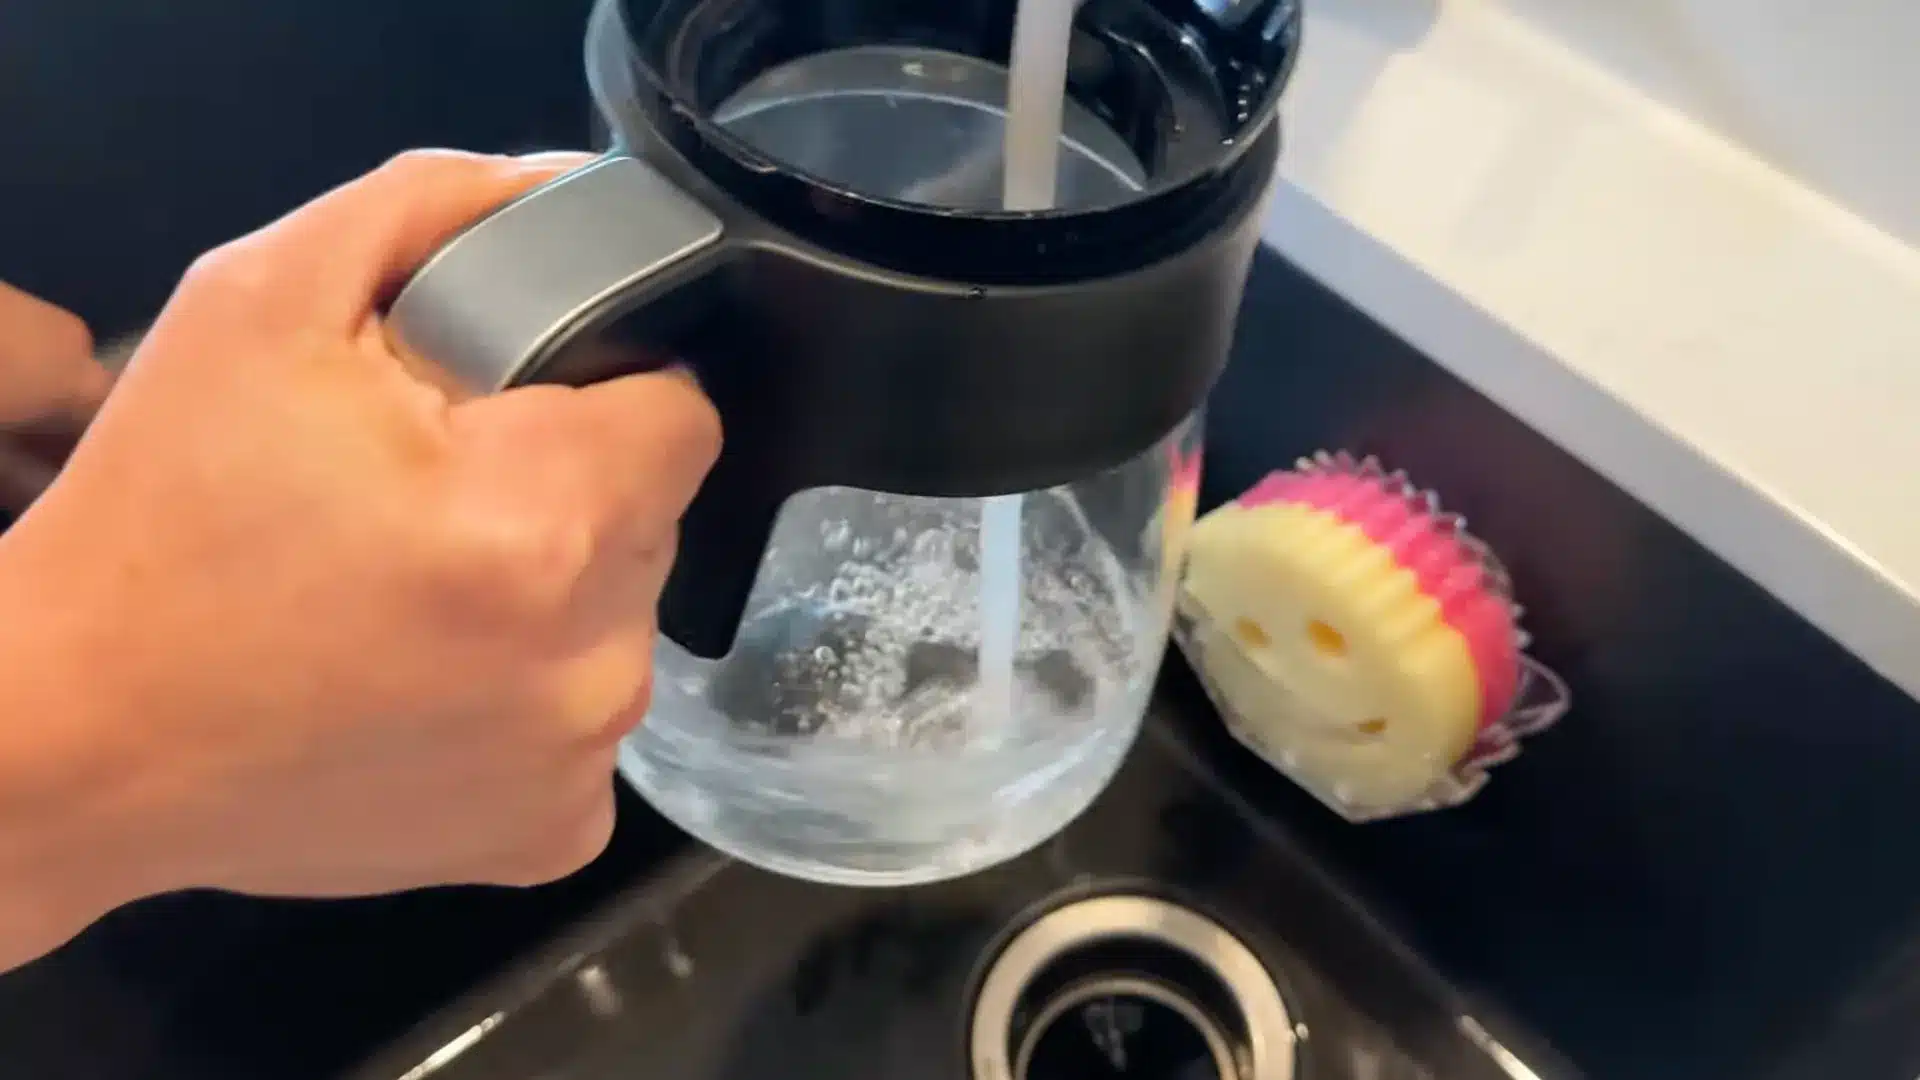
After descaling, it is important to flush the machine with clean water to remove any leftover cleaner or vinegar smell.
Empty the carafe, refill the reservoir with fresh water only, and run a full brew cycle. Run at least two to three full rinse cycles, not just one.
A single rinse is often not enough to clear vinegar or descaler residue from the heating element and water lines. If the water still looks cloudy or carries a strong smell after the first rinse, continue until it runs clear.
Step 4: Wash the Removable Parts
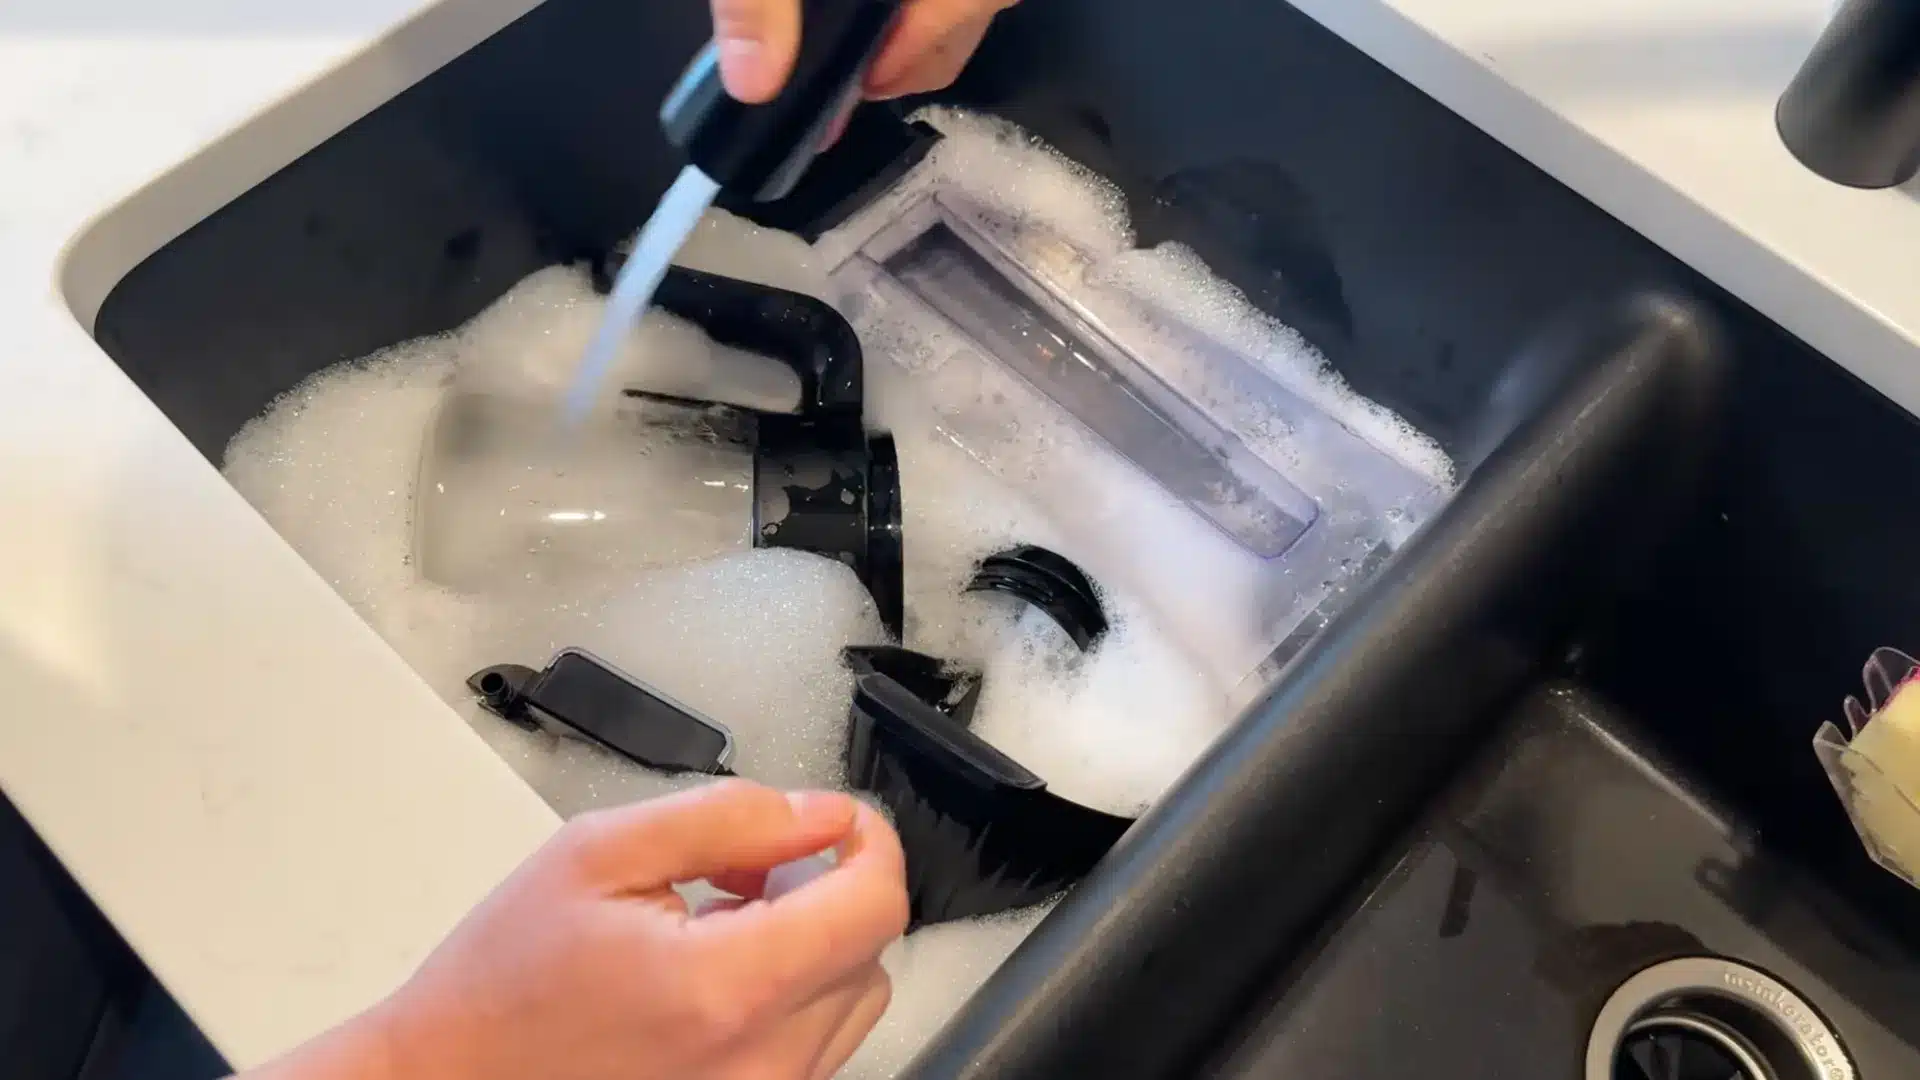
Take apart all removable pieces, including the filter basket, carafe, and lid, then soak them in warm soapy water.
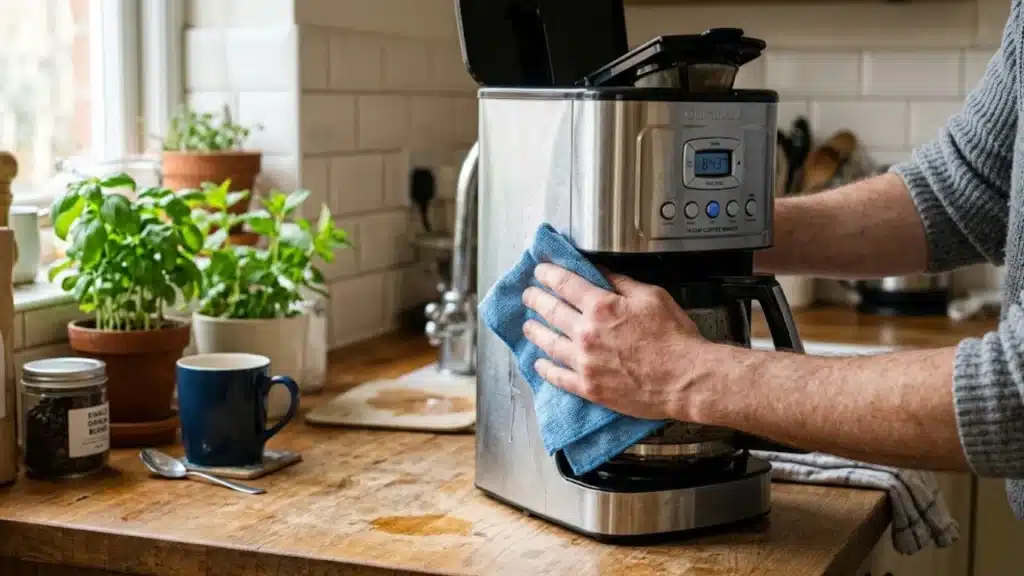
While those parts soak, wipe down the inside and outside of the coffee maker using a soft cloth or sponge. Pay close attention to areas where coffee drips and stains usually collect, especially around the warming plate and filter area.
Cleaning these surfaces helps remove sticky residue and keeps the machine looking and working like new.
Step 5: Dry and Reassemble the Coffee Maker
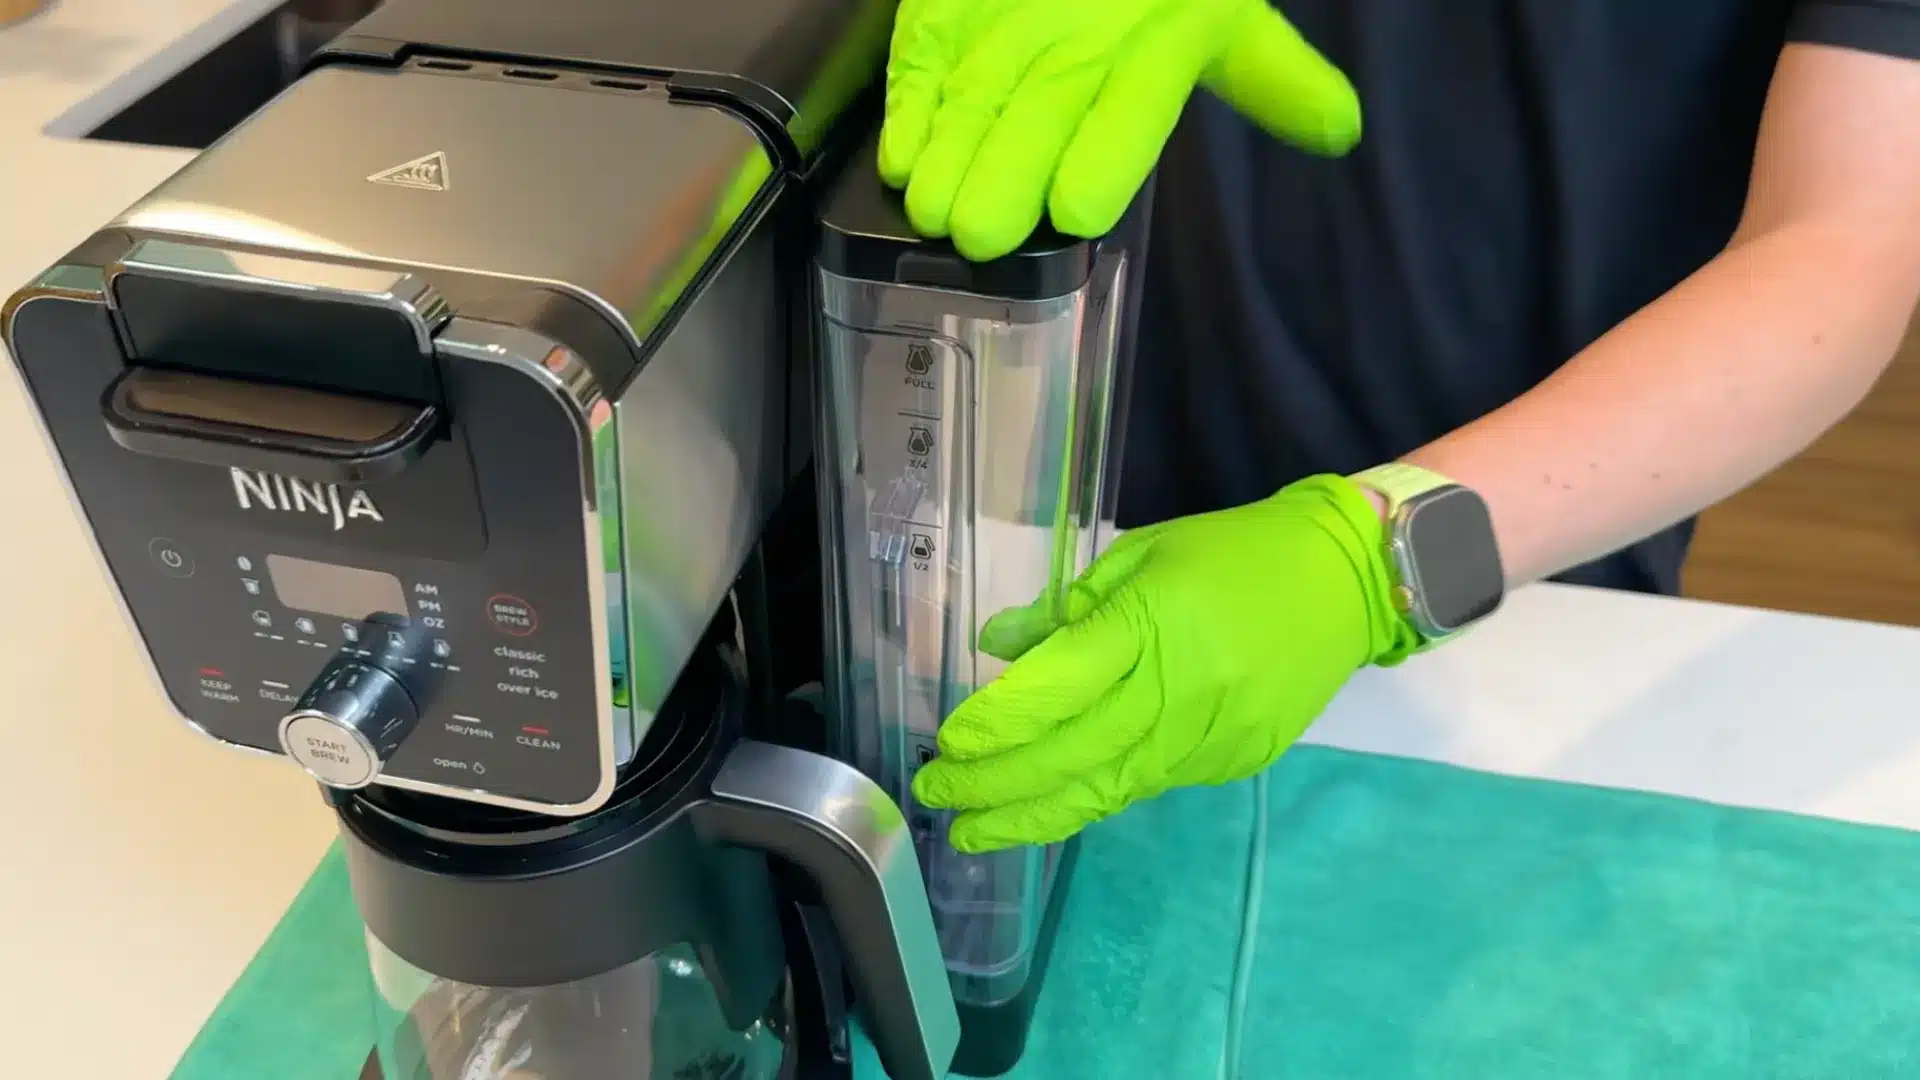
Once every part has been cleaned, allow everything to dry fully before putting the coffee maker back together.
Drying prevents moisture from getting trapped inside the machine, which can lead to odor or mold growth later. Reattach all removable components carefully and make sure they fit properly.
After reassembly, the coffee maker is ready to use again. A freshly cleaned machine not only brews better-tasting coffee but also helps extend the life of the appliance.
This tutorial is based on a helpful video by Clean That Up. You can check out the original video on their YouTube channel here or watch it below.
Signs Your Coffee Maker Needs Descaling
A coffee maker usually gives clear signs when mineral buildup starts affecting performance. Ignoring these warning signs can lead to slower brewing, poor coffee taste, and even damage over time.
- Slow Brewing: Coffee takes longer than usual to brew because mineral deposits block the internal water lines.
- Strange or Bitter Taste: Mineral buildup and leftover residue can affect the flavor, making coffee taste dull, bitter, or unusual.
- Loud Noises During Brewing: Gurgling, sputtering, or extra noise often means water is struggling to move through clogged internal parts.
- Visible White Residue: White or chalky spots inside the reservoir or around the machine usually indicate hard water scale buildup.
- Coffee Temperature Drops: A scaled machine may not heat water properly, leading to lukewarm coffee instead of a hot, fresh brew.
How Often Should You Descale a Coffee Maker?
How often a coffee maker should be descaled depends on how often it is used and the type of water running through it.
In most homes, descaling every 1 to 3 months is a good routine for keeping the machine clean and working properly.
Coffee makers used daily usually need more frequent descaling because mineral deposits build up faster inside the water lines and heating parts.
Homes with hard water may also need to descale more often since hard water contains higher levels of calcium and magnesium.
If you are unsure whether your tap water is hard or soft, inexpensive water hardness test strips are available at most hardware stores.
Knowing your water’s mineral content helps set a more accurate descaling schedule rather than guessing based on time alone.
If the coffee maker is used only occasionally, descaling every 3 to 6 months may be enough. Many modern machines also show a cleaning or descaling warning light when maintenance is needed.
If you descale regularly, a purpose-made solution is less hassle. For descaling the kettles, the same logic applies.
Common Coffee Maker Descaling Mistakes to Avoid
Descaling a coffee maker is simple, but a few common mistakes can reduce cleaning effectiveness or even damage the machine.
Following the right process helps remove mineral buildup safely and keeps the coffee maker running smoothly for longer.
- Using Too Much Vinegar: A strong vinegar mix can leave a lingering smell and may affect internal components if not diluted properly.
- Skipping the Rinse Cycles: Not running enough clean water cycles after descaling can leave behind a vinegar taste or cleaning residue in the machine.
- Ignoring the Owner Manual: Some coffee makers recommend specific descaling solutions and may advise against using vinegar.
- Waiting Too Long to Descale: Heavy mineral buildup becomes harder to remove and can slow brewing or damage internal parts.
- Using Harsh Cleaning Products: Bleach, strong chemicals, or abrasive cleaners can harm the coffee maker and leave unsafe residue behind.
- Cleaning Only the Outside: Wiping the exterior does not remove mineral deposits hidden inside the water lines and heating system.
- Using Hard Water Every Time: Constant use of hard water speeds up scale buildup and increases the need for frequent descaling.
Conclusion
Learning how to descale coffee maker systems is not just about cleaning away mineral buildup from the inside.
It also helps your coffee taste better, keeps water flowing properly, and protects the machine from small issues becoming bigger repairs.
I would treat descaling like basic coffee care, just like washing the carafe or changing a water filter. If you use your machine daily, set a reminder so the task doesn’t get put off for months.
Your coffee maker will usually tell you when something feels off, through slower brewing, odd taste, or weaker coffee. A regular cleaning habit keeps every cup more reliable and keeps the machine easier to manage over time.
What descaling method worked best for your coffee maker? Tell us, share with us in the comments below.
Frequently Asked Questions
What Two Buttons Do I Push to Descale My Keurig?
The buttons depend on the Keurig model. Many machines enter descale mode by pressing and holding the 8 oz and 12 oz buttons together for a few seconds.
How Do I Force My Keurig Into Descale Mode?
Most Keurig machines enter descale mode by holding specific brew size buttons until the descale light starts flashing. Always check the user manual because button combinations vary by model.
Is Bottled Water Better for Coffee Makers?
Bottled water may reduce mineral buildup compared to hard tap water, but it depends on the mineral content. Many people use filtered water because it can help slow scale buildup while still supporting good coffee flavor.
Can I Use Citric Acid Instead of Vinegar to Descale a Coffee Maker?
Yes. Citric acid is an effective alternative that leaves no residual smell after rinsing. Mix one to two tablespoons of food-grade citric acid powder with a full reservoir of water.
It works well for machines where vinegar odor is a persistent problem after rinsing.