Your AirPods can sound perfect one day, then suddenly feel dull, muffled, or distant the next time you press play.
When AirPods sound muffled, the cause is often dirt, connectivity issues, or a small setting on your phone.
I have seen people panic after cleaning them because the sound can worsen when wax is pushed deeper inside.
I will explain why your AirPods sound muffled, how to fix muffled AirPods, and when service makes more sense for you.
You will also learn what to try when only one AirPod sounds weak, quiet, or blocked after cleaning at home first.
Before trying random tricks, let us start with the common causes so you can fix the right problem first without guessing.
Quick Summary: Why AirPods Sound Muffled and How to Fix It
AirPods usually sound muffled because of dirt or earwax stuck inside the tiny speaker mesh, and that gunk blocks sound from reaching your ear.
Leftover moisture from cleaning can cause the same muffled effect, and so can a shaky Bluetooth connection.
A setting like Spatial Audio can also make music feel flat and boxed in. Most of these issues clear up once you properly clean your AirPods, reset them, or disable the setting that’s causing the issue.
Sometimes cleaning does not fix it, and the sound stays muffled or gets worse right after.
If only one AirPod stays muffled, the problem might sit deeper inside and could need a professional look.
Simple habits like regular cleaning, dry storage, and keeping your balance settings centered can keep muffled sound away for good.
Why Do AirPods Sound Muffled?
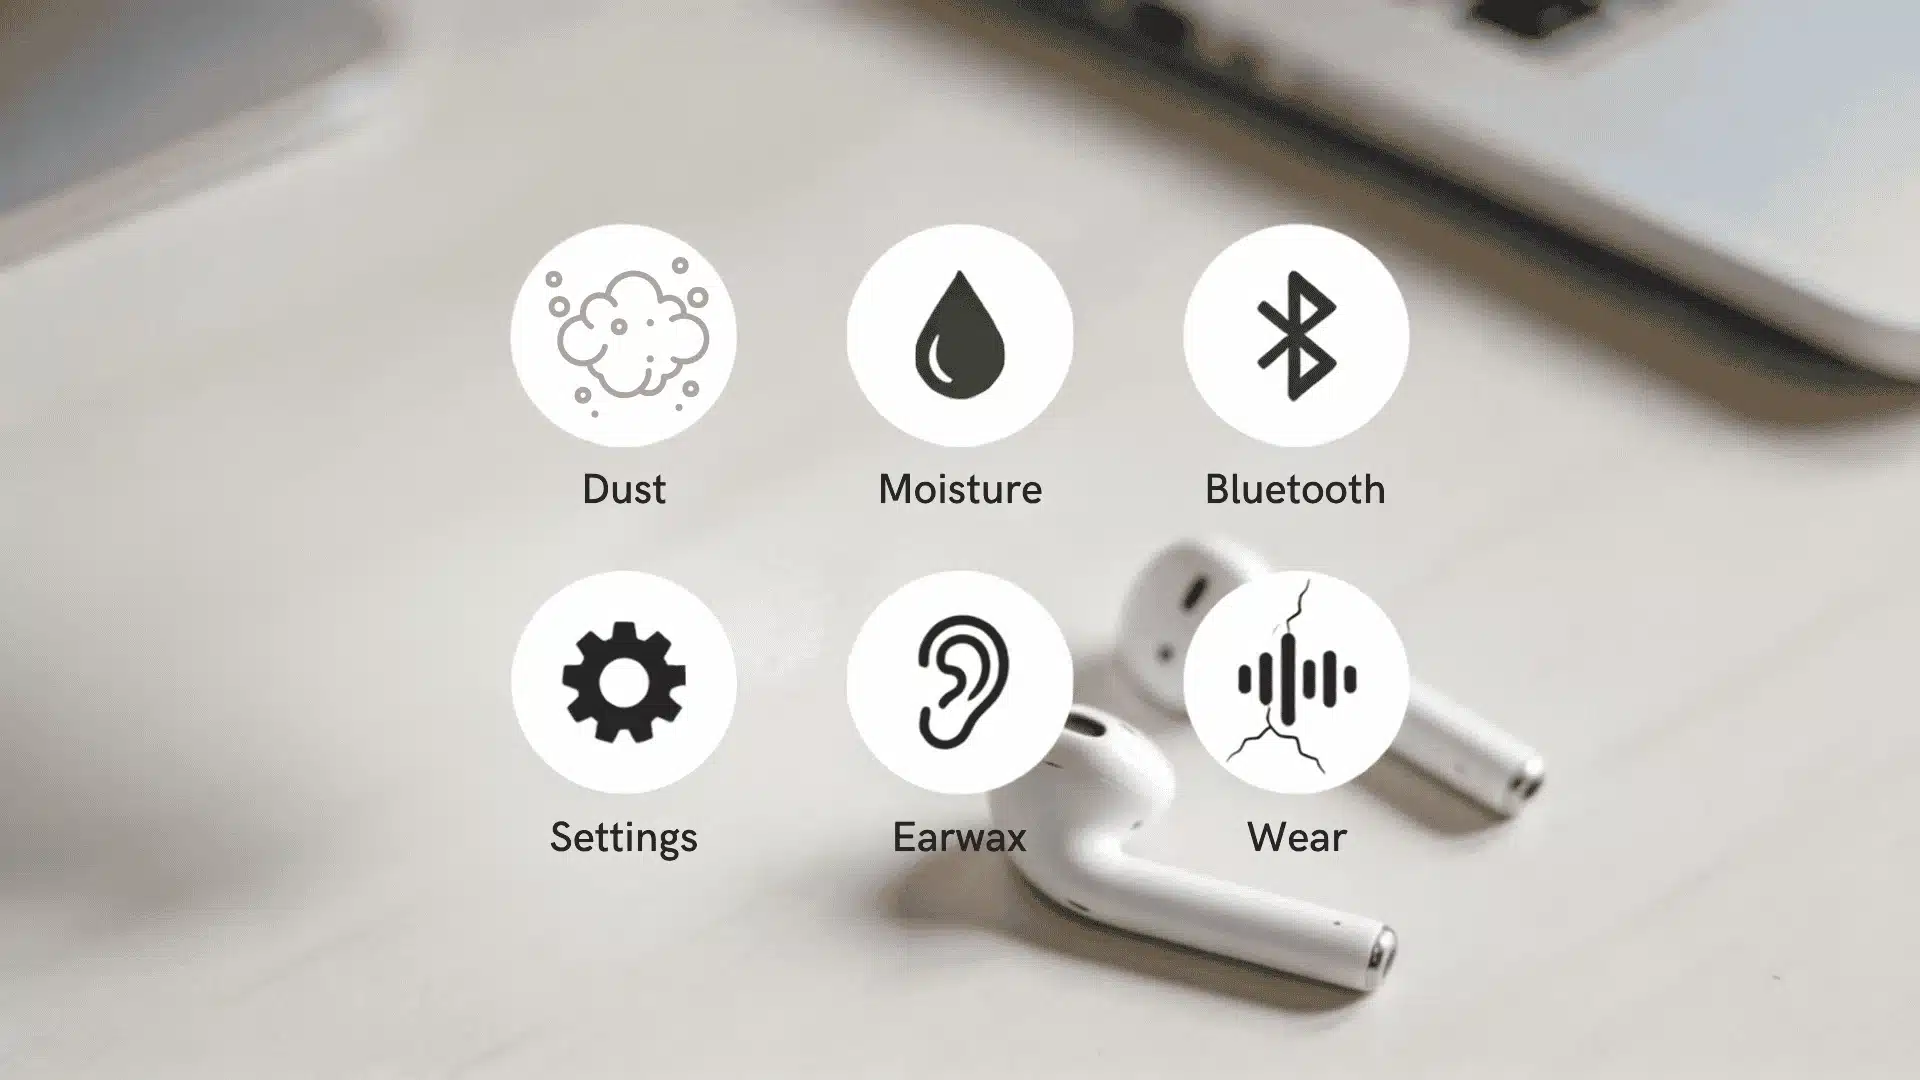
AirPods sound muffled for a few common reasons, easy to spot once you know what to check. Here is what usually causes it, the same list that buyers reading a Beats Studio Buds comparison often ask about too.
- Earwax and dust buildup: The mesh openings on AirPods are barely a millimeter wide, so even a tiny bit of earwax or dust can block half the sound.
- Leftover moisture: A damp cloth or an alcohol wipe used too heavily can push liquid straight into the mesh instead of just wiping the surface. Trapped moisture usually needs one to two hours of air-drying before sound returns to normal.
- Weak Bluetooth signal: Microwaves, wifi routers, and even other people’s AirPods nearby share the same 2.4 GHz frequency your AirPods use.
- Wrong audio setting: Spatial Audio processes sound to make it feel like it is coming from all directions, which some ears interpret as muffled rather than immersive.
- Uneven wax buildup: Ear canals are not identical on both sides, so one ear almost always produces more wax than the other. That is usually why only one AirPod, not both, most of the time.
- Worn-out hardware: The tiny speaker driver inside each pair of AirPods can wear out after two to three years of daily use, especially at high volume. No amount of cleaning fixes a driver that has already worn out.
- Low battery power: Nearly drained AirPods can sometimes short-change audio processing, which can come across as flat or muffled until you recharge.
How to Fix Muffled AirPods?
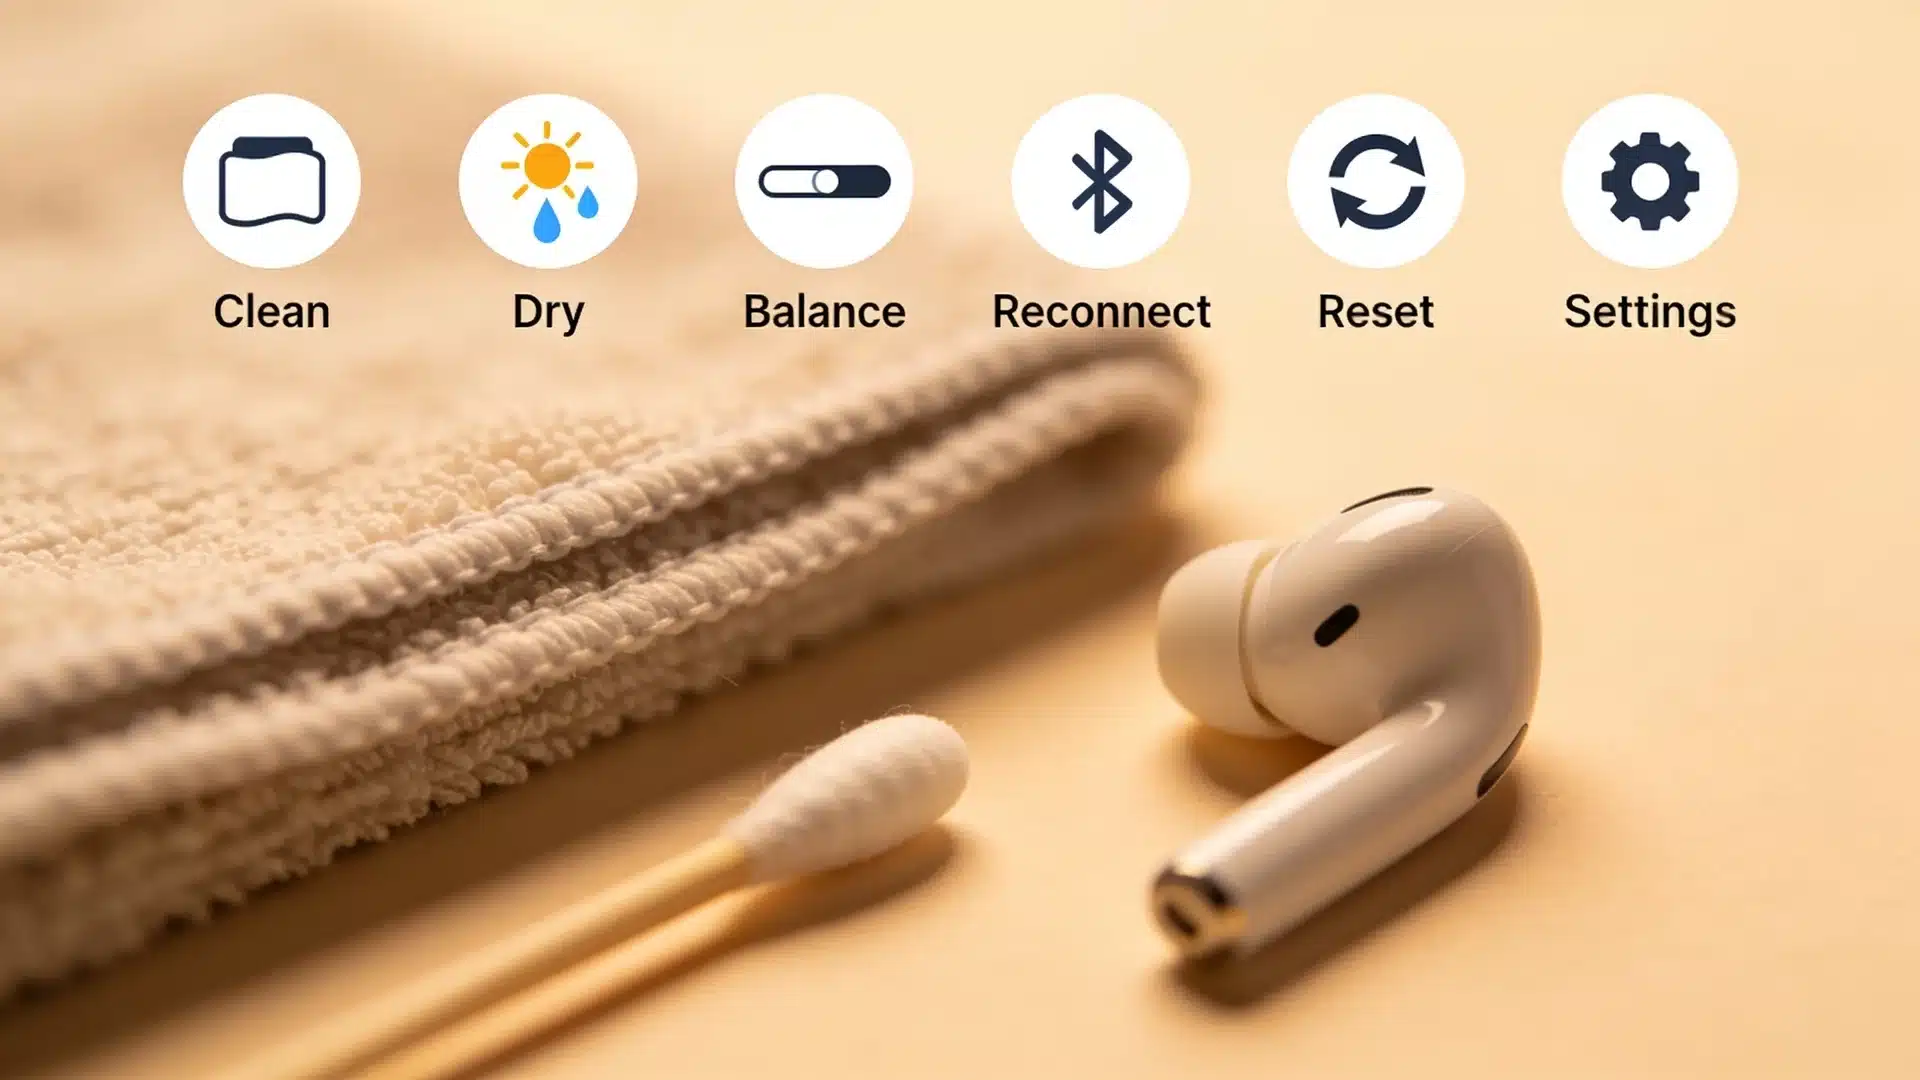
Now that you know the causes, here is how to fix muffled AirPods, step by step, starting with the easiest option.
1. Clean Your AirPods the Right Way
Grab a dry, soft cloth and gently wipe the outside of each AirPod first. Use a dry cotton swab or a soft toothbrush to clear dust from the mesh, moving in small circles.
Apple’s own guide on how to clean your AirPods warns against soap, water, or sharp tools like paper clips, since these push debris deeper. Let everything air dry fully before use.
2. Still Muffled After Cleaning? Try This
Sometimes cleaning pushes wax deeper instead of pulling it out, and that traps sound right where the mesh sits.
If this happens, dab a dry cloth corner gently on the mesh instead of scrubbing again. Give the AirPods a full hour to air dry somewhere warm and open.
Many people notice the muffled sound fades once trapped moisture or loosened wax finally clears out completely.
3. Fix One-Sided Muffled Sound
When only one AirPod sounds muffled, check your audio balance setting first, since it can shift without you noticing.
Open your phone’s settings, find the audio or accessibility menu, and center the balance slider.
If the balance looks fine, clean that single AirPod again, since one ear often produces more wax than the other and needs extra attention.
4. Check Your Bluetooth Connection
A weak or crowded Bluetooth signal can make audio sound dull or distant, even when your AirPods are perfectly clean.
Move closer to your phone or laptop and remove any thick walls between you and the device.
Turn Bluetooth off and back on, then reconnect your AirPods to refresh the connection and clear up any lingering signal issues.
5. Reset Your AirPods
Place both AirPods in the case, close the lid, and wait about thirty seconds before opening it again.
On your phone, go to the Bluetooth settings, then press and hold the case button until the light flashes white, following Apple’s steps to reset your AirPods or AirPods Pro.
Bring the case near your phone and follow the pairing steps that pop up on your screen.
6. Adjust Audio Settings
Spatial Audio and certain EQ presets can make sound feel flat, so try switching them off inside your music or accessibility settings.
This same setting mix-up affects sound quality across Apple products, including the AirPods Max sound quality that many reviewers compare against standard AirPods.
On AirPods Pro and newer models, it is also worth checking Headphone Accommodations under Settings > Accessibility > Audio/Visual.
This feature lets you run a short hearing test and apply custom sound tuning, and some users find that turning it on actually clears up muffled audio rather than causing it.
Test your audio again after each change to see what actually helped.
When to Get Your AirPods Serviced?
Most muffled AirPods fix themselves with cleaning, a reset, or a settings change.
If every fix above failed and the sound still feels blocked, your AirPods might need a professional look instead of another cleaning round.
This matters more if you already know how long AirPods Pro last and your pair is nearing the end of that lifespan. Here are signs it is time to get help instead of trying another home fix.
- The muffled sound stays the same no matter what you clean or reset.
- Only one AirPod sounds broken, and it has stayed that way for weeks.
- You notice crackling or static sitting alongside the muffled audio.
- Your AirPods are still under warranty or covered by AppleCare+.
Contact Apple Support or visit a Genius Bar store to get an honest diagnosis before paying for a replacement.
What Do Other AirPods Owners Say Online?
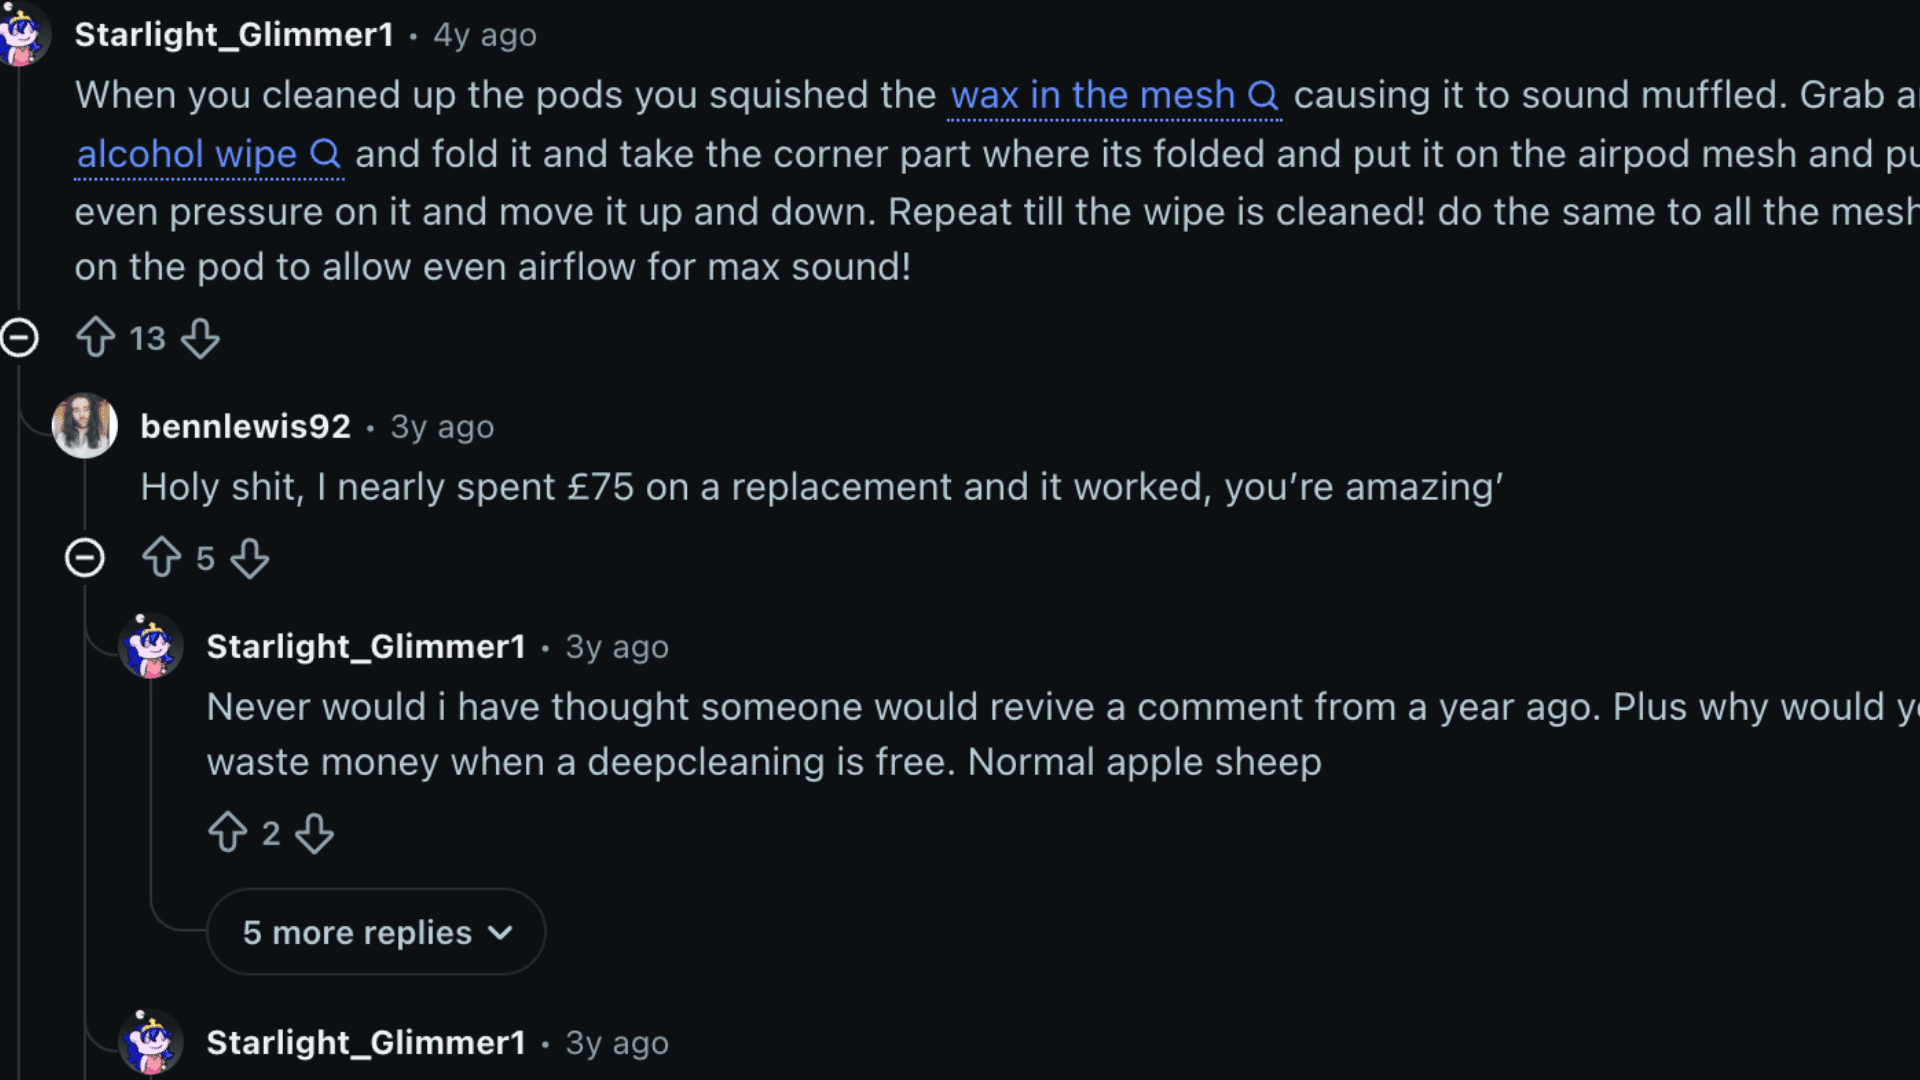
People who use AirPods and have experienced this exact muffled sound issue have shared their fixes on Reddit.
One thread began when a user cleaned wax from their left AirPod, only to find it sounded worse afterward. Another user explained that cleaning had pushed the wax deeper into the mesh rather than removing it.
Their fix was simple: fold an alcohol wipe into a corner and press it gently against the mesh. That single comment kept helping people for years after the original post went quiet.
Several users said they nearly spent $50 to $80 on new AirPods before trying this trick.
The overall takeaway from that thread matches everything covered above. Muffled AirPods after cleaning almost always come down to trapped wax, not a broken speaker.
How to Prevent Muffled AirPods in the Future?
Once your AirPods sound clear again, a few habits can keep muffled sound from coming back soon. None of these takes more than a minute, and they fit easily into a routine you already have.
- Wipe the mesh gently with a dry cloth once or twice a week, not just when sound feels off.
- Keep AirPods out of pockets full of lint, sand, or loose coins that can work into the mesh.
- Dry your ears fully before putting AirPods back in after a shower or workout.
- Store AirPods in their case when not in use, rather than leaving them exposed on a desk.
If muffled sound keeps returning no matter what you try, it might be worth exploring AirPods alternatives that fit your ear shape better and cause less wax buildup overall.
Conclusion
When AirPods sound muffled, the problem usually looks worse than it really is at first.
You should start with gentle cleaning, then check Bluetooth, audio balance, and Spatial Audio, and follow the reset steps before considering a replacement.
I would avoid sharp tools or too much liquid, because both can push wax deeper or create new sound problems. If one AirPod stays muffled after every safe fix, getting Apple to check it is the smarter next step.
The goal is not to keep repeating random tricks, but to find whether the issue is dirt, settings, moisture, or hardware.
Which AirPods model sounded muffled for you, and which fix brought the sound back? Tell us, share with us in the comments below.
Frequently Asked Questions
Can Earwax in AirPods Cause Hearing Problems?
Earwax stuck in your AirPods mostly affects sound quality, not your hearing directly. But heavy earwax buildup in your ear canal can sometimes cause muffled hearing on its own.
If cleaning your AirPods does not fix the muffled sound, it is worth having a doctor check your ears as well, just to rule that out.
How Often Should You Clean Your AirPods?
Cleaning your AirPods once or twice a week works well for most people, and daily wearers may want to check them even more often.
Regular light cleaning prevents the kind of heavy buildup that leads to muffled sound in the first place. Waiting weeks between cleanings makes the job harder and increases the chance of pushing wax deeper.
Do AirPods Pro and AirPods Max Clean the Same Way?
Not exactly, since AirPods Pro have removable ear tips that need separate cleaning, while AirPods Max use larger ear cushions instead.
The core method remains the same: use a dry cloth and a soft brush, and avoid water and sharp tools.
Will Apple Replace Muffled AirPods Under Warranty?
Apple typically covers manufacturing defects under its one-year limited warranty, but muffled sound caused by dirt or user cleaning mistakes is usually not covered.
If your AirPods are still under warranty or AppleCare+, visiting a store lets Apple determine whether your specific case qualifies for a free repair or replacement.
Is It Safe to Try the “Suck the Wax Out” Trick People Share Online?
Some online guides suggest covering the speaker mesh with a thin tissue and gently sucking on it to pull out stuck wax.
It can work, but it is not an Apple-recommended method, and doing it too hard can pull moisture from your breath into the mesh instead.
If you try it, use a light touch and stick to Apple’s official cleaning steps first.