Your phone screen probably gets touched more than anything else you own, so it’s no surprise it ends up covered in scratches, smudges, and general wear over time.
A screen protector helps guard against that, but here’s the thing, even the best protector in the world will look messy if you trap air bubbles or dust underneath while putting it on.
The good news? You don’t need any special tools or expert-level skills to get a clean, bubble-free result. All it really takes is a bit of patience, a clean workspace, and a steady hand.
This guide walks you through exactly how to apply a screen protector without ending up with annoying air bubbles start to finish.
What is a Screen Protector?
A screen protector is basically a thin layer either tempered glass or a flexible plastic film that sits on top of your phone, tablet, or smartwatch screen to shield it from everyday wear and tear. Think scratches, fingerprints, dust, and the occasional bump.
There are a few different types to choose from, and each one has its own strengths. Tempered glass tends to be the go-to option if you want solid protection against impacts and scratches, while thinner plastic films (like PET or TPU) work better on curved screens since they’re more flexible.
If privacy is a concern, there are protectors designed to block people from peeking at your screen from the side. And if glare is more your issue say, using your phone outdoors anti-glare versions can cut down on reflections.
One thing worth keeping in mind: a screen protector isn’t magic. It won’t save your screen from every hard drop or serious impact, but it does a great job of absorbing the small stuff and keeping your actual display looking newer for longer.
What You’ll Need Before You Start
Before you learn how to install a screen protector step by step, gather everything so you’re not searching for supplies mid-installation with a half-peeled adhesive sheet in your hands:
- The new screen protector (tempered glass or film)
- Alcohol wipe (usually included in the kit): Safe for cleaning the phone screen before installation, but it should not be used on every type of clear phone case material.
- Microfiber cleaning cloth (also usually included)
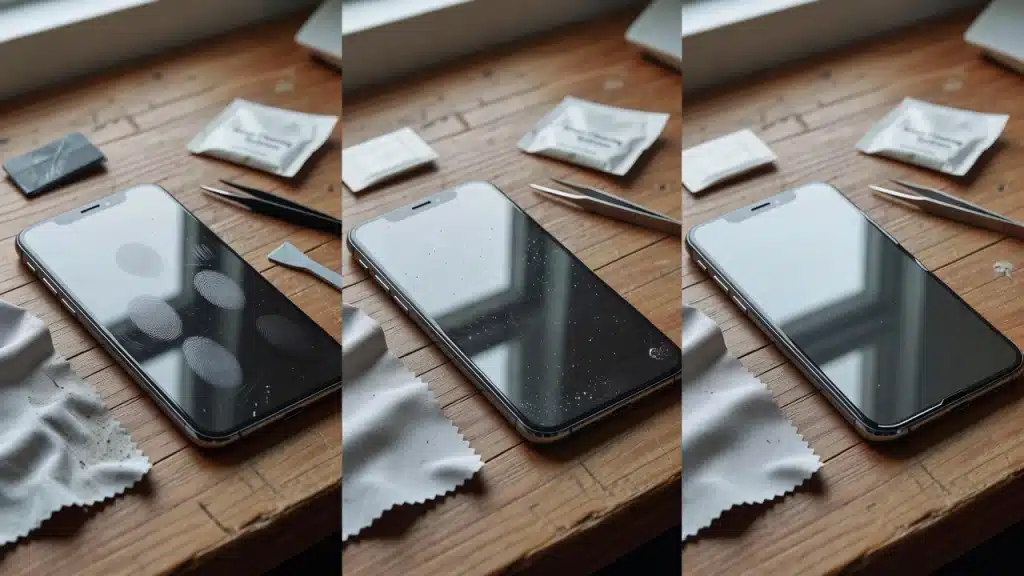
- Dust-removal sticker or piece of tape
- A dust-free room, or at least a closed-off space away from fans and vents
- Your phone’s protective case, if you use one (to check the fit)
Types of Screen Protectors: Tempered Glass vs. Plastic Film
Before diving into alignment and bubble removal, it’s worth taking a second to figure out exactly what kind of protector you’ve got. The material makes a real difference not just in how tricky (or easy) it is to install, but in how well it performs down the road.
1. Tempered Glass Screen Protectors
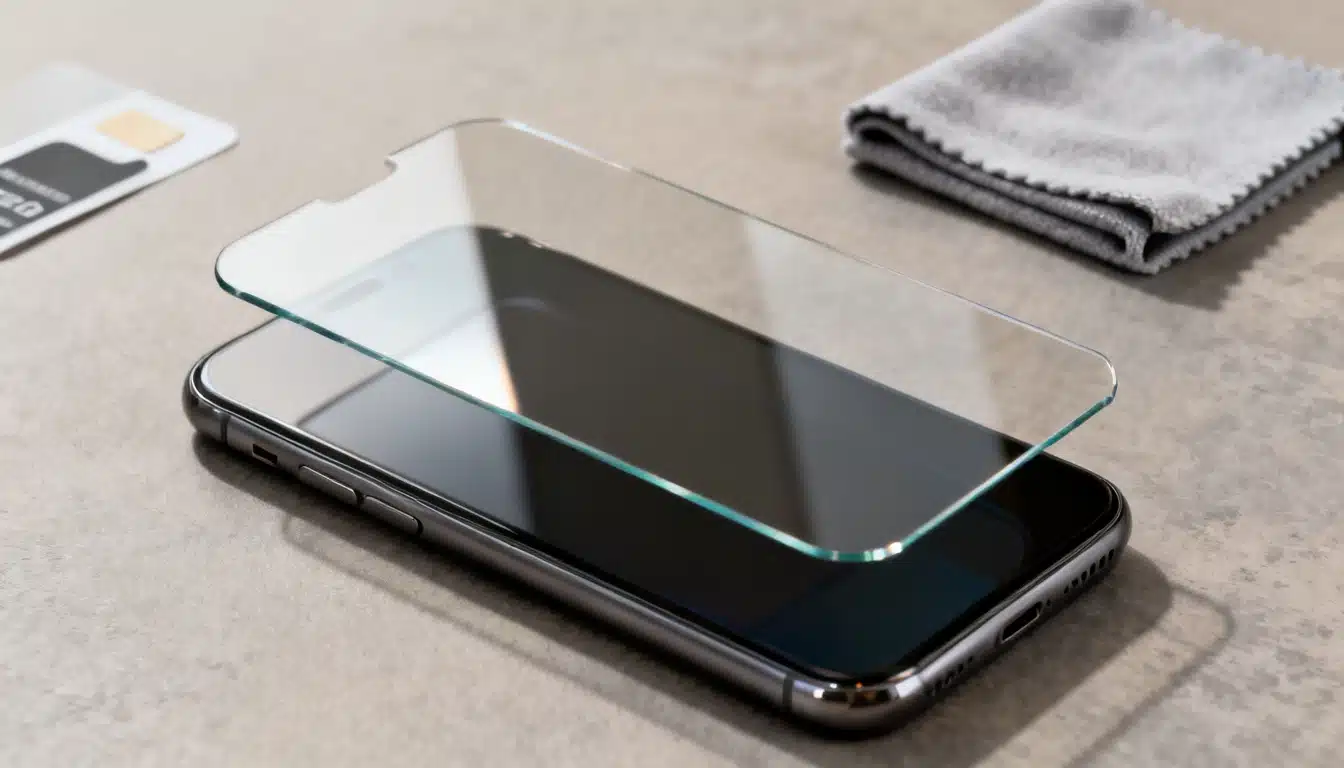
Tempered glass is thicker, rigid, and made from layered, chemically strengthened glass.
It offers stronger impact resistance, a more natural touch and feel, and better clarity than plastic film.
Because its rigid, alignment tends to be easier; the glass doesn’t flex or wrinkle during placement, though it can crack on a hard enough drop.
2. Plastic Film Screen Protectors
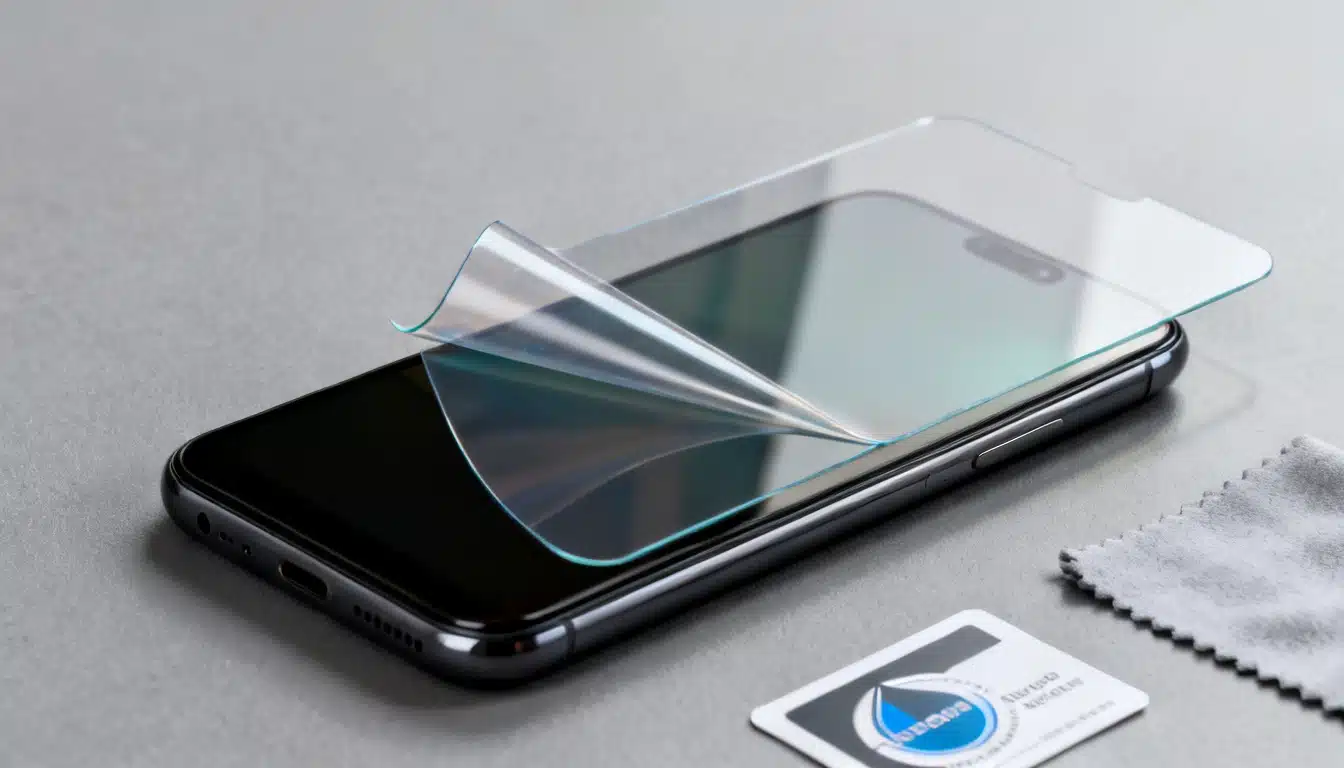
Plastic film (usually PET or TPU) is thin and flexible, and it hugs curved-edge screens more easily than glass.
It’s cheaper and better at absorbing minor scratches, but it scratches more visibly over time and can develop a slightly less responsive touch feel.
Its flexibility can also make bubble-free alignment a little trickier for first timers.
Which One Should You Choose?
If your priority is solid drop protection along with a feel that’s as close to the naked screen as possible, tempered glass is really your best bet.
On the other hand, if you’ve got a phone with curved edges, or you just don’t mind swapping out a cheaper protector every so often, plastic film does the job well too. Either way, don’t worry the installation steps ahead work for both types.
Once you’ve decided which one suits you, it’s time to gather everything you’ll need before getting started.
Prepare Your Phone for Installation
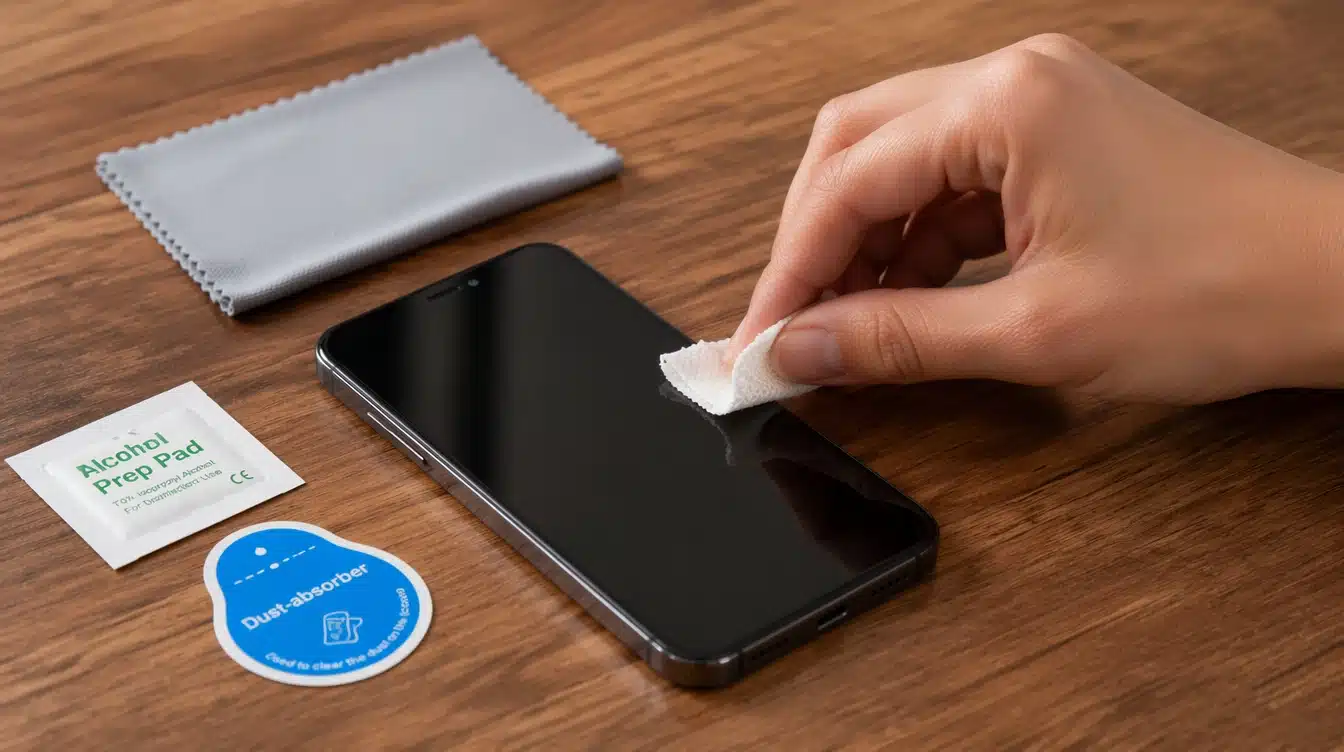
A little prep work makes the actual installation almost foolproof. These four steps- setting up your space, washing your hands, cleaning the screen, and test-fitting the protector- take about five minutes total but prevent nearly every common mistake.
- Set up a clean, dust-free workspace: Work in a small, closed room right after a hot shower (steam settles dust), away from fans, vents, and open windows. Skip carpets, beds, and couches, which shed fibers.
- Wash and dry your hands: Oil and lotion transfer to the screen and adhesive. Wash with plain soap, skip moisturizer, and dry fully with a lint-free towel.
- Clean the screen: Wipe with the alcohol wipe, then the dry microfiber cloth. If the phone case has accumulated dirt or yellowing, clean it before reinstalling it, especially if it’s a transparent case. Dab the screen and the protector’s adhesive side with the dust-removal sticker. Repeat once for the cleanest result.
- Test the fit: Place the protector on the screen, dry, with the backing still on. Check spacing around the camera cutout, speaker slot, and edges, and confirm it fits inside your case’s lip if you use one.
Once your space, hands, screen, and fit check out, you’re ready to apply the protector.
How to Apply a Screen Protector: Step by Step
Bubbles and crooked edges usually come from rushing this part. With your workspace and screen already prepped, applying the protector itself only takes three steps; go slowly through each one.
Step 1: Align and Place the Screen Protector
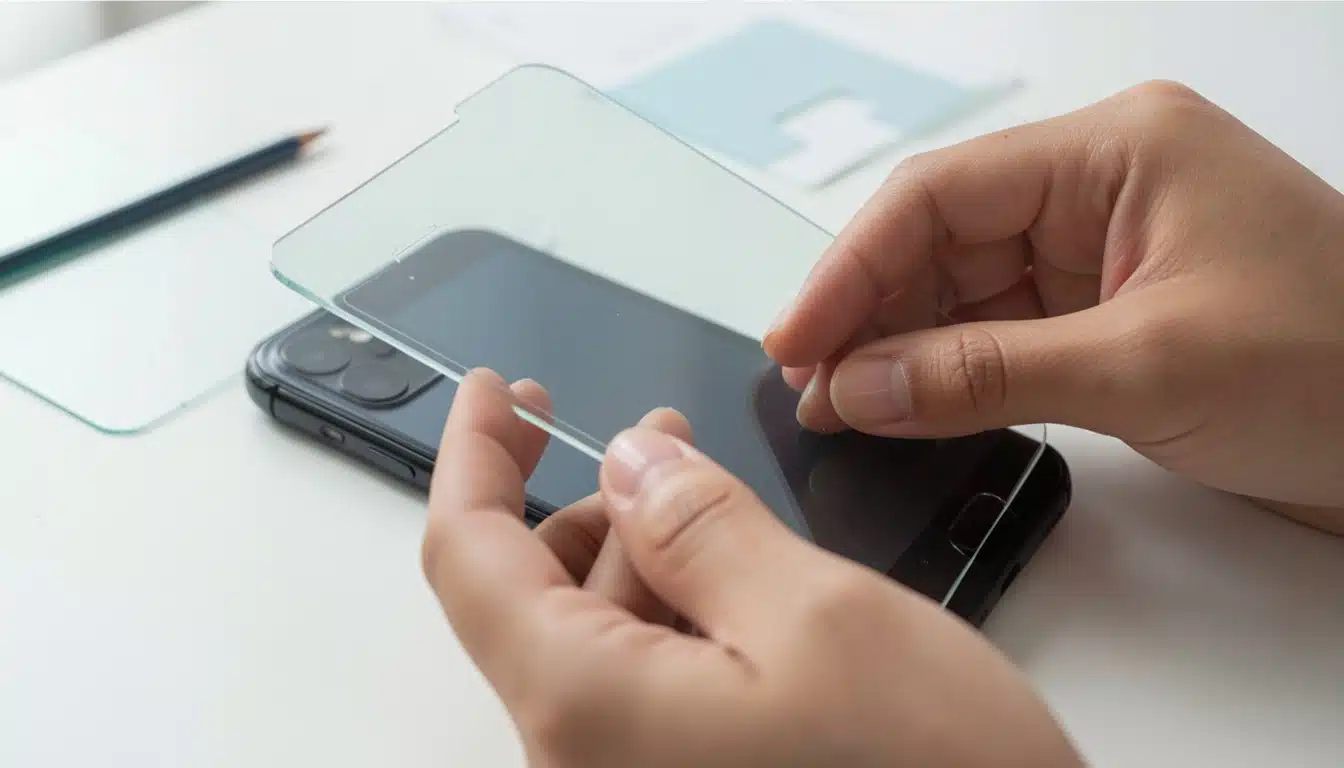
Peel the backing off the adhesive side. If your kit has an alignment tray, snap the protector in, then lower the tray onto the phone until it clicks into place.
Without a tray, hold the protector by its edges and lower it slowly, starting from the camera cutout or top edge.
- Line up the camera cutout and speaker slot first; the rest usually falls into place.
- Hold the protector by its edges only to keep oil off the adhesive.
- Off by a bit? Lift and reposition within the first few seconds, before it grips.
Step 2: Let the Adhesive Set and Remove Air Bubbles
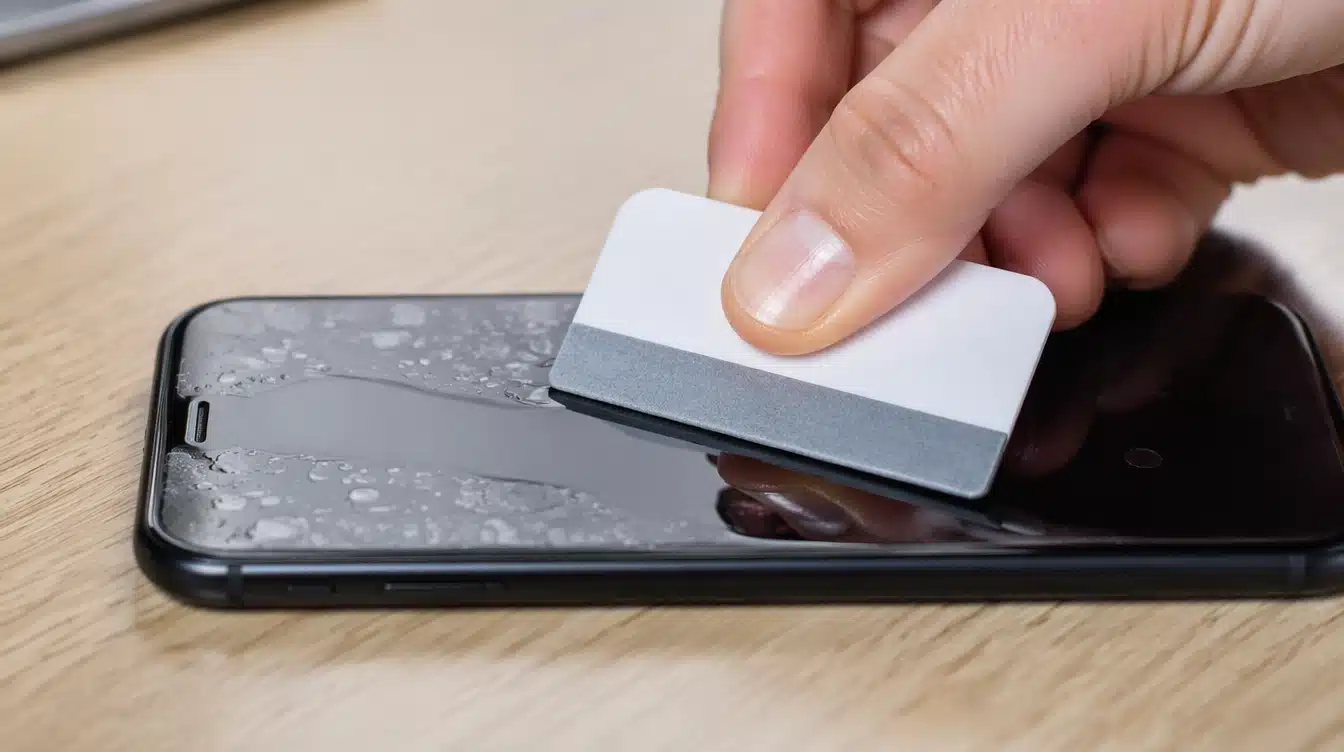
Using the squeegee card, press outward from the center toward the edges in firm, overlapping strokes, center to top, center to bottom, center to each side.
Let the protector sit undisturbed for the time your kit recommends before using the phone normally.
- Use medium, even pressure; too hard can crack glass, and too light leaves bubbles.
- Push in straight lines, not circles, so trapped air has a clear escape path.
- Recheck edges and corners last; bubbles tend to hide there.
Step 3: Do a Final Inspection
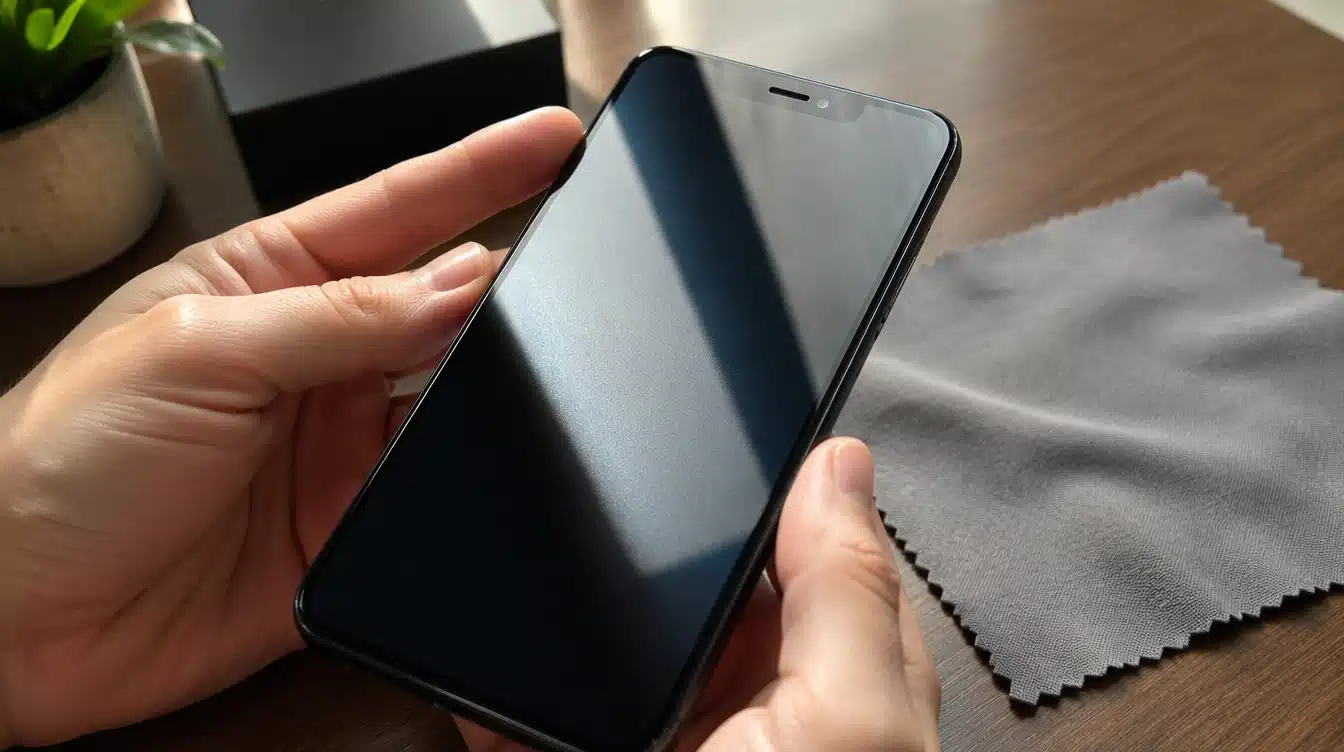
Hold the phone up to the light at an angle and scan the full surface for missed bubbles, dust specks, or lifted corners.
- Run a fingertip along the edges to confirm they’re fully sealed.
- Push out any small bubbles now; it’s much harder to fix once you’re using the phone daily.
- Give the top a final wipe with a dry microfiber cloth to clear any last fingerprints.
Even with careful application, small issues can still crop up; here’s how to fix the most common ones.
Tips for a Bubble-Free Finish
These extra tricks aren’t strictly necessary, but they push your result from “good” to genuinely flawless:
- Warm the protector slightly (body heat in your pocket for a few minutes) before applying -it can make the adhesive more forgiving.
- Work under bright, indirect light so you can actually see small bubbles and dust as you go.
- Use two dust-removal passes instead of one; it costs thirty extra seconds and prevents most bubble issues.
- Keep pets and fans out of the room entirely, not just turned off.
Get these small habits right, and your protector should look flawless for months to come
Fix Common Screen Protector Problems
Not every installation goes perfectly on the first try. Here’s how to fix the most common issues without starting from scratch:
| Problem | FIX |
| Small bubbles that won’t budge | Warm the area slightly with a hairdryer on low heat, holding it a few inches away, then press again with the squeegee. |
| Dust trapped under the protector | Gently lift the edge nearest the speck, use tape to lift the dust off the adhesive, then re-lay that section. |
| Protector misaligned after placement | If it’s within the first minute or two, lift one edge slowly and reposition; after that, the adhesive may be too set to reposition cleanly. |
| Edges lifting after a day or two | Press firmly along the edges again; if lifting continues, the protector may need to be replaced. |
Most of these fixes take under a minute, so a small hiccup doesn’t have to mean starting over.
Mistakes to Avoid During Installation
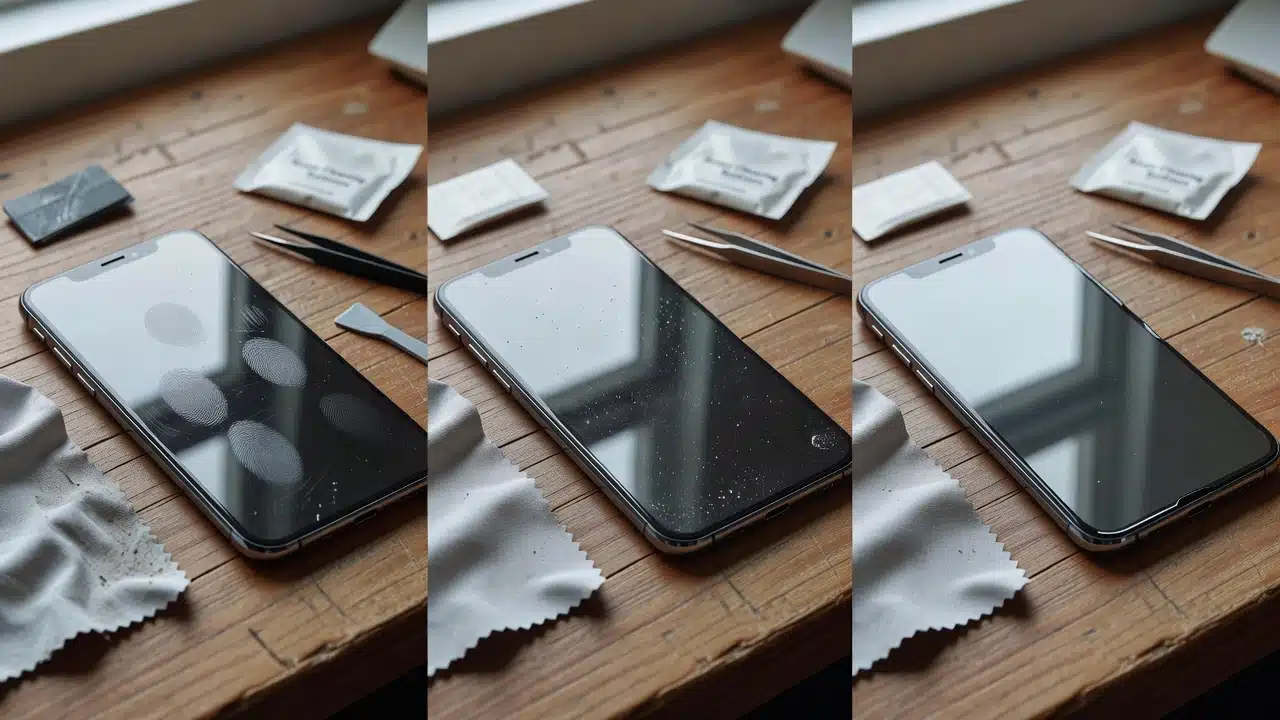
Even with good prep, a handful of habits account for most failed installs.
Most of these stem from moving too fast or skipping a small step, and they’re easy to avoid once you know what to watch for.
- Rushing the cleaning step: even one hair or dust fleck creates a visible bump.
- Installing near fabric, pets, or open windows: all major dust sources.
- Peeling the backing before confirming alignment -once the adhesive touches the screen, repositioning gets messy fast.
- Pressing down unevenly: this pushes air toward one side instead of out the edges.
- Ignoring small bubbles early on: they’re much easier to push out in the first few minutes than after the adhesive fully sets.
Keep these in mind as you go, and the actual application becomes a lot more forgiving.
When Should You Replace a Screen Protector?
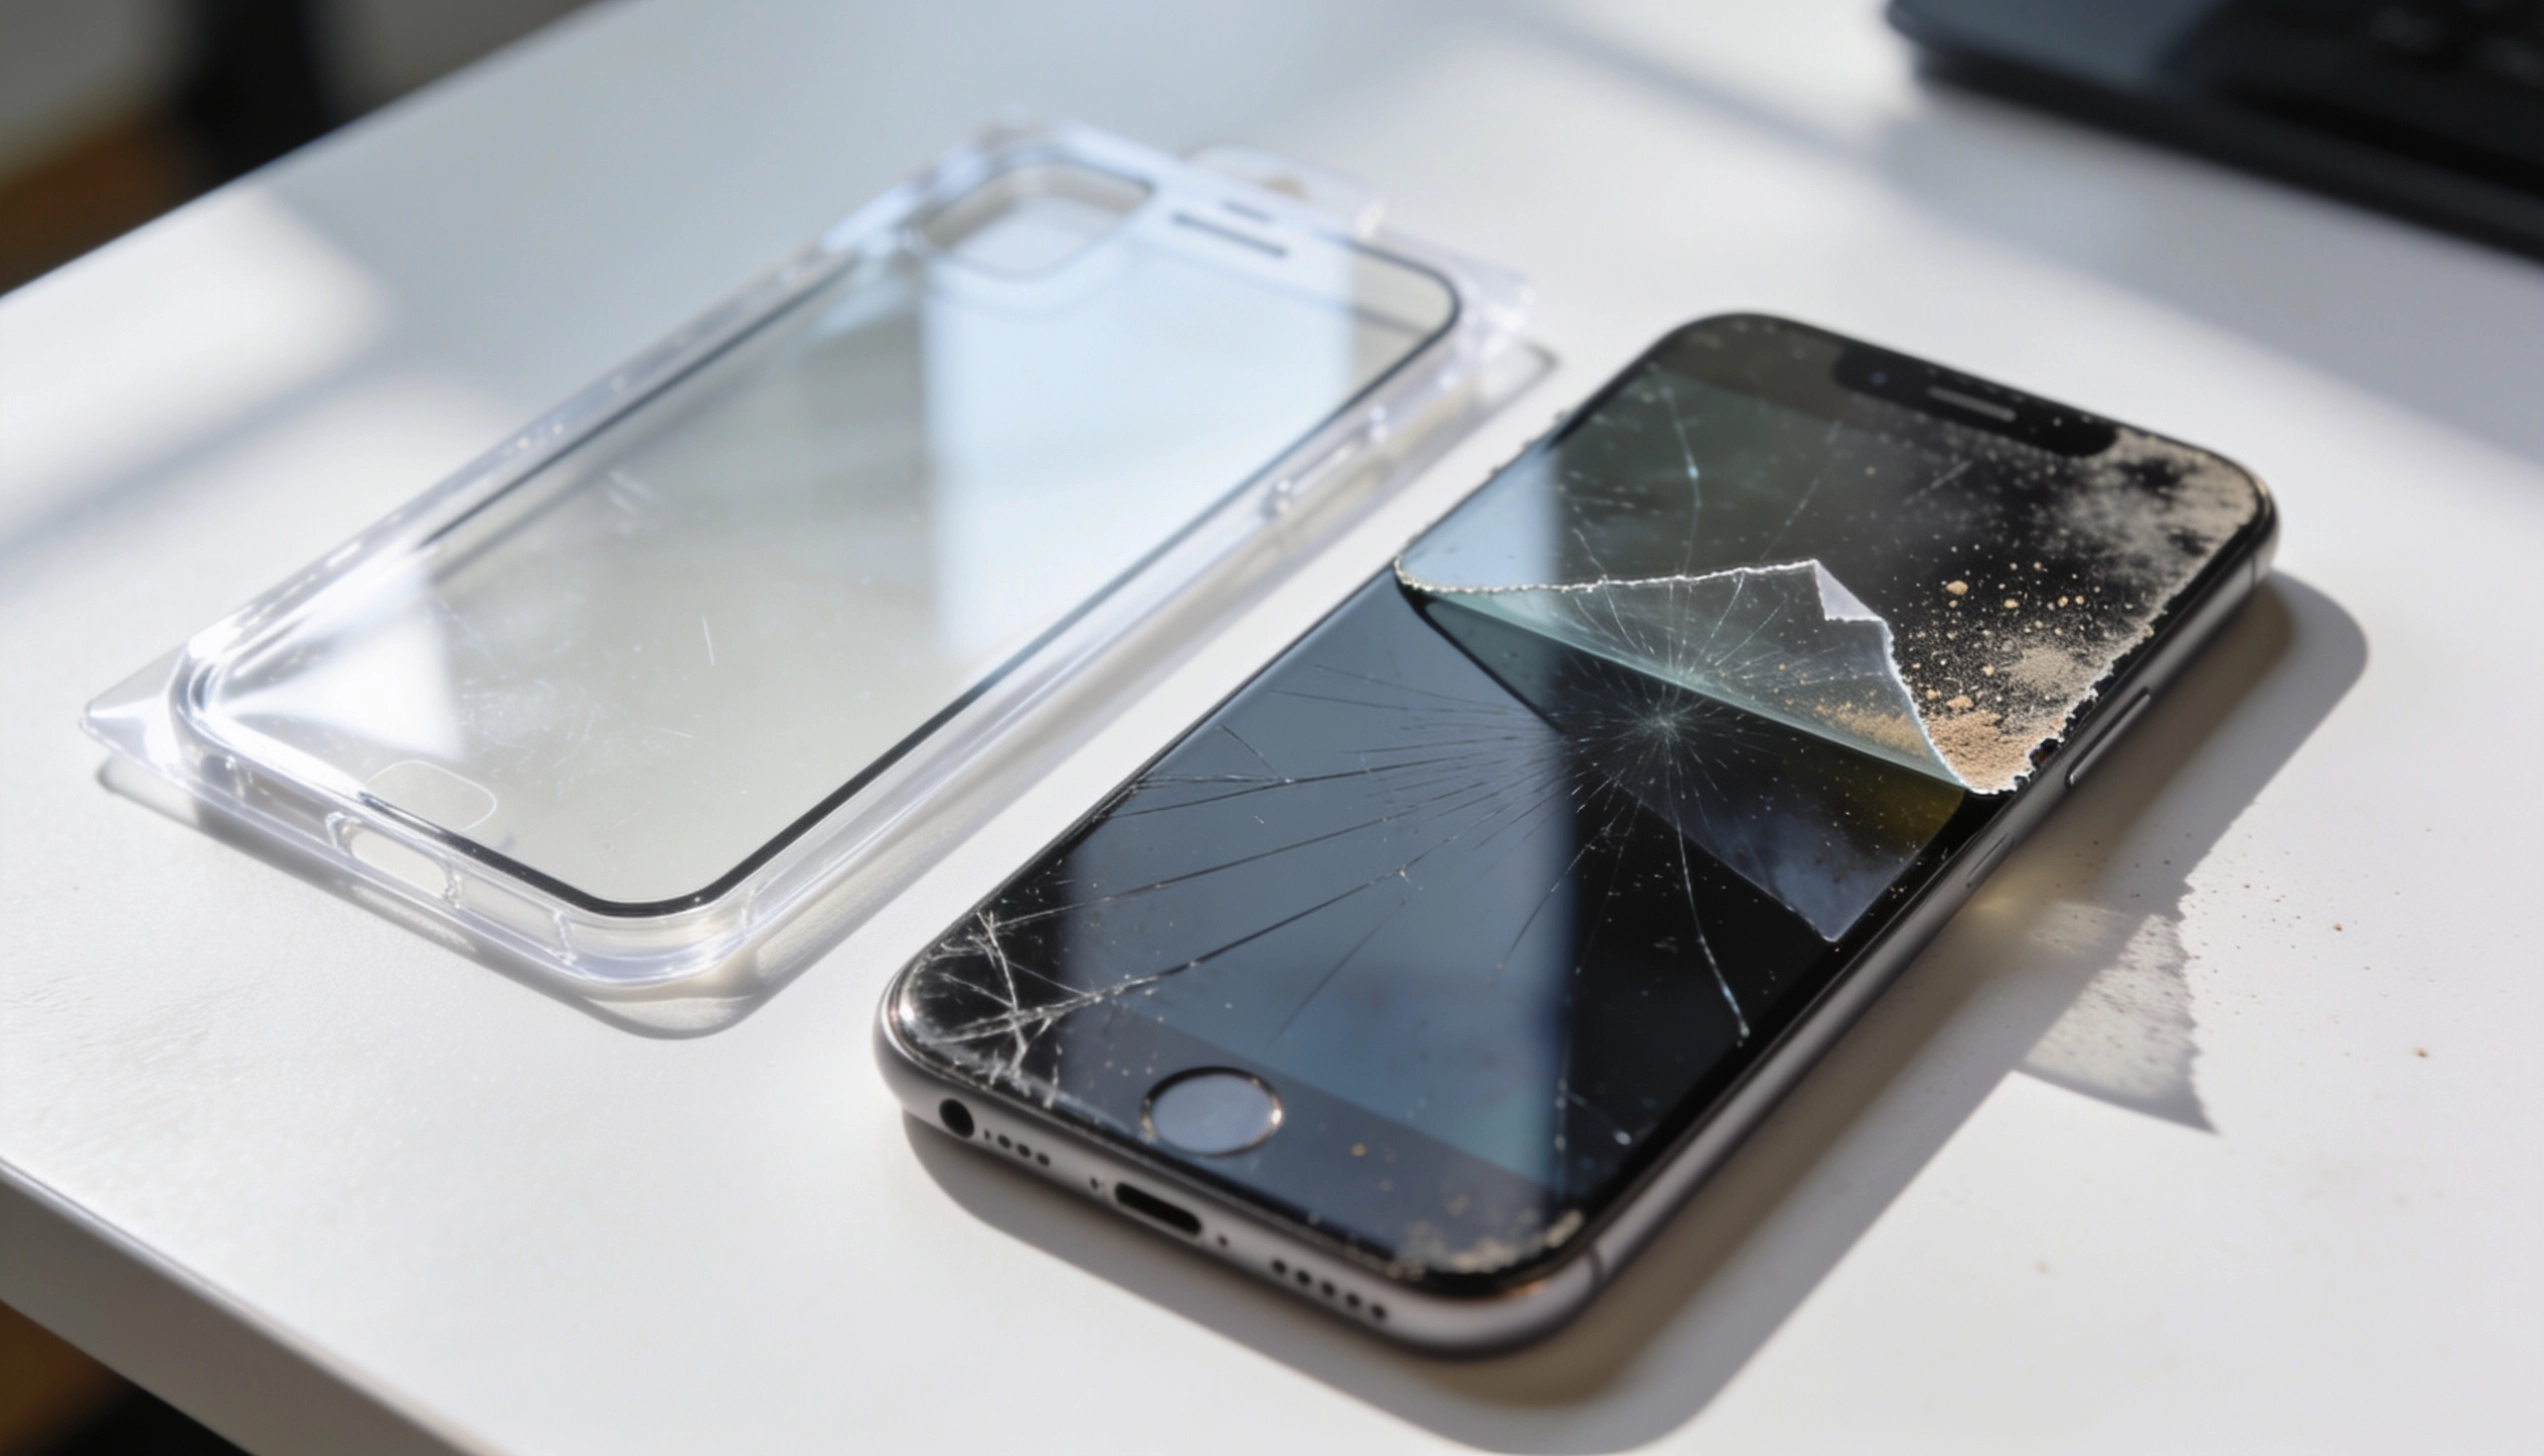
Replace your screen protector when you notice any of the following:
- Visible scratches or spiderweb cracks, even if the underlying screen is fine
- Reduced touch sensitivity or noticeably dimmer display response
- Yellowing or cloudiness, especially common with cheaper plastic films over time. Peeling edges that keep lifting no matter how often you press them down
- After a significant drop, even without obvious damage, the protector may have absorbed an impact that would otherwise have cracked your screen
- Most tempered glass protectors last 6–12 months with regular use, while thinner films may need replacing sooner.
Most tempered glass protectors last 6–12 months with regular use, while thinner films may need replacing sooner.
Final Verdict
Here’s the good news: getting a screen protector on cleanly isn’t about having special skills or fancy tools. It really just comes down to three things keeping dust away, double-checking your alignment before committing, and applying steady, even pressure from the center outward.
Start by clearing off a clean workspace and giving your hands a good wash and dry. Before you peel off the adhesive backing, take a moment to line the protector up over your screen and make sure it actually fits. Then, instead of just dropping it into place, lower it down slowly and gently.
If you do end up with a few small bubbles, don’t panic just take a microfiber cloth or a flat card and gently push them out toward the edges.
A little patience here goes a long way. Do it right, and you’ll end up with a screen that’s clear, fully responsive, and well-protected, without messing with your case fit or how you normally use your phone.
Frequently Asked Questions
Can I Reuse a Screen Protector After Removing It?
Generally, no, once the adhesive has been exposed to air and dust, it rarely re-adheres cleanly enough for a bubble-free result.
How Long Should I Wait Before Using My Phone Normally?
Follow your kit’s instructions, but a safe general rule is to avoid touching the screen for at least an hour and avoid a case for a few hours.
Is Tempered Glass or Plastic Film Better?
Tempered glass offers better scratch and impact resistance and a more natural touch; plastic film is thinner, cheaper, and slightly more flexible but scratches more easily.
What if I See a Bubble a Week Later?
It may be trapped dust rather than air. Try the tape-lift method described above or consider replacing the protector if it’s a recurring issue in the same spot.