A weak phone mic can ruin a simple call fast. You speak normally, but the other person hears silence, static, or a muffled voice.
Before paying for repair, start with the small checks. Dust, a tight case, Bluetooth, or one blocked app setting can cause the whole issue.
If you want to know how to fix phone microphone problems, use the steps below to check calls, voice notes, app settings, iPhone settings, Android settings, and cleaning in the right order.
I’ll keep it practical so you can find the likely cause, try the right fix, and avoid service unless the mic truly needs help today, without wasting time or causing stress.
What Can Cause a Phone Microphone to Stop Working?
A phone mic can fail for small reasons that look more serious than they are. Before resetting the phone, check what may be blocking or changing the sound.
Most phones have more than one mic. They often sit near the charging port, the top speaker area, and the rear camera. That is why calls, speakerphone, voice notes, and videos may fail in different ways.
Common causes include dust, a tight case, Bluetooth routing, missing app access, software glitches, drop damage, or water exposure.
Start with these causes first. If the mic still fails, your test results will point to the next fix.
How to Test Your Phone Microphone
A few simple tests can help identify whether the problem is with a specific microphone, an app, or the phone itself. Follow these steps before trying more advanced fixes.
- Choose a quiet place: Test your microphone in a quiet room and speak at a normal volume to avoid background noise affecting the results.
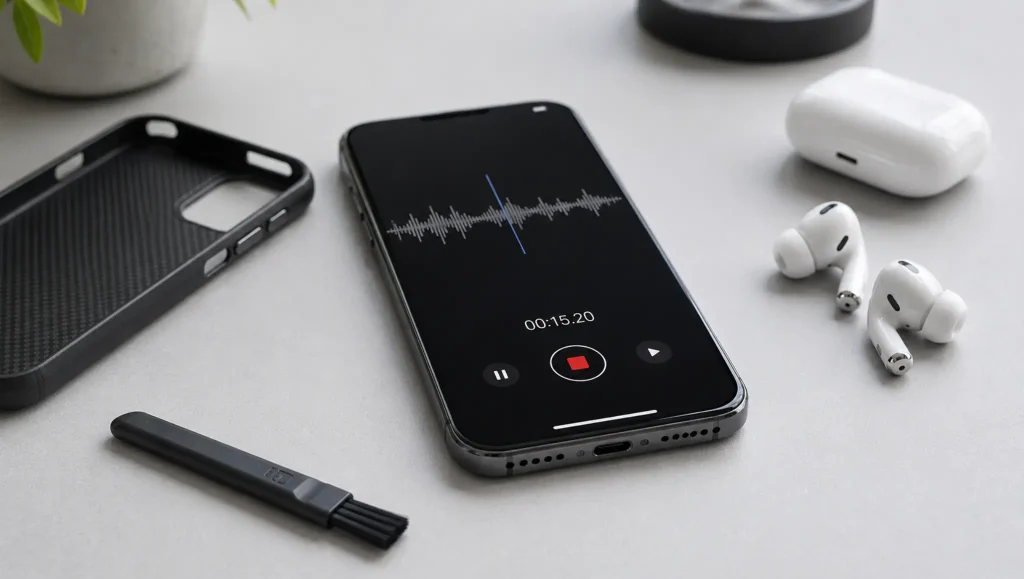
- Record your voice: Open Voice Memos on iPhone or your phone’s built-in voice recorder on Android, if available. Listen for silence, low volume, crackling, buzzing, or muffled audio.
- Test different functions: Make a regular phone call, switch to speakerphone, record a front-camera video, and then a rear-camera video. Different tasks may use different microphones.
- Check the affected app: If the issue only happens in one app, test the microphone in another app. If recordings work elsewhere, the app may not have microphone permission or could have its own issue.
- Note the pattern: Identify which tests fail and which work normally. This helps determine whether the problem is related to a specific microphone, app, or phone setting before moving on to the next troubleshooting steps.
Fix and Test the Easy Stuff First
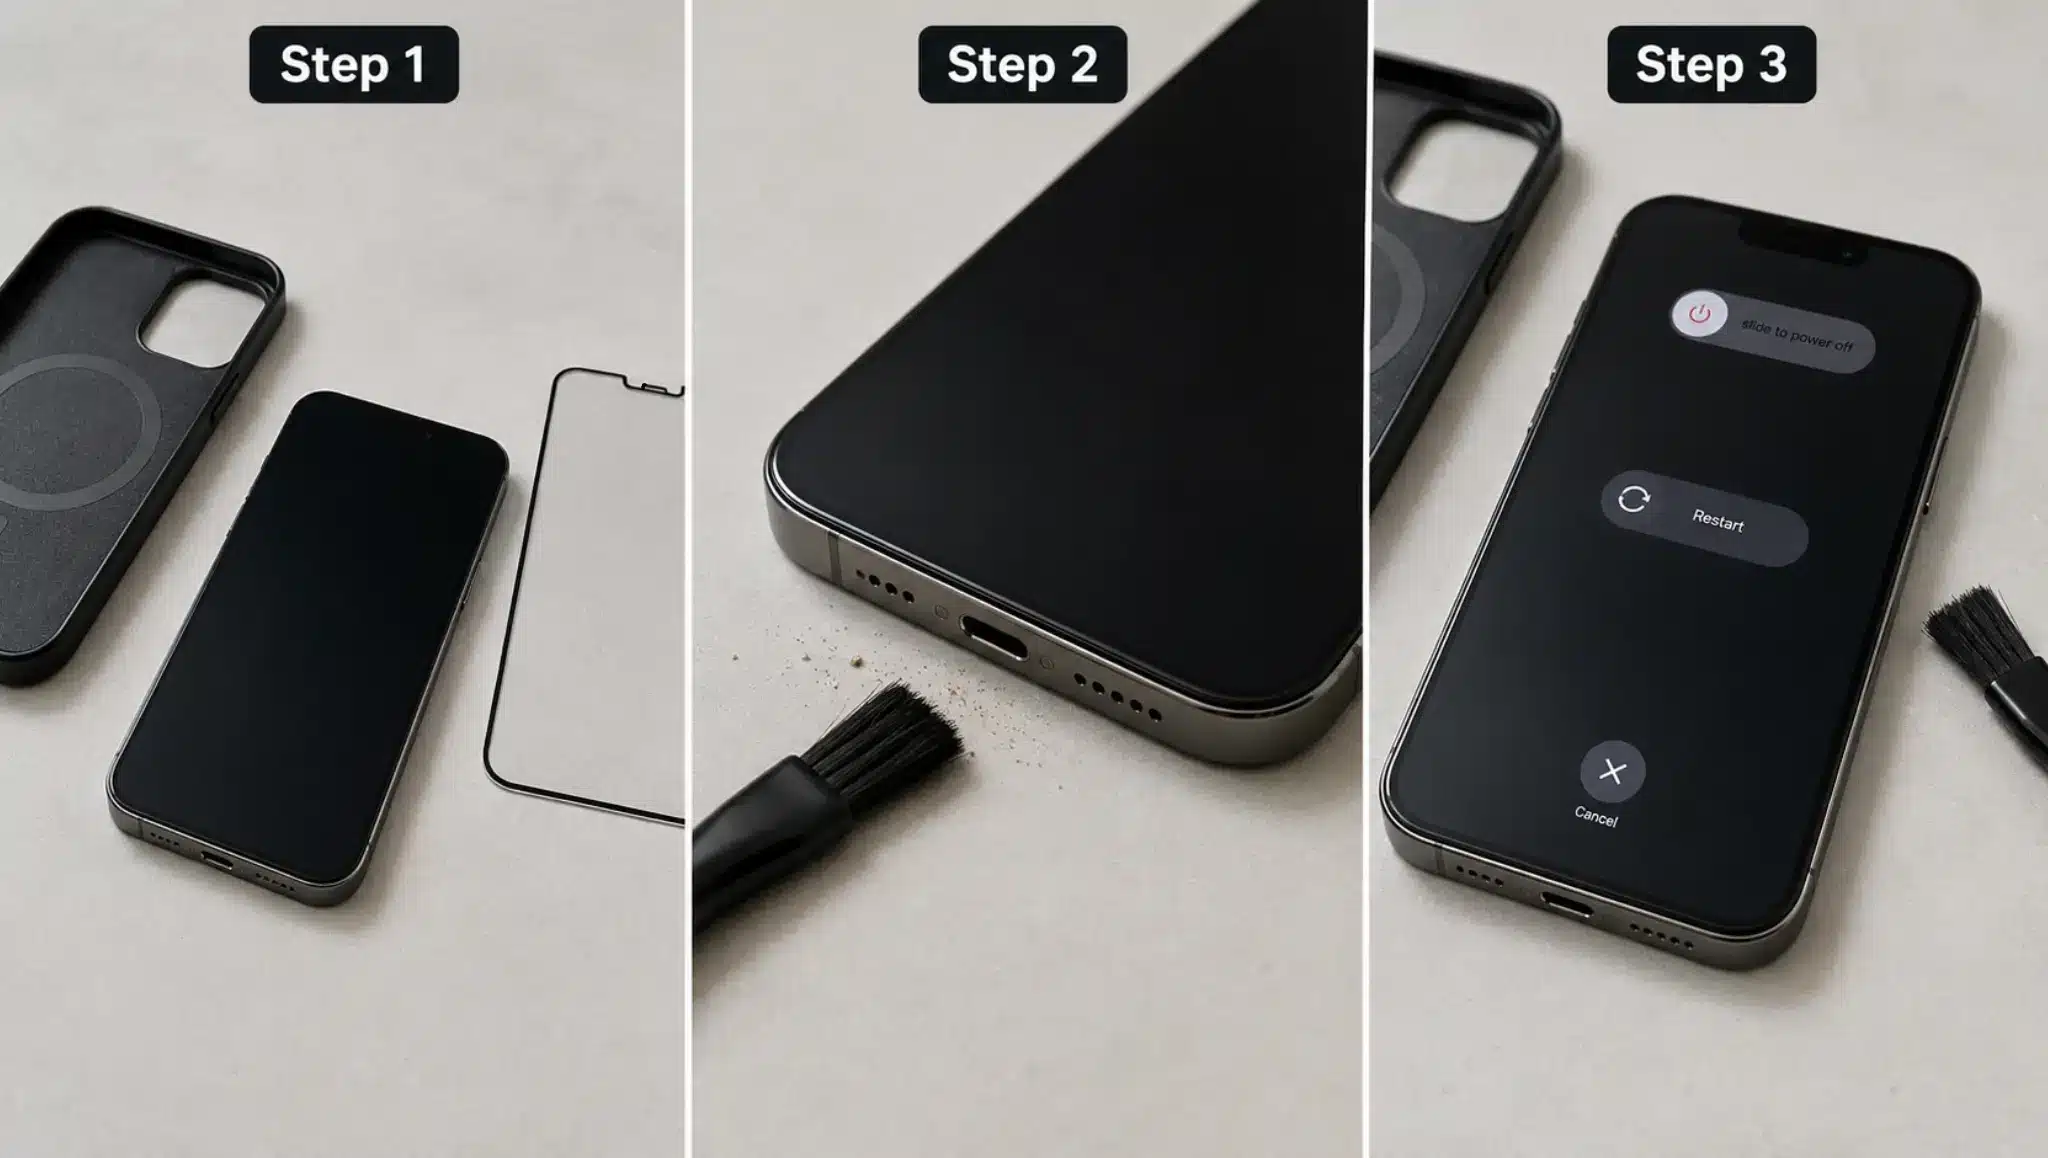
The safest fixes should come before any reset. Follow these steps one by one and test the mic after each step.
Step 1: Remove the Case and Screen Protector
Take off the phone case and any screen protector near the speaker, camera, or bottom edge, since even a slim cover can muffle sound.
Apple Support also recommends removing cases, films, or screen protectors and clearing debris if iPhone microphones are not working, so this is a safe first check. Record a voice note and test call; if the sound improves, use a case made for your exact model.
Step 2: Clean the Mic Openings
Check the small holes near the charging port, the top speaker area, and the rear camera, since dust and lint can collect there over time without being obvious at a glance.
Use a clean, dry, soft brush and brush across the openings lightly rather than pressing into them. Do not use pins, needles, liquid cleaner, wet cotton swabs, or strong compressed air, since these can damage the mic.
Step 3: Restart the Phone
Restart the phone after completing the physical checks above, since a simple reboot can clear a brief software glitch that may be affecting calls, voice notes, or app audio without any hardware fault.
This step takes only a moment but resets background processes that sometimes interfere with microphone access. These first steps solve many common cases; test the mic again before moving further.
Common Phone Microphone Problems and Fixes
After the basic settings are covered, match your symptom to the likely cause. This keeps you from repeating steps that do not fit your problem. Use this table after testing the main audio features.
| Symptom | Likely Cause | What to Try |
|---|---|---|
| People cannot hear you on calls | Blocked bottom mic or Bluetooth | Turn off Bluetooth, remove case, clean bottom mic |
| Works on speakerphone only | Different mic path | Compare call modes and clean the bottom and top areas |
| Works in camera but not on calls | Call setting or app issue | Check Bluetooth, call apps, and mic permissions |
| Fails in one app | App permission or app bug | Allow access, update app, clear cache on Android |
| Sounds muffled | Blocked opening or hand placement | Remove case, clean gently, hold phone differently |
The symptom gives you a clue about where the problem starts. Once you spot the pattern, you can move on to the right fix instead of repeating every basic step.
Phone Settings to Check on iPhone and Android
Once the basic fixes are done, check the settings that control mic access. iPhone and Android menus look different, but the goal is the same: make sure your phone and apps can use the microphone properly.
Step 1: Check Microphone Permission
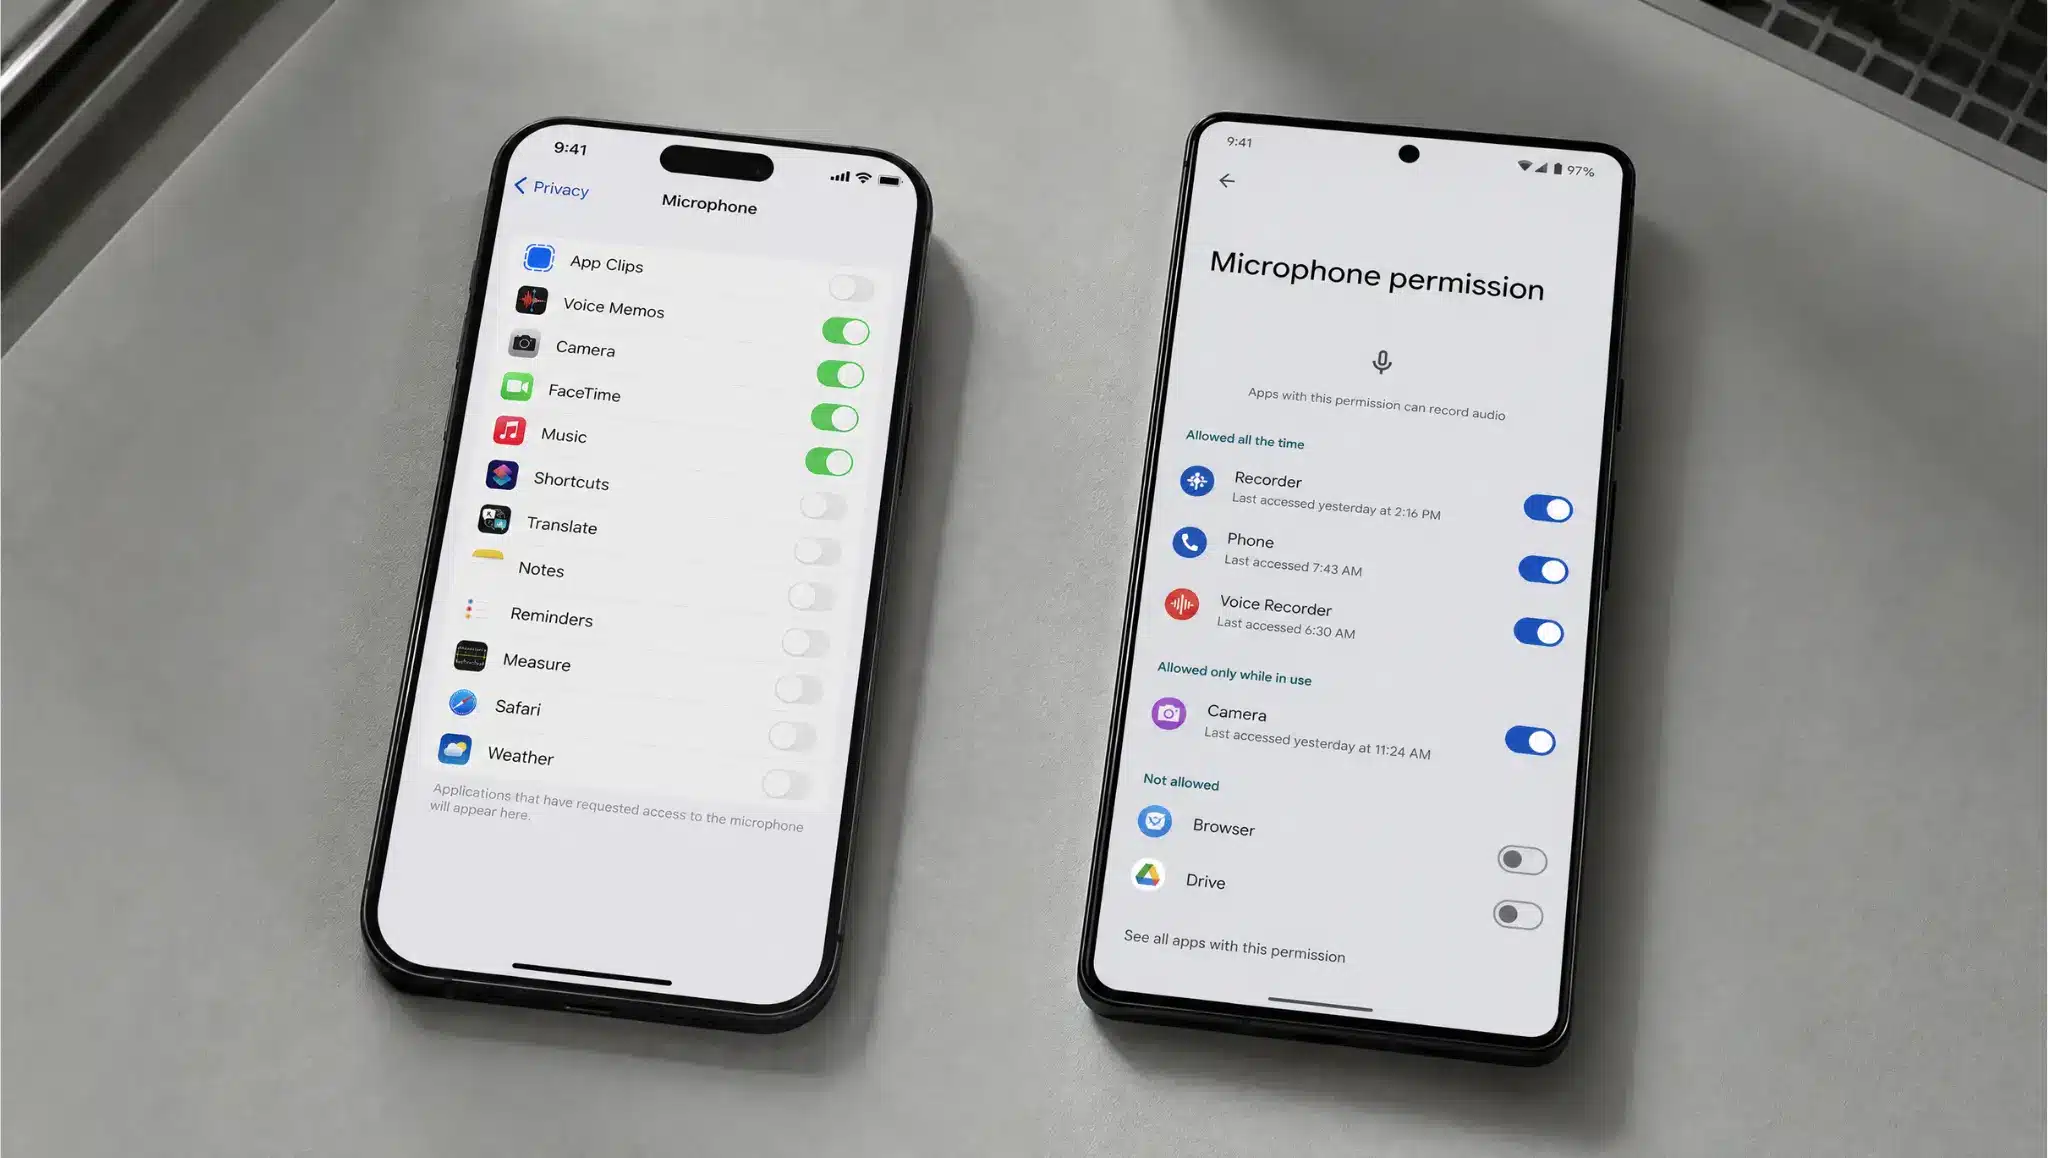
If one app cannot hear you, the mic permission may be turned off for that app.
- On iPhone: Go to Settings > Privacy & Security> Microphone. Turn on access for the app that needs it.
- On Android: Go to Settings > Apps > Permissions or Permission Manager > Microphone.
Google explains that you can change Android app permissions by app or by permission type. Allow the app that needs mic access. Some phones place this under the app’s own Permissions page.
Step 2: Turn Off Bluetooth
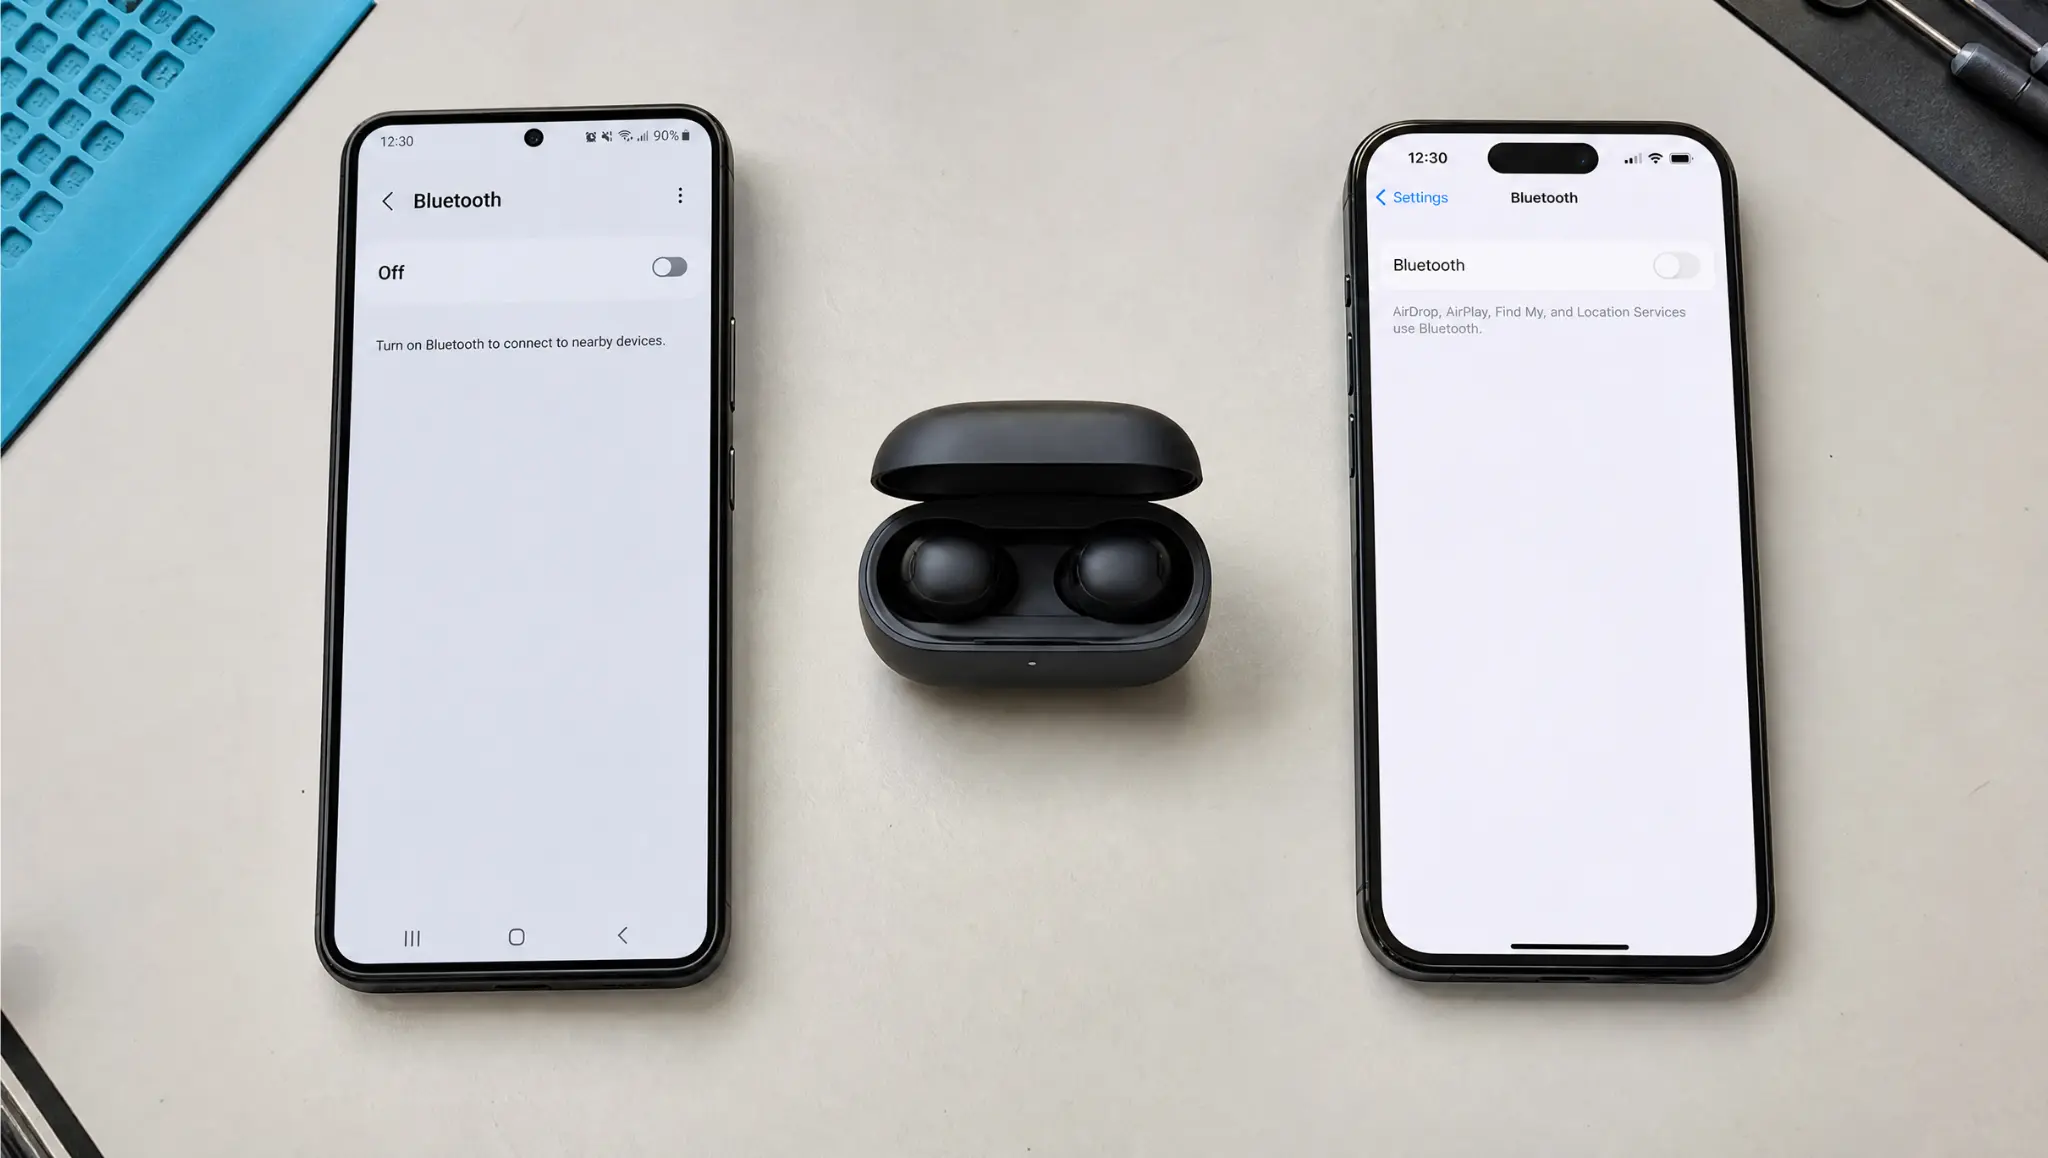
Your phone may be sending audio through another device instead of using the built-in mic.
- On iPhone: Open Settings, then Bluetooth, and turn it off.
- On Android: Swipe down from the top or open Settings > Bluetooth and turn it off.
This same routing pattern shows up with other accessories too; it’s the same reason an Apple Pencil sometimes stops connecting to an iPad until the Bluetooth link is reset. Test the mic again after this to see if Bluetooth routing was the problem.
Step 3: Check the Main Mic Access Toggle
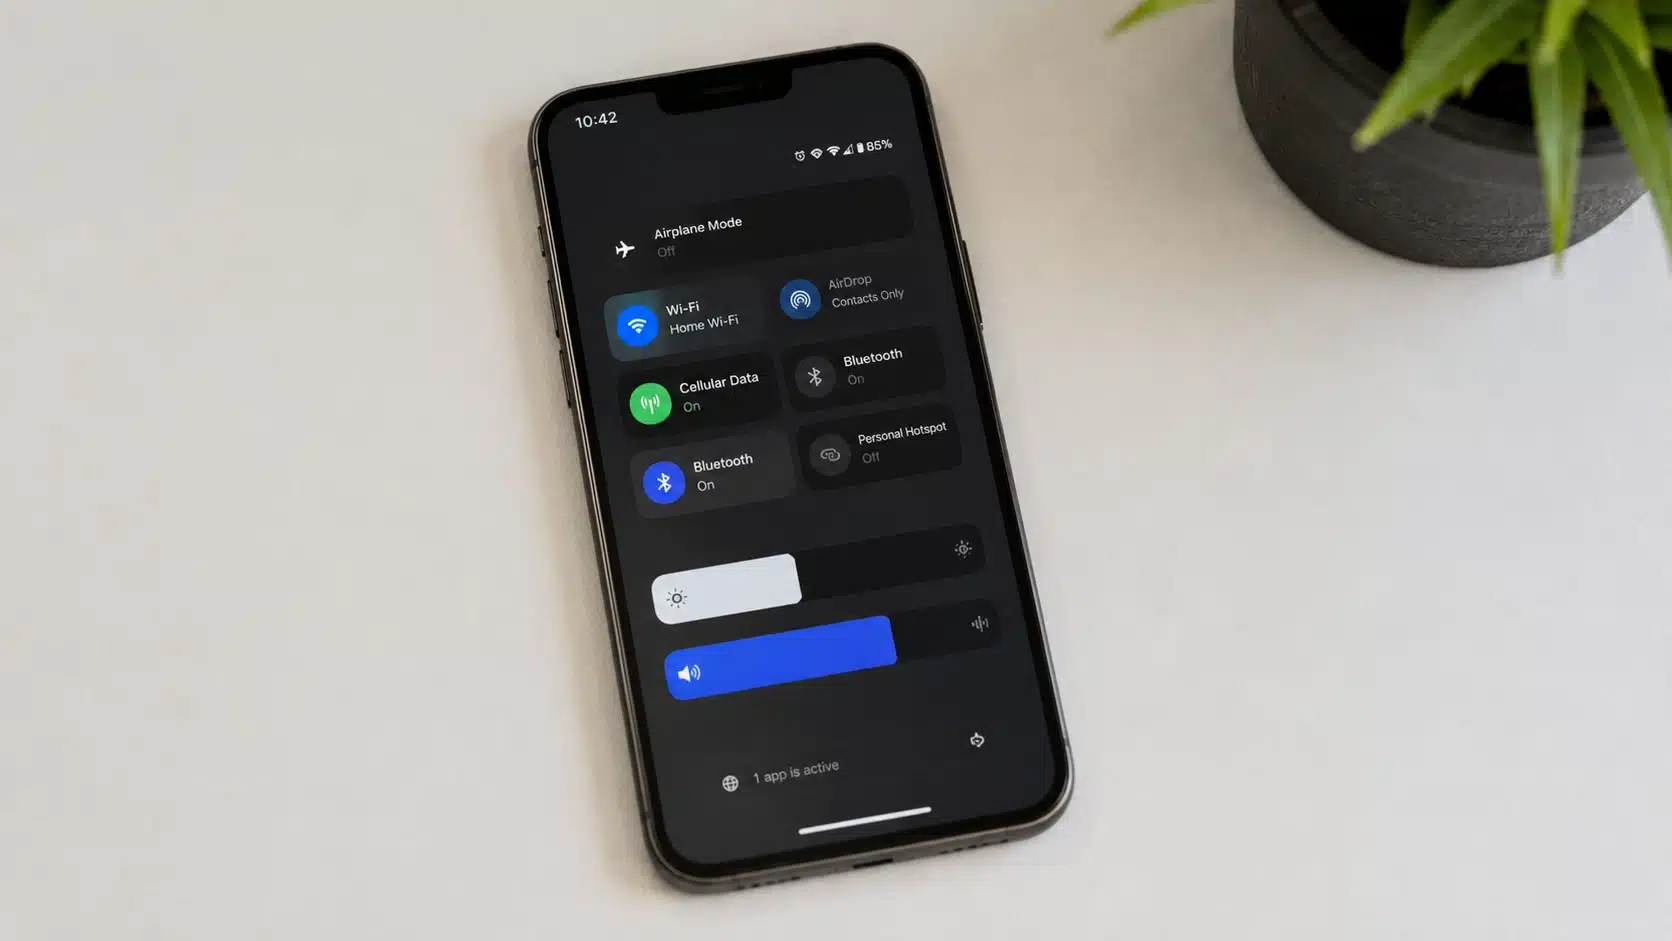
Some phones have a separate microphone access switch that can block mic use even when an app has permission.
- On iPhone: iPhone does not usually have a separate quick mic access toggle like Android. Use the app permission setting instead.
- On Android: Some Android phones, especially Android 12 and newer models, have a quick microphone access toggle.
Google says some Android devices let you turn the camera or mic control on or off from Quick Settings. Swipe down from the top and turn it on if it is off.
Step 4: Clear the App Cache
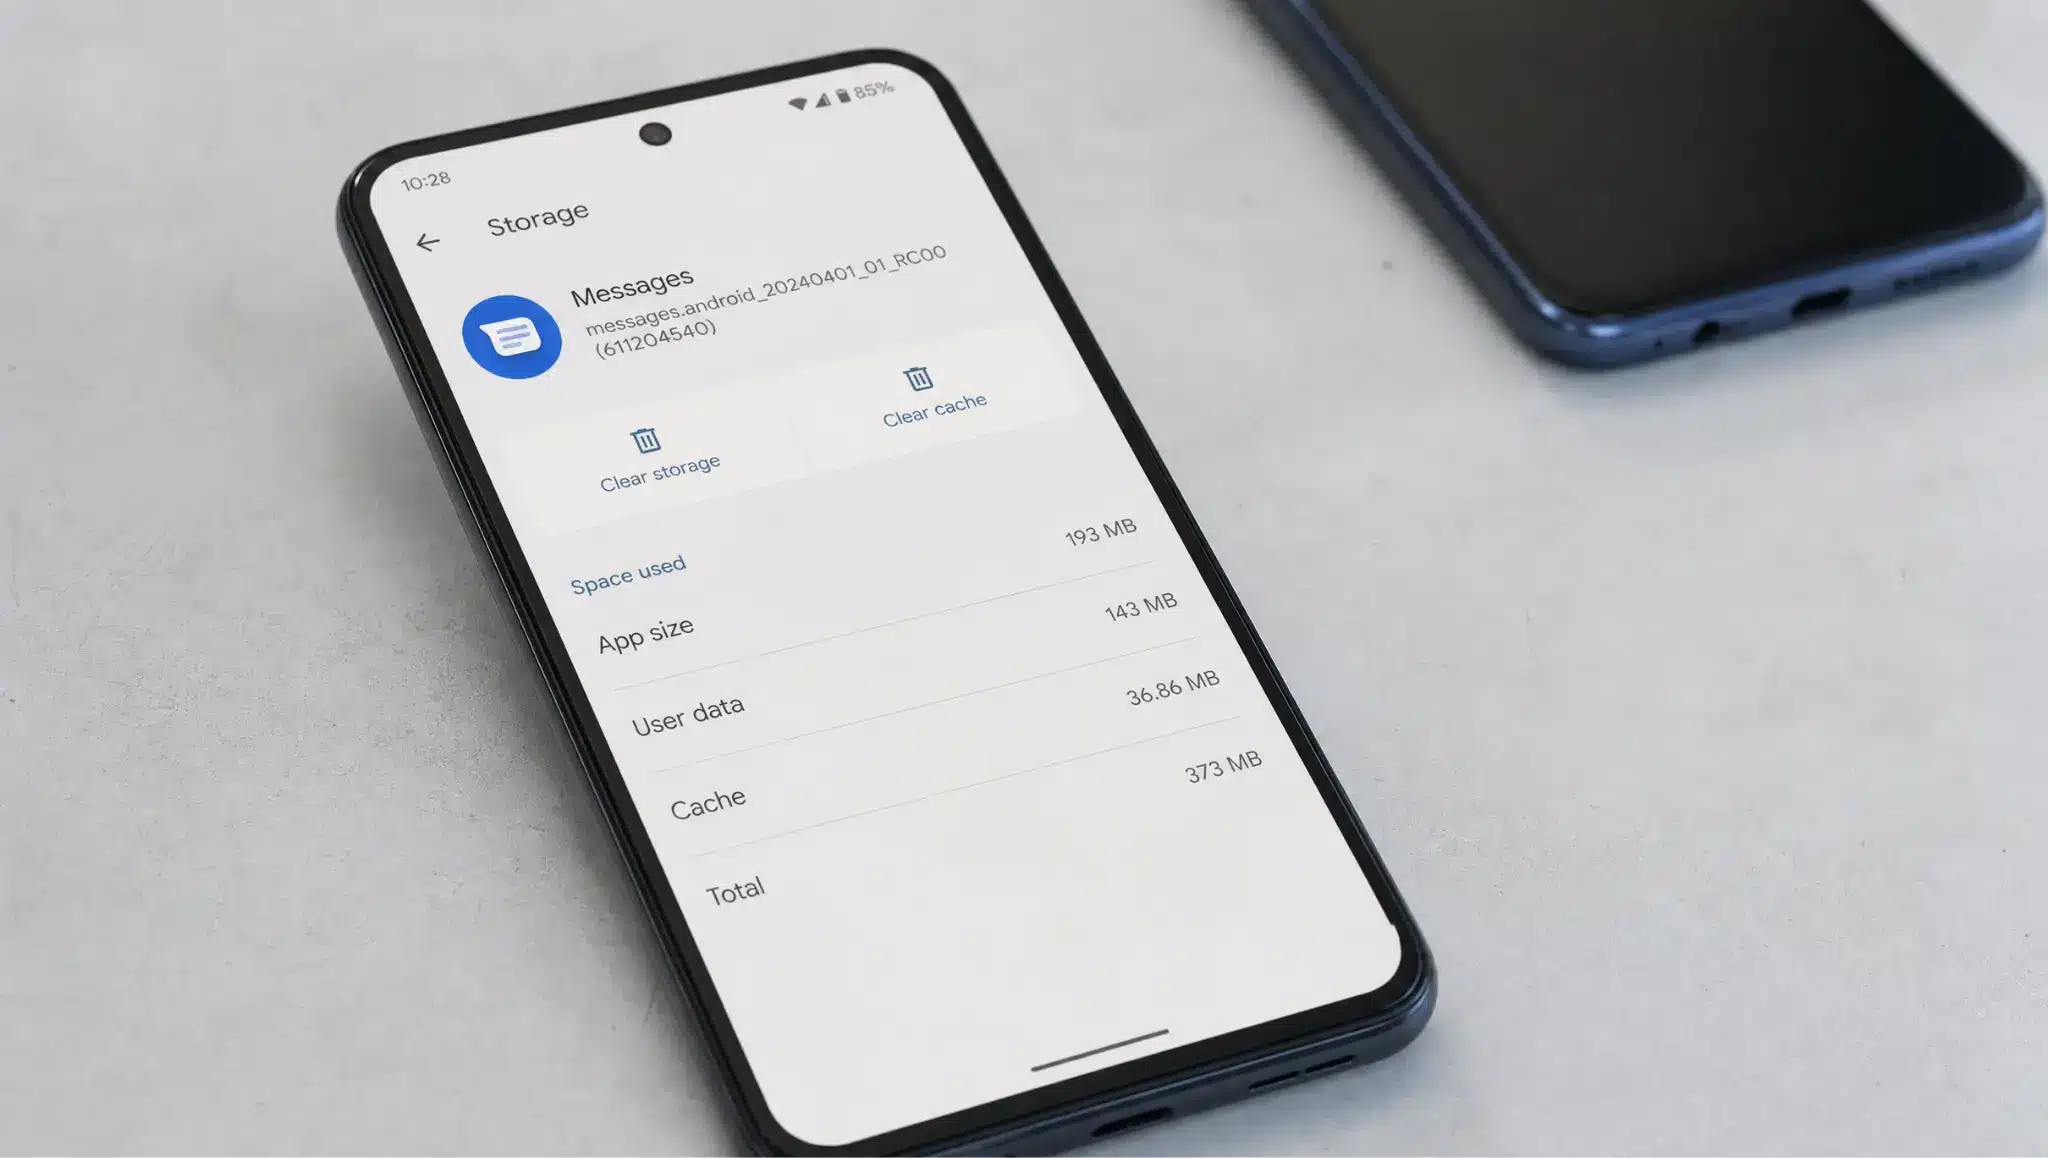
If the mic fails in only one app, the app may need a small reset without changing the whole phone.
- On iPhone: iPhone does not offer the same clear-cache option for most apps. Update the app first, or reinstall it if the issue stays.
- On Android: Go to Settings > Apps > choose the app > Storage, then tap Clear Cache. This can help when only one app fails.
Avoid clearing app data unless you know what it removes.
Step 5: Update the Phone
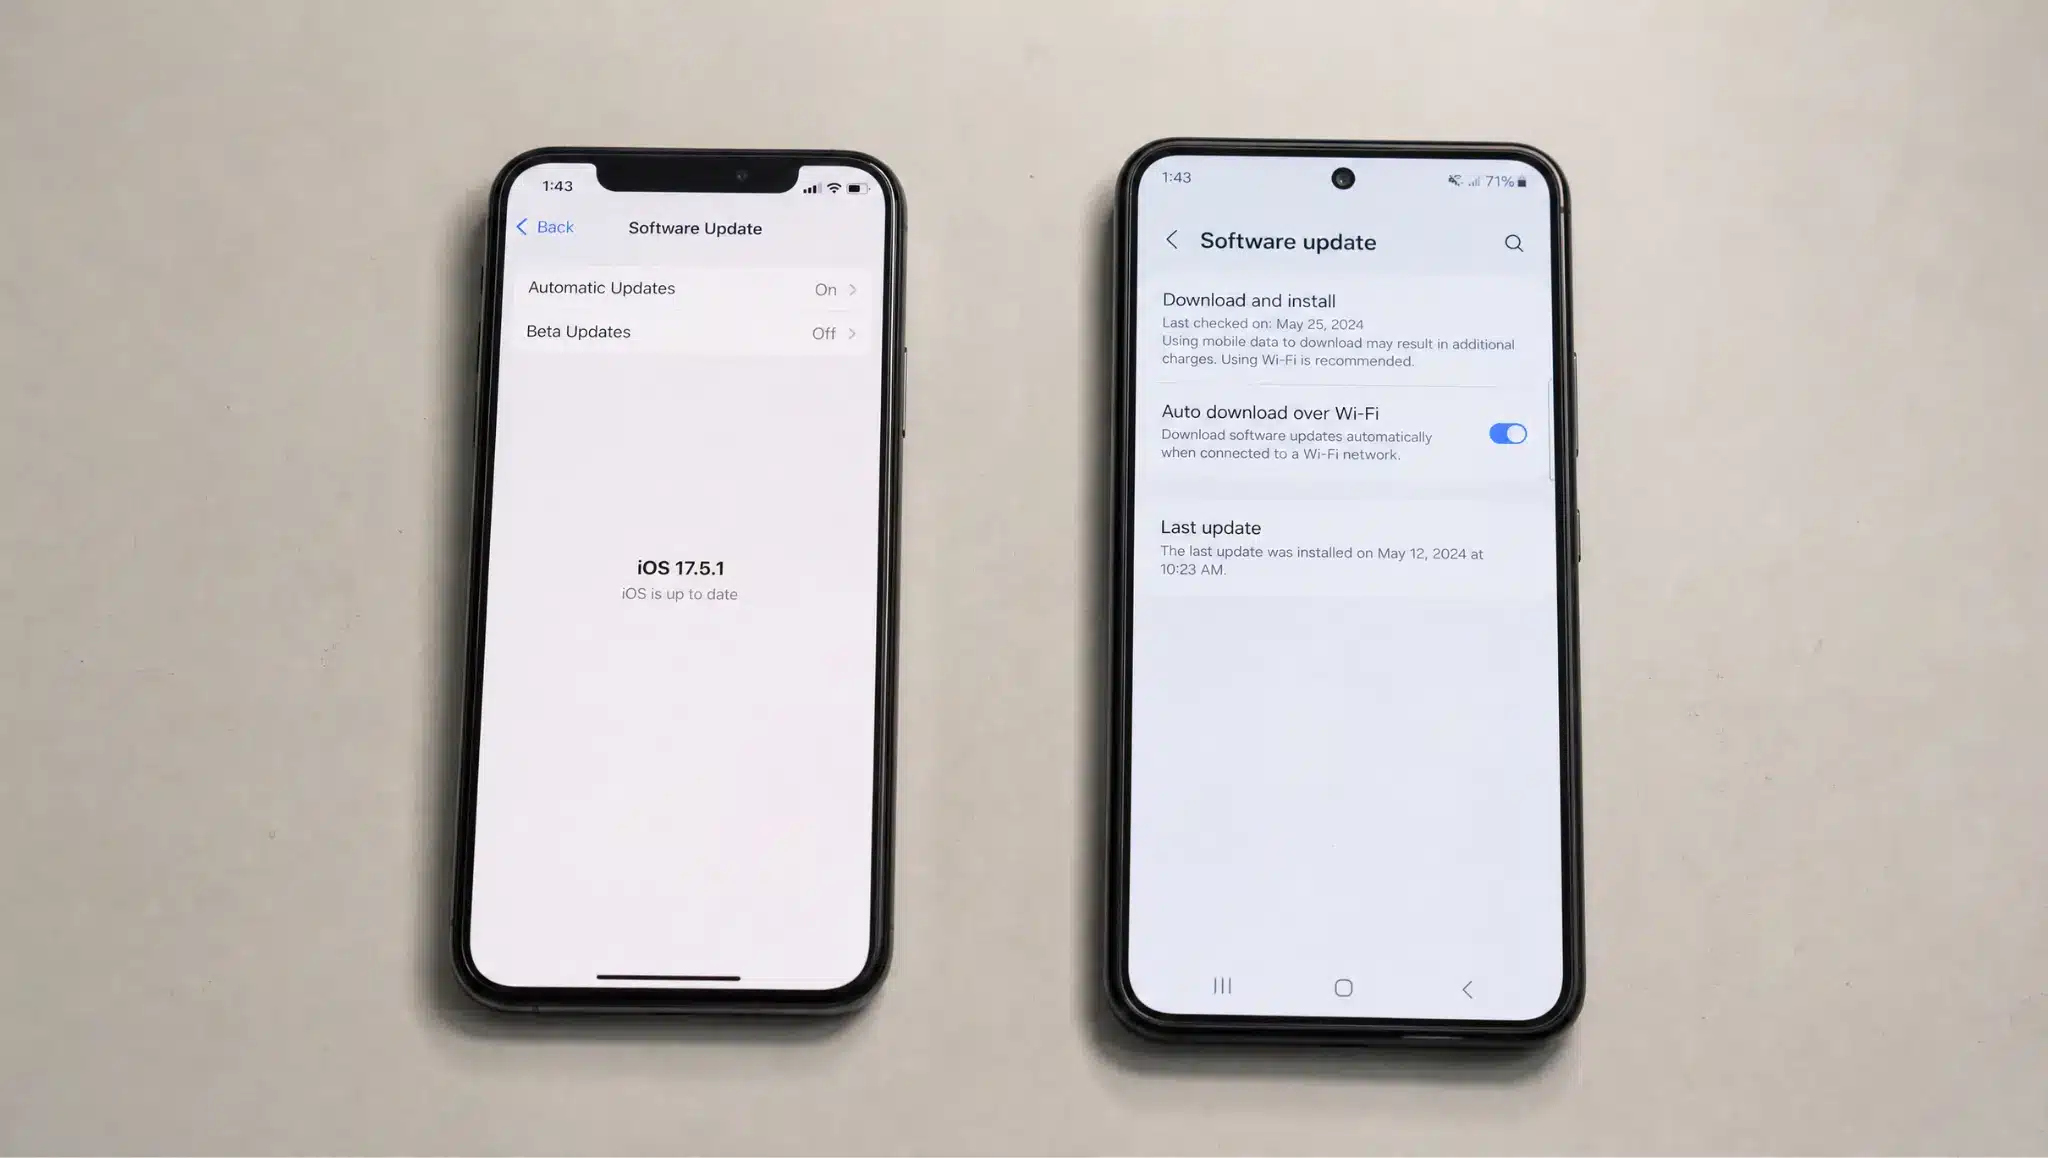
A system update can fix sound bugs, app conflicts, and call issues.
- On iPhone: Go to Settings > General> Software Update. Install any available update, restart, and test again.
- On Android: Go to Settings, then Software Update or System Update. Install any available update, restart, and test again.
Step 6: Reset Settings Only After Easier Checks
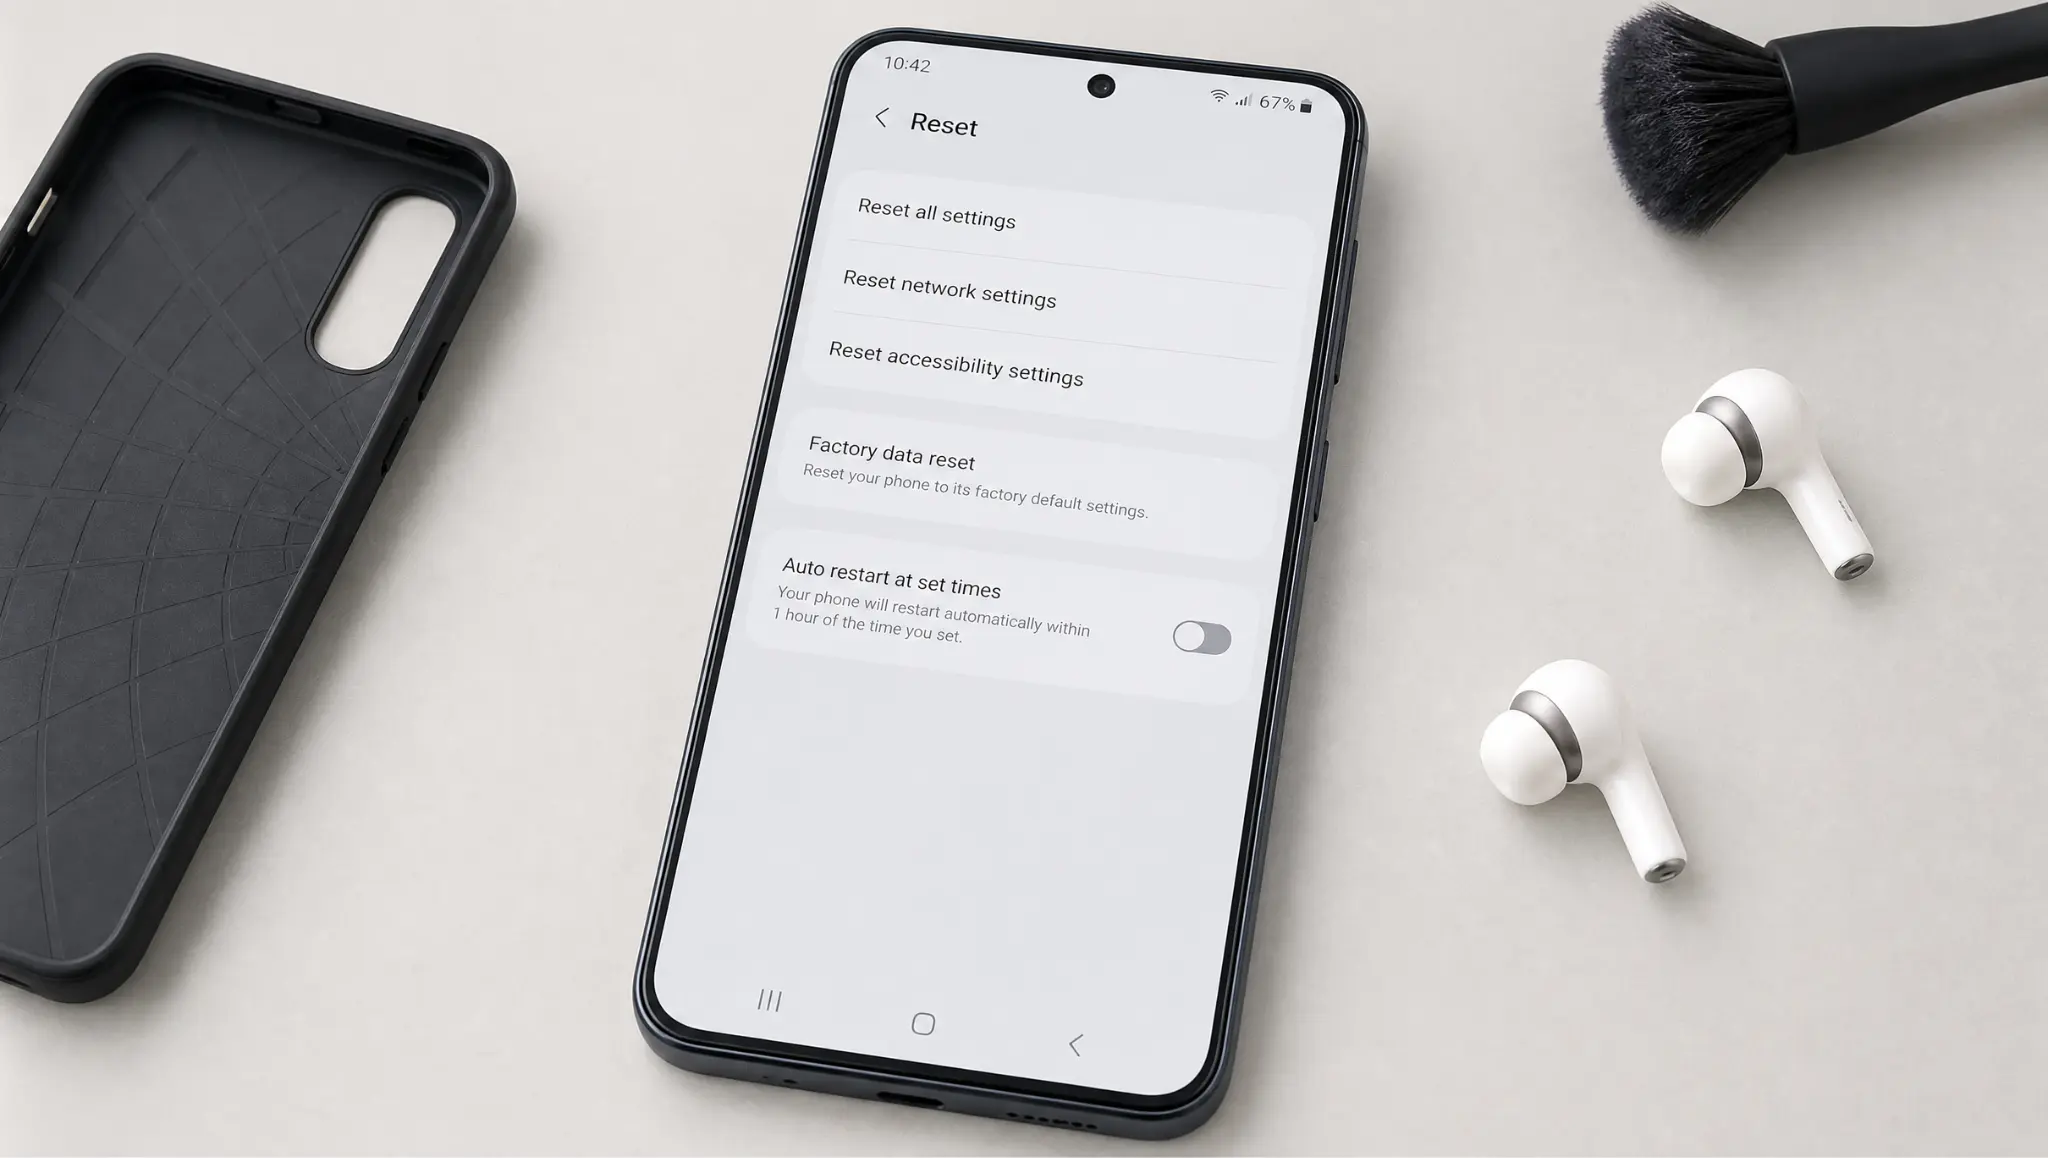
A settings reset should follow cleaning, testing, Bluetooth checks, app permissions checks, and updates.
- On iPhone: Go to Settings > General > Transfer or Reset iPhone > Reset, then tap Reset All Settings. This does not erase photos or apps, but it can reset system settings.
- On Android: Reset options vary by brand, so safelyunlocking a locked Android phone often requires brand-specific steps rather than a single universal method. Check your phone’s reset menu carefully before using it, and avoid factory reset unless you have backed up your data.
Step 7: Run a Built-In Diagnostic if Available
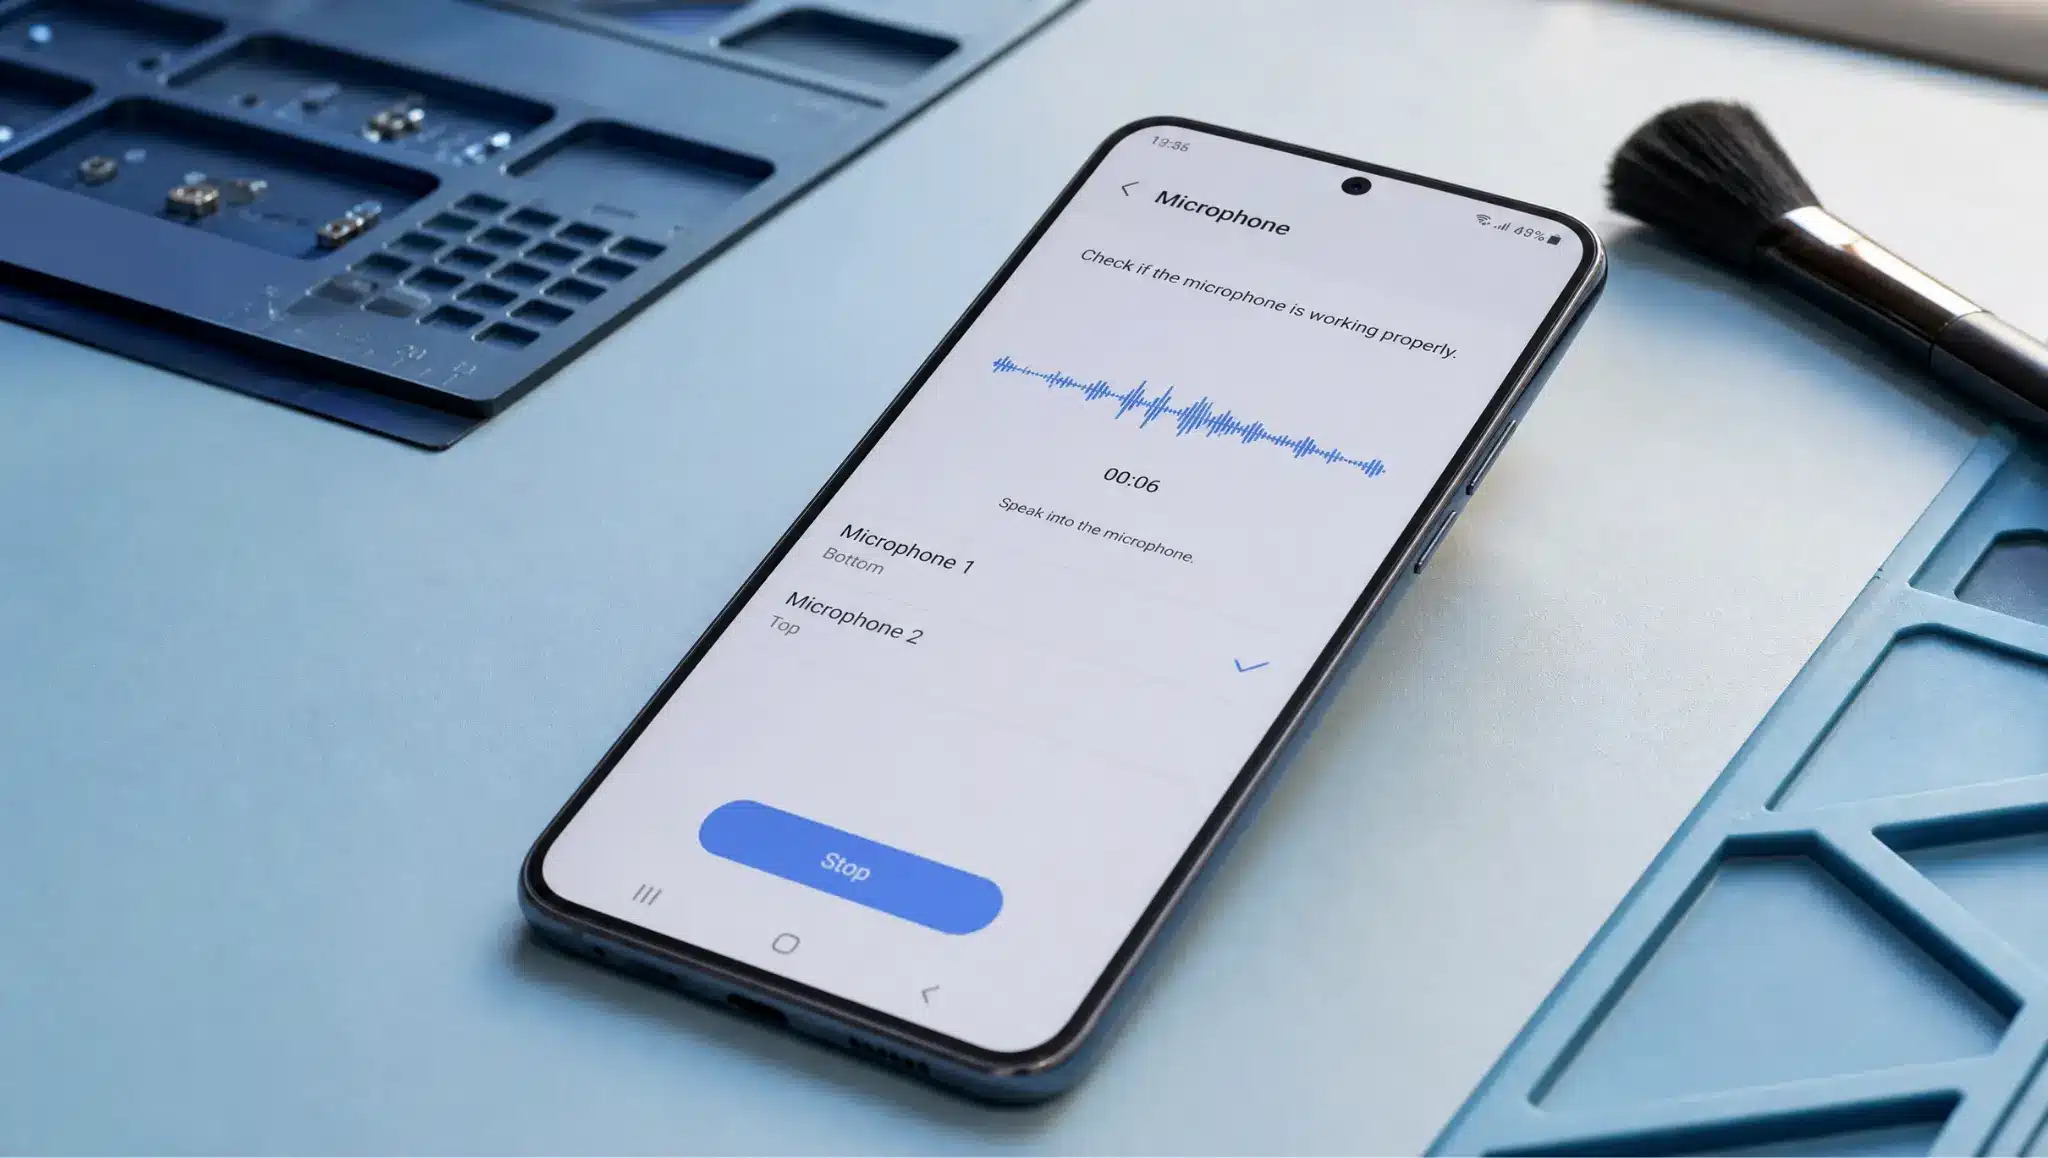
Some phones include a tool that can test the microphone without using a third-party app.
- On iPhone: Apple does not include a Samsung-style mic diagnostic app. Use your earlier Voice Memos, calls, and camera tests instead.
- On Android: On Samsung Galaxy phones, open Samsung Members, tap Support, then run the Mic test under diagnostics. Samsung says Samsung Members diagnostics can help test supported Galaxy devices.
These settings help you separate an app issue from a phone setting or hardware problem. For mic location, check the bottom edge, top speaker area, and camera area, since most phones place microphone openings there.
When a Service Check Makes Sense
Home fixes can solve many mic problems, but they have limits. If the mic inside the phone is damaged, cleaning, settings, and updates will not fix it. Use these signs to decide when it is time to stop testing at home:
- The issue stays after basic fixes: A service check may be needed if the mic still fails after cleaning, testing, updates, and permission checks.
- The phone was dropped or exposed to water: Service is more likely needed if the problem started after a drop or exposure to water.
- The mic stays silent in every app: If calls, voice notes, videos, and recordings all fail, the issue may be hardware-related.
- The sound crackles or cuts out: Crackling after a drop can point to damage inside the phone.
- The mic opening looks damaged: If the hole, mesh, or nearby area looks broken, do not keep poking or cleaning it.
- The phone is under warranty: Contact the official service option for your brand first.
- The phone is out of warranty: Choose a repair shop with clear pricing and good reviews.
Do not replace parts too early. Choose service only if the same problem remains after the basic checks. A clear test pattern helps you explain the issue better and avoid paying for the wrong fix.
Final Verdict
By now, you should know what works, what fails, and what to try next. Many mic problems stem from dust, a blocked case, Bluetooth routing, or a single app setting, not a broken part.
Use the how to fix phone microphone steps one more time before paying for service. Your test results should help you clearly spot the pattern.
If the mic stays silent, crackles after a drop, or fails after exposure to water, stop testing at home.
Book service with your phone brand, carrier, or a reliable repair shop today so the right part gets checked safely. That final service step can save you time, money, and repeated frustration later.
Drop a comment below and let me know if this fixed your issue.
Frequently Asked Questions
Is There One Reset Button for It?
Most phones do not have a mic reset button. Restart the phone, check app permissions, turn off Bluetooth, update the system, and reset system settings only if the issue persists after testing each feature again.
Why Can Nobody Hear Me on Calls?
This often happens when the bottom mic is blocked, Bluetooth takes over, or the call audio has a software glitch. Test speakerphone and voice recording to see if the issue is call-only, app-only, or wider.
Why Does It Fail in Only One App?
When one app fails, the phone hardware is usually fine. Check that app’s mic access, update the app, restart the phone, and clear its Cache on Android before reinstalling it again from the app store.
When Should I Stop Trying Home Fixes?
Stop when the mic remains silent in all tests, when sound crackles after a drop, or when water is exposed. More cleaning or setting changes may not fully address the damage, so service is the safer next step.