Connecting a laptop to a projector is useful for meetings, classes, and home viewing. The process depends on the available ports, such as HDMI, VGA, or USB-C.
Each connection type follows three steps: connect the cable, select the projector input, and adjust the laptop display settings.
Modern systems detect the projector automatically, while older setups may need manual configuration.
Display modes like duplicate or extend improve viewing quality.
This guide explains each method step by step, helping users complete setup without confusion and ensuring stable output for presentations, videos, and screen-sharing tasks.
Quick Answer: How to Connect a Laptop to a Projector?
To connect a laptop to a projector, plug an HDMI, VGA, or USB-C cable between the two devices. Turn on the projector and select the correct input source.
On Windows, press Windows + P and choose Duplicate or Extend. On Mac, open Display Settings and adjust the screen option.
The projector will mirror or extend your laptop display once connected correctly.
This process enables smooth screen sharing for presentations, videos, and meetings without technical difficulty.
What You Need Before Connecting a Laptop to a Projector?
Before starting the setup, make sure you have all required equipment and confirm device compatibility for a smooth, error-free connection.
- Laptop: A working laptop with HDMI, VGA, USB-C, or DisplayPort output for sending video and audio signals to the projector.
- Projector: A compatible projector with matching input ports that displays content clearly on a large screen for presentations or viewing.
- Cable: HDMI, VGA, or USB-C cable used to transfer video signals between a laptop and a projector for a stable display.
- Adapter: Required when ports do not match, helping connect modern laptops with older projector models easily.
- Power Source: A stable power supply for both devices to ensure uninterrupted operation during setup and usage.
- Manual Check: Verify supported resolution and input options to avoid display issues and ensure best image quality.
How to Connect a Laptop to a Projector Wirelessly?
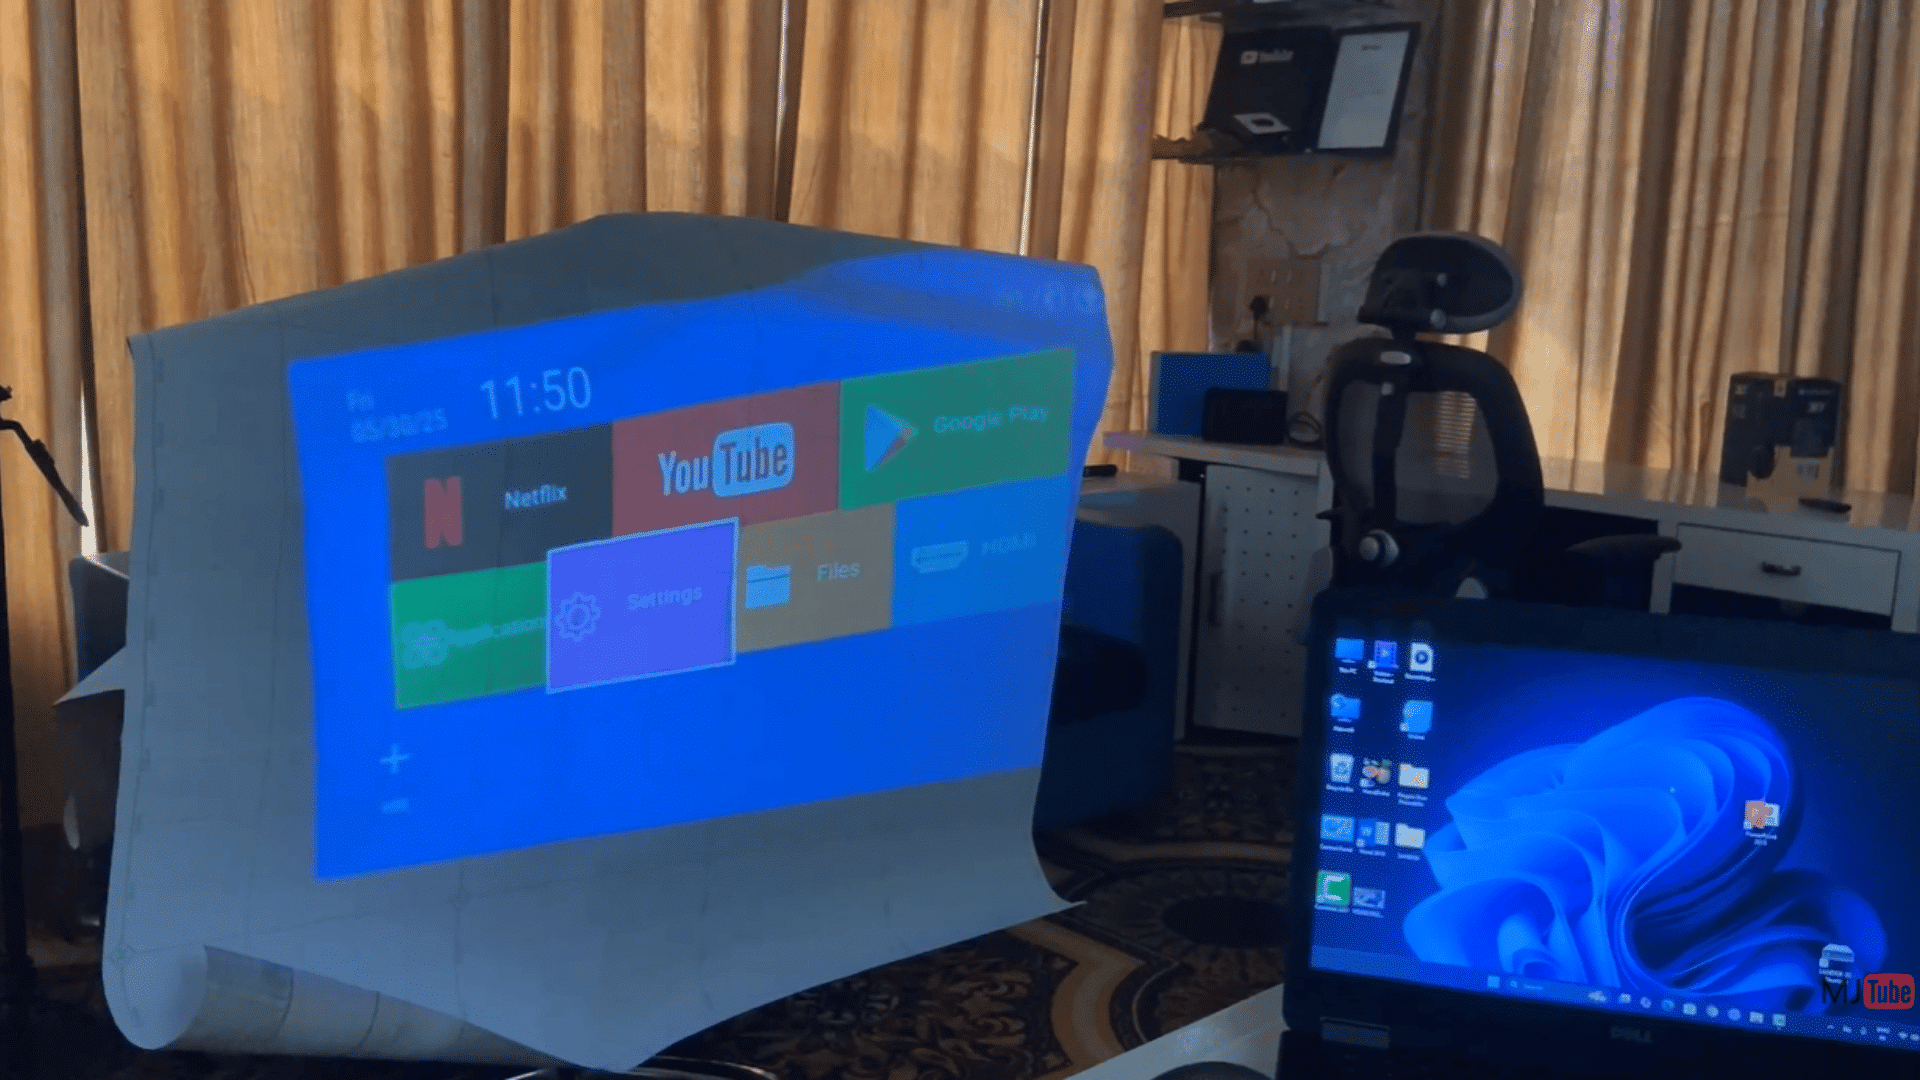
Follow these steps to mirror your Windows laptop screen to a wireless projector, even when both devices are connected to different Wi-Fi networks.
Step 1: Turn on the Projector
Turn on the projector and wait until the home screen loads completely before starting the wireless connection. Ensure the projector is fully powered and ready to receive a screen-sharing request.
Allowing the projector to finish its startup process helps avoid connection delays and makes it easier to access the required settings.
Once the home screen appears, you can continue with the wireless screen-sharing setup shown in the next steps.
Step 2: Open the Screen Sharing Feature
On the projector, open the Screen Sharing or Screen Cast option from the home screen. If you cannot find it there, open the projector’s settings menu and locate the screen-sharing feature.
Select and open it so the projector becomes discoverable to nearby Windows devices.
Keep this screen open while completing the remaining steps, as the projector must stay in screen-sharing mode before your laptop can detect it.
Step 3: Press Windows + K on Your Laptop
On your Windows laptop, press the Windows + K keyboard shortcut to open the wireless display panel. Windows will begin searching for available wireless displays nearby.
After a few moments, the projector name should appear in the list of available devices.
If it does not appear immediately, wait a few seconds and make sure the projector is still showing the screen-sharing page before trying again.
Step 4: Select the Projector and Accept the Connection
Click the projector name from the list of available wireless displays to start the connection. During the first connection.
The projector may display a confirmation message asking you to allow or accept the pairing request. Approve the request to continue.
Once accepted, your laptop screen will begin mirroring on the projector, allowing you to display presentations, documents, videos, or other content without connecting any display cable.
Step 5: Start Wireless Screen Mirroring
After the connection is established, your laptop display will automatically appear on the projector.
The video demonstrates that both the laptop and the projector can remain connected to different Wi-Fi networks while screen mirroring still works.
You can now present documents, play videos, or share your desktop wirelessly without using an HDMI cable. Keep both devices powered on until you finish your presentation or meeting.
This tutorial is based on a helpful video by MJ Tube. You can check out the original video on their YouTube channel here or watch it below.
Understanding Projector Display Modes
Selecting the appropriate display mode helps you present content more effectively and improves productivity in different work and presentation environments.
| Display Mode | Description | Best For |
|---|---|---|
| Duplicate | Displays the same content on both the laptop and projector screens. | Presentations, classrooms, and meetings |
| Extend | Expands the desktop across both screens, providing additional workspace. | Multitasking and dual-screen productivity |
| Second Screen Only | Shows content only on the projector while turning off the laptop display. | Conferences and public presentations |
| Portrait Mode | Rotates the display vertically on supported devices for specialized viewing. | Digital signage, documents, and vertical content |
| Custom Resolution | Adjusts the display resolution for improved image clarity and compatibility. | Optimizing picture quality for different projectors |
Best Practices for Smooth Projector Use
Following simple setup habits helps maintain stable display output and avoids common connection issues during use.
- Use Quality Cable: Always choose a certified HDMI, VGA, or USB-C cable for stable output.
- Check Compatibility: Confirm laptop and projector ports match before setup.
- Set Input Correctly: Select the correct source on the projector menu.
- Adjust Brightness: Set projector brightness based on room lighting conditions.
- Test Before Use: Run a quick display check before meetings or presentations.
- Keep Devices Cool: Ensure proper ventilation to prevent overheating.
- Update Drivers: Keep graphics and display drivers up to date for better performance.
- Avoid Loose Connections: Secure all cables to prevent signal interruption during use.
Choosing the Right Cable: Quick Comparison
Not all cables perform the same way, and picking the right one depends on what your laptop and projector actually support.
| Cable Type | Video Quality | Audio Support | Best For |
|---|---|---|---|
| HDMI | High-definition, up to 4K on supported devices | Yes, built-in | Most modern laptops and projectors |
| USB-C | High-definition, if the port supports video output | Yes, on most video-capable ports | Newer laptops with USB-C or Thunderbolt |
| VGA | Standard definition, no 4K support | No, requires a separate audio cable | Older laptops and classroom or office projectors |
| DisplayPort | High-definition, up to 4K on supported devices | Yes, built-in | Business laptops and higher-end monitors |
How to Get the Best Picture Quality from a Projector
After connecting your laptop to the projector, spend a few minutes optimizing the image for the best viewing experience. Position the projector so the picture fits the screen without distortion.
Then adjust the focus and zoom controls until the image appears sharp and clear.
Reduce room lighting or close curtains to improve brightness and contrast, especially during daytime use.
If available, use keystone correction to straighten the image and select a picture mode that matches the room’s lighting conditions for balanced colors and improved overall clarity.
Other Ways to Connect: USB and Wireless Options
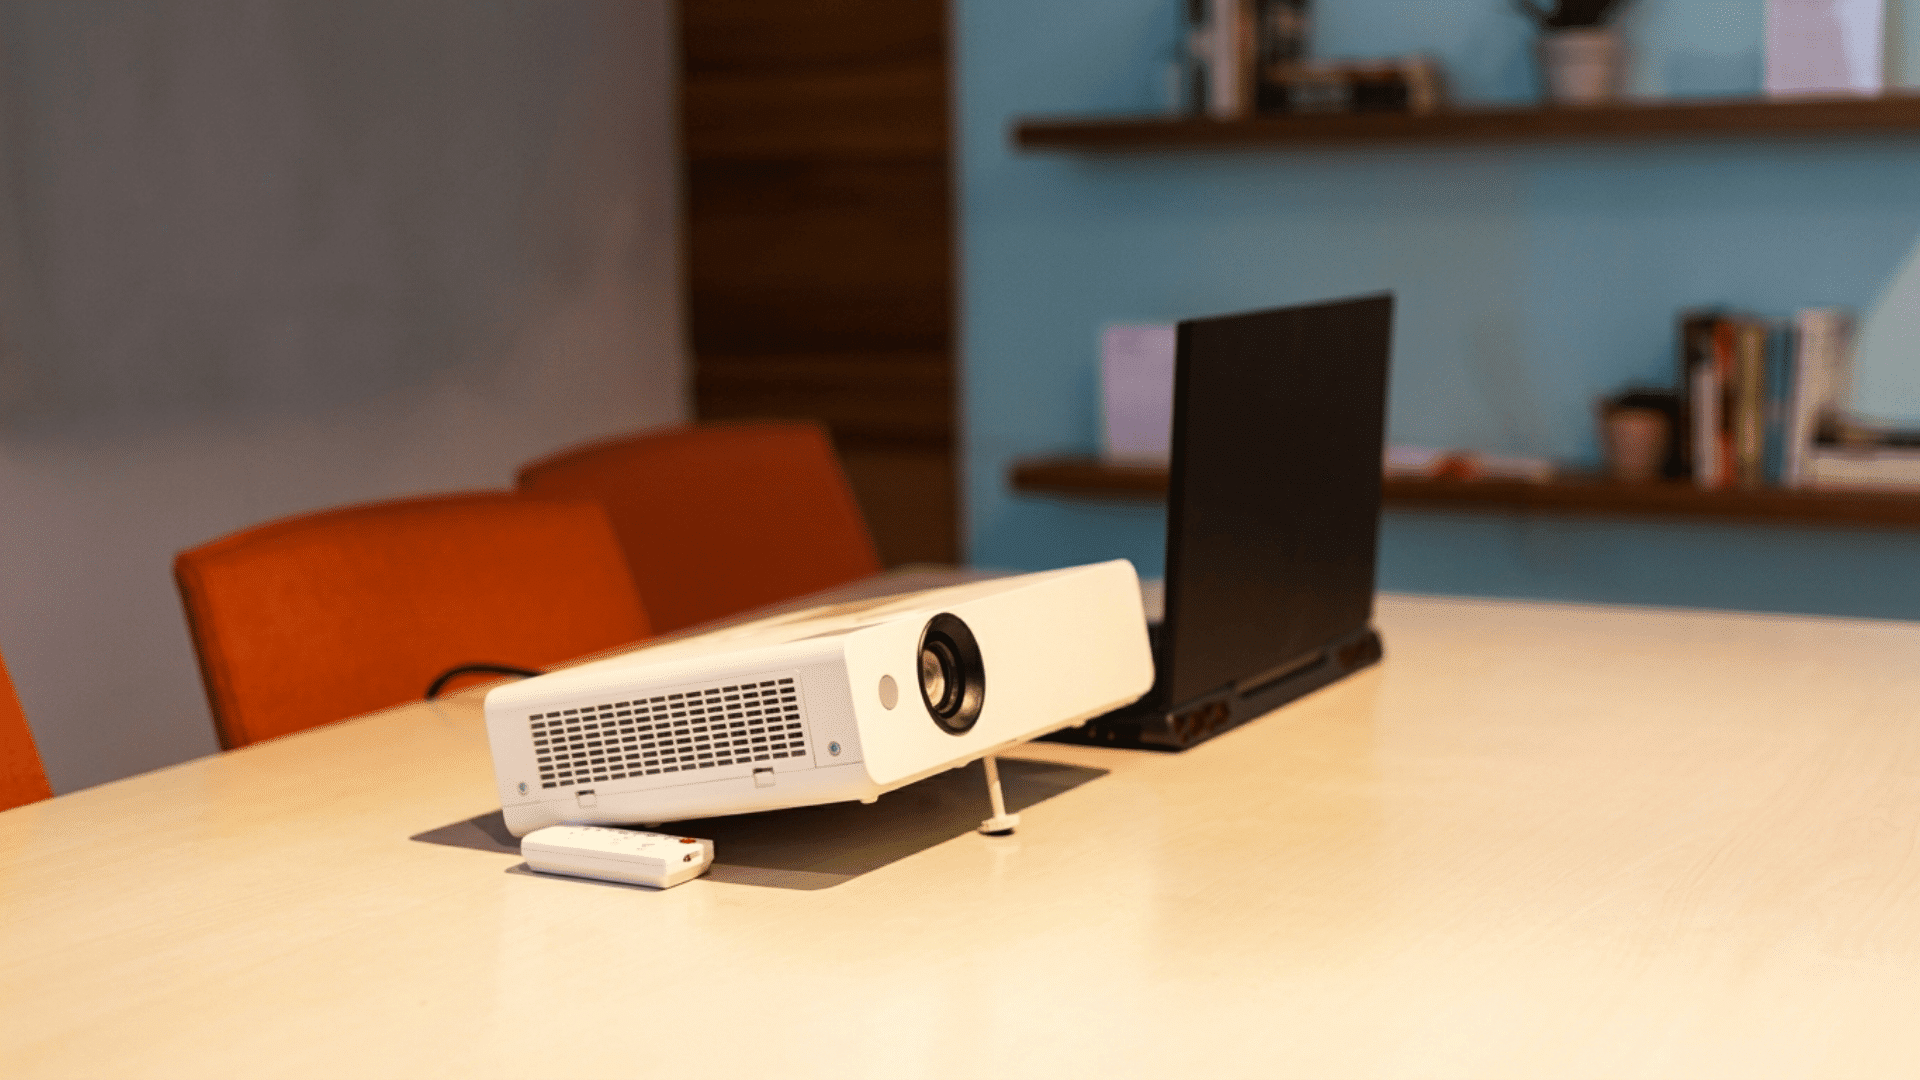
USB and wireless connections provide alternative ways to connect a laptop to a projector when a standard display cable is unavailable or a cable-free setup is preferred.
1. Connecting via USB
A USB connection works with supported laptops and projectors to display documents, images, and presentations.
- Check Compatibility: Confirm both devices support USB display or USB projection.
- Use the Correct Cable: Connect the recommended USB cable securely to both devices.
- Restart Devices: Restart both devices after connecting so the projector detects the USB input.
- Know the Limitations: USB is suitable for basic content, while HDMI or USB-C is better for video.
2. Connecting Wirelessly
Wireless projection lets you share your laptop screen without using display cables, making it a convenient option for meetings, classrooms, and home use.
- Check Compatibility: Confirm both the laptop and projector support wireless projection.
- Windows Setup: Press Windows + K and select the available projector.
- Mac Setup: Open Control Center, choose Screen Mirroring, and select the projector.
- Use Stable Wi-Fi: Connect both devices to a reliable network for smooth screen sharing.
3. Connecting via Streaming Devices
Streaming devices provide a convenient way to connect your laptop to a projector without using display cables.
- Connect the Device: Plug a streaming device into the projector’s HDMI port and power it on.
- Use the Same Wi-Fi: Connect both the laptop and streaming device to the same wireless network.
- Start Screen Mirroring: Use Windows wireless display or Mac AirPlay to connect.
- Best For: Movie streaming, casual presentations, and cable-free screen sharing.
How to Fix Laptop-to-Projector Connection Problems?
Below is a quick reference table to help identify and resolve typical laptop-to-projector issues during setup or use.
| Problem | Cause | Fix |
|---|---|---|
| No Signal Issue | Wrong input source or loose cable connection | Select correct HDMI/VGA input, reconnect cable, restart both devices |
| Display Not Showing Correctly | Incorrect resolution or display mode settings | Adjust resolution, choose Duplicate or Extend mode, detect display |
| Sound Not Working | Audio output not set or HDMI audio not enabled | Select correct audio device, check volume, reconnect HDMI cable |
| Flickering or Distortion | Damaged cable or unstable connection | Replace cable, lower resolution, ensure secure connections |
| Blank Screen | Device not detected or improper startup order | Restart devices, connect cable before powering on, check port selection |
Common Mistakes to Avoid when Connecting a Laptop to a Projector
Avoiding a few common mistakes can help you complete the setup faster and prevent display or connection issues. Keep these tips in mind before and during the connection process.
- Select the Correct Input: Choose the same HDMI, VGA, or USB-C input on the projector that matches the connected cable.
- Secure the Cable: Make sure both ends of the cable are firmly connected to prevent signal loss or an unstable display.
- Use a Compatible Adapter: Check that any USB-C or DisplayPort adapter supports video output before connecting the projector.
- Choose the Right Display Mode: Select Duplicate, Extend, or Second Screen Only based on how you want the content to appear.
- Match the Resolution: Set a resolution supported by both the laptop and projector to avoid blurry images or display errors.
- Test Before Presenting: Open a presentation or video to confirm the picture and audio work correctly before your meeting or class.
How to Use a Projector in Different Settings?
Projectors are useful in many environments, from professional workplaces to home entertainment spaces. Choosing the right setup for each setting helps deliver clear visuals and a better viewing experience.
| Setting | Description |
|---|---|
| Offices | Used for meetings, presentations, reports, and video conferences to improve collaboration and communication among teams. |
| Classrooms | Displays lessons, videos, diagrams, and study materials, helping teachers explain concepts more clearly and improve student understanding. |
| Home Entertainment | Creates a large-screen experience for movies, sports, gaming, and TV shows, making home viewing more immersive and enjoyable. |
| Events & Workshops | Supports sharing training sessions, presentations, and demo content, making it easier for audiences to follow and engage. |
| Business Presentations | Used for client meetings, product demos, and reports, helping professionals deliver information in a clear and impactful way. |
Conclusion
Connecting a laptop to a projector becomes simple when you use the correct cable, select the right input source, and adjust the display settings properly.
Whether you are giving a business presentation, teaching a class, watching movies, or hosting an event, following the correct setup steps helps prevent common connection problems.
Testing the display before you begin also saves time and avoids unexpected interruptions.
With the instructions in this guide, you can complete the setup confidently and enjoy a stable viewing experience. For teams that depend on reliable presentations, use this guide as a standard reference for future setup checks.
Frequently Asked Questions
Why Can’t a Computer Find a Projector?
Check that the projector is powered on, the correct input source is selected, and all cables are secure. Restart both devices, then detect the display again through display settings menu.
Why Is HDMI Connected but No Display?
A loose cable, incorrect input source, unsupported resolution, or faulty HDMI port can cause this issue. Reconnect the cable, select the correct source, and restart both devices again if needed.
Is a Special Screen Required for a Projector?
No, but a projector screen usually provides better brightness, contrast, and image quality than a plain wall. A smooth, light-colored surface also works well for many viewing setups at home.
How to Get a Laptop to Recognize a Projector?
Reconnect the cable securely, turn on the projector, and open display settings to detect another screen. Updating graphics drivers and restarting both devices often resolves detection problems for most users.