A blank page that will not go away is one of the most common formatting headaches in Microsoft Word. You highlight it, press Delete, and the page count barely changes.
This is rarely random. A stray paragraph mark, a leftover page break, or a section break Word is quietly protecting is almost always the real cause.
Once you understand how to delete a page in Word, or specifically how to delete a blank page in Word, the fix usually takes under a minute.
I have cleaned up this exact problem in resumes, contracts, and long reports for clients, and the same small set of causes shows up almost every time.
Why a Blank Page Refuses to Leave
A blank page rarely shows up by accident. Something specific is holding it in place, and normal backspacing often cannot touch it.
In my experience, the last two causes below trip up almost everyone the first time, since Word hides the responsible object instead of showing it in the text. Here is what usually causes it, with the fix for each one covered in its own section below.
- A leftover paragraph mark: Word’s required end-of-document mark gets pushed onto a new page.
- A manual page break: left behind by an old edit or template, forcing a fresh page.
- A section break: Next Page, Odd Page, or Even Page breaks add a page on purpose.
- A table reaching the bottom margin: a full-page table pushes the page’s closing mark onto its own page. This one needs a different fix from the others, so it gets its own section further down.
Match the list above to what you are actually seeing in your document, then jump straight to that section instead of working through every fix in order. Even outside Word, clearing out digital clutter the same way tends to make a file easier to manage overall.
How to Delete a Blank Page in Word: Find and Clear the Marks Behind It
Most blank pages trace back to a hidden paragraph mark or a leftover page break. Turning on formatting marks first shows exactly what’s holding your page in place.
1. Turn On Formatting Marks First
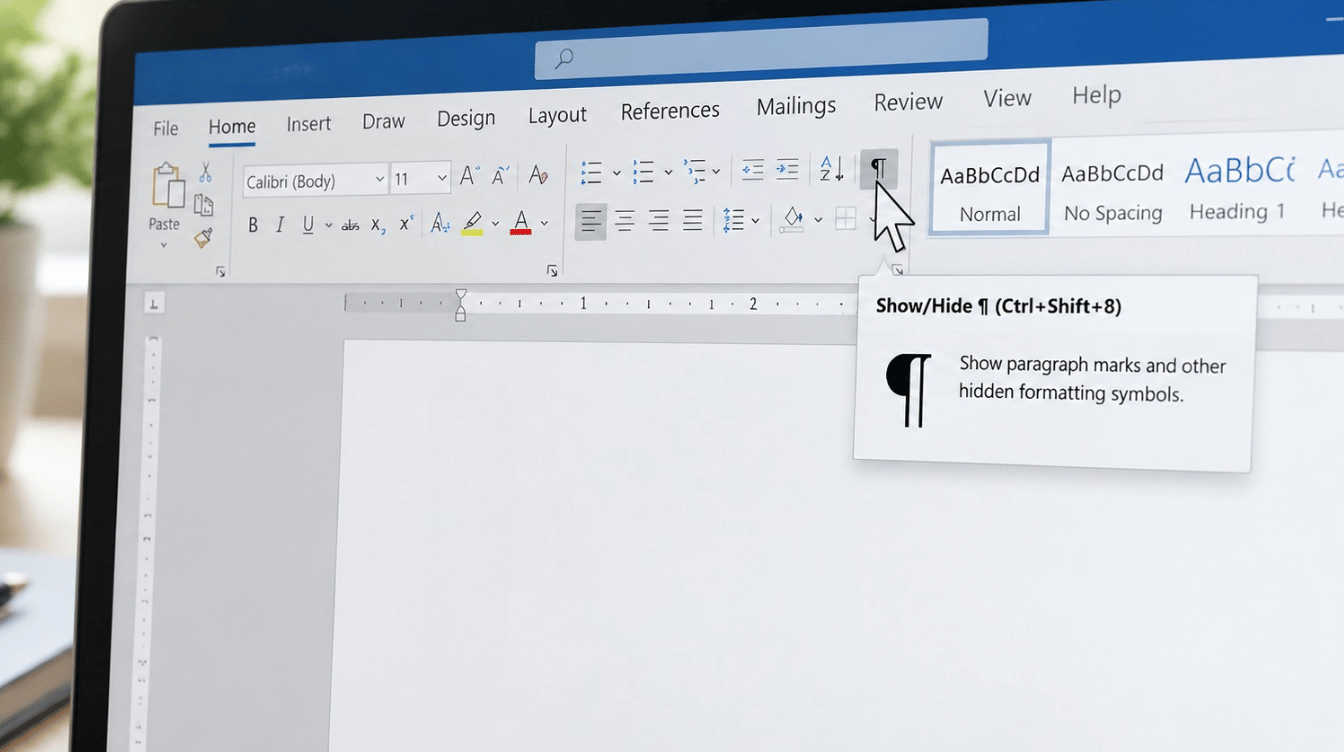
I turn this on before touching any blank page, since guessing at the cause almost always wastes more time than checking first. Turning on formatting marks is the fastest way to see what is sitting on a blank page, and it is often the quickest way to clear it without touching anything else.
- Press Ctrl+Shift+8 on Windows, or Command+8 on Mac, to reveal paragraph marks.
- Scroll to the blank page and look for pilcrow (¶) symbols sitting alone on a line.
- Click before each empty mark and press Delete or Backspace to remove it.
- Repeat until the page folds back into the one before it.
If one mark will not leave no matter what, it is likely Word’s required end-of-document mark, and that is covered next, similarly stubborn to an unresponsive program that won’t close through normal means.
2. Shrink the Paragraph Mark Word Won’t Delete
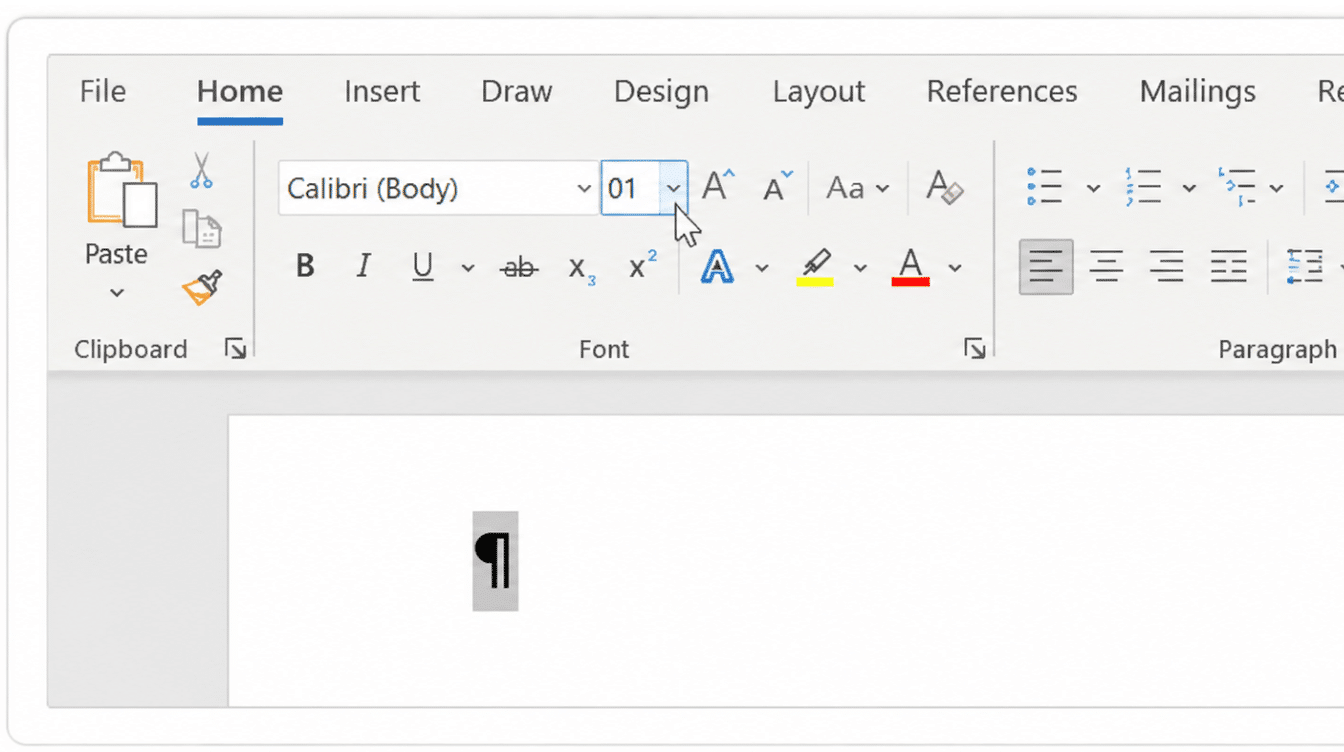
When the leftover blank page sits at the very end of a document, deleting every visible mark still will not remove it. Word keeps one closing mark in every file, and Microsoft’s own fix targets it directly. You cannot select and remove this mark the normal way, so select it instead of deleting it.
- Click anywhere on the last, blank paragraph mark.
- Open the font size box on the Home tab, type 01, and press Enter.
- Shrinking it to one point usually pulls the mark, and the page, back onto the previous page.
- If it still will not budge, open the Layout tab, select Margins, choose Custom Margins, and reduce the bottom margin slightly.
This often goes hand in hand with checking your overall page setup and margin defaults, which is worth a closer look on its own.
3. Delete a Manual Page Break
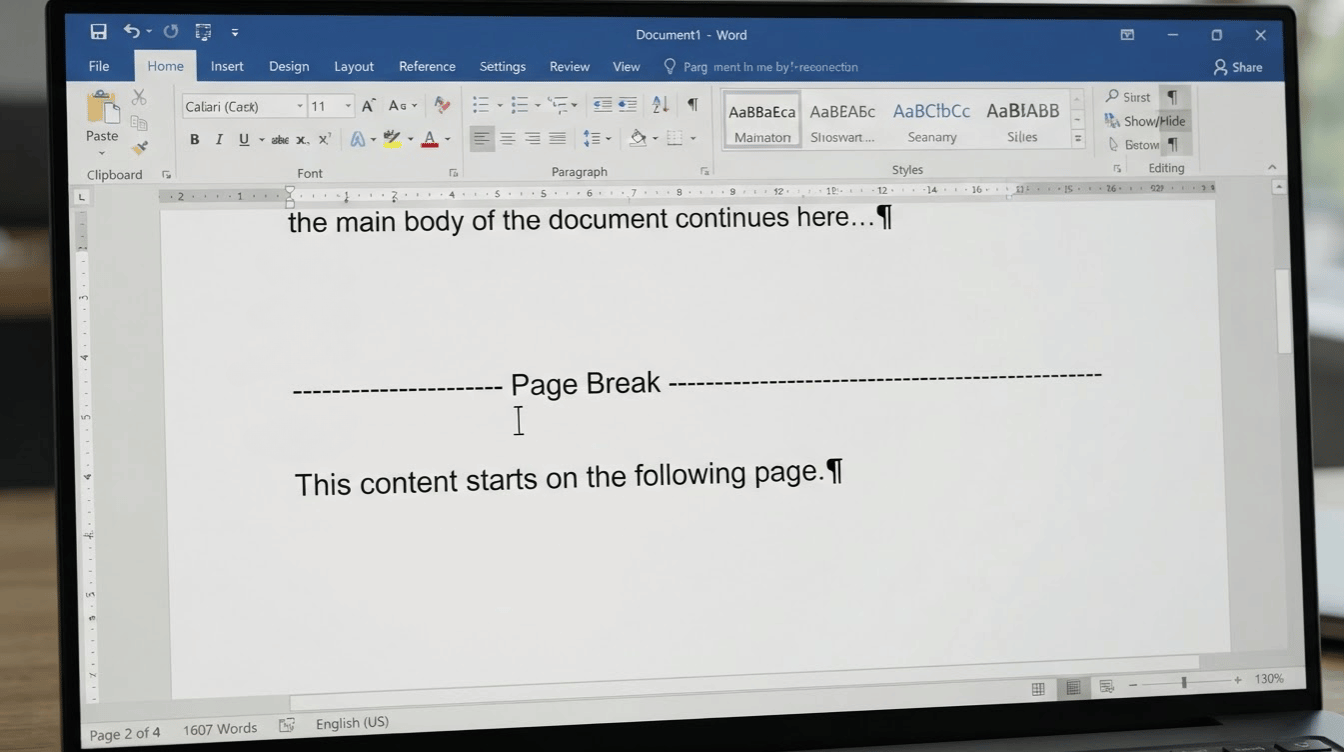
A manual page break behaves differently from a paragraph mark. Once formatting marks are on, Word shows it as its own line that you can select and delete directly.
- Turn formatting marks back on with Ctrl+Shift+8 or Command+8.
- Look for the label reading Page Break, sitting by itself on its own line.
- Click just to the left of that label to place your cursor there.
- Press Delete once to remove the break along with the blank page it created.
With the break gone, the content before and after it settles back onto the pages next to it, as if the break had never been there. It’s the kind of formatting habit large organizations track closely, since a few overlooked settings can affect thousands of printed pages.
Section Breaks That Refuse to Delete
Section breaks manage formatting, not just page position. Deleting one without checking what it controls can undo margins, headers, or columns you meant to keep.
|
Break type |
What it does |
Safer fix |
|---|---|---|
|
Next Page |
Starts a new page |
Delete only if nothing depends on it |
|
Odd or Even Page |
Forces an odd or even start |
Switch it to Continuous |
|
Continuous |
Adds no new page |
Rarely the cause, safe to leave |
Double-click the break to open its dialog box, then use the Layout dropdown inside it to select Continuous. This usually removes the extra page without affecting existing formatting, a small habit worth building alongside other quick workflow fixes for cleaning up documents.
Clear a Blank Page Caused by a Table
This is the fix people ask me about most, since it looks identical to a stray paragraph mark but needs a completely different first step. When a table sits at the very bottom of a page, Word still needs somewhere to put the paragraph mark that follows it, and that mark can get pushed onto a page of its own.
- Turn on formatting marks and click on the paragraph mark directly below the table.
- Try shrinking that mark to one-point font size, the same way as the end-of-document mark above.
- If the page is still there, right-click inside the table, choose Table Properties, open the Row tab, and clear the box next to “Allow row to break across pages.”
- As a last step, select the table’s bottom row and reduce its row height slightly so the whole table clears the bottom margin.
How to Delete a Page in Word When It Has Content
If the unwanted page still contains text, a photo, or a table, this is not a blank-page problem at all, and this Go to shortcut clears the whole page in seconds. This is the method to reach for whenever you need to delete a page in Word in the broader sense, not just an empty one.
- Click anywhere on the page you want to remove.
- Press Ctrl+G on Windows, or Option+Command+G on Mac, to open Go To.
- Type \page into the field, press Enter, then select Close.
- Confirm the full page is selected, then press Delete.
This shortcut works the same way in a short letter or a long report. Word always selects one page of content at a time, no matter how the document was originally formatted.
Windows, Mac, Web, and Mobile: What Changes
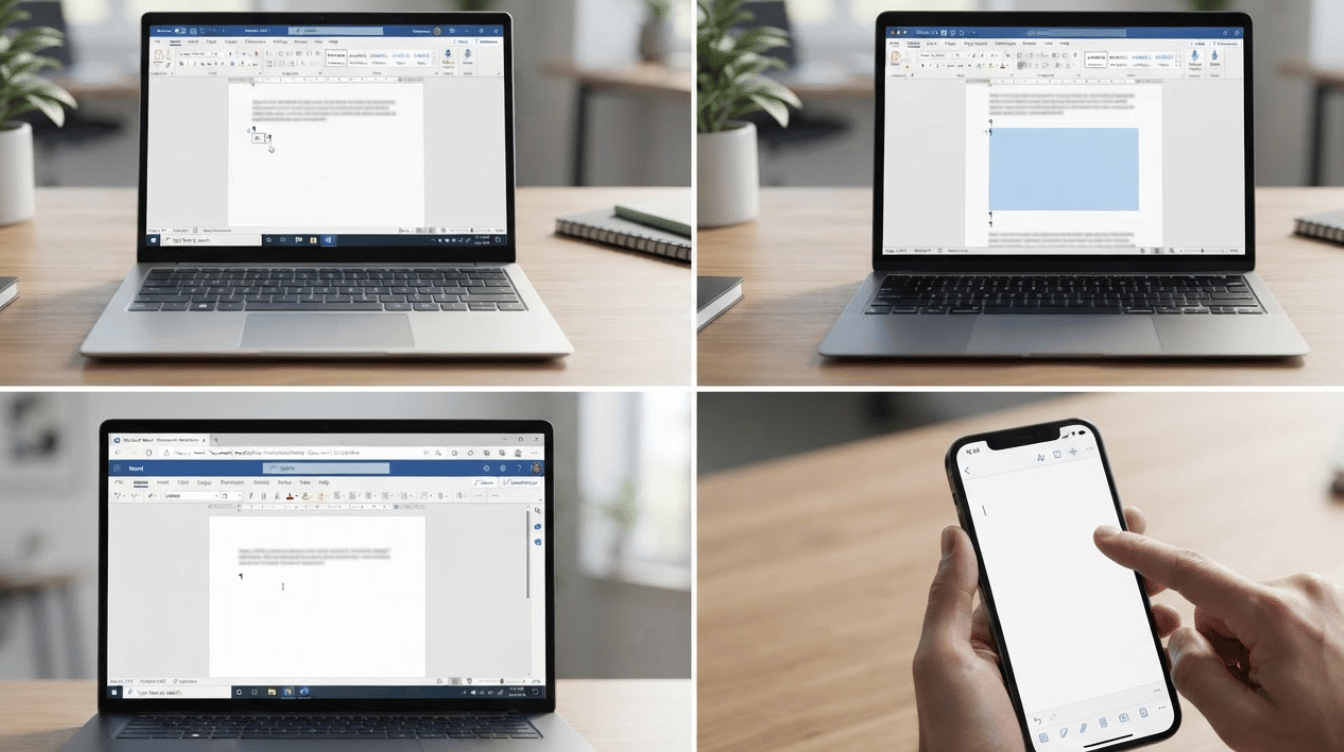
The fixes above stay the same everywhere. What changes between platforms is mostly which keys you press and how much you can edit directly on the page.
|
Platform |
Go To |
Formatting marks |
Section breaks |
|---|---|---|---|
|
Windows |
Ctrl+G |
Ctrl+Shift+8 |
Fully editable |
|
Mac |
Option+Command+G |
Command+8 |
Fully editable |
|
Word Online (web) |
Same shortcuts, or the Home tab menu |
Home tab toggle |
Cannot edit a Next Page or Odd Page break; open the file in desktop Word for that one |
|
Mobile (iOS/Android) |
Not available |
Not available |
Open the file in desktop Word instead |
On a touchscreen laptop, a two-finger tap or a long press on a paragraph mark or break brings up the same Cut option as right-clicking, so you don’t strictly need a keyboard on Windows or Mac either.
When a Blank Page Should Stay
Before deleting anything, I always check whether the document is meant to print double sided, since removing the wrong page can shift every page after it onto the wrong side of the sheet. Not every blank page is a mistake.
- Books and long reports often leave a blank page before a new chapter on purpose, so the chapter starts on the correct side of a printed sheet.
- Printed booklets and duplex documents sometimes need a blank back page to keep page counts even.
- Templates built for binders or dividers may include a blank page as a placeholder.
If you are not sure whether a page is intentional, check the document’s print layout settings or ask whoever built the template before removing it.
Keep Your Formatting Intact While You Delete
A page can disappear and still leave the rest of a document looking wrong. A few simple habits are worth building before you start deleting anything in a longer, more formatted file.
- Save a copy before deleting a section break, in case you need to undo a change. I have broken a header setup this way more than once, and a saved copy is the only reason it was an easy fix.
- Change a break to Continuous instead of deleting it when headers or margins depend on it.
- Press Ctrl+Z or Command+Z right away if a deletion removes more than intended.
- Turn off formatting marks once finished, so the document displays normally.
These checks take seconds, and they save far more time than redoing formatting that was already correct, keeping your workflow moving instead of stalling on cleanup.
Wrapping Up
Most stubborn pages in Word come down to a hidden paragraph mark, a leftover break, a section break protecting your layout, or a table pushing content past the margin.
Once you find the specific cause, fixing it usually takes only a few clicks, whether you are working in Word on Windows, Mac, Word Online, or the mobile app.
Turning on formatting marks first is still the fastest way to see what a page is actually hiding. That single habit covers how to delete a page in Word and how to delete a blank page in Word in nearly every situation you will run into.
Try it on your own file, and tell me in the comments what caused yours.
Frequently Asked Questions
Does Deleting a Page in Word Remove My Header and Footer Settings Too?
Not on its own. Headers and footers belong to sections, not individual pages, so removing a paragraph mark or page break leaves them untouched. They only change if you delete a section break that separates two different header or footer setups.
Will Deleting a Page Change the Page Numbers After It?
No manual update is needed. Word renumbers every page automatically once content shifts, so page numbers in the header or footer stay accurate without any extra step from you.
Why Does Word Show a Blank Page only When Printing, Not on Screen?
This usually points to double-sided, or duplex, printing rather than the document itself. Many printers print on both sides by default, and if the file has an odd number of pages, the printer adds a blank back side so the last sheet finishes correctly. Checking the printer’s duplex setting, rather than the Word file, is the fix.
Can I Delete a Page in Word without Opening the Sidebar that Lists Every Page?
Yes. Word’s View tab has an optional sidebar that shows page thumbnails, which is handy for finding a page visually but is never required. The Go To command, formatting marks, and break removal all work the same whether that panel is open or closed.
Does Deleting a Page Change My Document’s Word Count?
No extra step is needed. Word recalculates the word count automatically once you remove content, and word count and page count are tracked as separate figures in the status bar at the bottom of the document.