Custom prints have a way of making simple items feel personal, but the process behind them can feel less obvious.
You may see a bright mug or shirt and ask, what is a sublimation printer, especially when regular printers seem familiar.
Sublimation looks simple on the outside but depends on a few choices behind the scenes, from the ink used to the heat and pressure applied. It is about how a design moves from screen to product without looking pasted on or peeling over time.
This here will cover what makes the method useful, where it fits best, and what to know first.
What Is a Sublimation Printer?
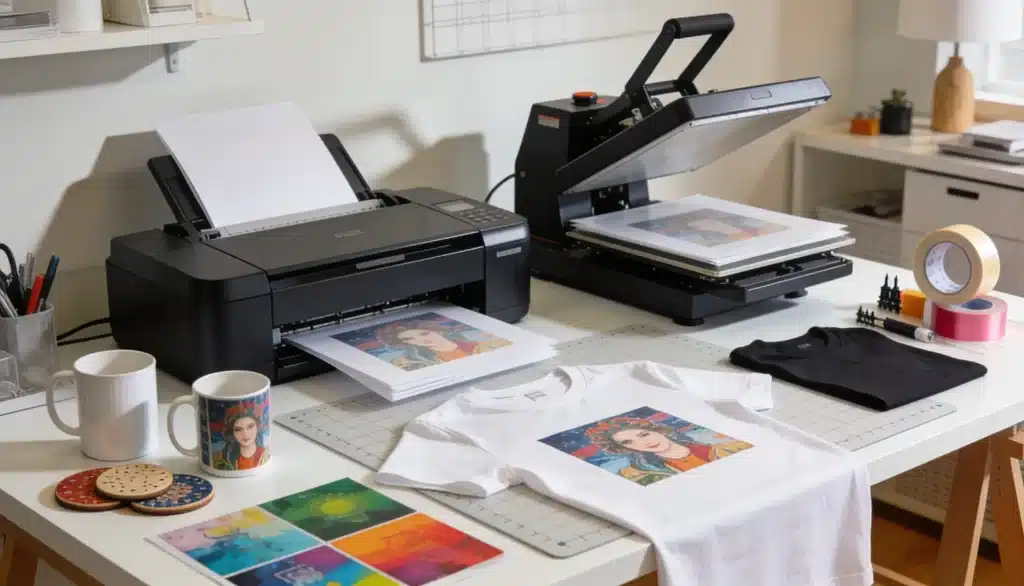
A sublimation printer is built to print with dye-sublimation ink, not regular ink. It first prints a design onto sublimation paper, which is then placed against a blank item and pressed with heat.
The heat turns the dye into a gas. That gas bonds with polyester fibers or a polymer coating in a process known as sublimation. When the item cools, the design becomes part of the surface instead of sitting on top like a sticker.
That is why sublimation prints often feel smooth. On shirts, the fabric stays soft because there is no thick layer, and on mugs or tumblers, the design looks built into the coating.
For beginners, the printer starts the design, but the heat press finishes the product. If the blank is wrong, the printer alone cannot save the result. That is the first rule to learn.
How Does Sublimation Work?
Sublimation relies on heat, pressure, and a specific dye ink to transfer a design from paper onto the right blank in five steps.
- Create the design: Start with a clear design sized for the product. Mirror any text before printing so it reads correctly after pressing.
- Print on sublimation paper: Use sublimation ink. The print may look light at first, but the color strengthens once heat is applied.
- Place the paper on the blank: Put the printed side against the product. Use heat tape to hold it still so the design does not shift during pressing.
- Apply heat and pressure: Use a heat press with the right time, temperature, and pressure for that blank. Each product may need different settings.
- Remove and cool: Carefully remove the paper after pressing. Let the item cool before touching or checking the printed area.
The process works best when every part matches, giving a print that’s smooth, clear, and long-lasting.
| Process snapshot: Design → Print → Tape → Press → Cool → Check the result |
Best Sublimation Materials and What You Can Make With Them
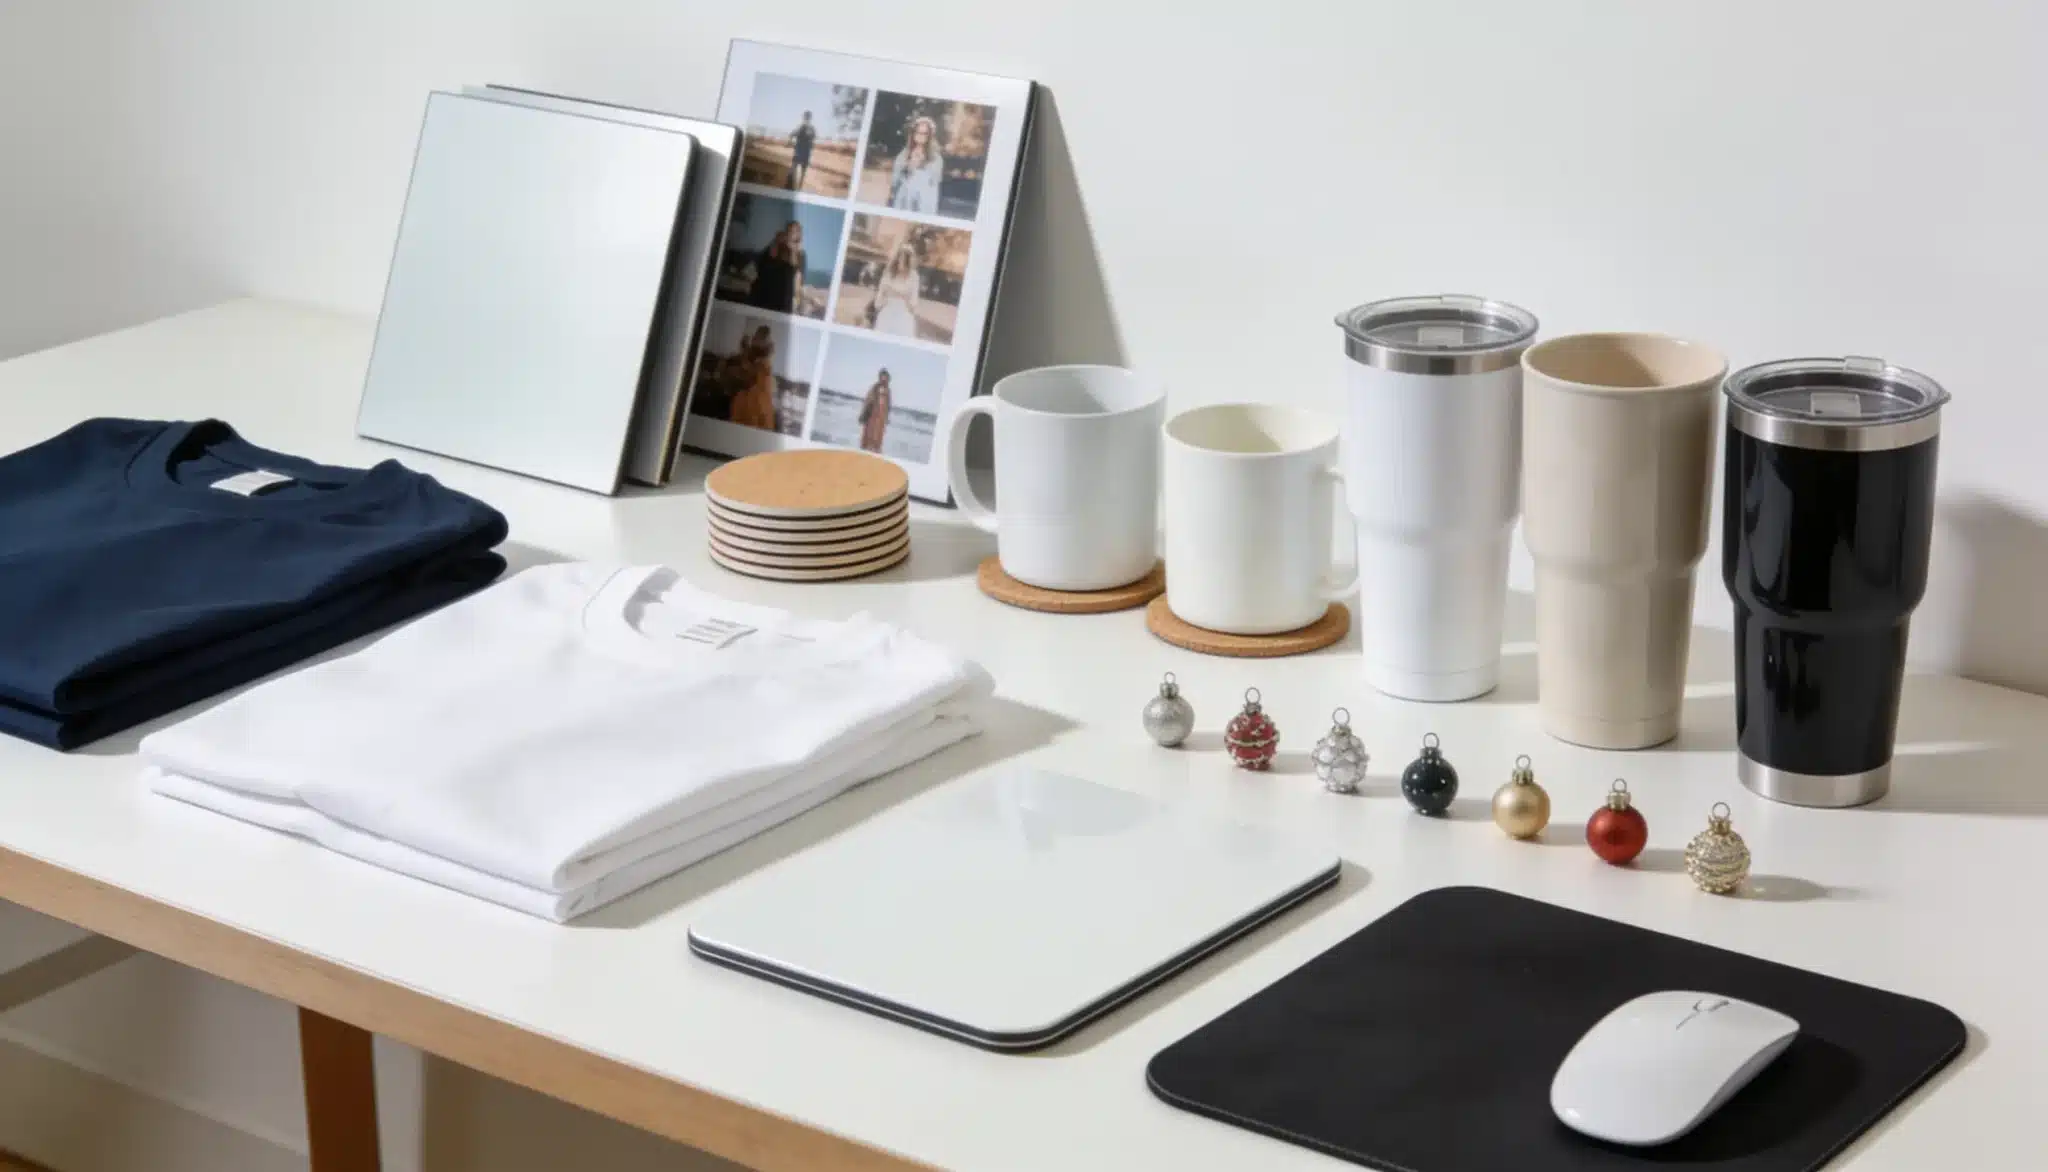
The right material decides how clean and long-lasting the final print looks. A sublimation printer can make many custom products, but the item must be polyester-based, light-colored, or coated.
1. Polyester Fabric Products
Fabric choice matters most in sublimation printing, since polyester fibers open under heat and permanently lock in dye. A 100% polyester shirt delivers the brightest, most vivid results because the coating fully accepts ink.
Tote bags, socks, jerseys, and blankets also perform well, though blends produce a softer, slightly muted finish. Cotton simply won’t hold sublimation dye at all.
2. Coated Drinkware
Drinkware remains one of the most popular sublimation categories, but only when items have a special polymer coating designed to receive dye.
Mugs, tumblers, and water bottles need this coating since plain ceramic or standard metal surfaces won’t absorb the print at all. Coated blanks work beautifully for personalized names and repeat small-business orders that need consistent quality.
3. Flat Desk and Home Items
Beginners often start here because flat surfaces press evenly under heat, reducing errors during early attempts. Mousepads, coasters, bookmarks, and photo panels offer forgiving practice space for learning placement, pressure, and color calibration.
Once these basics feel comfortable, moving to curved items like tumblers becomes much easier and less intimidating for new sublimation crafters.
4. Light-Colored Surfaces
Surface color dramatically affects how sublimation designs appear once finished, since the ink itself is completely transparent rather than opaque. White and light-colored blanks reflect true colors clearly, making designs pop with accuracy.
Dark shirts and surfaces aren’t recommended, however, because sublimation printers cannot produce white ink, which can cause designs to disappear or distort.
5. Small Business Products
Entrepreneurs favor sublimation for small custom batches because each item can feature a unique name, photo, or design without extra setup costs.
Event favors, school spirit merchandise, and branded promotional products all become simple to produce this way. Unlike vinyl methods, there’s no cutting or layering required for each individual color.
Compatible Materials for Sublimation
Since material choice makes or breaks a sublimation project, this quick reference table lines up common blanks side by side so you can see at a glance which ones are actually worth pressing.
| Material | Works well? | Best note |
|---|---|---|
| 100% polyester | Yes | Gives the brightest fabric prints |
| Polyester blend | Sometimes | Color may look softer |
| Cotton | No | Not ideal for standard sublimation |
| Coated mug | Yes | Must be sublimation-ready |
| Plain ceramic | No | Needs a sublimation coating |
| Dark shirt | No | Ink is transparent and may not show well |
The best results come from matching the product to the process; an uncoated or non-polyester blank tends to look faded.
How to Get Started with a Sublimation Printer
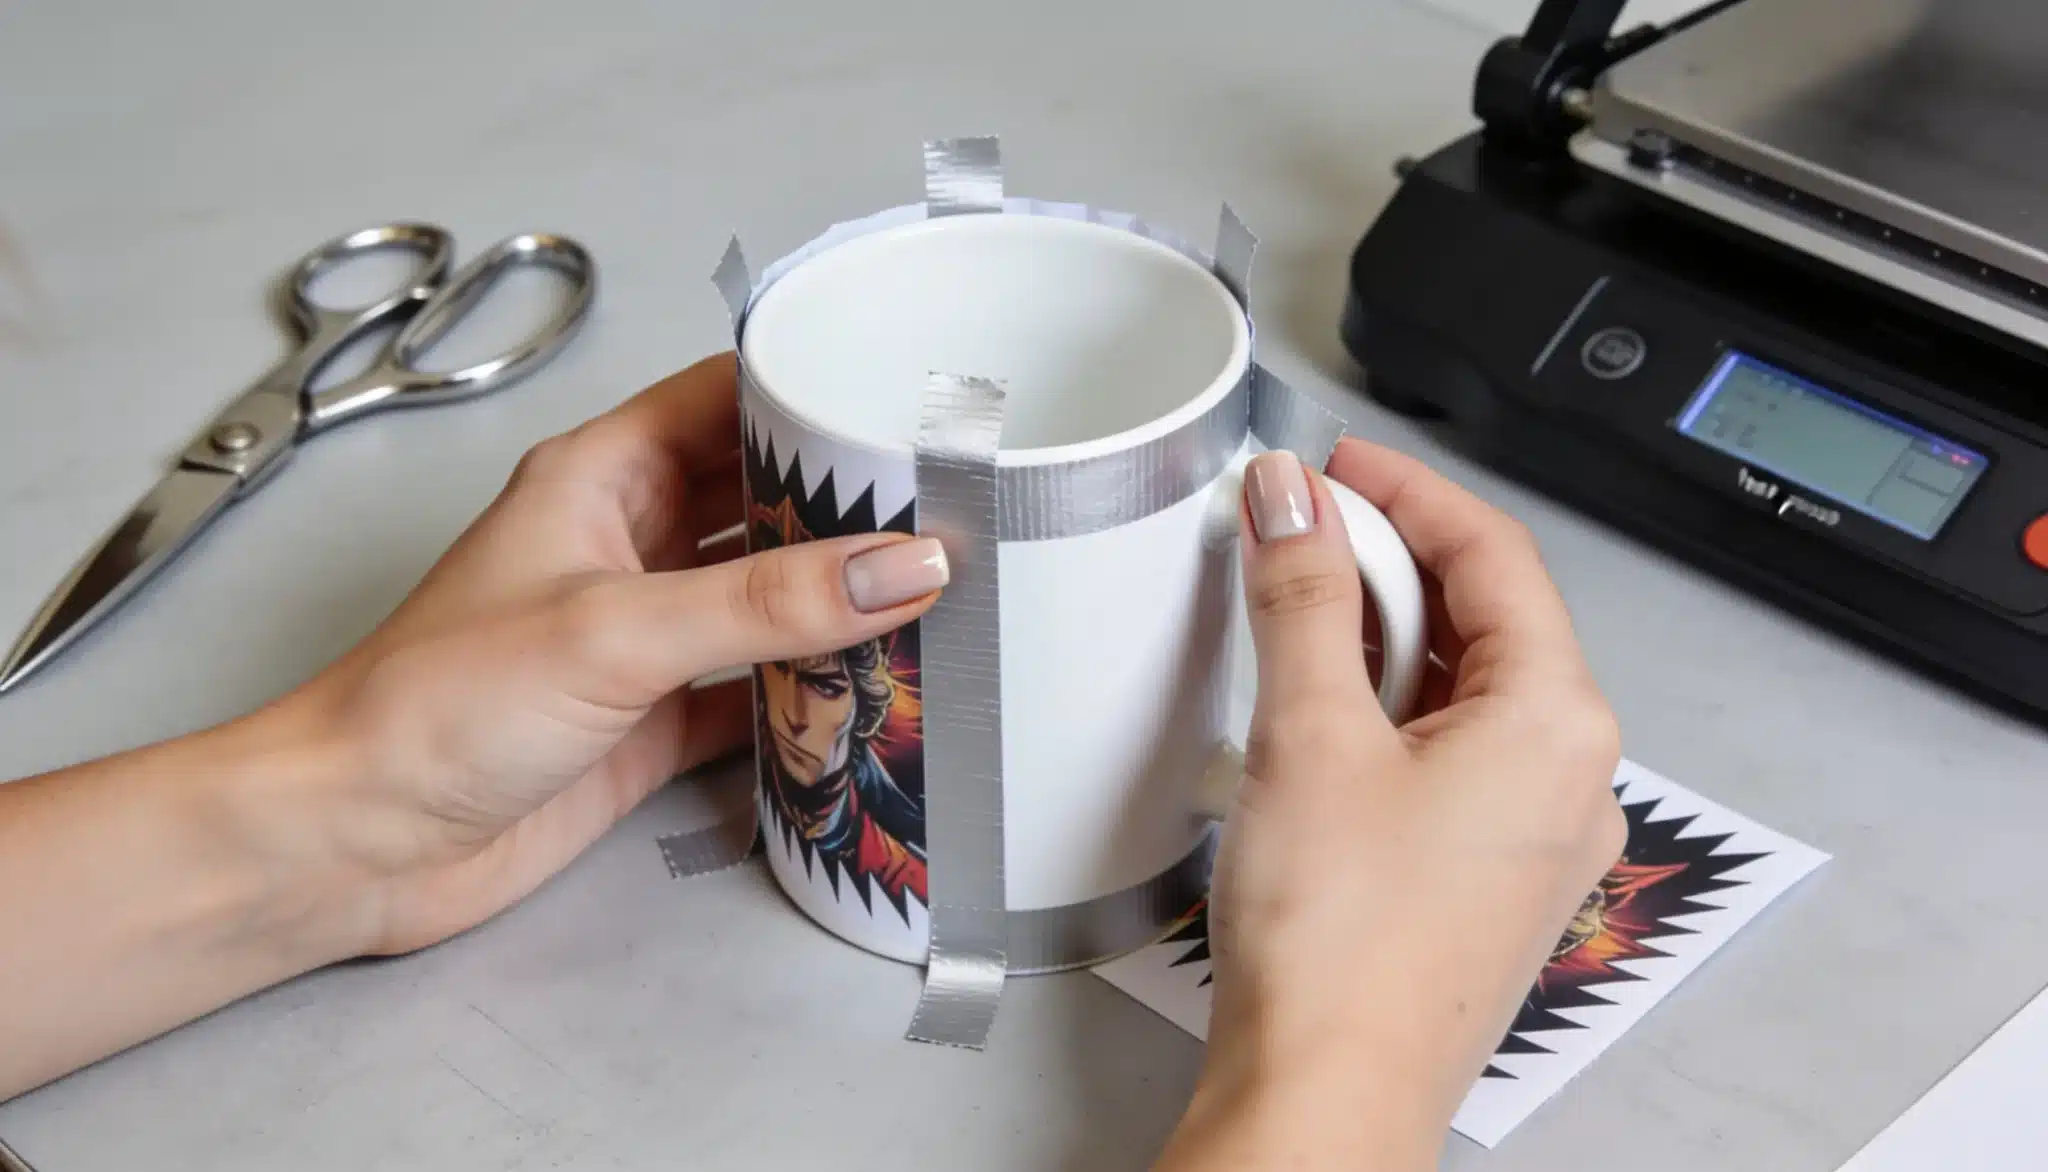
Starting feels easier with the right supplies, one beginner-friendly project, and a clean test result before making several items.
Step 1: Choose the Right Printer
Start with a printer built for sublimation ink; check print size too, since small printers suit mugs and coasters while larger ones handle shirts.
Step 2: Get the Basic Supplies
You need sublimation ink, sublimation paper, a heat press, heat tape, protective paper, and blanks. Avoid regular ink or standard printer paper, since these are what allow the design to transfer under heat.
Step 3: Start with Easy Blanks
Begin with flat blanks like coasters, mousepads, or bookmarks, since the paper presses more evenly than on mugs or tumblers. Once placement and color look right, curved items get easier.
Step 4: Create and Print a Simple Design
Use a clean design sized for the blank, mirror any text so it reads correctly after pressing, and print one test design before using several blanks at once.
Step 5: Test Your Heat Settings
Every blank has its own time, temperature, and pressure requirements, so follow the supplier’s guide, then adjust one setting at a time if an issue arises.
Step 6: Keep Notes for Every Project
Track the blank type, paper, ink, heat, and result. Once a setting works, you can repeat it with confidence instead of wasting supplies on the same mistake.
Start small and build slowly. Once the first test projects look clean, shirts, mugs, and tumblers get much easier.
Best First Sublimation Project to Try
The best first project is usually a flat blank. A mousepad, coaster, or small metal panel gives a simple surface with fewer placement issues.
Why flat blanks are easier:
- The paper sits smoothly
- Pressure is easier to control
- The design is easier to center
- The blank costs less than most tumblers
- Mistakes are easier to understand
A tumbler or mug can look tempting for a first try, but curved surfaces need tighter wrapping and better tape control, which can feel frustrating early on.
| Beginner plan: Pick one flat blank. Use one simple design. Press one test item. Check color, edges, and placement. If it looks good, repeat the same settings. |
Sublimation vs Other Printing Methods
Sublimation is not the only way to customize products. For a broader look at cost and finish, this overview of dye sublimation printing complements the table below.
| Method | Best for | Main limit |
|---|---|---|
| Sublimation | Mugs, tumblers, coasters, photo panels, and light polyester shirts | Not ideal for cotton, dark shirts, or uncoated blanks |
| Inkjet printing | Paper prints, labels, stickers, and photos | Not made for product transfers |
| Heat transfer vinyl | Names, numbers, and simple shirt designs | Can feel raised on fabric |
| DTF printing | Cotton shirts, dark shirts, and mixed fabrics | Needs more steps and supplies |
| Screen printing | Bulk shirts and simple merch designs | Takes more setup time |
The right method depends on the product and material. Sublimation works best when the blank is light, polyester-based, or heat-transfer-coated. If you’re weighing it against a custom t-shirt night for a group, screen printing or DTF may cover the cotton and dark-fabric orders that sublimation can’t.
Common Sublimation Mistakes Beginners Make
Most sublimation errors happen before the press even closes. These are the less obvious mistakes that still affect color, placement, and finish.
- Using low-resolution designs: Blurry artwork stays blurry after pressing.
- Skipping bleed space: Edge-to-edge designs may leave white gaps.
- Pressing over seams: Seams or raised areas cause patchy transfers.
- Touching coated blanks too much: Fingerprints and oil affect how the dye bonds.
- Opening the press too fast: Quick lifting can shift the paper and blur the print.
- Trusting screen colors fully: Printed colors may look different after pressing.
- Ignoring blank size: Wrong sizing makes the design look poorly placed.
Small mistakes can change the overall result, but a careful check of the design, surface, and blank shape before pressing can fix most of them.
Is a Sublimation Printer Worth It?
The question of what a sublimation printer is good for comes down to how often you plan to make custom items, not just once. It suits mugs, tumblers, coasters, mousepads, and light polyester shirts.
Prints look clean and smooth with the right blanks and settings, but it may not be the best buy if most projects involve cotton, dark fabric, or plain uncoated surfaces.
The setup requires more than a printer: ink, paper, blanks, and a heat press. Think about what you want to make and how often you want to make it.
If it matches sublimation, it can be a practical tool for home use or a small side business, and pairs well with other hands-on DIY builds if you enjoy working with your hands.
Final Takeaway
Sublimation printing makes more sense once you see it as a full setup, not just a printer.
The key is knowing how the ink, paper, heat press, and blank work together, and matching the method to the right surface, mainly polyester or coated products.
Assuming that any printer and blank will produce the same result every time is a common early mistake.
If you came here asking what is sublimation printer, the answer feels more practical now: it is a tool for making clean, colorful custom items once the setup is right and tested. Start with one project, test your settings, and share results in the comments.
Frequently Asked Questions
Can Sublimation Paper Be Recycled?
It depends on the label and ink type. Some papers are recyclable only if local programs accept coated paper; heavily inked sheets may need to be trashed, so check local rules first.
Can Photo Paper Be Used for Sublimation?
Usually not. Sublimation ink is made for transfer, not standard photo paper, which may hold ink poorly or fail under heat. Sublimation paper gives a cleaner release and stronger color.
Do You Need Design Software for Sublimation?
Not directly. Designs are created in software first, then printed, and must be sized correctly. Simple apps work for basic designs, while advanced software gives better placement control.
Can Humidity Affect Sublimation Printing?
Yes. Humidity affects paper, ink release, and color. Damp paper may curl or transfer unevenly, so keep supplies sealed in a dry space and test fresh paper before changing press settings.