Connecting a laptop to an external monitor is a simple way to get more screen space for work, study, or entertainment.
Many users search for how to connect laptop to monitor because the process can feel confusing at first, especially with different ports and cables available today.
In this guide, I explain each step in a clear and simple way so nothing feels hard to follow.
You will learn what cables you need, how to check your laptop and monitor ports, and how to adjust display settings after connecting everything.
This blog focuses only on practical steps, not technical jargon or extra details.
By the end, you will know exactly what to do, even if you have never used a second screen before, with confidence and no stress at all.
What You Need Before Connecting
Before you start, it helps to gather everything in one place. This saves time and avoids confusion once you begin setting things up.
Having the right items ready makes the connection process smooth and stress-free.
- A laptop with a working DisplayPort
- An external monitor
- A power cable for the monitor
- A display cable (HDMI, USB-C, DisplayPort, or VGA)
- An adapter if the ports do not match
Once these items are ready, you can move forward with the connection process confidently. Double-check that the cables and ports are compatible to prevent interruptions during setup
How to Check Laptop and Monitor Ports Before Connecting?
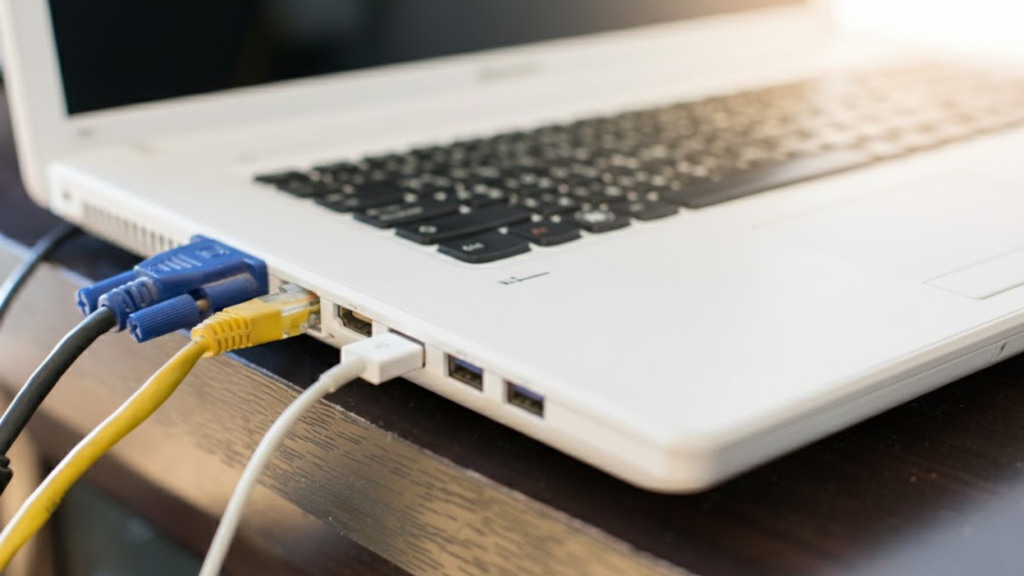
Before connecting any cables, take a moment to check the ports on both your laptop and your monitor.
This step helps prevent connection problems and saves time later.
Look along the sides or back of your laptop to find display ports such as HDMI, USB-C, DisplayPort, Mini DisplayPort, or VGA.
Next, check the input ports on the back of the monitor to see what connections it supports.
Matching these ports correctly is an important part of how to connect laptop to monitor without needing extra adapters.
If the ports do not match, an adapter may be required.
Checking ports in advance ensures a stable signal, proper screen detection, and a smooth setup once everything is powered on and connected.
How to Connect Laptop to Monitor: Step-by-Step Instructions
Follow these simple steps to set up a second screen and understand how to connect laptop to monitor without confusion.
Step 1: Get the Right Cable
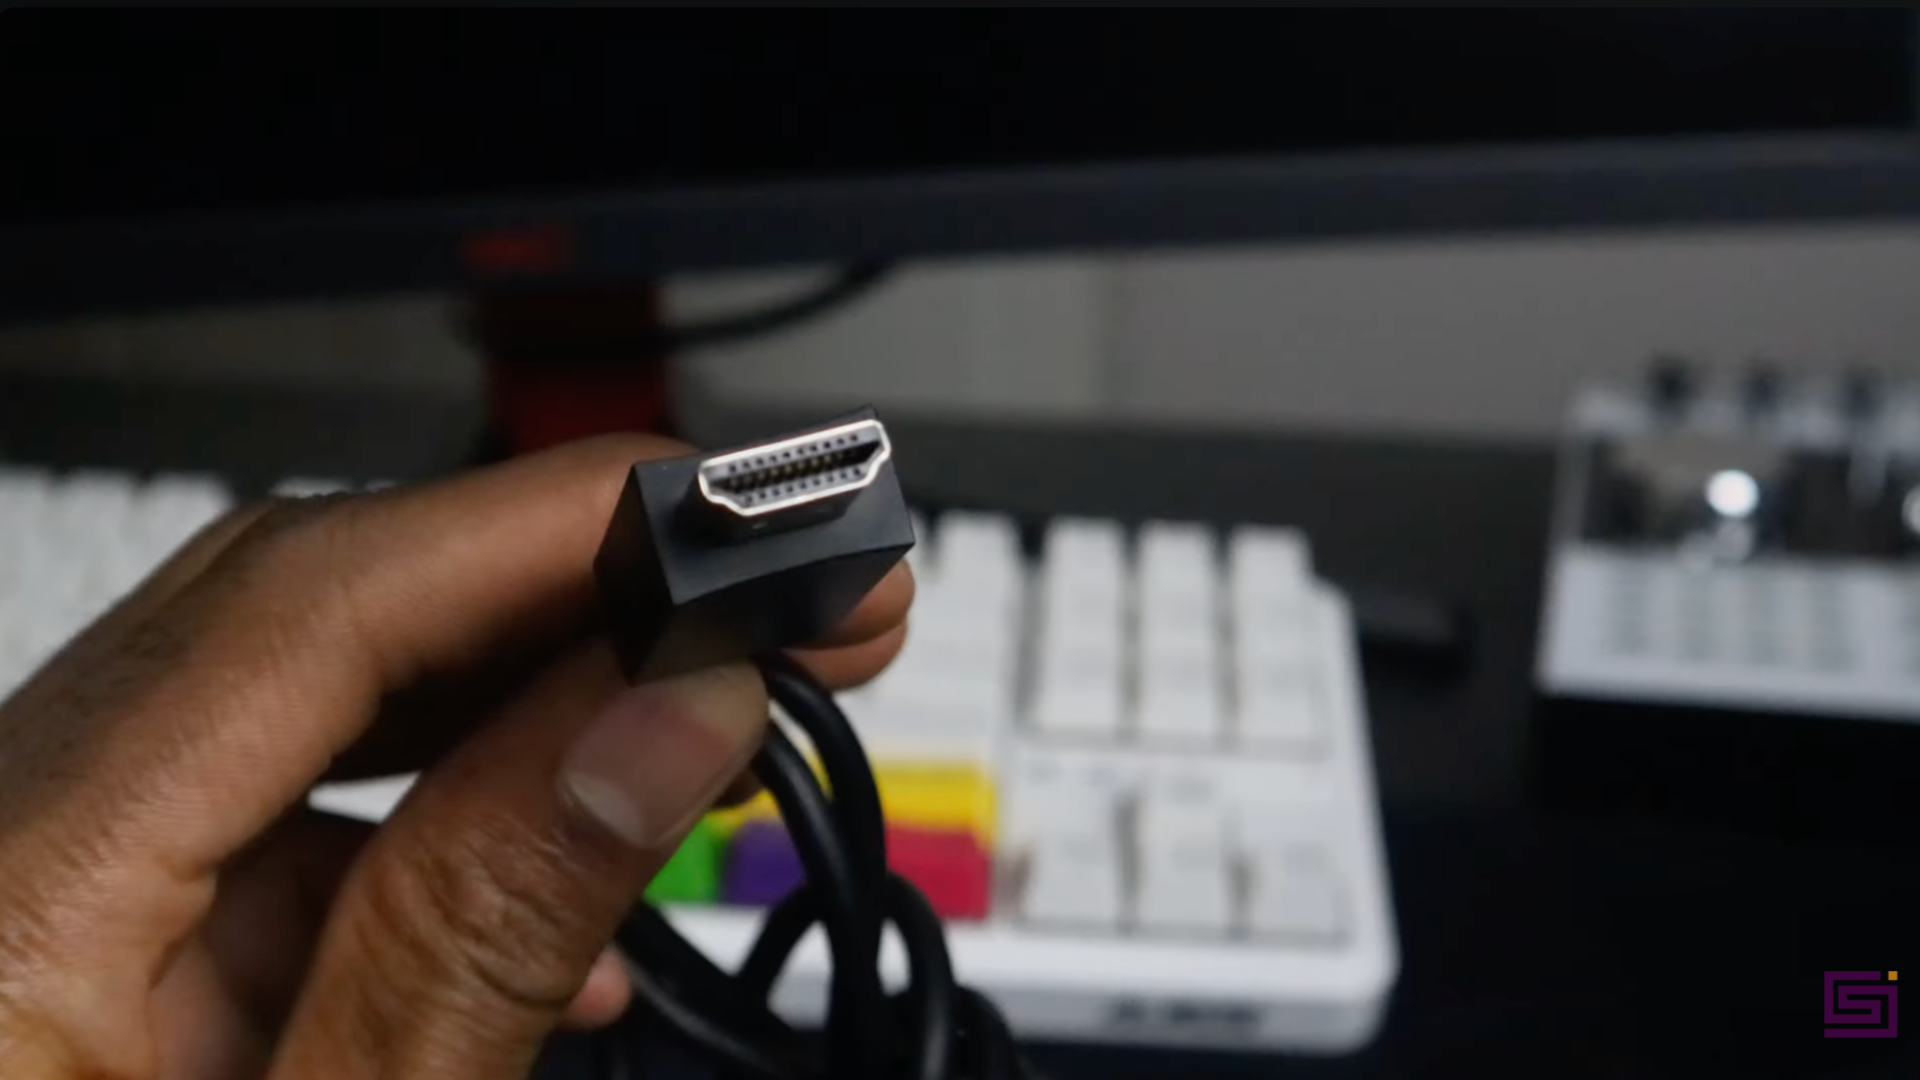
Start by checking the ports available on your laptop. If you see an HDMI port, an HDMI to HDMI cable will work perfectly.
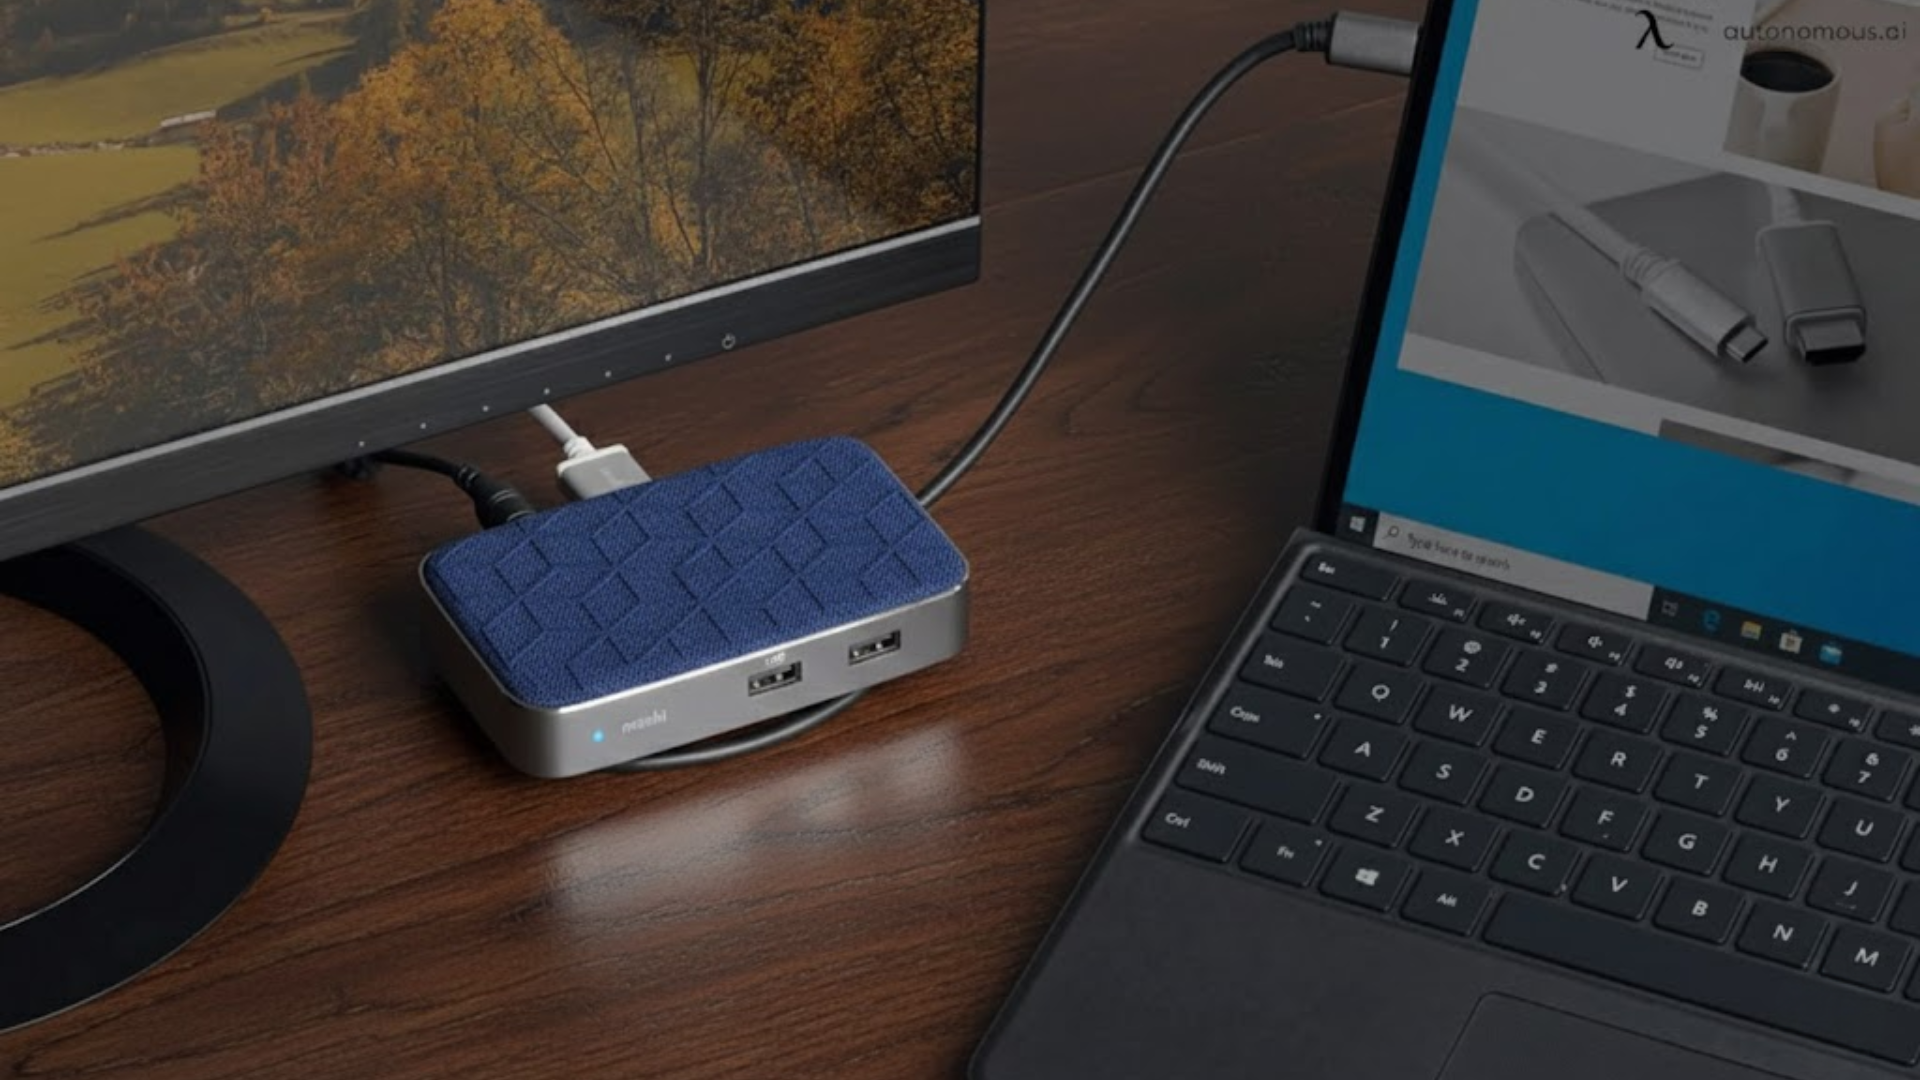
If your laptop only has a USB-C port, you will need a USB-C to HDMI adapter.
Many newer laptops use USB-C instead of HDMI.
Make sure the cable you choose matches both devices. Using the correct cable from the start prevents signal issues and saves time during setup.
Step 2: Connect the Cable to the Monitor
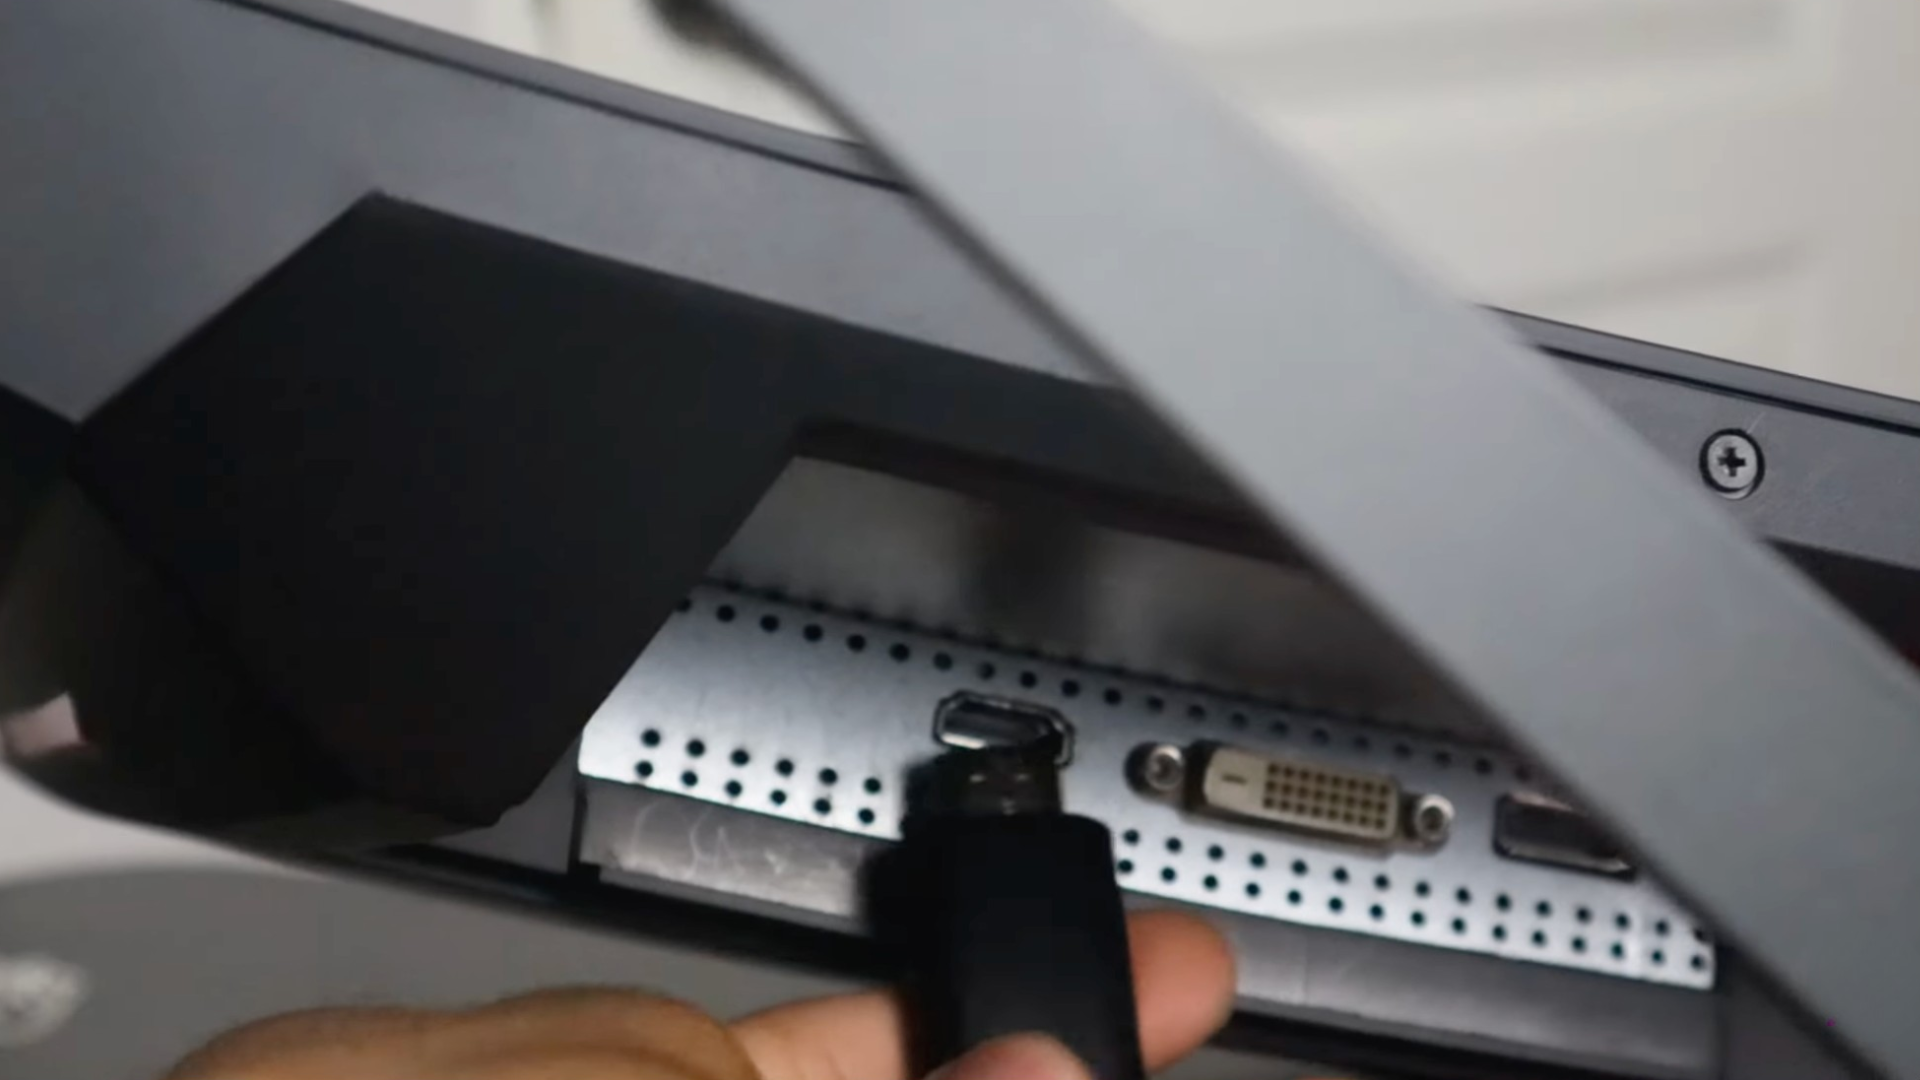
Take one end of the HDMI cable and plug it into the HDMI port on your monitor.
Most monitors have more than one input option, so make sure you are using the correct HDMI port.
Turn the monitor on before moving to the next step.
This helps the monitor detect the signal quickly once the laptop is connected and avoids a blank screen.
Step 3: Connect the Cable to Your Laptop
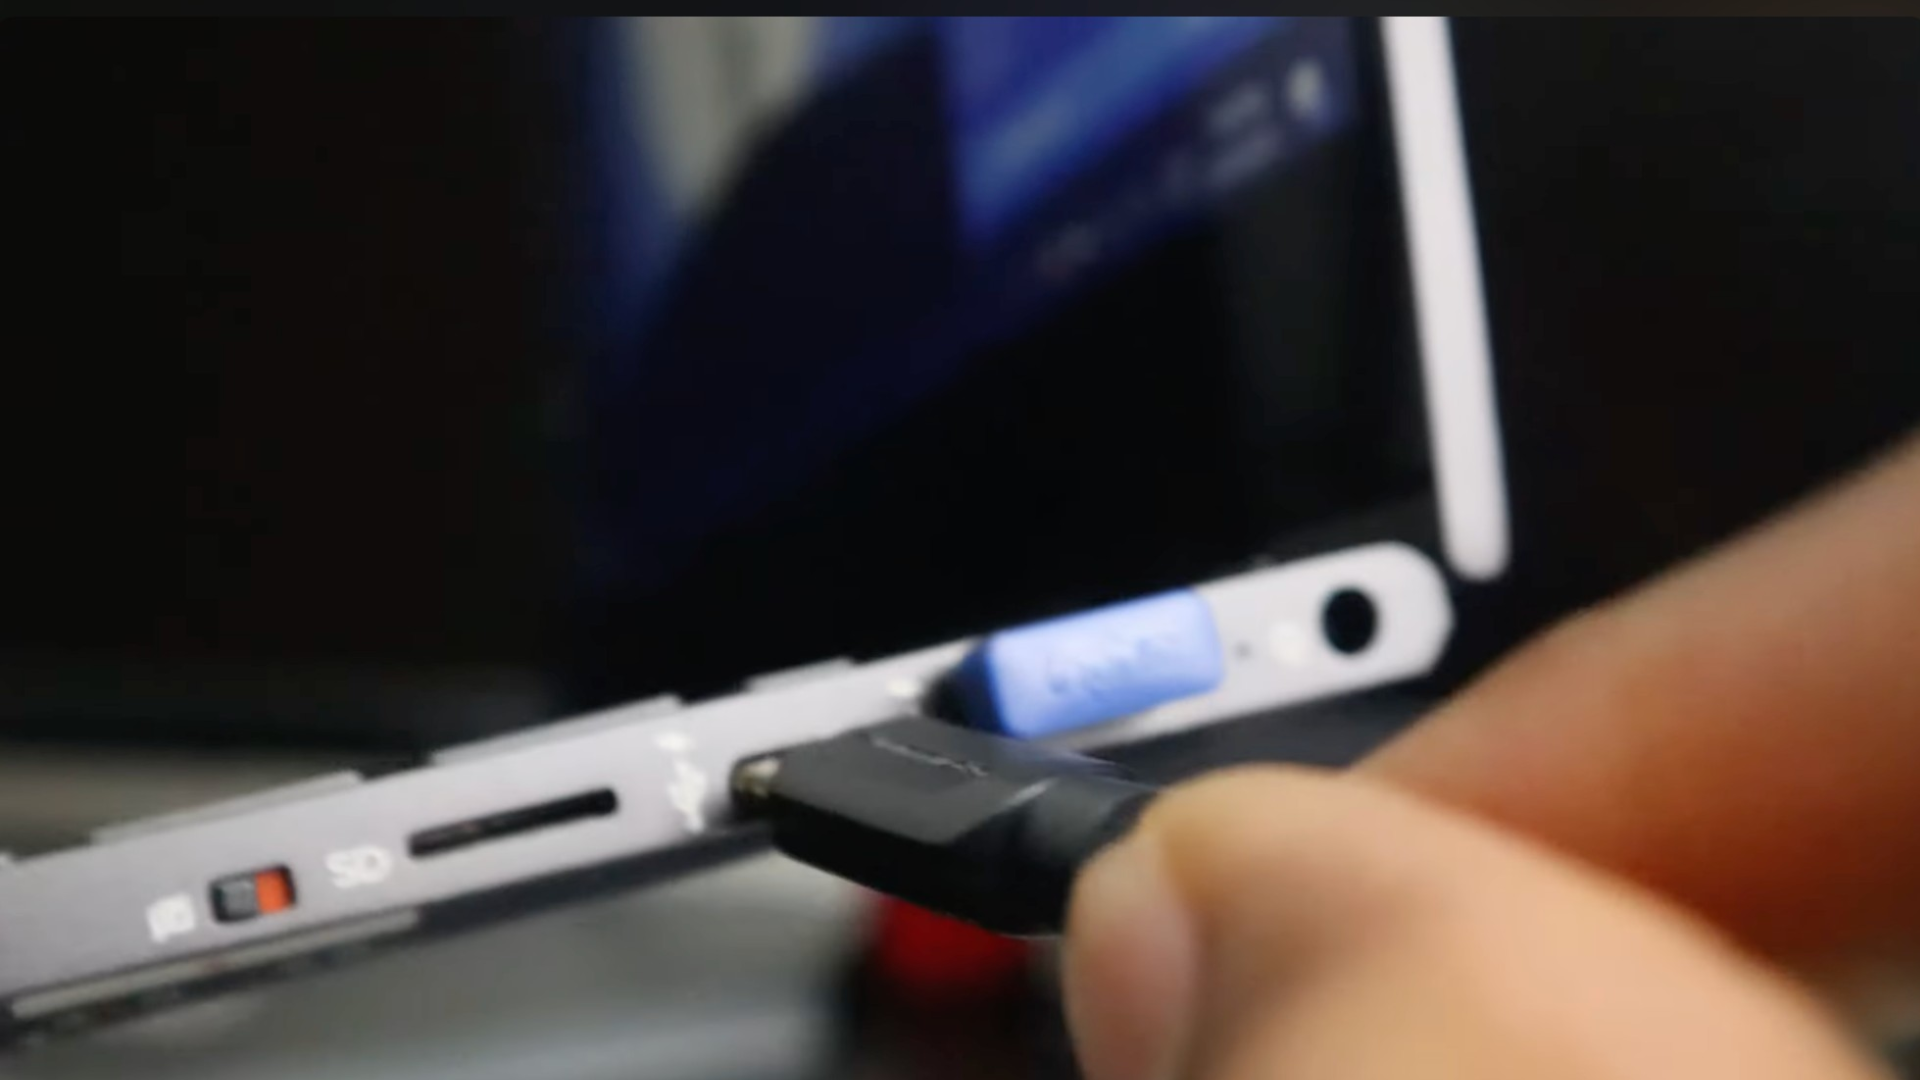
Now connect the other end of the cable to your laptop.
If you are using a USB-C adapter, plug the adapter into the laptop first, then connect the HDMI cable to it.
Once connected, your laptop should automatically recognize the monitor.
You may see the screen light up right away, which means the physical connection is complete.
Step 4: Open Display Settings
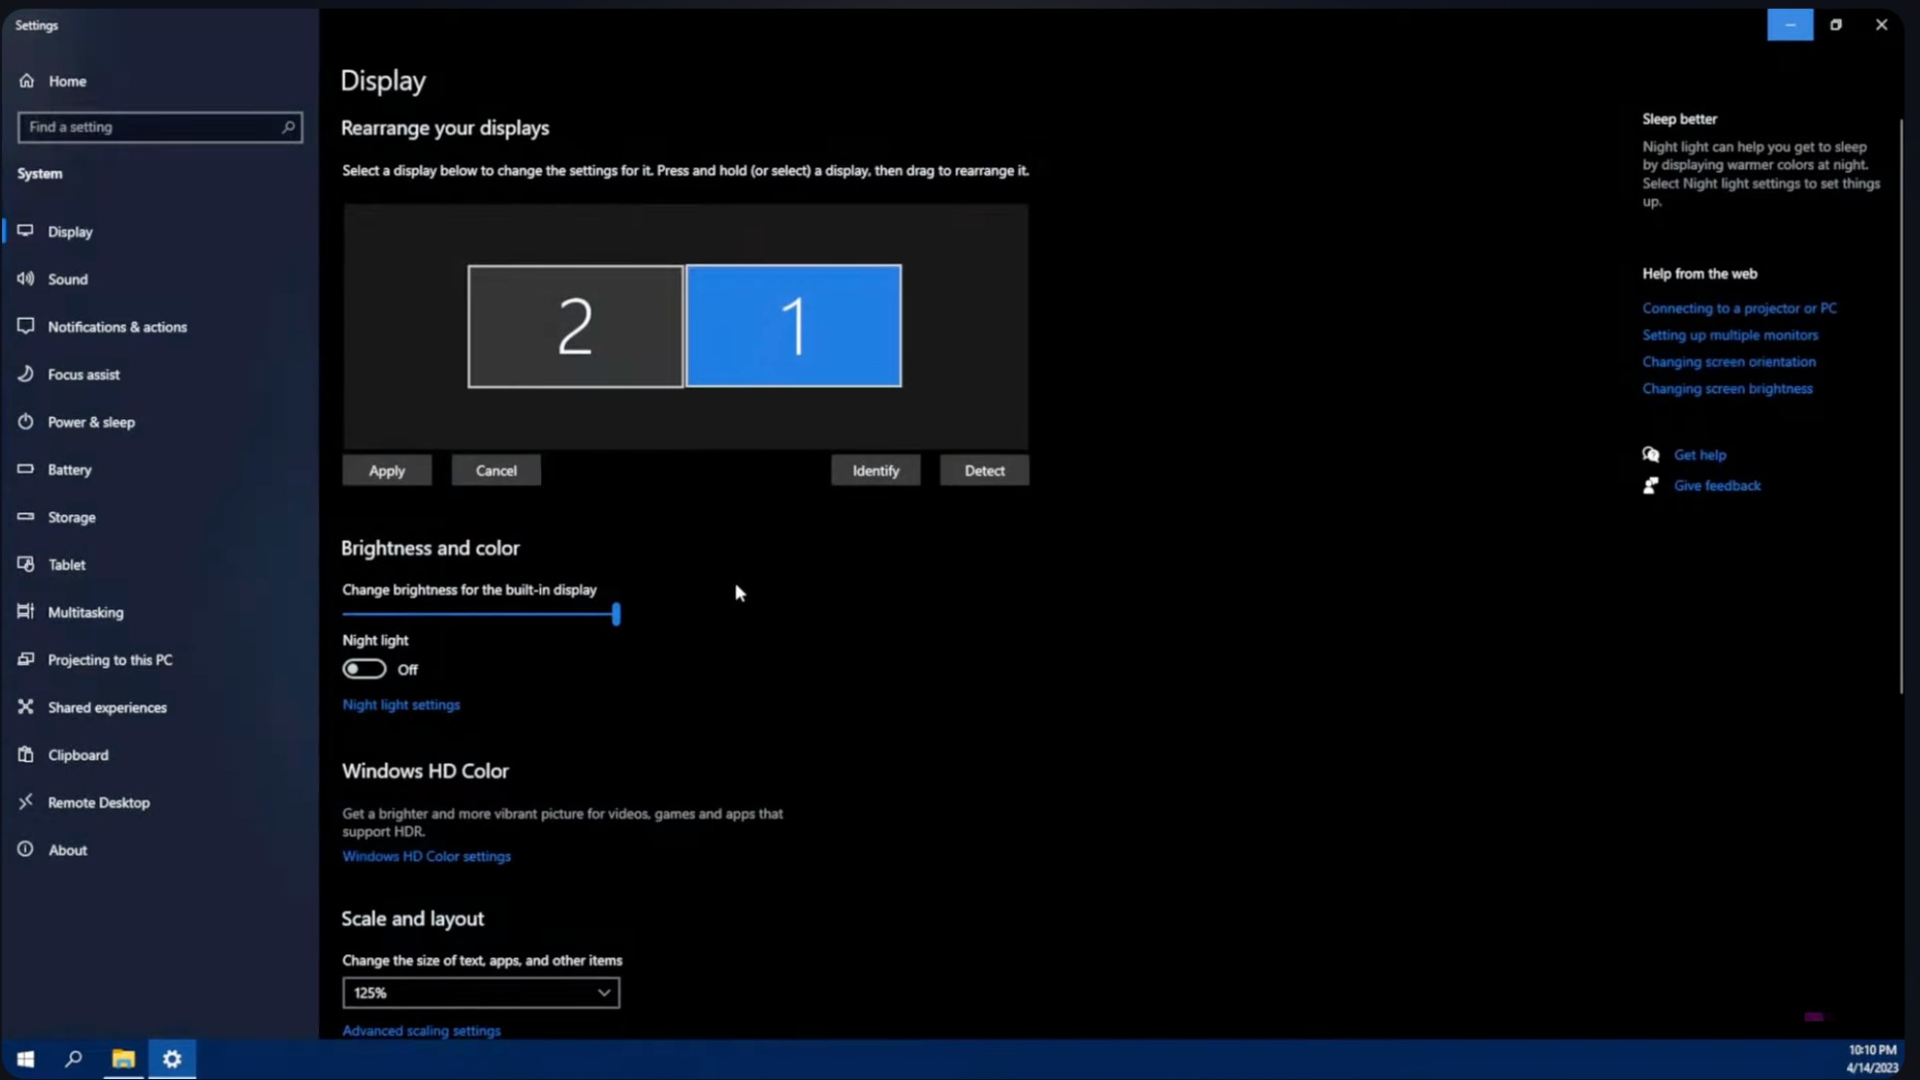
After the cable is connected, right-click anywhere on your desktop screen.
From the menu, select Display settings.
This opens the control panel, where you manage how your laptop and monitor work together.
Here, you can see both screens listed and make changes to layout, resolution, and display behavior.
Step 5: Set Display Mode to Extend
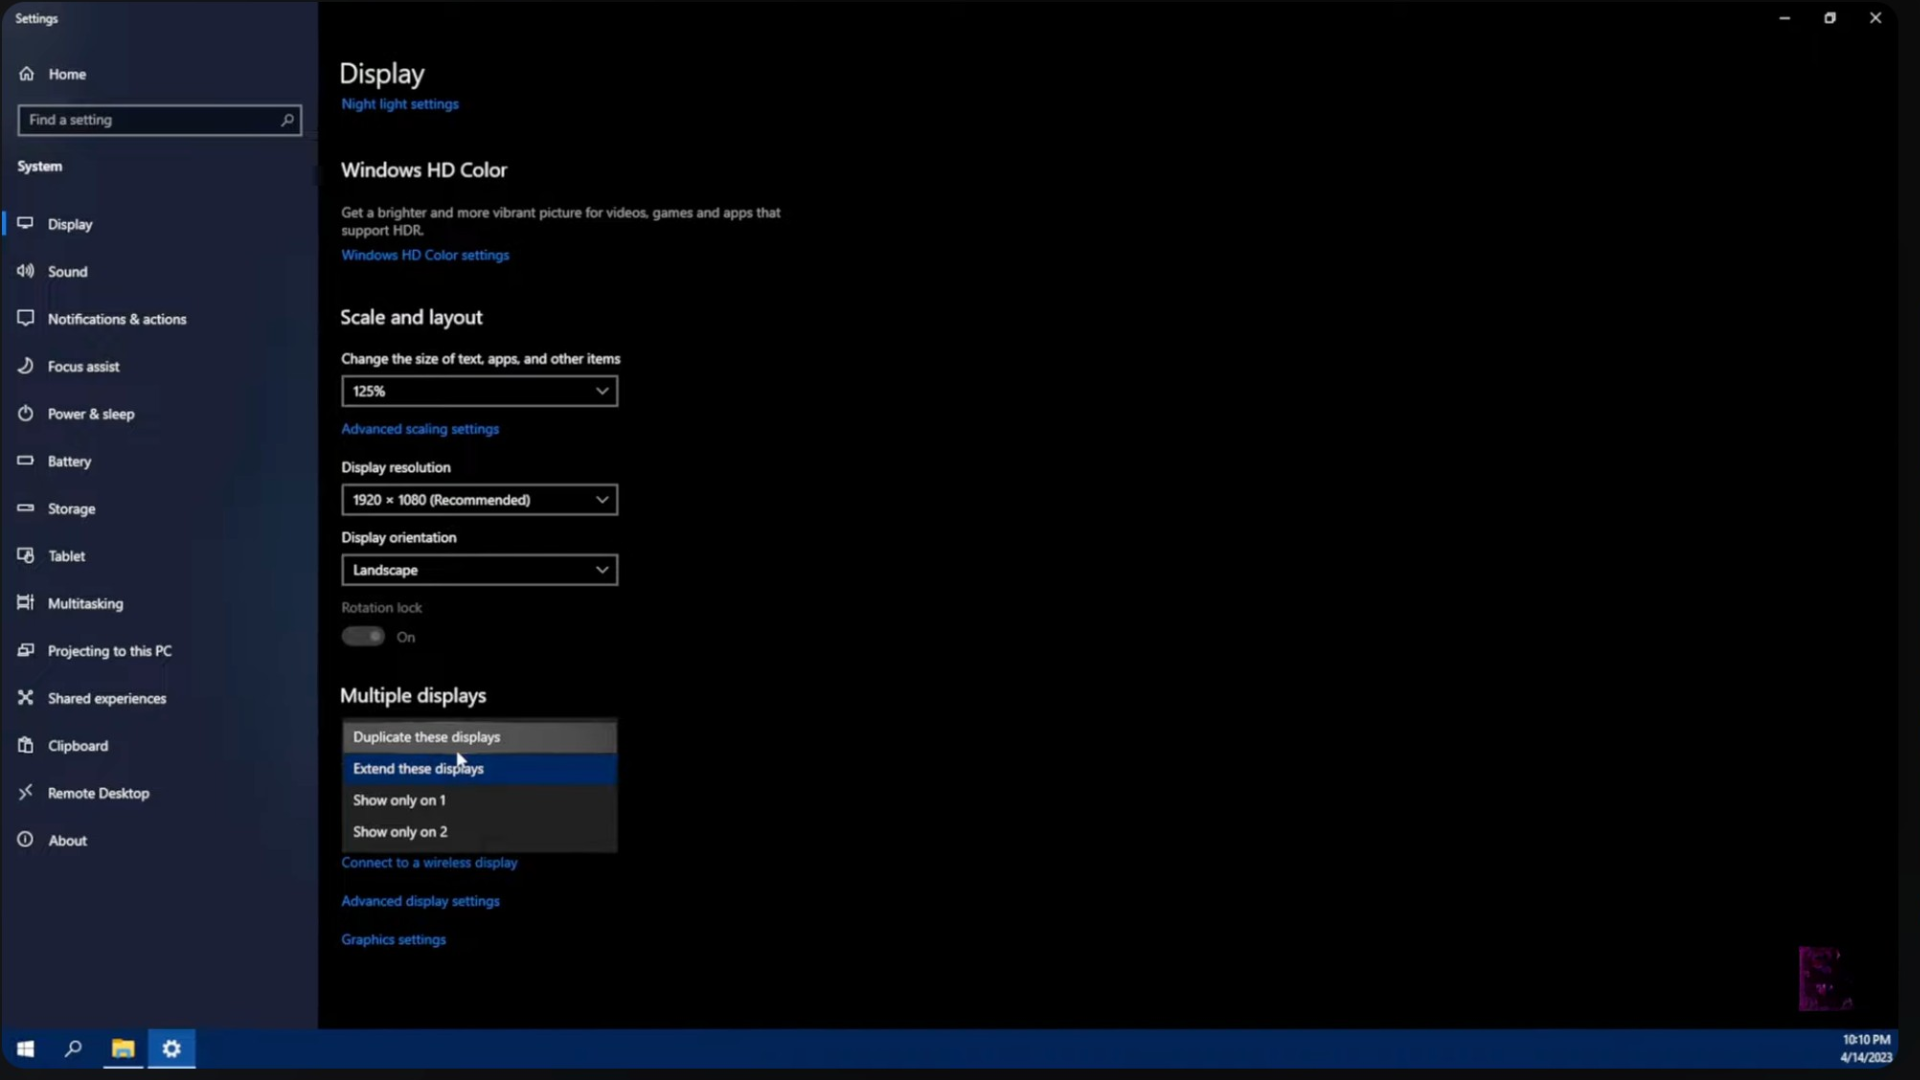
Inside Display settings, choose Extend so both screens work separately instead of showing the same content.
Extend mode gives you more space, letting you drag windows between screens and handle more tasks at the same time.
Duplicate mode only shows the same content on both screens, which limits how you work.
Once Extend is selected, your monitor acts as extra screen space, making multitasking smoother and faster.
Step 6: Arrange and Adjust Displays
Click Identify to see which screen is labeled Display 1 and Display 2, now drag the screens on the layout to match how they are placed on your desk.
This helps your mouse move naturally between screens and you can also select which screen you want as your main display.
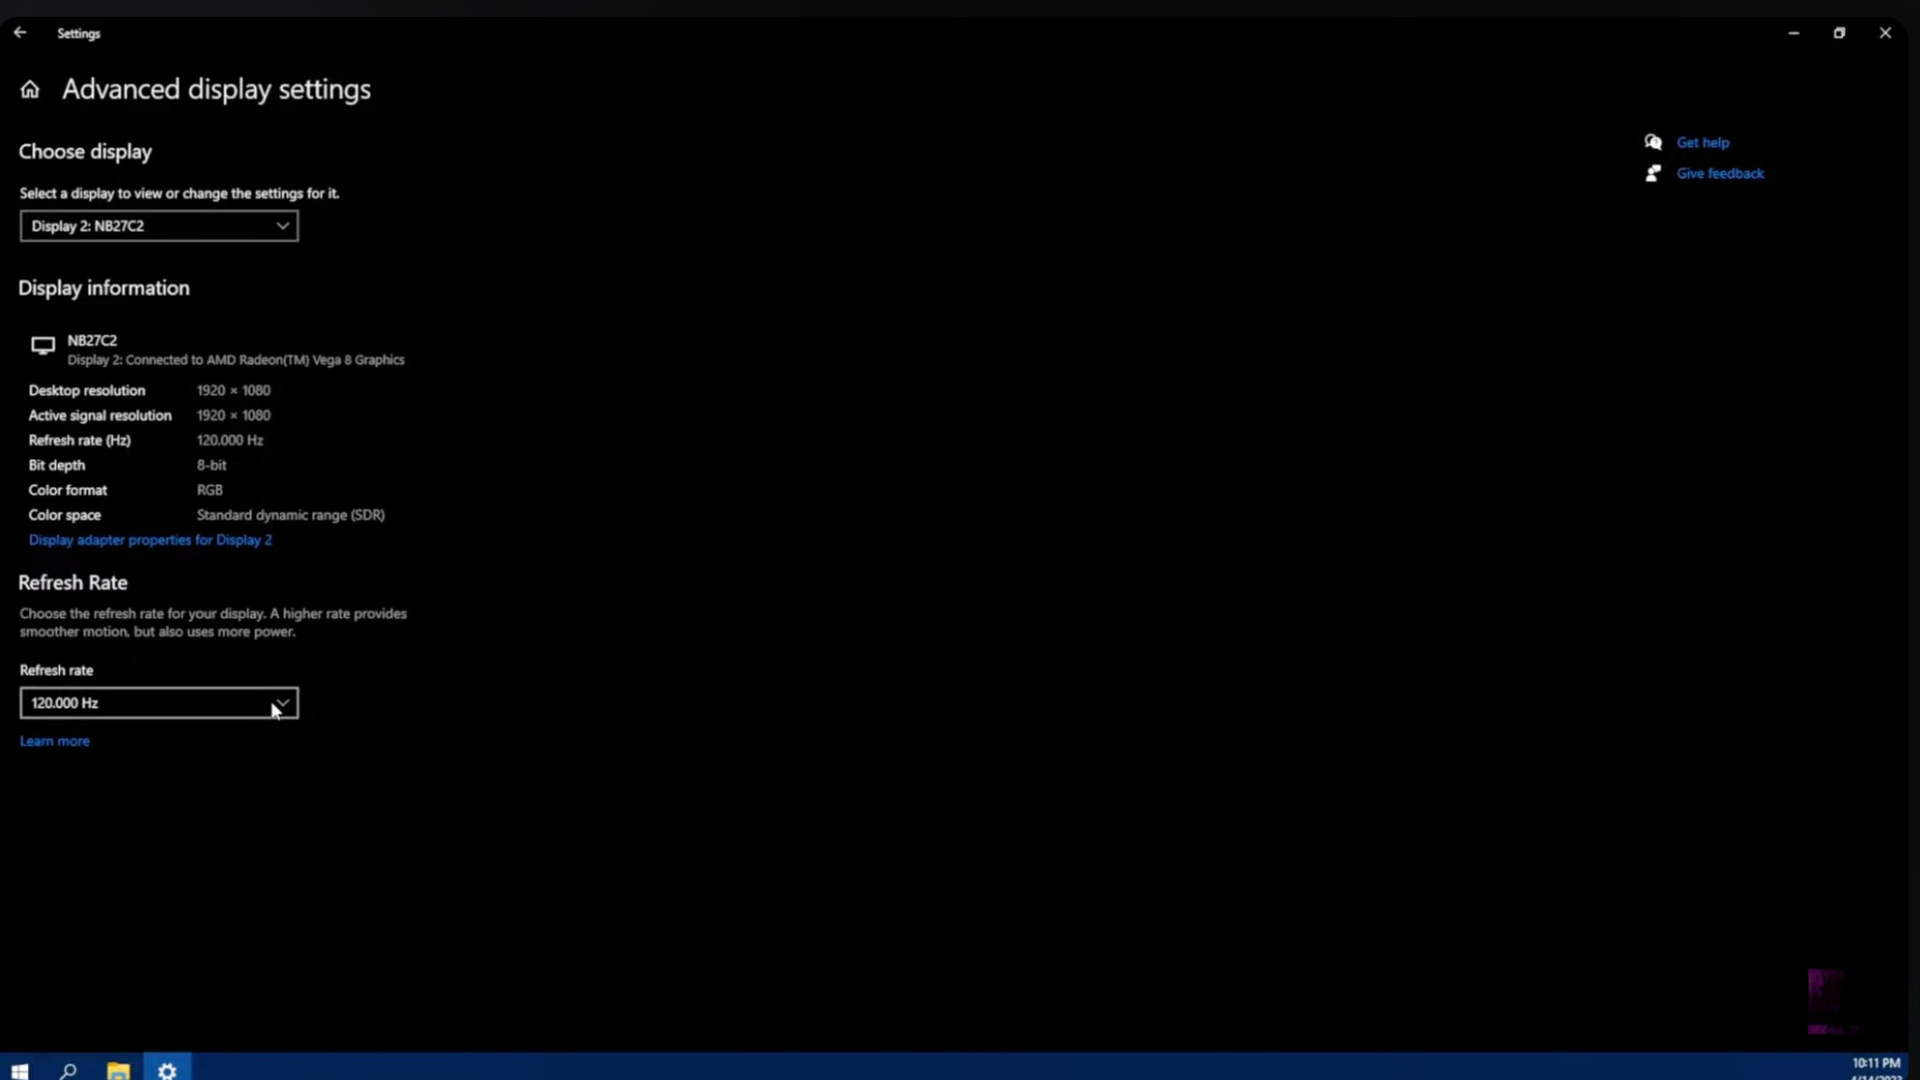
For smoother performance, open advanced display settings and choose the highest refresh rate your monitor supports for clearer and more stable visuals.
Check this visual tutorial based on a helpful video by Geek Guide.
How to Configure Display Settings After Connecting a Monitor?
After connecting your laptop to a monitor, adjusting display settings helps both screens work smoothly together. These settings allow you to control layout, resolution, and performance for better daily use.
- Open Display Settings: Right-click on your desktop and select Display settings to access all screen options.
- Choose Display Mode: Select Extend to use both screens separately, or Duplicate to keep the same view on both.
- Adjust Screen Layout: Drag the displays to match their physical position so the cursor moves naturally.
- Set Resolution and Scale: Choose the recommended resolution for clear text and images.
- Select Refresh Rate: Open advanced settings and pick the best refresh rate your monitor supports.
Troubleshoot Common Monitor Connection Issues
These quick fixes help solve common problems when your laptop does not display properly on an external monitor.
- Monitor Not Detected: Make sure the cable is fully plugged into both the laptop and the monitor.
- No Signal Message: Check that the correct input source is selected on the monitor. Switch between HDMI and DisplayPort if needed.
- Wrong Screen Resolution: Open display settings and select the recommended resolution for your monitor to improve clarity.
- Screen Flickering: Use a high-quality cable and set a refresh rate supported by your monitor in advanced display settings.
- Display Mode Issues: Confirm that the display mode is set to Extend instead of Duplicate for proper screen use.
Conclusion
Connecting an external monitor to your laptop does not have to be complicated when you follow the right steps.
With the correct cable, proper port checks, and simple display adjustments, setting up a second screen becomes quick and stress-free.
This guide walks through each stage so you can avoid common mistakes and get better screen space for daily tasks.
I hope these steps made it clear how to connect laptop to monitor and use both screens smoothly.
Once everything is set, multitasking feels easier, work stays organized, and screen switching becomes effortless.
A well-set display setup can make a noticeable difference in how comfortably and efficiently you work each day.
If this guide helped, take a moment to leave a comment, share your setup experience, or pass this blog along to someone who could use a better screen setup.
Frequently Asked Questions
Can I Connect More than One Monitor to My Laptop?
Yes, many laptops support multiple monitors if the hardware allows it. Using adapters or a docking station can help expand display options.
Why Does My Monitor Look Blurry After Connecting?
A blurry screen usually means the resolution is set incorrectly. Selecting the monitor’s recommended resolution fixes this issue.
Do I Need to Install Drivers to Use an External Monitor?
Most laptops detect monitors automatically without drivers. Updating your graphics driver can help if the monitor is not working correctly.