You just turned on a new iPhone, or erased an older one, and now you are facing a setup screen that asks you to make several important choices.
At first, it may seem simple, but once you reach options like transferring data, signing in with your Apple Account, and adjusting privacy settings, it can start to feel confusing. That is exactly where iOS Setup Assistant helps.
It guides you through the first steps of setting up your iPhone so you can get to the Home Screen with the right choices in place.
Now we will explain what Setup Assistant is, where it appears, how to access it again, and what you should choose based on your situation.
What is iOS Setup Assistant?
iOS Setup Assistant is Apple’s built-in setup process that helps prepare an iPhone before you start using it. It appears when you activate a new iPhone or when a device has been erased and needs to be set up again.
In simple terms, it is the series of screens that helps you answer the important first questions about your iPhone. Instead of manually changing every setting, Apple brings the main setup choices together in one place.
During this process, you may choose:
- Your language and region.
- A Wi-Fi connection.
- Face ID or Touch ID.
- A passcode.
- An Apple Account.
- A way to transfer or restore your data.
- Features such as Siri, Location Services, and Screen Time.
Setup Assistant is mainly used during the first moments of using an iPhone. After you reach the Home Screen, you manage settings through the Settings app instead.
After setup is complete, you can also customize notification settings on your iPhone to decide which apps can alert you and how those alerts appear.
How to Access iOS Setup Assistant
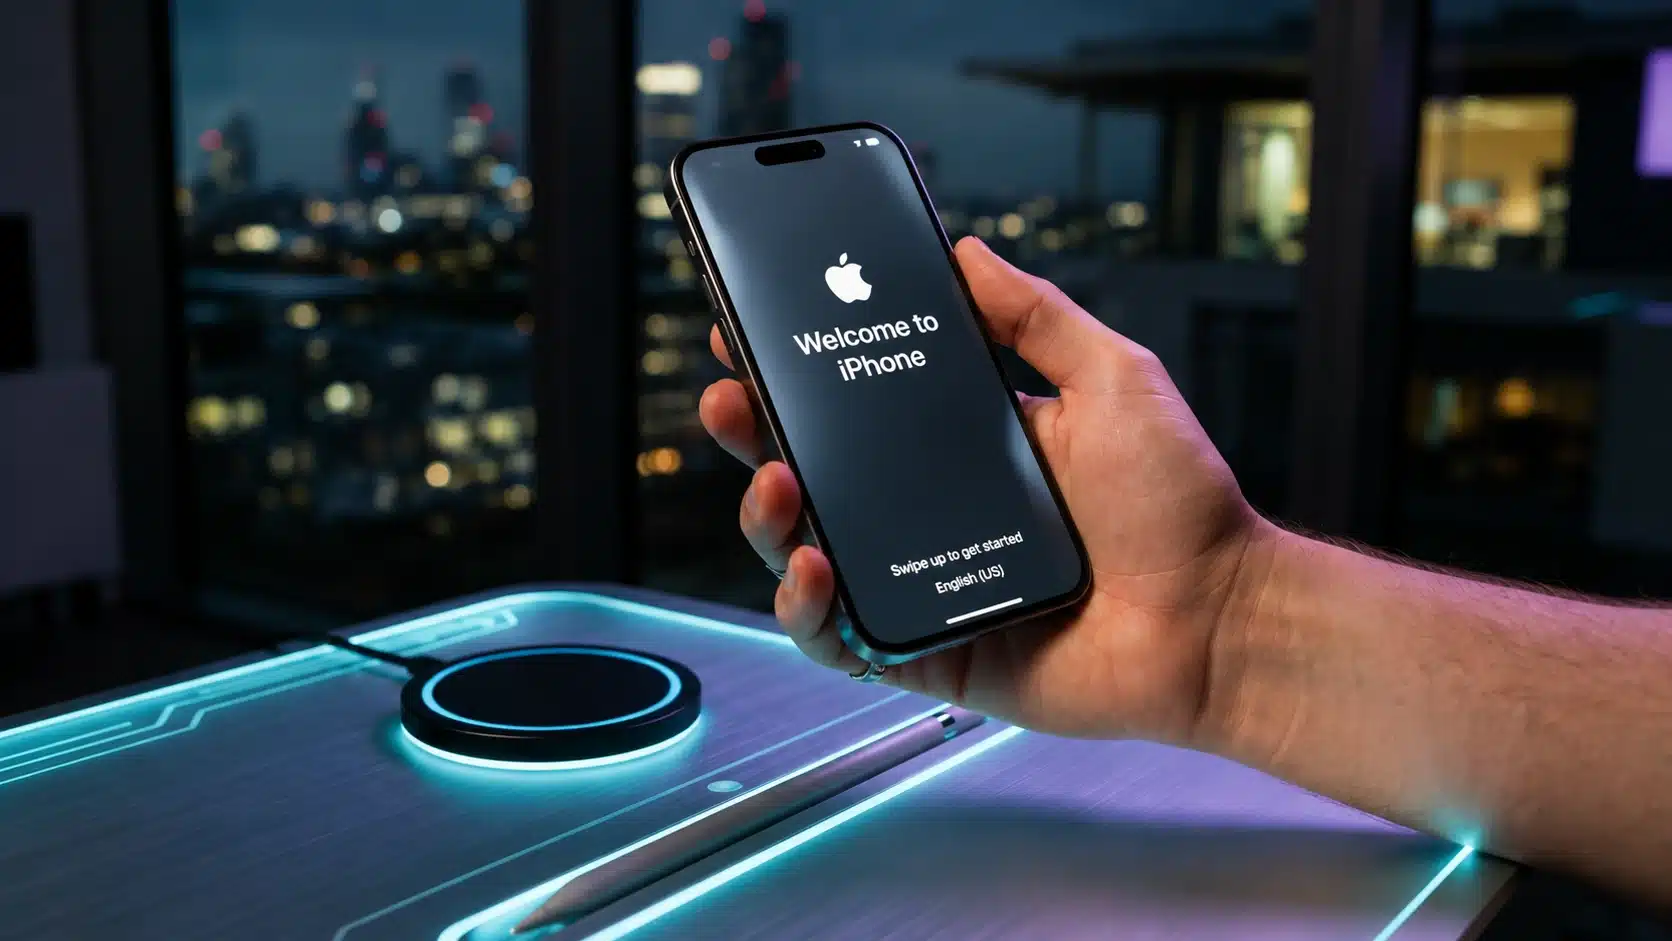
If your iPhone is new, accessing Setup Assistant is simple. Turn on the device, follow the instructions on the Screen, and continue through the setup process. The process is different if your iPhone is already configured.
To see Setup Assistant again, you need to erase the device first. Before doing this, make sure your important information is backed up.
To erase an iPhone:
| Settings → General → Transfer or Reset iPhone → Erase All Content and Settings |
After the erase is complete, the iPhone returns to the starting Screen and Setup Assistant appears again.
Before resetting:
- Check that your photos, contacts, and important files are saved.
- Make sure you know your Apple Account password.
- Keep verification access available.
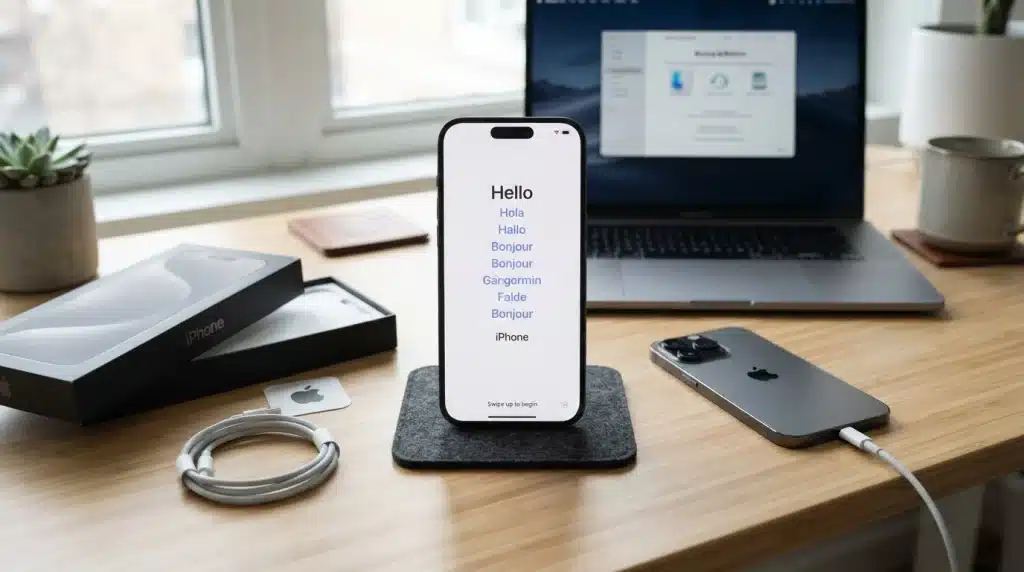
Resetting an iPhone removes the current setup, so it should only be done when you are ready to start fresh. Once the erase process is complete, your iPhone will return to the Hello screen, allowing you to start the Setup Assistant process again.
Remember that erasing removes the current setup, so only do this when you are prepared to set up the device from the beginning.
What You Will See During iOS Setup
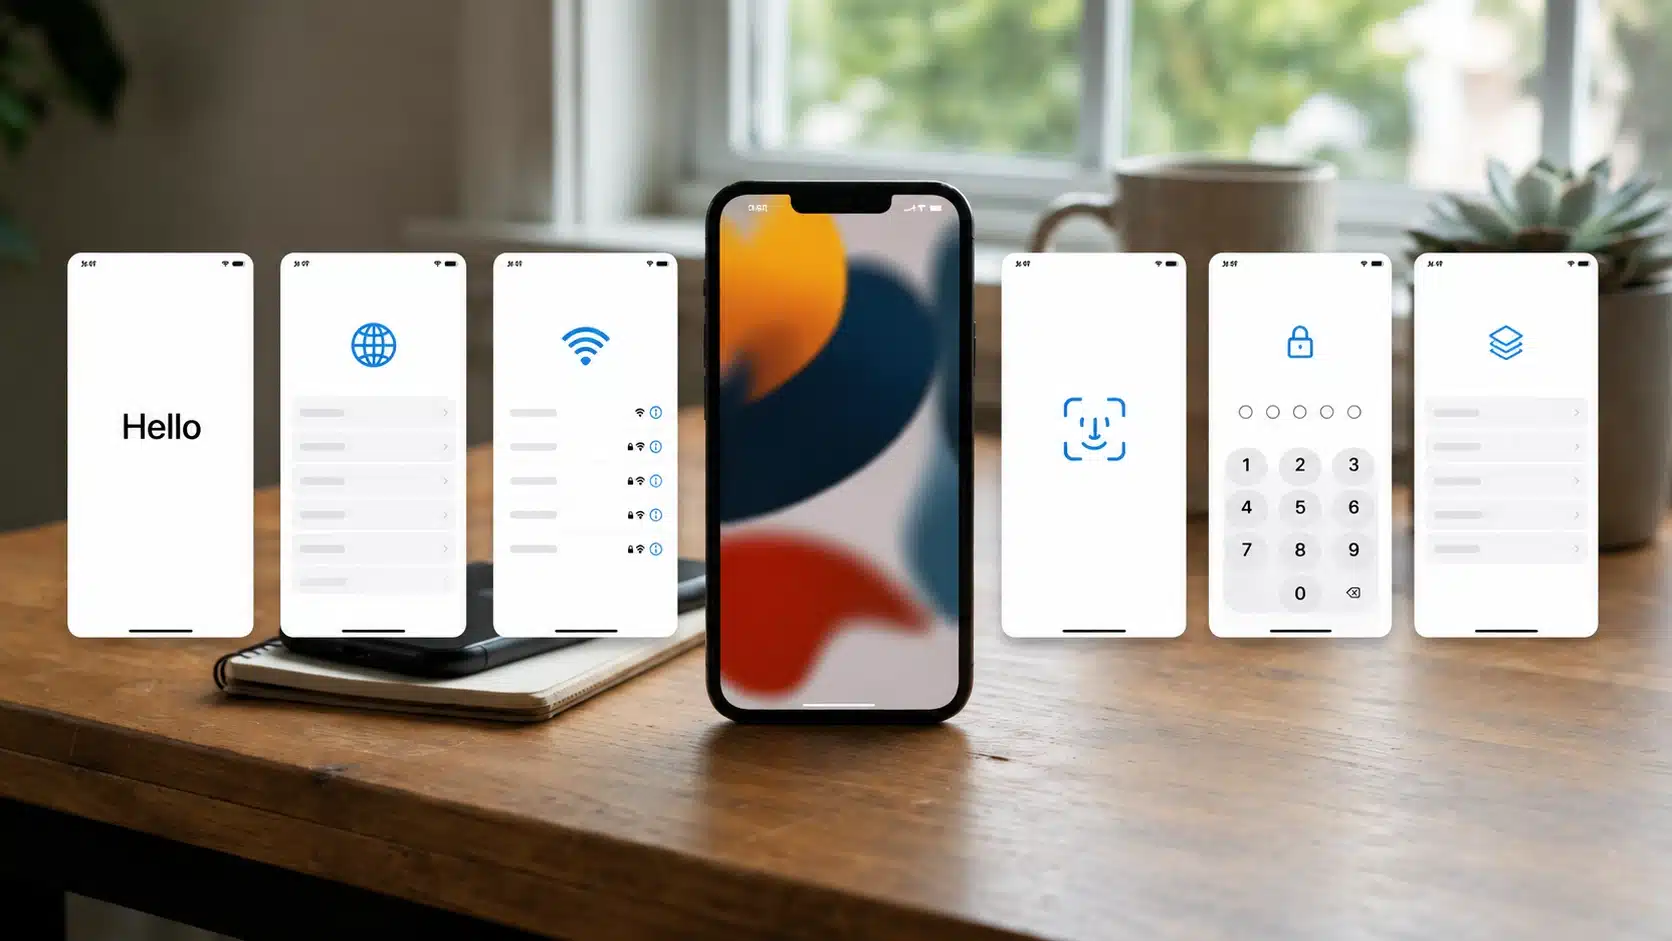
The setup screens follow a clear order, and each one helps prepare your iPhone for daily use. Some choices are simple, while others affect your data and security more directly.
1. Hello Screen
When you turn on a new or erased iPhone, the first thing you see is the Hello screen. This indicates that the device is ready to begin the setup process.
Swipe up or press the Home button on supported models to continue. From this point, the built-in Setup Assistant guides you through each step needed to get the iPhone ready for everyday use.
2. Choose Your Language and Region
The next step is selecting your preferred language and country or region. These settings determine the display language, keyboard layout, date and time format, measurement units, and regional services available on your iPhone.
Choosing the correct options at the start helps ensure the device works the way you expect from day the.
3. Connect to Wi-Fi
Your iPhone will then ask you to connect to a Wi-Fi network so it can activate and communicate with Apple’s servers. A reliable internet connection is also required to sign in with your Apple Account, download settings, and restore backups if needed.
Using a stable Wi-Fi network makes the setup process faster and helps avoid unnecessary interruptions.
4. Choose Quick Start or Manual Setup
If you have another iPhone nearby, Quick Start lets you transfer many settings, apps, and personal data automatically. This is usually the quickest option when upgrading to a newer iPhone.
If you do not have another Apple device or prefer a fresh start, select Set Up Manually and continue through the remaining setup steps.
5. Set Up Face ID, Touch ID, and a Passcode
Next, your iPhone will ask you to set up Face ID or Touch ID, depending on the model, and create a secure passcode.
These features protect your personal information and allow secure access to your device, apps, and payments. Completing this step during setup provides security from the moment you begin using your iPhone.
Shortly afterward, you’ll also choose whether to enable Location Services, and you can always turn off location on your iPhone later if your privacy preferences change.
6. Transfer or Restore Your Data
At this stage, choose how you want to bring your information onto the new iPhone. You can transfer data directly from another iPhone, restore from an iCloud or computer backup, or select Set Up as New iPhone for a clean start.
The right choice depends on your previous device and how you want to begin using the phone.
7. Moving from an Android Phone
If you are switching from an Android device, Apple provides the Move to iOS app to simplify the transition. The app can transfer supported data such as contacts, messages, photos, videos, calendars, and some account information.
Keep both phones connected to Wi-Fi and power until the transfer finishes to avoid interruptions or incomplete data migration.
What Should You Choose During iOS Setup Assistant?
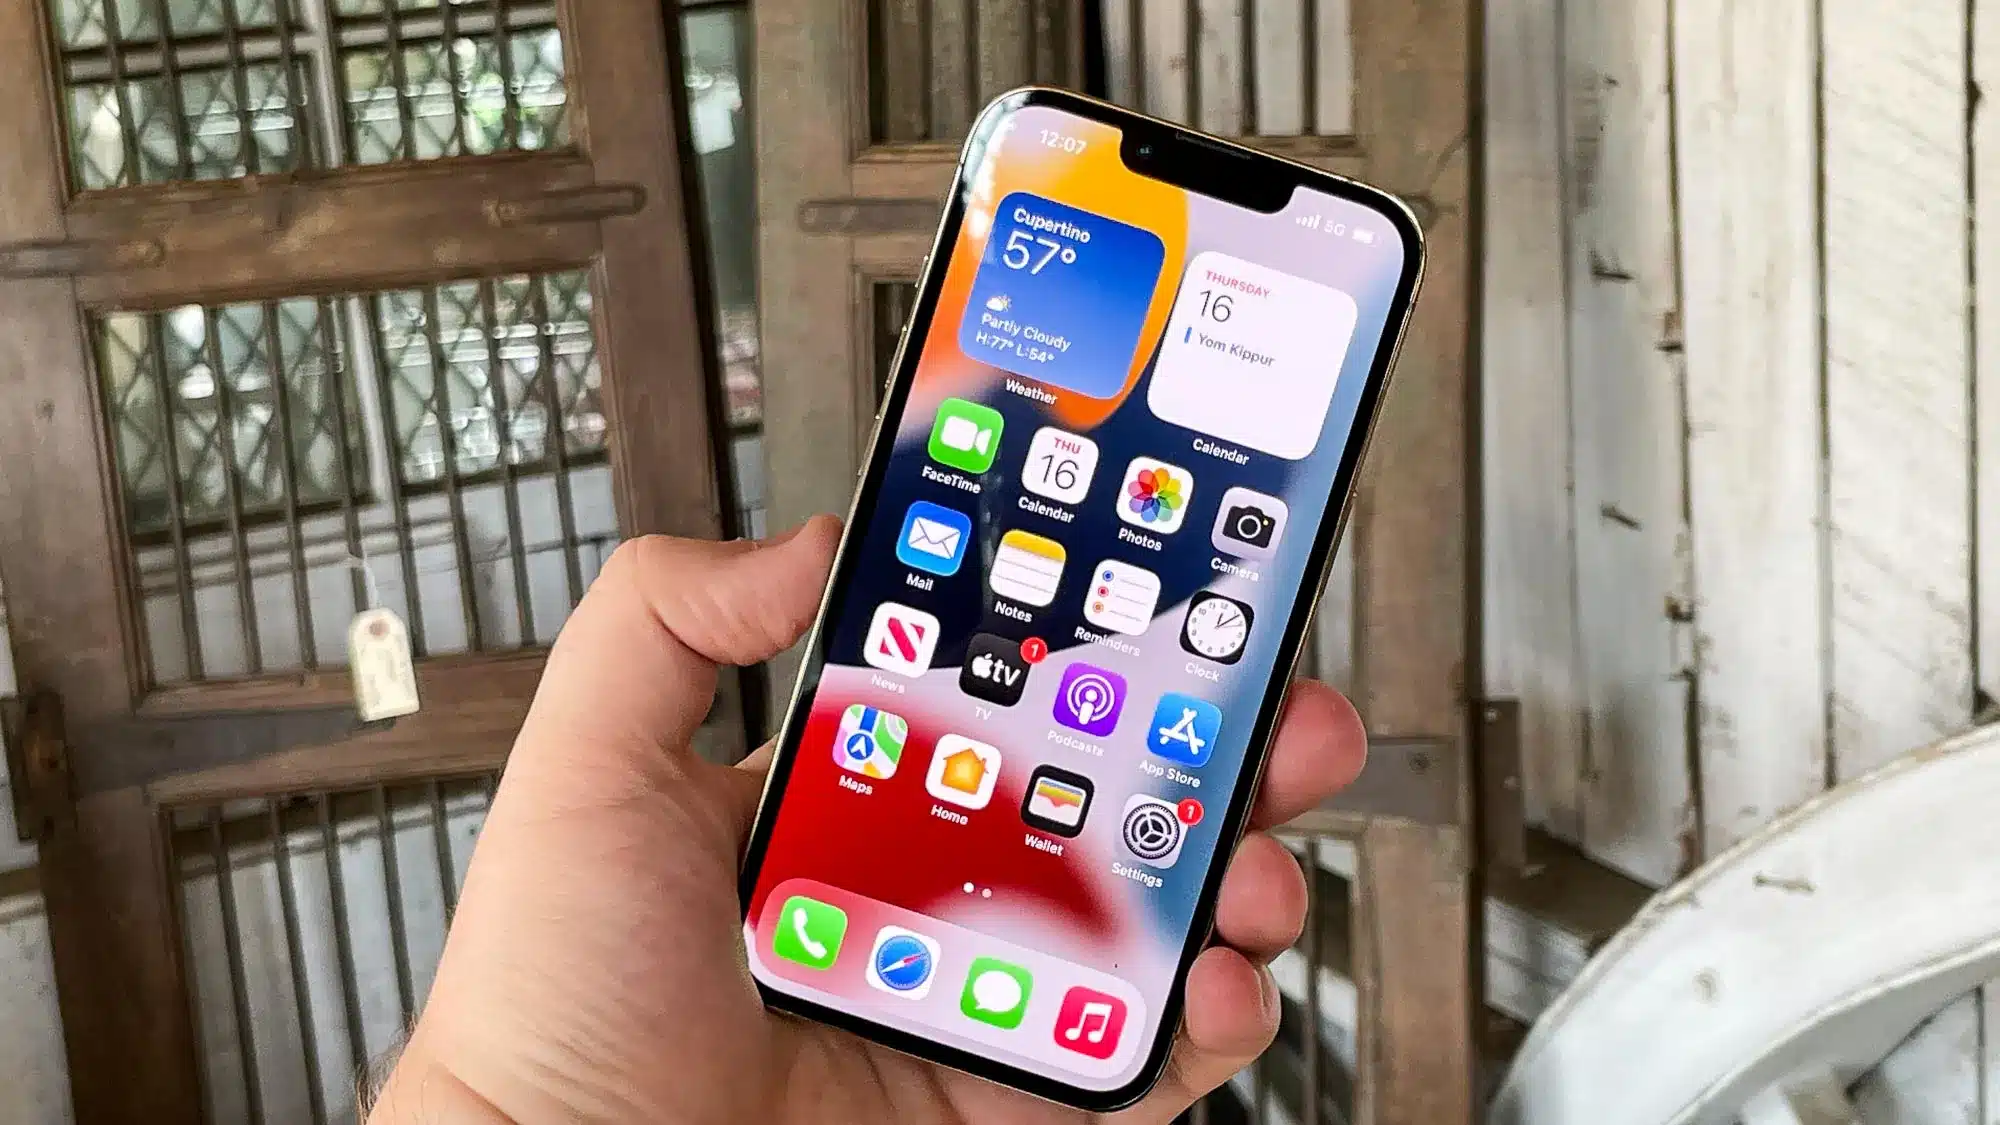
The right choice depends on where your data is stored and how you want your new iPhone to feel. If you are moving from an older device, restoring existing information may save time.
If you want more control over your apps and settings, starting fresh may be a better option.
- Moving From Another iPhone: Choose Quick Start if your old iPhone is available and you want your new device to keep your existing apps, settings, and information. It is usually the easiest option when upgrading from an older iPhone.
- Restoring From a Backup: Choose Restore if your information is saved through an iCloud Backup or a computer backup. This option is helpful when your previous phone is unavailable, but your saved data is ready to bring back.
- Starting Fresh: Choose Set Up as New iPhone if you want more control over your device. This works well if you prefer installing apps manually, removing older settings, and organizing your phone from the beginning.
Common iOS Setup Assistant Problems and Fixes
Simple problems like an unstable connection, account verification delays, or a temporary software issue cause most iOS Setup Assistant issues. If your setup screen is not moving forward or a transfer is taking longer than expected, the right fix usually depends on where the problem happens.
| Problem | What You Can Try |
|---|---|
| Setup screen is frozen | Restart the iPhone and try again |
| Wi-Fi will not connect | Check the network and reconnect |
| Apple Account verification fails | Confirm your password and verification details |
| Transfer is taking too long | Keep devices connected and charging |
| Need Setup Assistant again | Erase the iPhone and restart setup |
If Setup Assistant is not working as expected, avoid restarting the entire process immediately.
Try the simple fixes first, such as checking your connection, confirming account details, or restarting the device.
If you need to start the setup process again, remember that erasing the iPhone will remove the current setup and return it to the beginning.
Final Insight
iOS Setup Assistant pulls together the important early decisions for a new or freshly erased iPhone into one guided process.
It shows up right at the start and helps with data transfer, security, and connecting your account.
The choices that really matter most are picking the right transfer method and locking down your device’s security. Everything else can be tweaked later, so there’s no need to feel like you have to nail every single setting on the first pass.
A little care during setup goes a long way toward making your iPhone feel ready to go from the moment you start using it.
Frequently Asked Questions
Can I Go Back to iOS Setup Assistant After Setup?
Not really; Setup Assistant isn’t something you can just pull up again once setup’s done. To see it a second time, you’ll need to erase your iPhone and start the whole process over.
Do I Need To Erase My iPhone to See Setup Assistant Again?
Yes, an iPhone that’s already set up has to be erased before Setup Assistant will show up again. Just make sure to back everything up first if you want to keep your data.
Can iOS Setup Assistant Transfer Data From Android?
Yes, Apple handles this through the Move to iOS app. What actually transfers over depends on the specific devices and settings involved.
What If iOS Setup Assistant Gets Stuck or Hangs?
Usually comes down to connection issues, account verification hiccups, or a transfer taking its time. Restarting the device and double-checking your network connection is normally enough to sort it out.