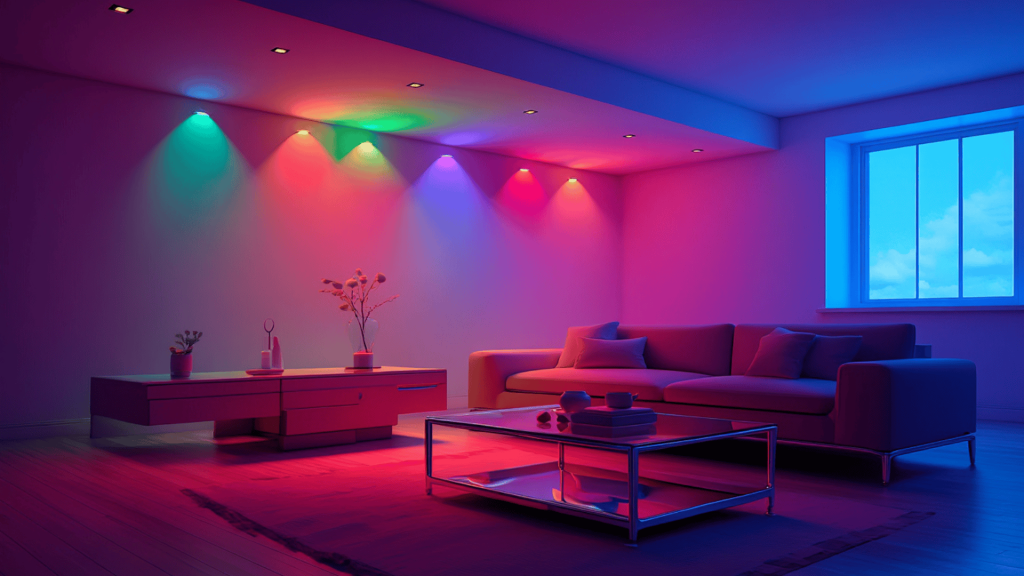
Ever notice how one light switch controls everything, even when different rooms need different moods during work, movie time, or quiet evenings at home?
That frustration is why many homeowners now look at smart recessed lighting when planning upgrades that feel modern without changing ceiling style.
If you are turning your home into a smart one, these lights are a must & easy to begin with.
I will be telling you about what to buy, how to install it, and how to connect everything with apps and voice control. I will also share tips that help you avoid common mistakes people often make after purchase.
But before recommendations, let’s see why smart recessed lights make sense for your space and buying goals today, first.
Why Choose Smart Recessed Lighting?
Smart recessed lighting uses LED bulbs that consume far less power, helping homes cut energy use by nearly 75 percent compared to old bulbs.
Lower power use means smaller monthly bills and fewer replacements, since most smart LED lights last over 25,000 hours easily.
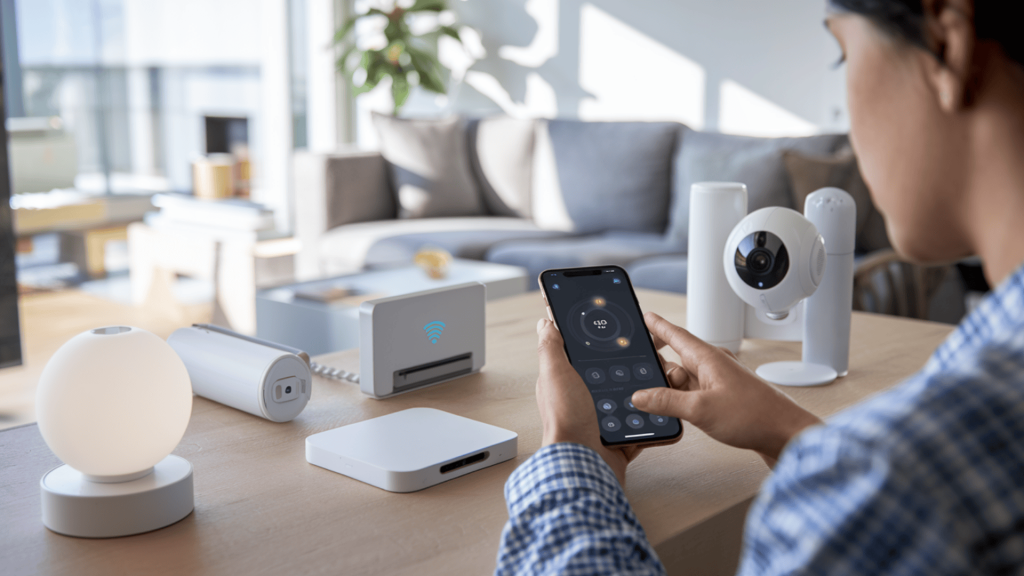
Control is simple because you can manage lights using an app or voice commands without walking to wall switches around the house.
Brightness, color temperature, and dimming let you adjust rooms for movies, reading, or relaxing nights with family anytime at home.
These lights sit flat with the ceiling, giving clean lines and an even light spread without bulky fixtures hanging down overhead.
Compared to normal recessed lights, smart versions offer scheduling, scenes, and remote access that make daily living easier for everyone.
Top Smart Recessed Lights Worth Buying
Here are some of the top picks that many homeowners choose for steady performance, deep control options, and smooth smart home support.
1. Philips Hue Smart Recessed LED Downlight

Price: $189.99 USD (Pack of 4, 6-inch)
This Philips Hue recessed light is a strong pick for people who want stable control without random disconnects during daily use.
It puts out bright and even light, works great for kitchens and living rooms, and still dims low for late-night use. Color options feel smooth instead of harsh, and scenes switch cleanly through the app or voice commands anytime.
When paired with the Hue Bridge, routines, schedules, and room grouping work reliably without stressing your WiFi network.
Key Features:
- Smooth color control with warm to cool whites plus complete RGB options.
- Reliable app and voice control when paired with the Hue Bridge.
- Bright 1100 lumen output with consistent dimming across rooms.
2. Lumary Smart Gimbal Recessed Lighting
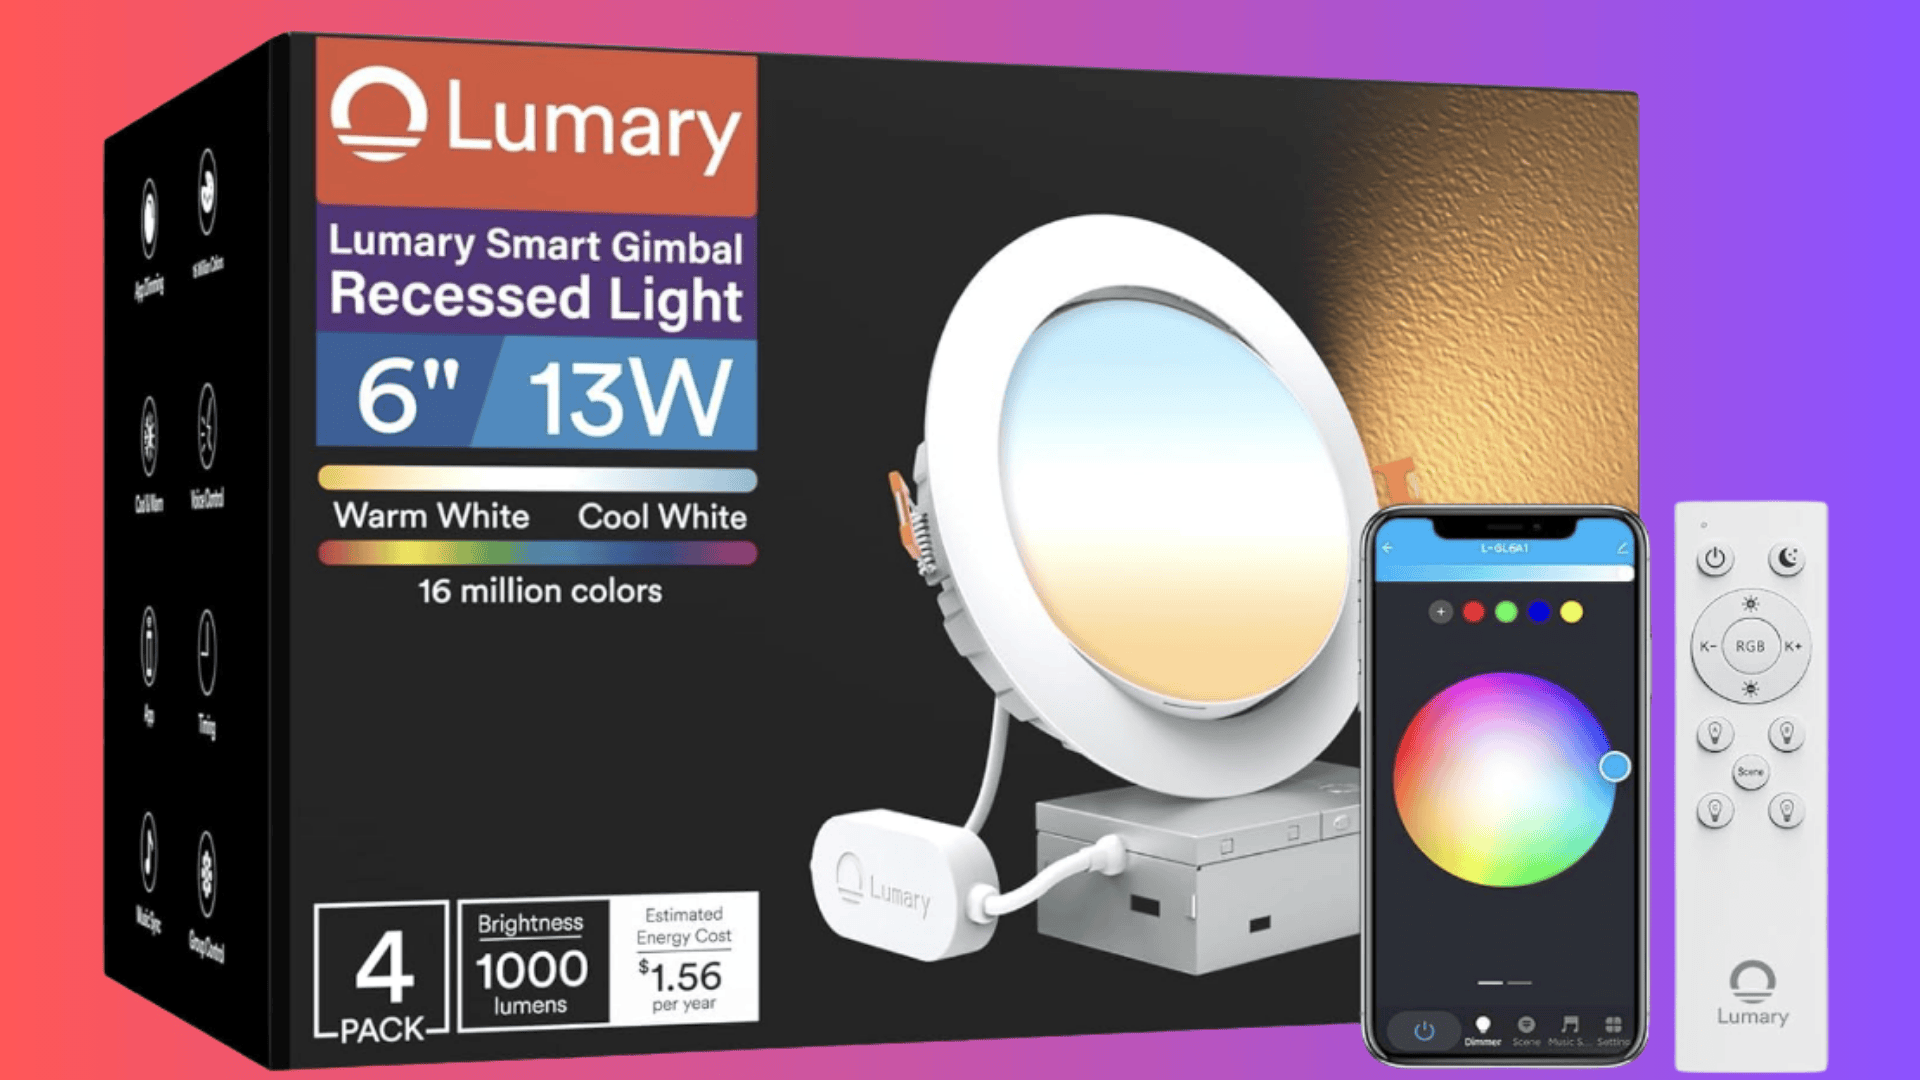
Price: $139.99 USD (Pack of 4, 6-inch)
Lumary smart gimbal recessed lights are designed for spaces where fixed downward lighting does not work well, such as sloped ceilings or accent areas.
The adjustable head allows rotation and tilt, helping you aim the light toward artwork, desks, or walls without adding extra fixtures.
App control, voice support, and preset schedules make daily lighting control simple while keeping brightness and color adjustments consistent.
Key Features:
- Adjustable gimbal head for directional lighting.
- App, voice, and remote control options.
- RGB plus tunable white color support.
3. Feit Electric 4 Inch Smart Recessed Light Canless Jbox
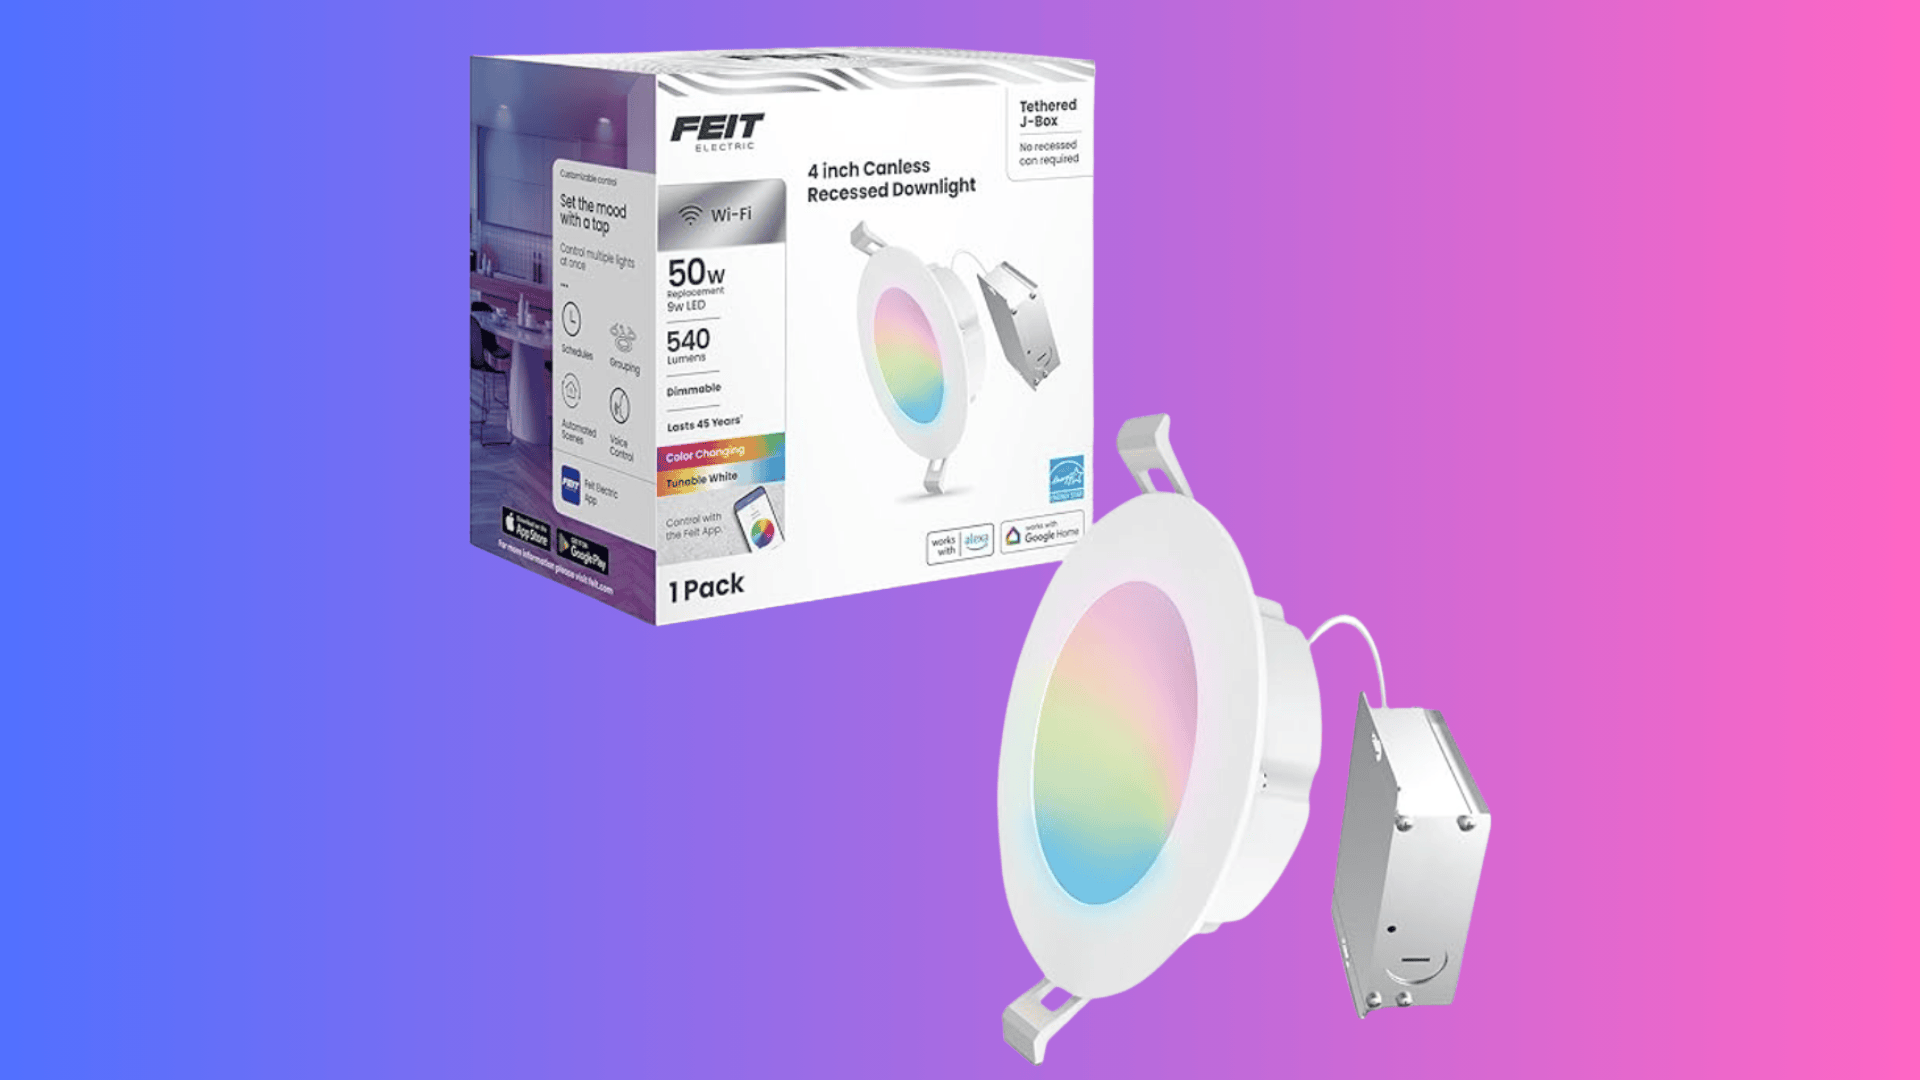
Price: $29.62 (Pack of 1, 4-inch)
This Feit Electric smart recessed light is built for simple ceiling installs using a canless design with an included junction box.
It works over standard WiFi and allows color changes, dimming, and scheduling directly through a phone app without extra hardware.
The light delivers comfortable brightness for bedrooms and living areas while using low power and supporting voice control features.
Key Features:
- Canless design with integrated junction box.
- App and voice control with adjustable colors.
- Energy-efficient output with smooth dimming control.
4. SikSog Smart Recessed Lighting RGBCW
Price: $105.99 USD (Pack of 12, 4-inch)
SikSog smart recessed lights use Bluetooth mesh control, which helps multiple lights stay connected without depending on a busy home WiFi network.
This setup works well for larger installs, letting users control groups, scenes, and brightness from one app screen.
Color modes and adjustable whites make these lights suitable for bedrooms, media rooms, and casual living spaces.
Key Features:
- Bluetooth mesh control system.
- Full RGB and adjustable white tones.
- Large pack size for wide coverage.
5. LIFX Color 5-6″ 800 Lumen Downlight E26 Retrofit White
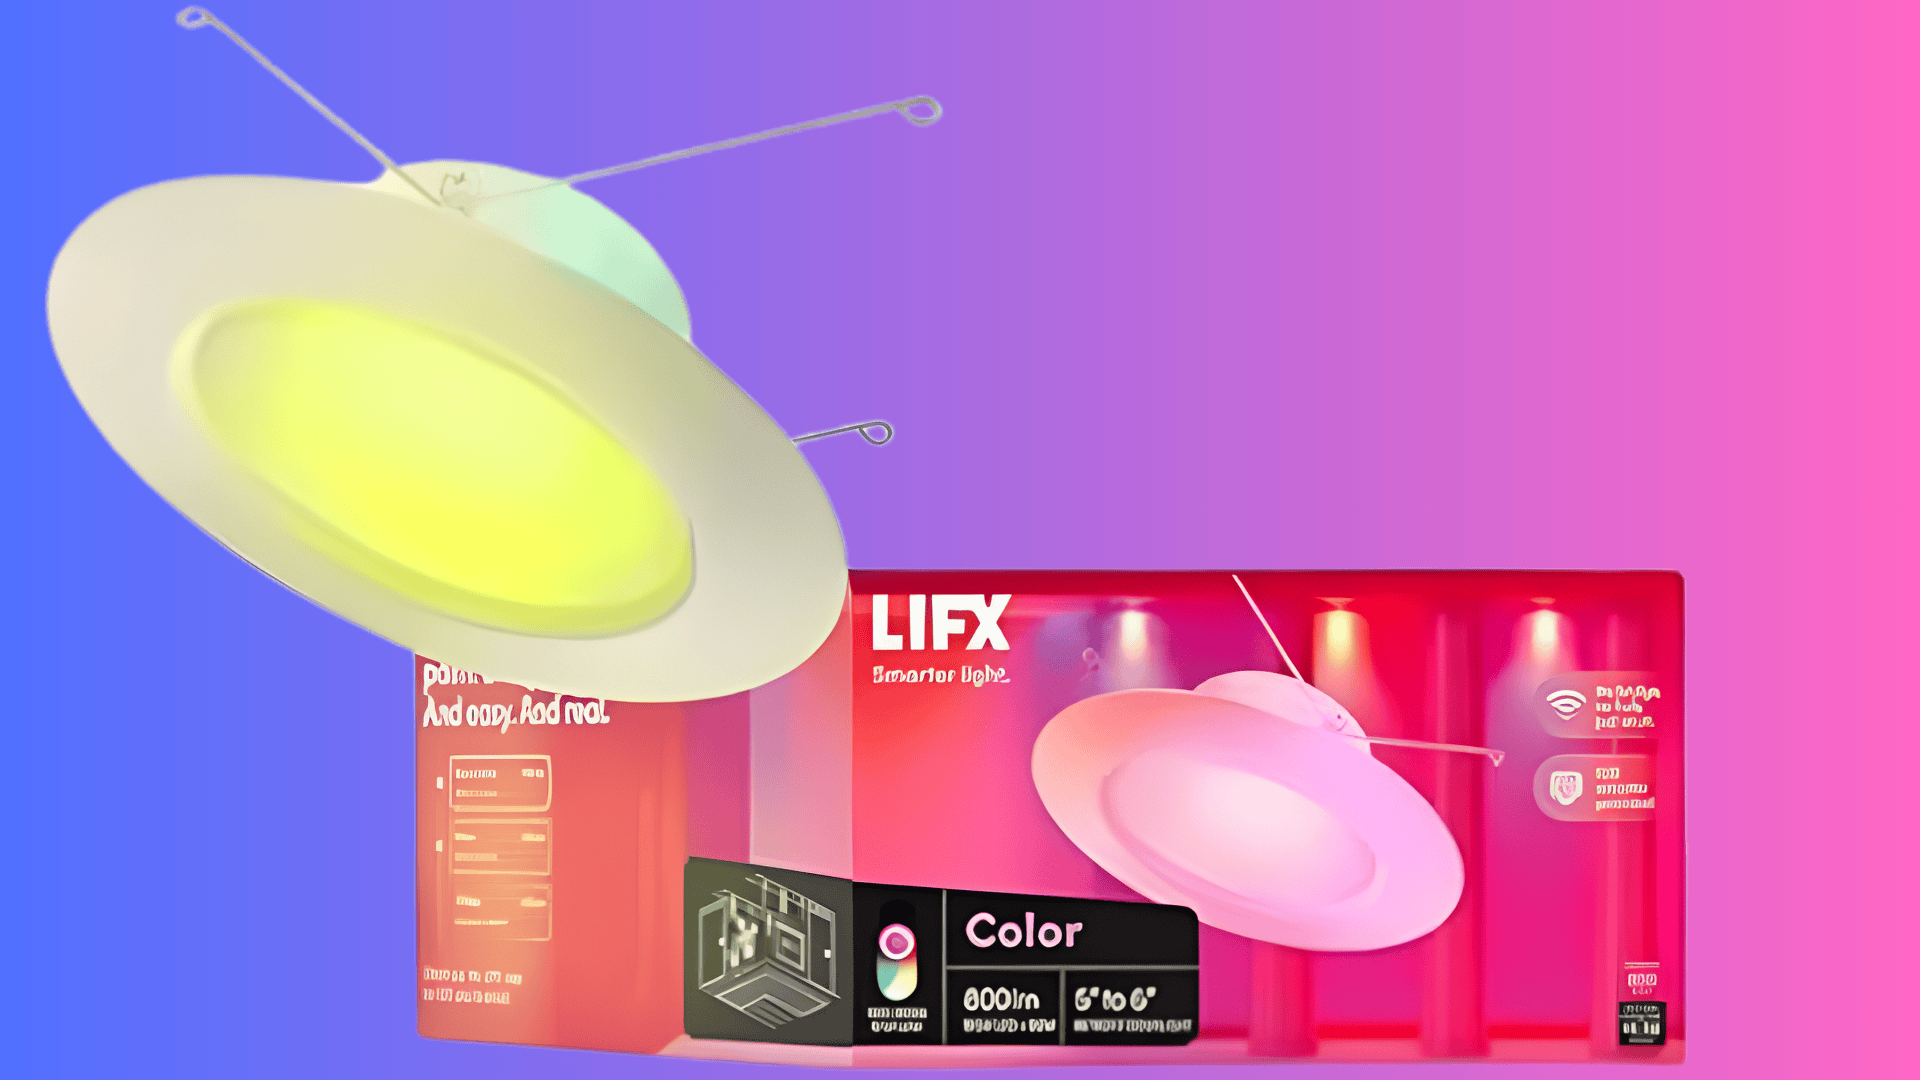
Price: $145.35 USD (Pack of 5, 5/6-inch)
This LIFX E26 retrofit downlight is made for easy upgrades since it screws into a standard socket inside many existing recessed cans.
It gives 800 lumens, so it fits bedrooms and living rooms where you want comfort lighting, not harsh brightness.
The LIFX app lets you control dimming, whites, and colors, plus you can group rooms and set schedules easily.
Key Features:
- E26 screw-in retrofit for many existing cans.
- Strong app control with grouping and schedules.
- 800 lumens output for everyday home lighting.
How to Choose the Right Smart Recessed Lighting?
Picking the right smart recessed light gets easier when you focus on room needs, ceiling limits, and how you plan to use lighting daily.
- Room size and ceiling depth: Small rooms fit 4-inch lights better, while larger spaces need wider coverage for balanced lighting.
- Lumen output: Kitchens and work areas need brighter light, while bedrooms feel more comfortable with softer brightness levels.
- Lighting type: Choose tunable white for simple daily use or full color options if you want mood scenes later.
- Smart home compatibility: Match the light with Alexa, Google, or Apple, so everything works smoothly without extra devices.
- Connectivity type: Pick WiFi, Bluetooth, or hub-based lights carefully, since too many WiFi lights can slow busy home networks.
When these points line up, you avoid wrong buys and get lighting that fits your space, habits, and budget long term.
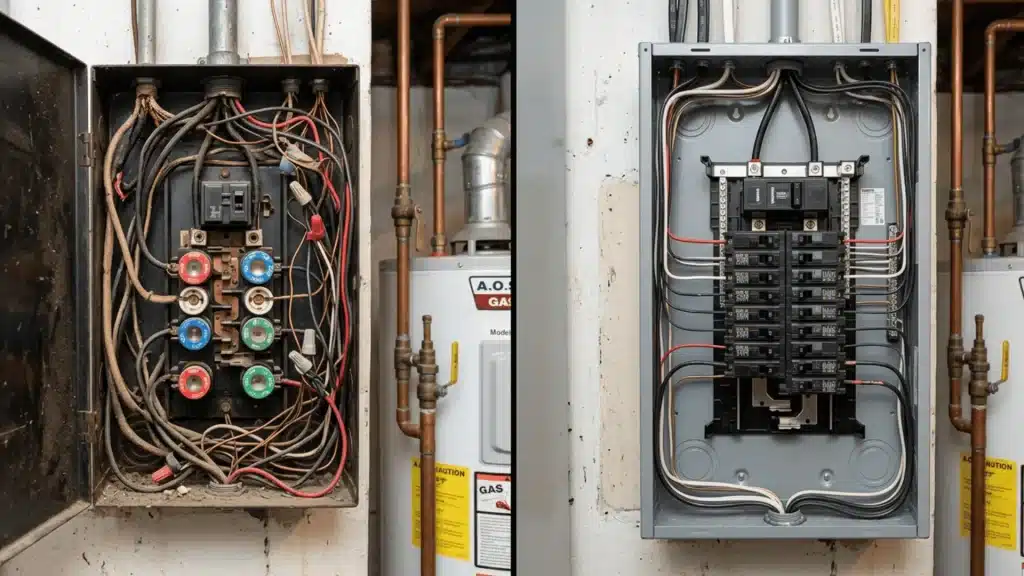
Tools & Materials Required for Installation
Before starting the installation, having the right tools and materials ready helps the work move smoothly and reduces mistakes during cutting, wiring, and mounting.
| Tool/Material | Purpose |
|---|---|
| Recessed LED Lights | Main lighting units |
| Junction Boxes | Electrical connections |
| Electrical Wire | Power supply wiring |
| Wire Connectors | Securing wire joints |
| Drill | Cutting and fastening |
| Hole Saw | Cutting ceiling openings |
| Stud Finder | Locating joists |
| Level | Aligning light layout |
| Voltage Tester | Checking live power |
| Gloves | Hand protection |
| Ladder | Ceiling and attic access |
Once all tools and materials are prepared, installation becomes more controlled, safer, and easier to complete without unnecessary pauses or rework.
DIY Installation Guide for Smart Recessed Lighting
Now you know the best light for your home, here’s a detailed guide to install smart recessed lighting as a quick DIY weekend project:
Step 1: Mark Ceiling Layout and Confirm Joist Positions
Begin by measuring the room and marking each recessed light position on the ceiling, keeping spacing even to avoid bright or dark patches.
Use a level to align marks in straight rows, since uneven placement becomes very noticeable after installation. Check joist locations before drilling, because cutting into framing causes delays.
Careful marking at this stage prevents wrong holes, uneven lighting spread, and unnecessary ceiling damage later.
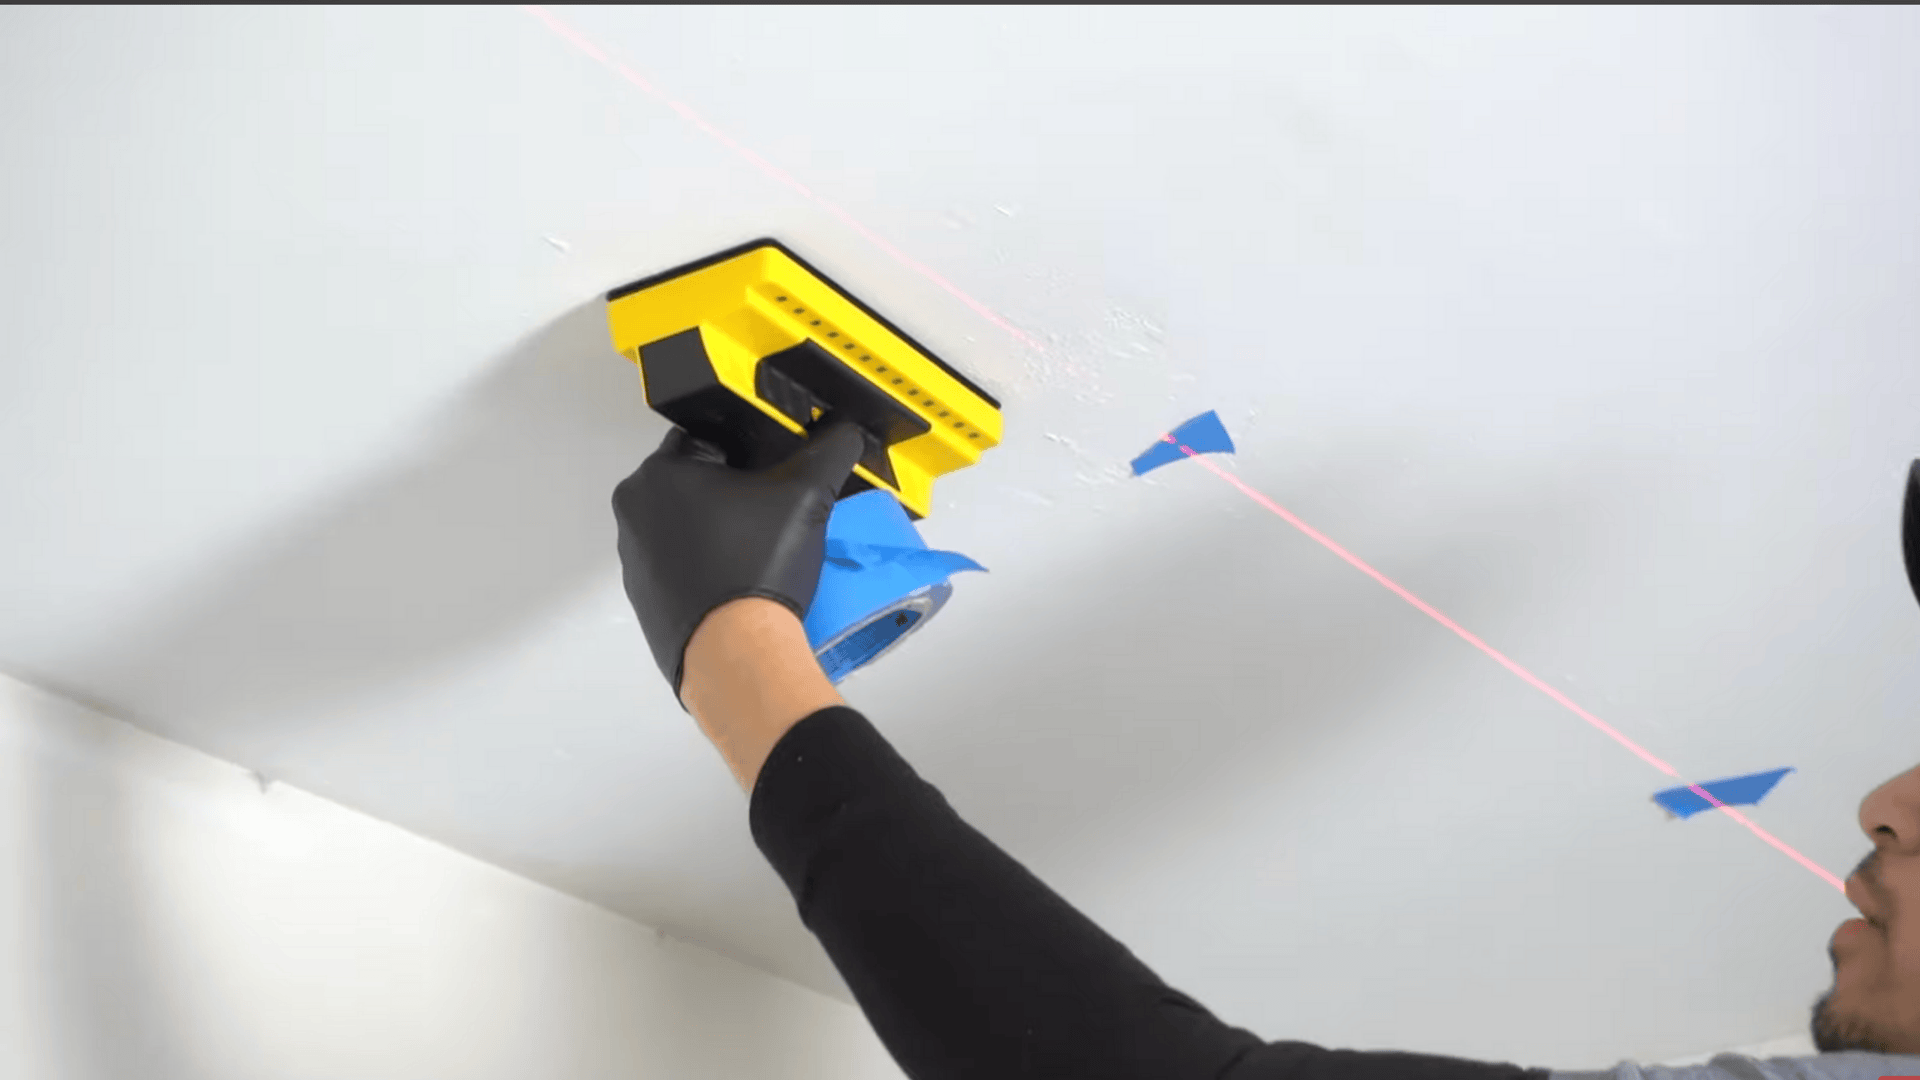
Step 2: Drill Ceiling Holes with Proper Control
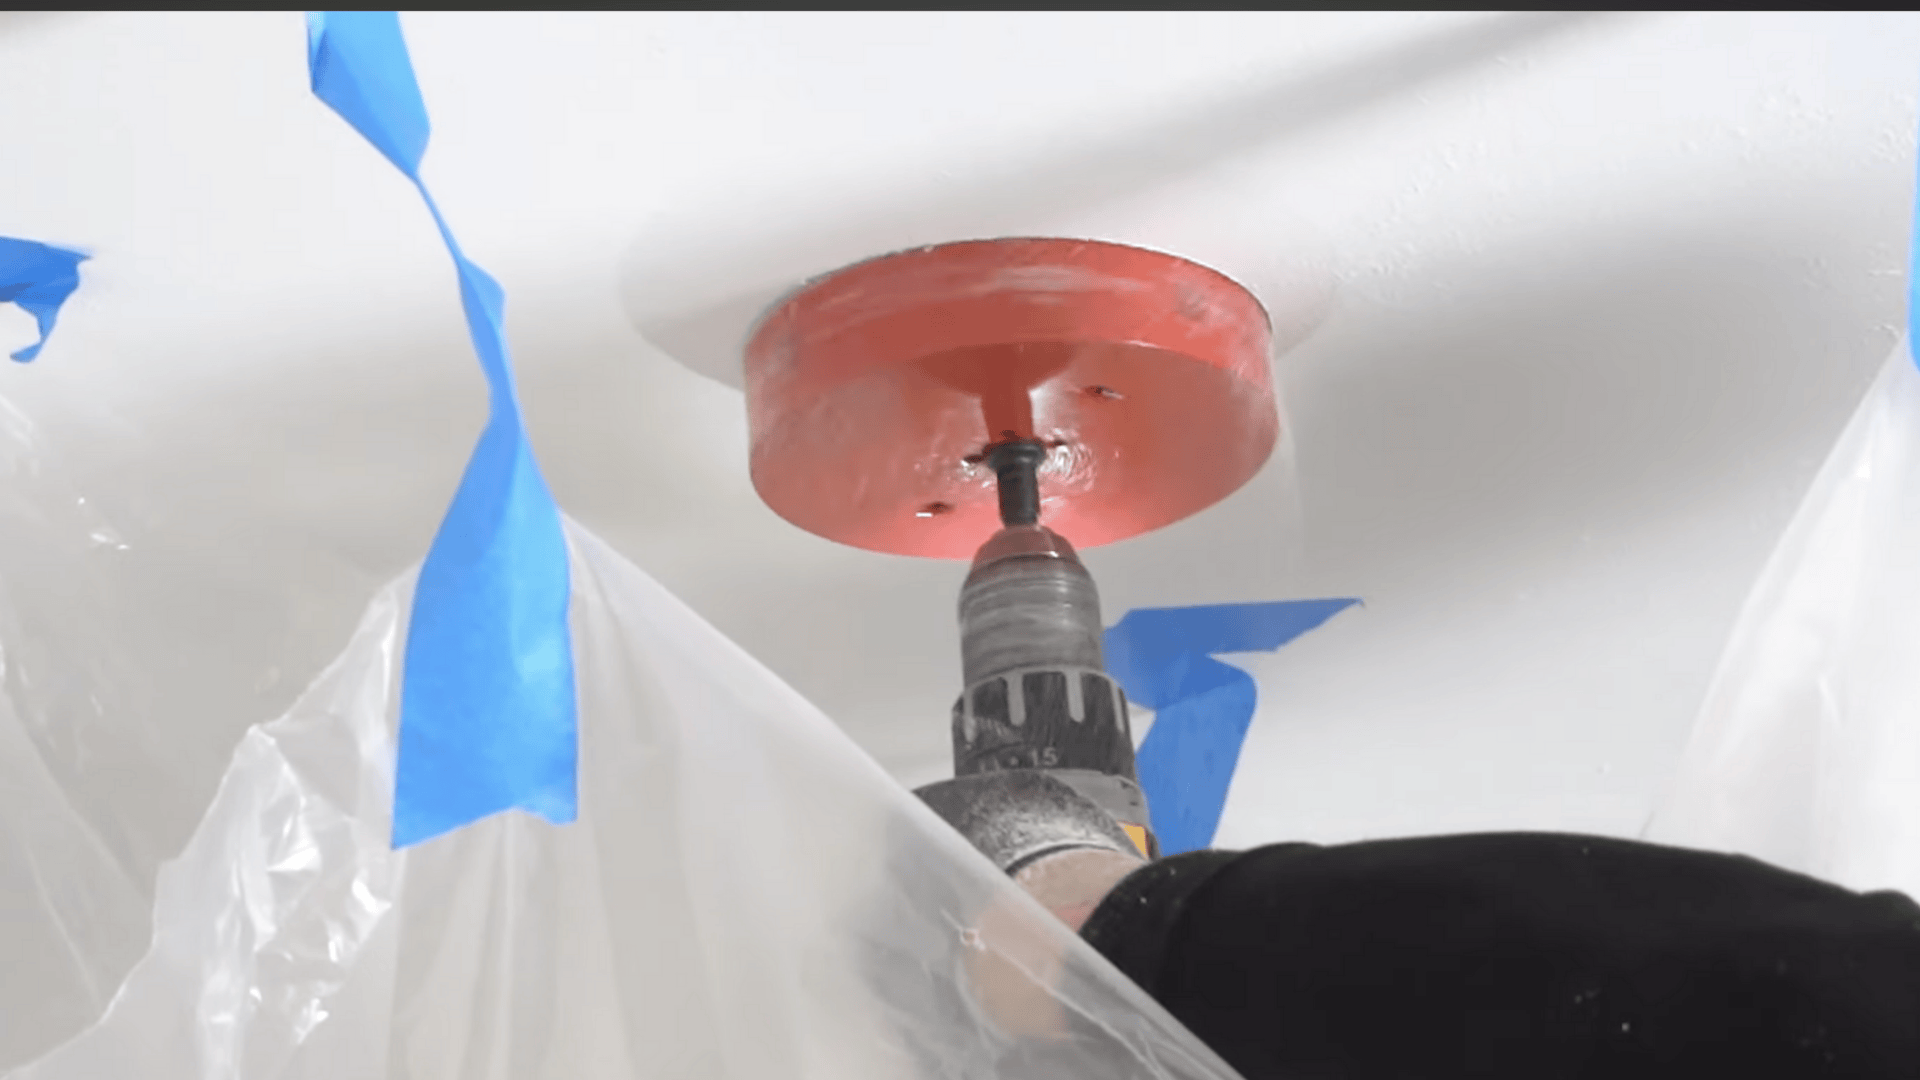
After confirming all markings, drill pilot contact points and cut ceiling holes slowly to maintain clean edges.
Scoring the drywall surface before drilling thoroughly helps keep the hole saw from slipping or tearing surrounding areas.
Apply steady pressure and avoid forcing the drill aggressively, since it can damage drywall surfaces. Test the first cut with the fixture to confirm sizing before continuing with the remaining holes.
Step 3: Inspect Ceiling Openings from the Attic

After cutting the ceiling holes, enter the attic and locate each opening by moving insulation aside until the drywall cutouts are visible.
Confirm that each opening has enough clearance for the junction box and wiring without touching joists, framing, or roof surfaces.
Check nearby areas carefully and look for pipes, cables, or ducts that could block wiring paths or create safety concerns during installation.
Make sure insulation can be placed back later without covering junction boxes or pressing tightly against electrical connections.
Step 4: Route Wiring and Make Electrical Connections

Route electrical wiring from the power source across all ceiling openings, leaving extra wire length at each location for easy connections.
Secure the wiring loosely to the framing so insulation weight does not pinch, stretch, or damage the cable jacket over time.
Connect matching wires inside each junction box, then place all connections neatly inside before closing the cover securely.
Step 5: Install Fixtures and Verify Operation

Attach each recessed light to its junction box connector before inserting the fixture into the ceiling opening.
Compress the mounting clips evenly and push the fixture upward until it sits flat and tight against the ceiling surface.
Restore power at the breaker and test each light for on-off response, dimming control, and finally, if its blinking or not, because that means it is in the pairing stage.
Do not force the fit and fix any issues before cleanup.
For a more detailed visual guide, check out the video by Fix This House.
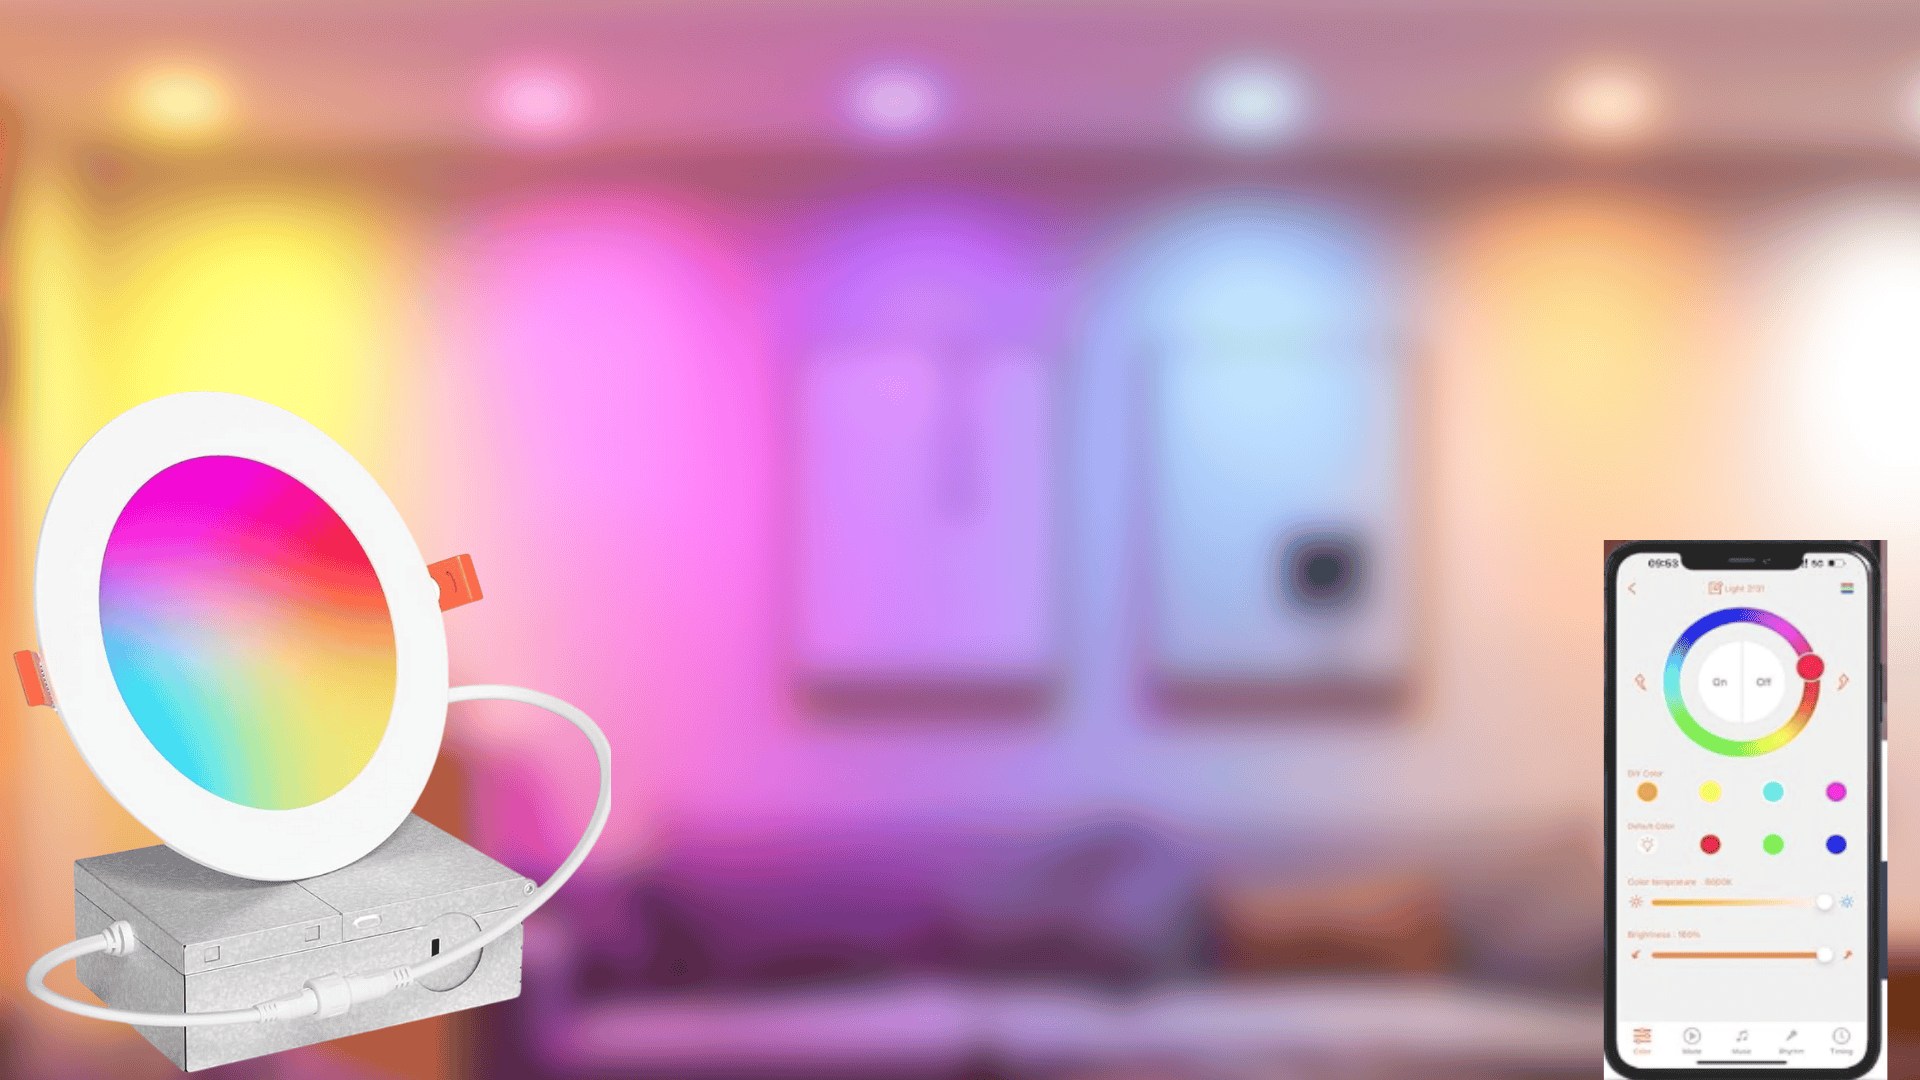
Integrating Smart Recessed Lighting with Your Smart Home
Follow these simple steps to integrate smart recessed lighting with your smart home system:
- Turn on pairing mode: Switch the installed light off and on repeatedly until it starts blinking continuously, which shows it is ready to connect.
- Download the correct app: Get the official app for your light brand from the Play Store or App Store, then open it and allow all required permissions.
- Choose the right brand app: If you are using Philips lights, download the Philips Hue app to ensure proper setup and compatibility.
- Search and connect: Use the app to find nearby lights, then follow the on-screen instructions to complete the pairing process.
- Confirm connection: Wait for the blinking to stop, which confirms the light is successfully connected and ready for use.
- Customize settings: In the app, adjust colors, brightness, schedules, and rename lights, such as Living room 1 or Corner light, for easier control.
- Enable voice control: Link the lights to Alexa, HomePod, or Google Home to control power and colors using voice commands anytime.
Common Mistakes to Avoid
Before buying or installing smart recessed lighting, avoid these common mistakes that often lead to poor fit, connection issues, or uneven lighting results.
- Wrong size selection: Buying the wrong size light often causes loose fits or ceiling damage, especially when 6-inch lights are forced into shallow ceilings.
- Ignoring ecosystem compatibility: Overlooking hub or ecosystem needs can block voice control features, leaving lights only partially usable with Alexa, Google, or Apple setups.
- Poor spacing and layout: Bad placement creates glare, shadows, or dark zones, making rooms feel uncomfortable even with high brightness levels.
- Skipping damp-rated lights in bathrooms: Not choosing damp-rated lights risks moisture damage and early failure, especially near showers or in steamy ceiling areas.
- Unstable connectivity choice: Selecting unreliable WiFi models can lead to frequent disconnects, delayed responses, and inconsistent control during daily home use.
Conclusion
Smart recessed lighting can change how your home feels day and night when control and comfort finally match your daily routines.
I have seen many homeowners feel more confident once lighting works smoothly with phones, voices, and schedules without constant fixing.
Now you know what to check before buying and how a proper setup helps lights stay reliable over time inside your home.
After installation, remember to check for app updates, router limits, and room layouts to keep performance steady long-term for daily use.
If you are planning upgrades, take the time to plan spacing and future rooms so lighting grows with needs over the years ahead.
Which room are you planning to upgrade first? Share with us in the comments below!