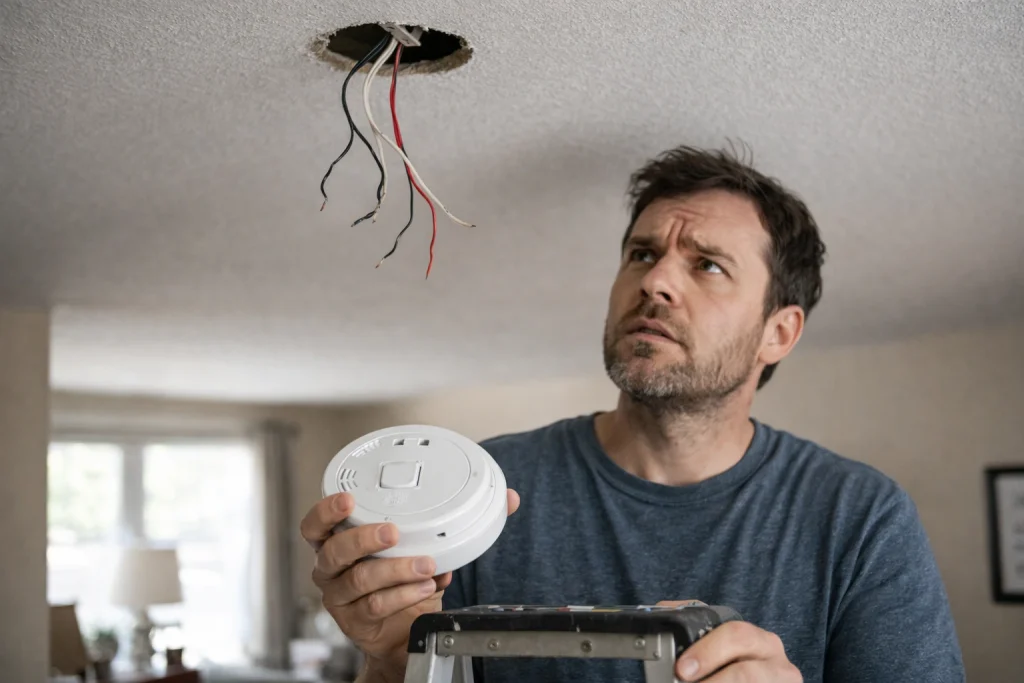
Most people installing a smoke detector for the first time do the same thing: they pull the old unit off the ceiling, see a cluster of wires sticking out of the wall, and freeze.
Black, white, red, sometimes a bare copper one too. It’s not obvious what connects to what, and getting it wrong isn’t just inconvenient.
It could mean your alarms don’t talk to each other when it actually matters.
Smoke detector wiring isn’t complicated once you understand what each wire is doing and why. Here’s what you need to know before you touch anything.
The Cables: 2-Wire vs. 3-Wire
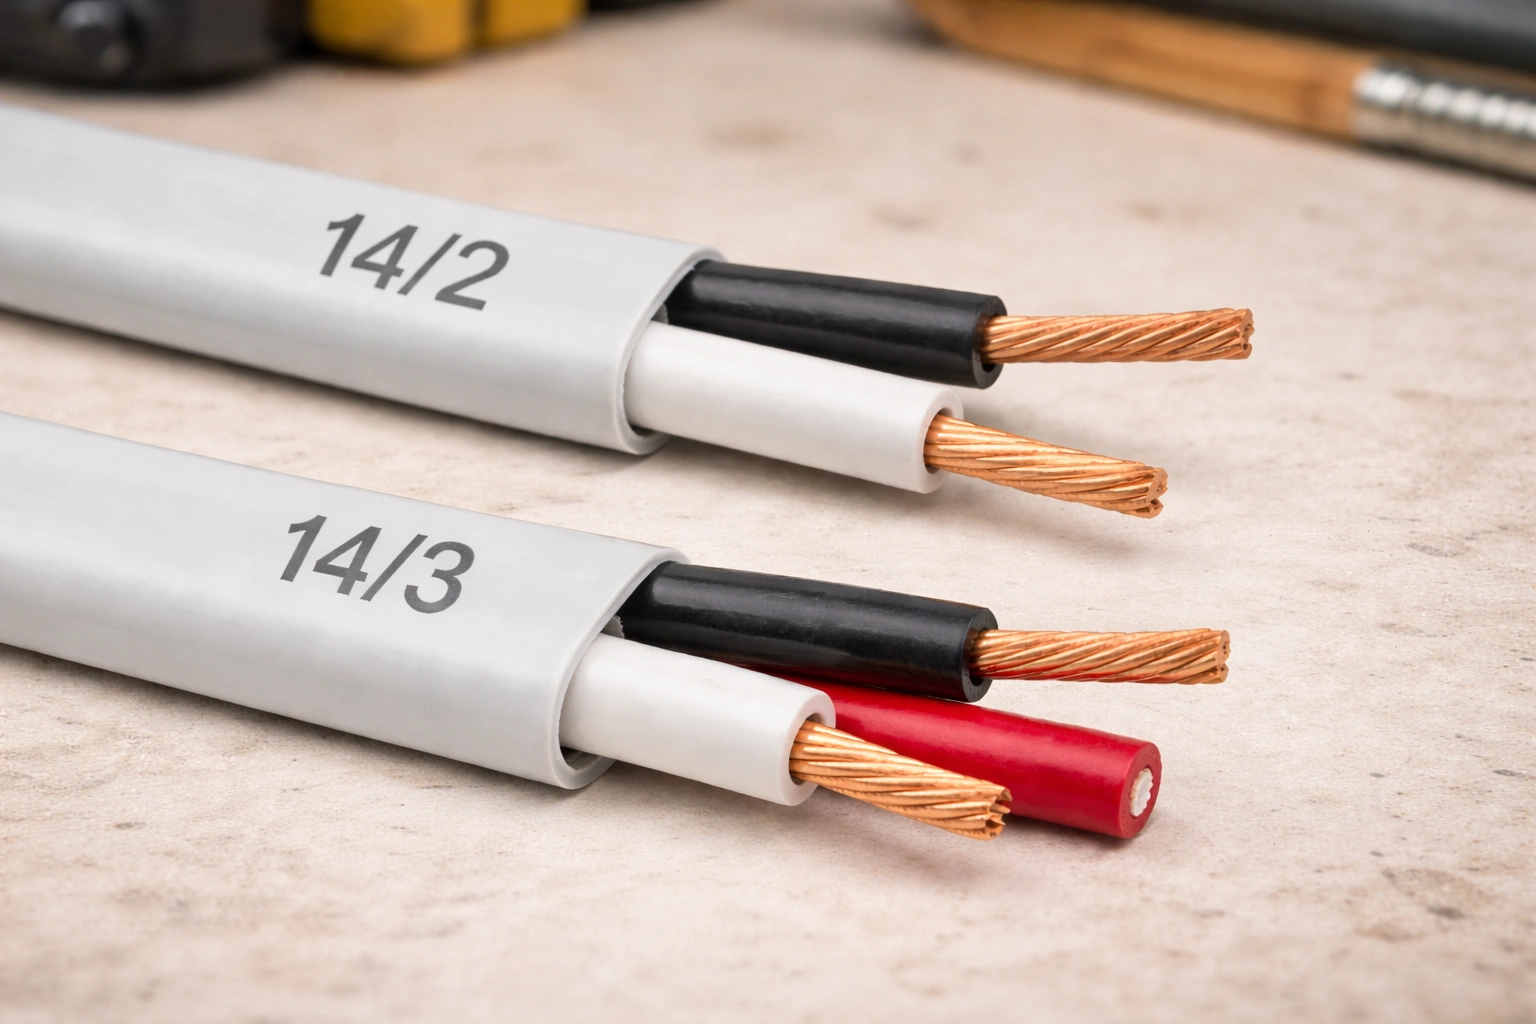
Before the individual wire colors make sense, you need to understand the two cable types used in smoke detector installations.
The first detector in your chain connects to the power source using a 2-wire cable (14/2 NM with ground). This carries the hot wire, the neutral, and the bare ground, enough to bring power to that first unit.
Every detector after that needs a 3-wire cable (14/3). The extra conductor, usually red, is what allows detectors to communicate with each other.
Without it, each unit operates in isolation, and the whole point of a networked system falls apart.
Think of the 2-wire cable as the on-ramp to the circuit, and the 3-wire cable as the conversation line between detectors.
Breaking Down the Wire Colors
Once you open the wiring compartment on a hardwired detector, you’ll typically see three or four wires. Here’s what each one does:
- Black (Hot): This is your live wire. It carries 120V current from the breaker to the detector. Black connects to black always.
- White (Neutral): The return path for the electrical current. White goes to white, no exceptions. Swapped wires from a previous installation can cause the detector to malfunction entirely.
- Bare Copper (Ground): The safety wire. It doesn’t carry current under normal conditions but provides a fault path if something goes wrong. Connect it to the green screw or ground wire on the harness.
- Red (Interconnect): This is what makes the system smart. When one detector senses smoke, it sends a signal through the red wire to every other unit on the circuit, and they all go off together. No red wire means no interconnection.
A Mistake That Trips People Up
When running 14/3 cable from the power source to the first detector, the red wire has no function at that end; it should be capped with a wire nut and left alone.
It only becomes active between detectors down the line. People sometimes leave it uncapped or accidentally connect it to something, which causes headaches during testing.
Another common issue: mixing detector brands on the same interconnect circuit. Most hardwired alarms are designed to communicate within their own brand ecosystem.
Cross-brand connections are unreliable and can cause persistent false alarms or prevent the signal from traveling between units altogether.
Replacing vs. Installing New
Replacing an existing detector is the easier job. The wiring is already run. You turn off the breaker, disconnect the old harness, connect the new one (black to black, white to white, red to red), and mount the unit.
Most modern harnesses use plug-in connectors, which makes this even simpler.
Installing in a location that never had a hardwired detector is a bigger project; you’re running new cable through walls, cutting boxes into drywall, and tapping into an existing circuit.
If you’re planning a full install from scratch, going through a complete step-by-step guide to fire alarm installation before you start will help you avoid costly missteps, since placement and circuit decisions affect how the wiring is done.
Test Before You Call It Done
Press and hold the test button on one detector for a few seconds. If every other connected unit sounds off, the interconnect wiring is working.
If only that one unit responds, check that the red wire is properly joined at every connection point.
Also, confirm the backup battery is seated correctly. A missing or low battery causes most detectors to chirp repeatedly, which is easy to mistake for a wiring problem when it isn’t.
Of course, wiring them correctly is only half the equation.
Even with the right brand throughout, where each unit actually sits in the home affects whether the signal travels the way it should.
Conclusion
Smoke detector wiring looks intimidating until you understand what each wire is responsible for.
The black powers the unit, the white completes the circuit, the ground keeps things safe, and the red turns individual alarms into a system that works together.
Get those four connections right, use the correct cable between units, and your setup will be solid for years to come.
If you ever feel uncertain working around your home’s electrical system, there’s no shame in calling a licensed electrician.
The wiring itself isn’t complex, but the stakes are high enough that doing it right the first time is always worth it.
Are you planning to wire your smoke detectors yourself? Share your setup or any confusion about wire colors and connections in the comments below.
Frequently Asked Questions
Can I Add a New Hardwired Detector without Running New Wire?
Only if a 3-wire cable (14/3) already reaches that location. If the existing run ends in a 2-wire cable, you’ll need to extend it with 14/3 to carry the interconnect signal.
Will Hard-Wired Detectors Still Work During a Power Outage?
Yes. The built-in battery backup keeps them running even when the power is out, as long as the battery is fresh and properly seated.
Do Smoke Detectors Need Their Own Dedicated Circuit?
No. They’re typically wired into an existing lighting or outlet circuit. Just match the wire gauge to the breaker rating: 14-gauge on a 15-amp circuit, 12-gauge on a 20-amp circuit.