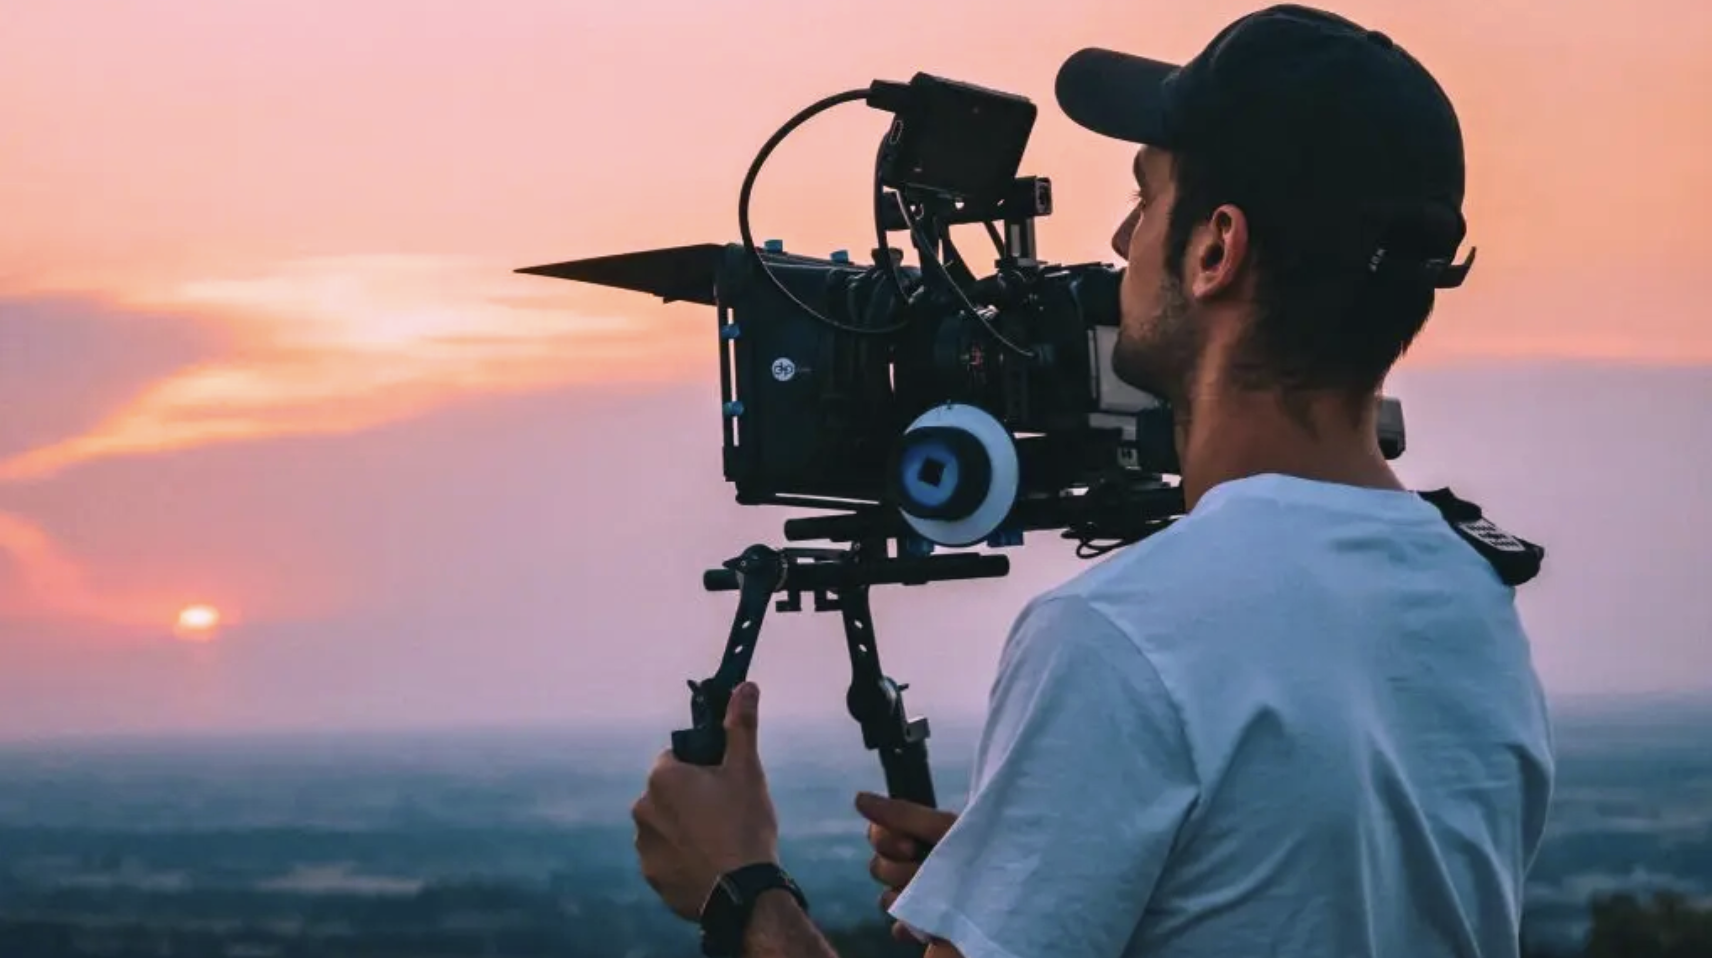
Starting out in videography can feel exciting, but also a little overwhelming. You might have a camera in hand, ready to shoot, but quickly realize there’s more to it than pressing record.
Good videos need more than editing; accessories make filming easier and better.
In this article, we’ll walk through some must-have accessories every amateur videographer should know about. You’ll see tools that help with:
- Stabilizing your shots
- Managing light in different settings
- Keeping your gear ready to go
Each item on the list has a simple purpose: to support you while you’re building your skills. With the right gear, you can focus less on the frustration and more on creating videos you’re proud of.
Why Accessories Matter for Amateur Videographers?
When I first picked up a camera, I assumed it was all I needed to make good videos. Soon, I realized that stability, sound, and lighting matter just as much as the camera itself.
Shaky video is hard to watch, bad audio is tough to follow, and poor lighting hides details.
This is where accessories become so important. They help bridge the gap between basic equipment and results that feel more polished.
A tripod keeps your shots steady, a microphone improves sound, and lights bring clarity to your scenes.
With these tools, you can spend less time fixing problems and more time focusing on your story, which is what truly connects with your audience.
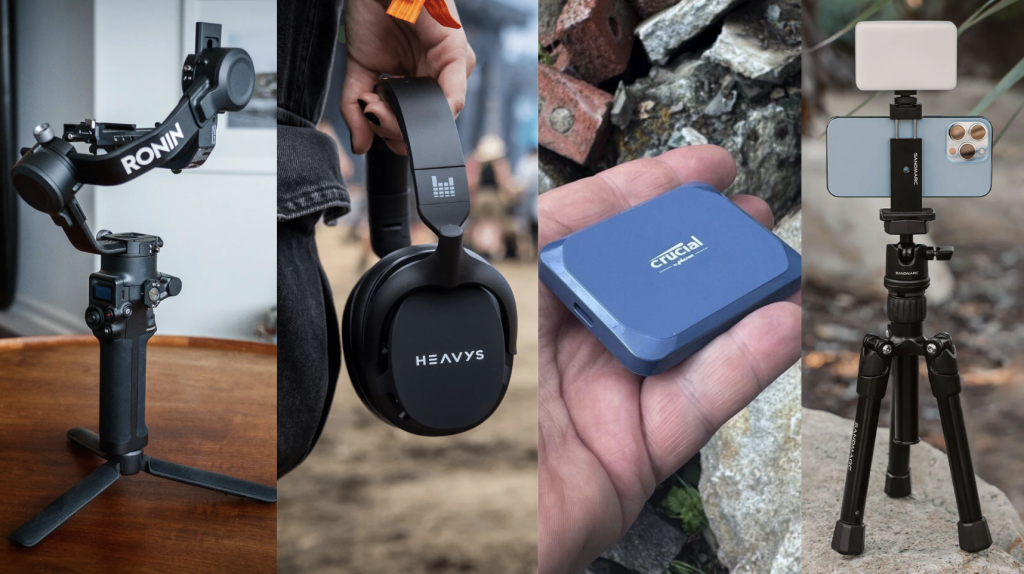
Must-Have Camera Accessories for Videographers
Building a videography kit can feel overwhelming, but the right tools make a big difference. These are some accessories I’ve found essential for getting steady, clear, and professional-looking results.
1. Tripod
When I first started filming, I realized how shaky shots could ruin a video. A tripod is one of the simplest tools that gives you steady, professional-looking footage.
It helps you frame your shots properly and lets you focus on directing instead of worrying about holding the camera still.
For you, a tripod is essential whether you’re shooting indoors, outdoors, or even time-lapse videos. Look for one that’s sturdy, but if you travel, go for a lightweight option you can carry easily.
2. Gimbal
A gimbal is great when you want smooth motion shots. I use mine when walking or following a subject, and it makes my videos look much more polished.
Unlike a tripod, it moves with you, which is perfect for travel or vlogging. For you, this means you can capture steady footage while moving without the distracting shakes of handheld filming.
Many gimbals are compact and fit in a bag, so you don’t need to worry about carrying bulky gear.
3. External Microphone
I learned quickly that people forgive shaky video but not poor sound. An external microphone gives you clear audio and reduces background noise.
I recommend starting with a lavalier mic if you do interviews, or a shotgun mic if you film general content.
For you, adding a mic means your videos will sound clean and professional, even if your camera isn’t high-end. It’s an affordable upgrade that makes your videos easier to follow and more enjoyable to watch.
4. Lighting Kit
Bad lighting can hide details and ruin the quality of your video. A lighting kit helps you control the scene so viewers see what you want them to.
I started with a small LED panel, and it made a big difference in my indoor shoots. For you, it can be as simple as a ring light for vlogging or portable lights for outdoor work.
Good lighting improves the look of your footage and helps your subject stand out.
5. Spare Batteries
Running out of power in the middle of filming is frustrating. I’ve learned to always carry spare batteries with me. They keep your camera going, especially during long shoots or events where you can’t stop to recharge.
For you, this means no missed shots or wasted opportunities.
It’s better to have two or three backups, especially if you travel or shoot outdoors. Extra batteries are small, affordable, and one of the most practical things you can add to your kit.
6. Memory Cards
Storage runs out faster than you expect, especially when shooting in high resolution. I always keep extra memory cards in my bag. For you, they mean peace of mind; you won’t have to delete clips just to free up space.
Select reliable brands with high speed ratings to ensure your camera records smoothly.
Having multiple cards also protects you from losing everything if one gets corrupted. It’s a small investment that saves you a lot of stress later.
7. Camera Bag
A good camera bag keeps your gear safe and organized. I use one that has padded dividers so each accessory fits snugly. For you, this makes it easy to find what you need quickly instead of digging through loose items.
A bag also protects your camera and lenses from damage while traveling.
Look for one that’s comfortable to carry and has weather protection. With the right bag, your gear lasts longer and is always ready when you need it.
8. Lens Cleaning Kit
Dust and smudges on your lens can ruin your footage. I learned the hard way that wiping with a shirt isn’t enough. A lens cleaning kit keeps your shots sharp and clear.
For you, it’s an easy way to protect your investment and maintain quality.
A small kit usually includes a blower, cleaning cloths, and a solution. It doesn’t take up much space but saves you from blurry or dirty footage. Keeping your gear clean helps it last longer, too.
9. ND Filters
When filming outdoors, too much light can wash out your footage. I found that ND filters act like sunglasses for your lens, giving you control over brightness.
For you, this means smoother shots in daylight without harsh glare. They’re especially helpful when you want that natural, cinematic motion blur without changing shutter speed.
ND filters come in different strengths, and even a basic set makes outdoor videos look better. They’re small, light, and handy.
10. Portable Hard Drive
Video files take up space quickly, and I’ve run out of storage more than once. A portable hard drive solves this problem by giving you plenty of room to back up footage.
For you, it’s not only about space but also about keeping your work safe. If a memory card fails, you’ll have a copy ready. Go for drives with a solid build and good speed.
Having one means you can shoot without worrying about running out of storage.
11. Extra Lenses
Depending on what you shoot, having extra lenses can make a big difference. I started with a kit lens, but adding a wide-angle lens opened up new creative options.
For you, a telephoto or prime lens can help, depending on your style. You don’t need to buy every lens at once, just pick one that fits your needs.
Lenses expand what your camera can do and often make a bigger impact on quality than upgrading the camera body.
12. Headphones
Clear audio is important, and I learned that you can’t always trust what the camera records. Using headphones lets you monitor sound as you film.
For you, this means catching problems like background noise, static, or low volume before it’s too late.
Any decent pair will do, as long as they block outside noise and give you a clear signal. They’re lightweight, easy to carry, and make sure your microphone is actually capturing what you want.
13. Camera Strap
Carrying a camera for long shoots can get tiring. A camera strap makes it easier and safer by keeping your gear secure while freeing your hands when needed.
I use one with padding for comfort, and it’s saved me from drops more than once.
For you, a strap means less strain and peace of mind when moving around. Choose a durable strap that fits your shooting style, whether you film events, travel, or daily vlogs.
14. Power Bank
When I’m out filming, I’ve learned that batteries aren’t the only thing that runs low; phones, lights, and even gimbals need extra power. A power bank keeps everything charged.
For you, this means you can shoot longer without worrying about losing power for key accessories.
Get one with enough capacity to charge multiple devices, and keep cables handy. It’s a small but very practical tool that keeps your setup ready in any situation.
15. Reflector
Lighting doesn’t always need to come from a kit. A reflector helps bounce natural or artificial light where you need it. I use mine during outdoor shoots to fill in shadows, and it makes a big difference without costing much.
For you, it’s an easy way to control lighting and improve your subject’s look.
Reflectors fold up small, are lightweight, and work for interviews, portraits, or simple videos where you need better light balance.
Budgeting Tips for Beginner Videographers
Getting started doesn’t mean you have to buy everything at once. With a smart plan, you can build your kit step by step while staying within budget.
- Start Small: I recommend beginning with the basics, like a tripod and an external microphone. These two alone can make a huge difference in stability and sound.
- Buy in Order of Need: Think about what’s holding you back the most. If shaky shots bother you, get a stabilizer first. If your audio is poor, upgrade your mic before anything else.
- Balance Quality with Cost: You don’t need the most expensive brand. Look for mid-range options with good reviews that offer reliable performance without draining your budget.
- Choose Affordable Gear: Many entry-level lights, tripods, and mics are budget-friendly but still dependable. I suggest checking starter kits or bundles that cover the essentials at once.
Choosing Accessories that Match Your Shooting Style
When I started buying gear, I realized that not every accessory works for every style. If you’re a vlogger, you’ll want a small tripod or a handheld stabilizer so you can film yourself with ease.
For travel shooters, lightweight gear like compact tripods and portable lights makes sense since you’re always on the move.
If you’re into short films, focus on external microphones and lighting kits to control your scene better.
And for event videographers, extra batteries, memory cards, and reliable tripods are key because you can’t redo live moments.
By thinking about your style, you can pick tools that actually help you instead of buying gear you rarely use.
Common Mistakes New Videographers Make
When you’re just starting out, it’s easy to make choices that hold you back. Knowing the common mistakes helps you avoid wasting time and money.
- Overspending Too Early: Many beginners buy the most expensive gear right away. Instead, start with essentials and upgrade later as your skills grow.
- Ignoring Audio: A good video with bad sound is hard to watch. An external microphone is often a smarter first buy than another lens or accessory.
- Buying Flashy Gear: It’s tempting to grab gadgets that look cool but don’t fit your style. Focus on tools you’ll actually use, like a solid tripod or portable light.
- Skipping Research: Rushing into purchases leads to regret. Check reviews, compare options, and learn what other beginners recommend before buying.
Conclusion
Building your videography kit takes time, and that’s completely okay. You don’t need to have all the best gear right away. Start with the basics, use them well, and add more accessories as you grow.
Each piece of equipment should make filming easier, not more stressful.
Remember, your skill and creativity matter more than the size of your kit. Even simple tools can produce great results when you know how to use them.
Focus on practicing, learning, and trying different styles of shooting.
Over time, you’ll figure out which accessories fit your needs and which ones you can skip.
Think of this process as part of your journey. The gear will support you, but the story you tell is what truly makes your videos stand out.