Installing a smart thermostat can feel confusing at first, especially if you haven’t worked with wiring before. When I installed my first one, I realized that the key is understanding each step instead of rushing the process.
In this guide, I’ll walk you through everything you need so you can set up your thermostat with confidence.
You’ll learn how to remove the old unit, check your wiring, mount the new thermostat, and connect it to your Wi-Fi.
I want you to feel comfortable doing this on your own, even if you’re not very technical. The steps are simple, the tools are basic, and the process fits most homes.
By the end of this guide, you’ll know exactly what to expect and what to avoid.
This article is here to help you install your smart thermostat the easy, clear, and safe way.
What You Need Before You Start?
Before you begin, it helps to gather the right tools and check what your system supports. This makes the installation smoother and avoids delays.
- Smart thermostat and mounting plate
- HVAC compatibility guide or app
- Small flathead and Phillips screwdrivers
- Drill with appropriate bits (if needed)
- Wall anchors and screws
- Wire labels or masking tape
- Smartphone with the thermostat app installed
- Home Wi-Fi connection
- Access to your HVAC breaker switch
How to Install a Smart Thermostat?
These steps guide you through what to check, connect, and complete so you can install your new thermostat with clarity and confidence.
Step 1: Check Compatibility Before You Begin
You should start by using the thermostat’s online compatibility tool to confirm that your system will work with it.
The Nest tool gives you a personalized wiring chart based on your current setup.
If your existing thermostat has thick wires with wire nuts or labels like 110, 120, or 240 volts, you’re dealing with a high-voltage system.
You should not connect a Nest or any similar low-voltage smart thermostat to those high-voltage wires because it’s unsafe.
Step 2: Turn Off the Old Thermostat and Power
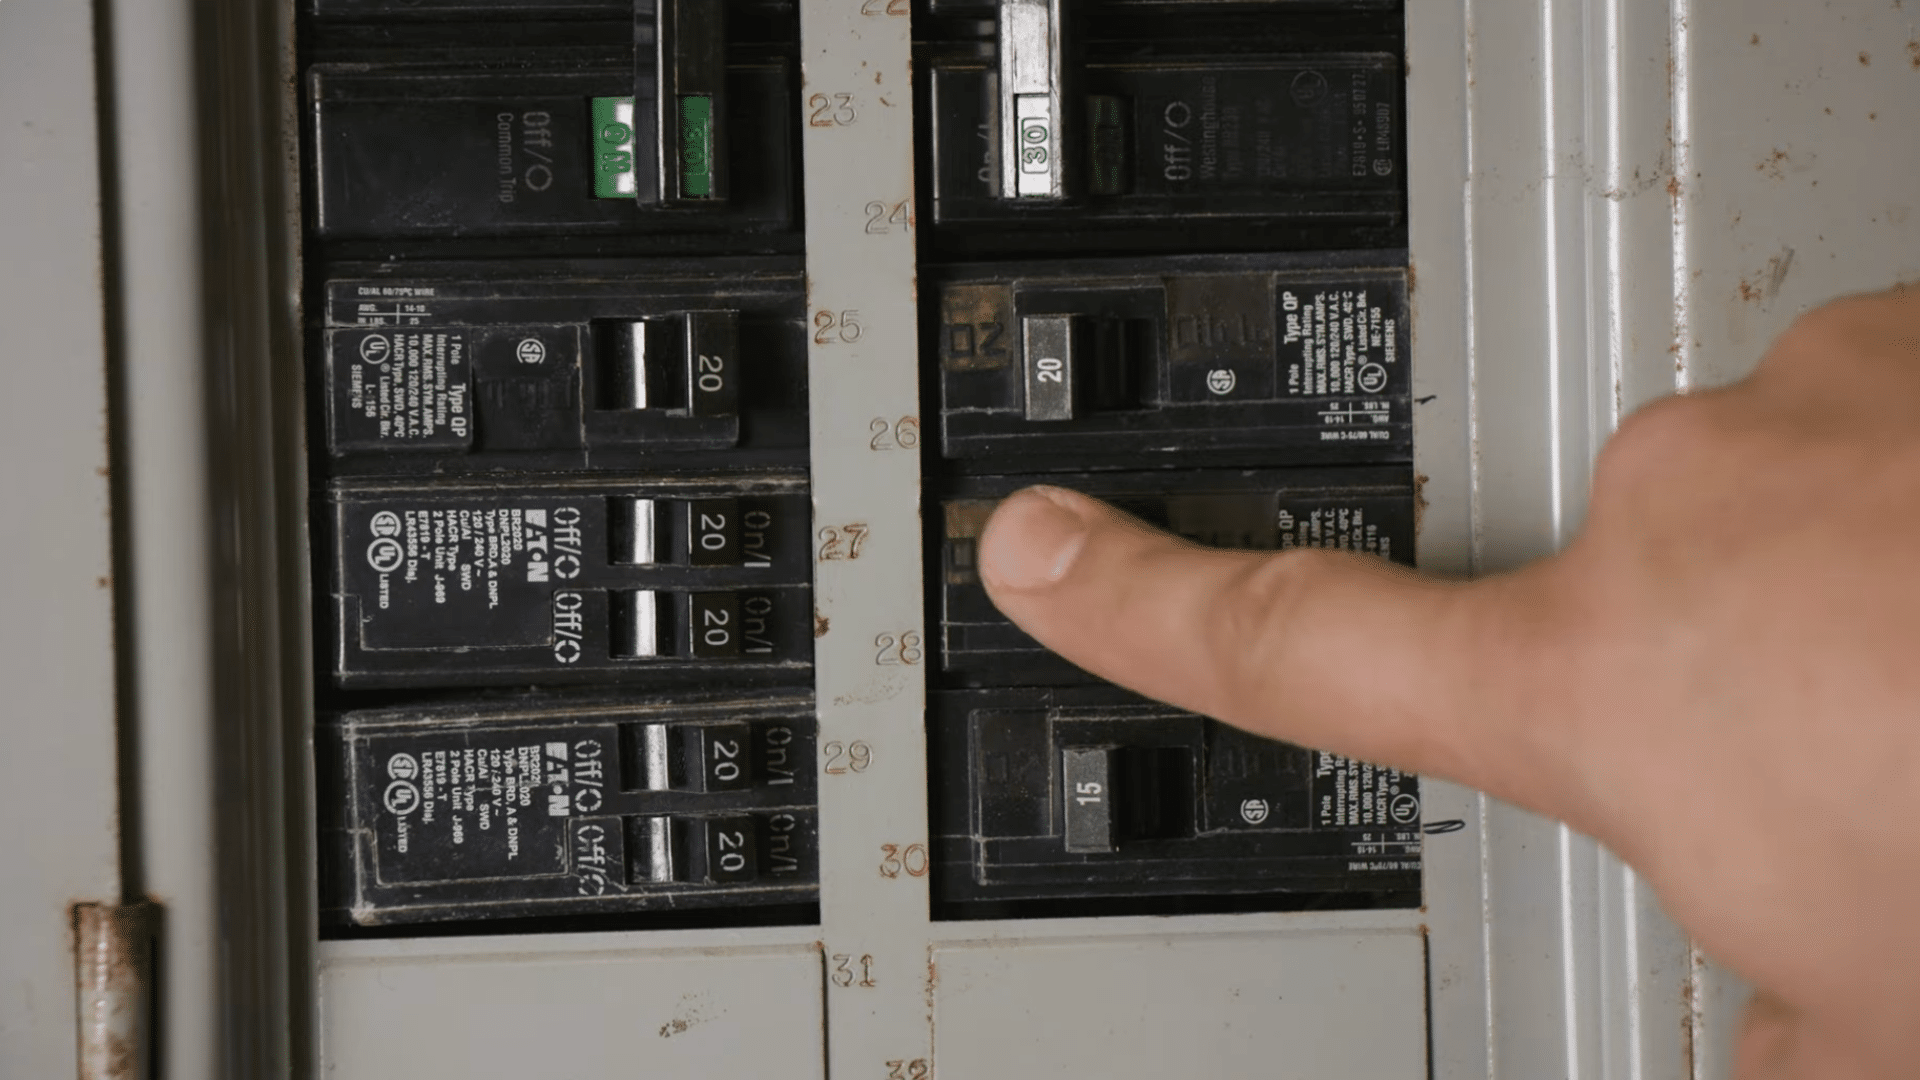
Turn off your old thermostat first, then switch off the breaker that powers your heating and cooling system.
This protects you from electrical risks while you work. Once everything is off, remove the thermostat cover and make sure no wires are live.
Taking this simple step keeps the setup safe and gives you a clean starting point.
It also helps you avoid mistakes that could slow the process. With the power fully off, you can move forward confidently and set the stage for a smooth installation.
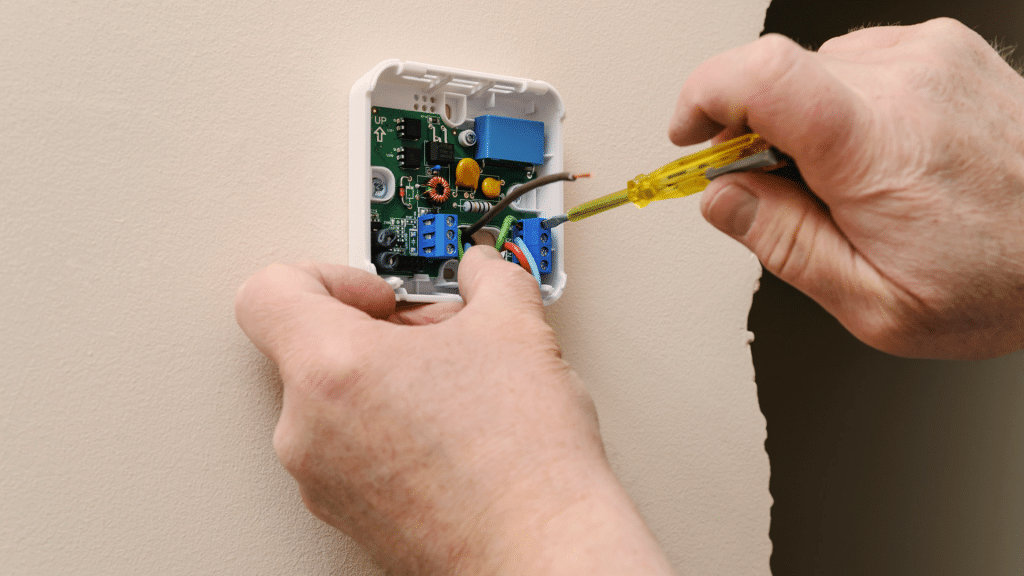
Step 3: Label Your Existing Wires Carefully
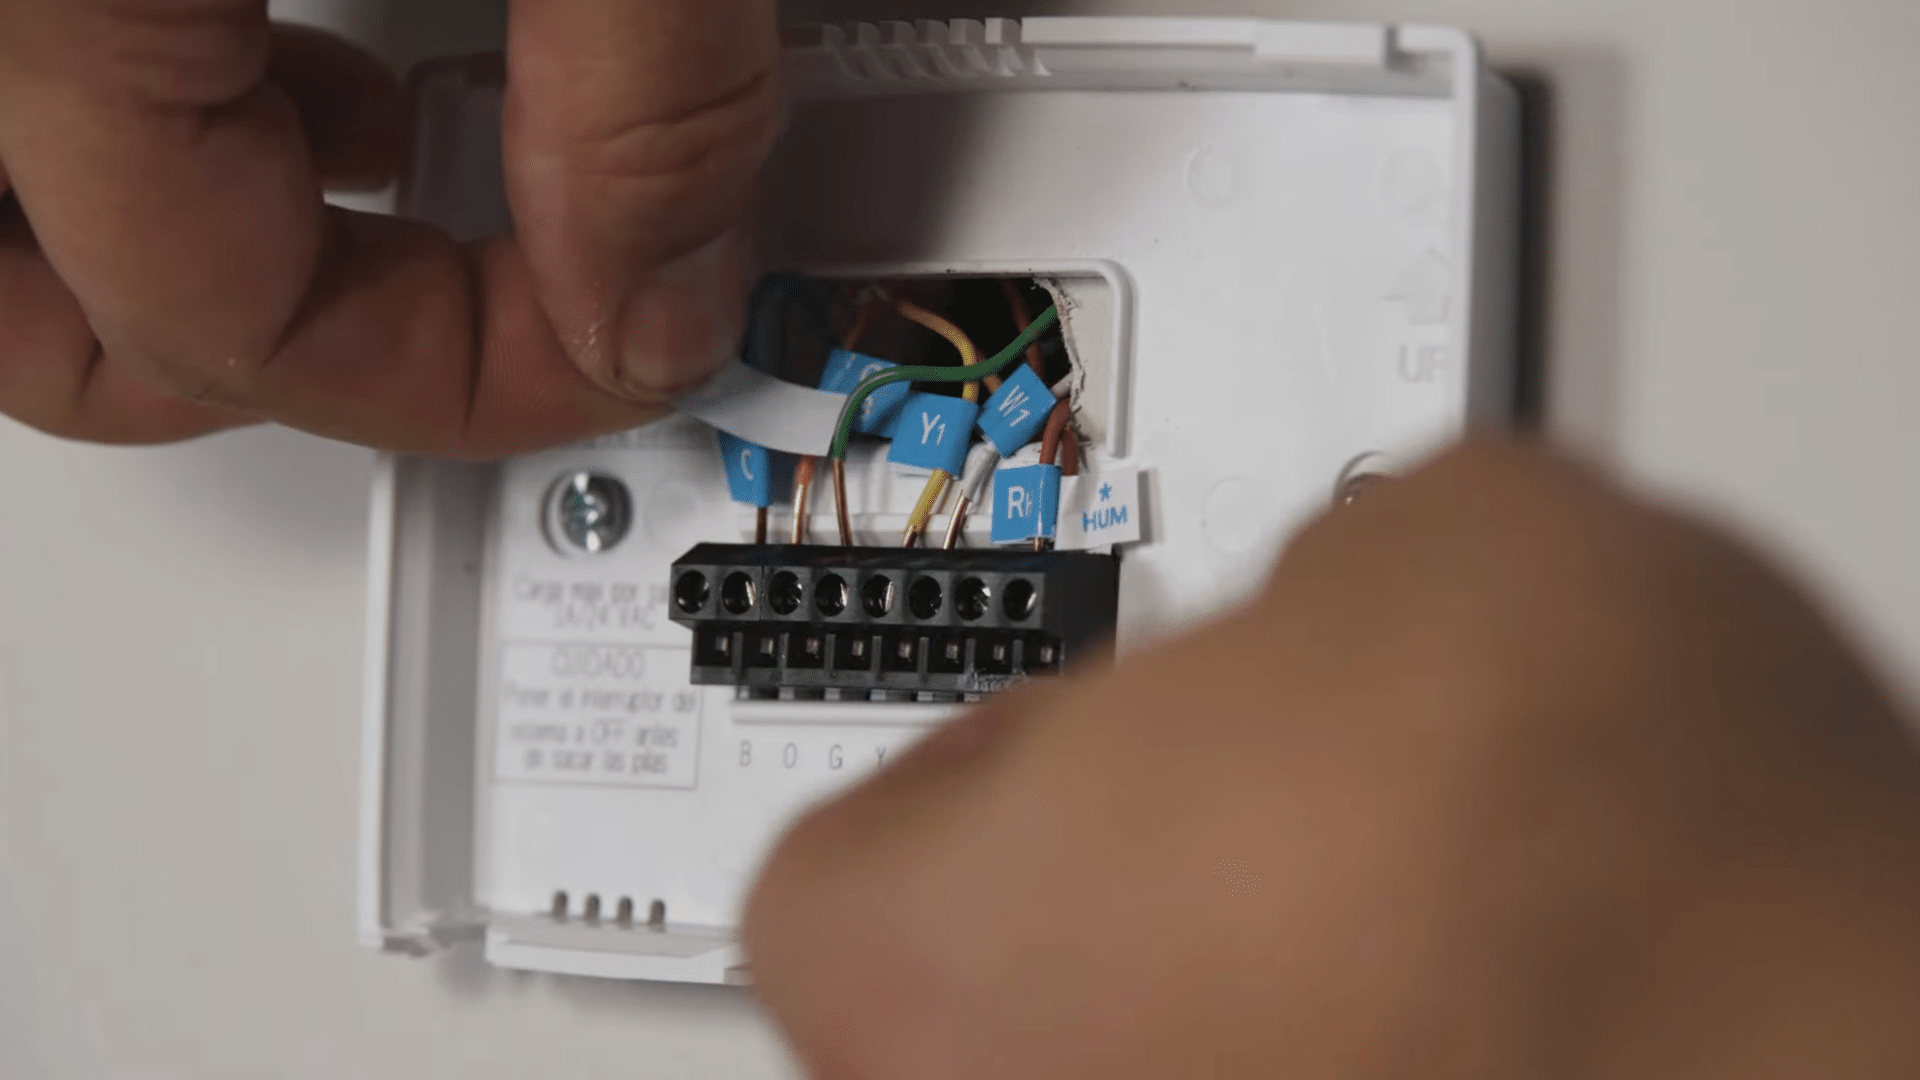
Label each wire based on the letter of the terminal it connects to, not by its color, since colors can vary between systems.
If you notice a jumper wire connecting two terminals, you can remove it because smart thermostats don’t need one.
It also helps to take a quick photo of the wiring with your phone.
This gives you a clear reference later and makes it easier to reconnect everything correctly when you install the new base plate. Proper labeling keeps the setup simple and accurate.
Step 4: Remove the Old Thermostat Plate
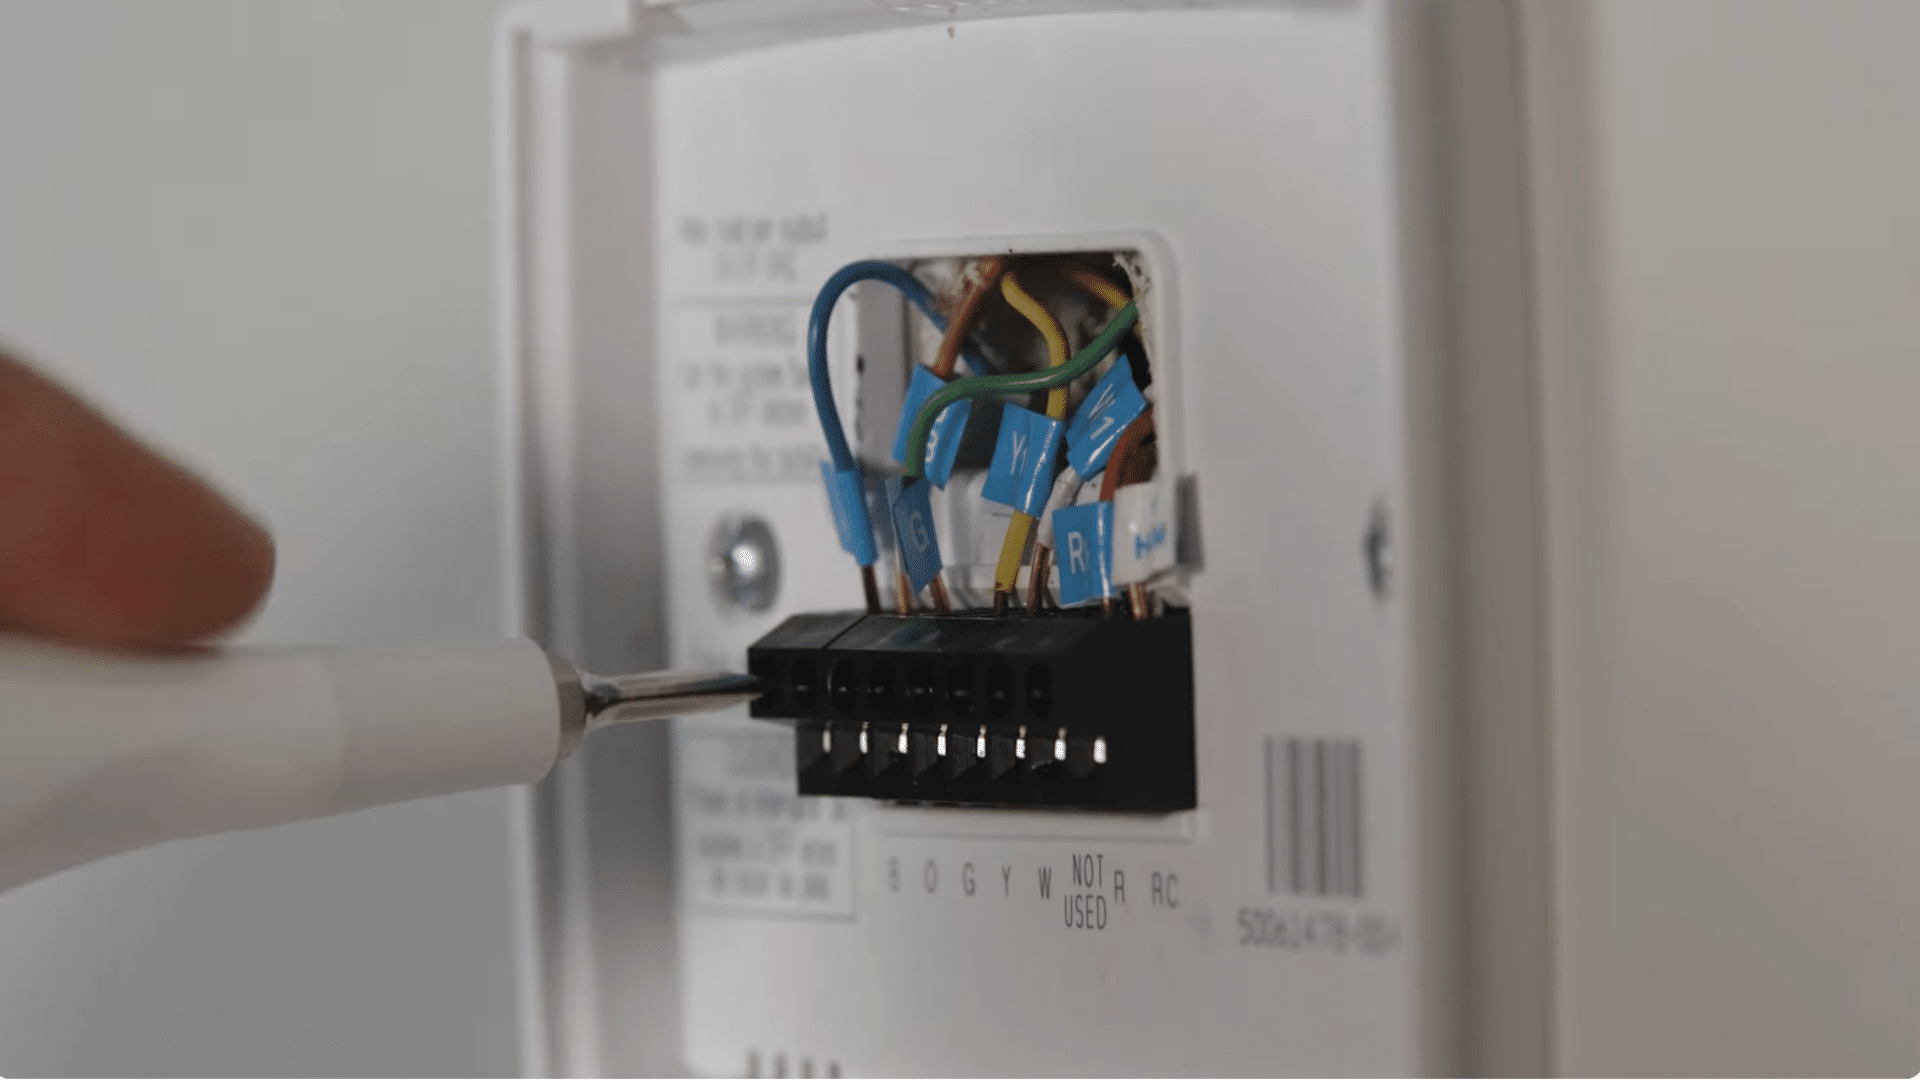
Disconnect the labeled wires and gently pull them forward so they don’t slip back into the wall.
After that, remove the old thermostat plate by unscrewing it from the wall. This is also a good moment to patch or paint any marks or exposed areas that the new thermostat won’t cover.
Taking a little time to prepare the wall helps your smart thermostat sit cleanly and improves the final appearance.
With a smooth surface ready, the installation looks neat and well-finished once everything is mounted.
Step 5: Install the Trim Plate and Base Plate
Start by installing the trim plate if your thermostat comes with one, especially if you want to cover marks from the old unit.
After that, attach the base plate and secure it firmly to the wall. Make sure it sits flat and lines up correctly, because this affects how well the display snaps into place.
Taking your time here creates a smooth surface and helps the thermostat sit properly once mounted.
These steps give you a clean look and set up the rest of the installation for success.
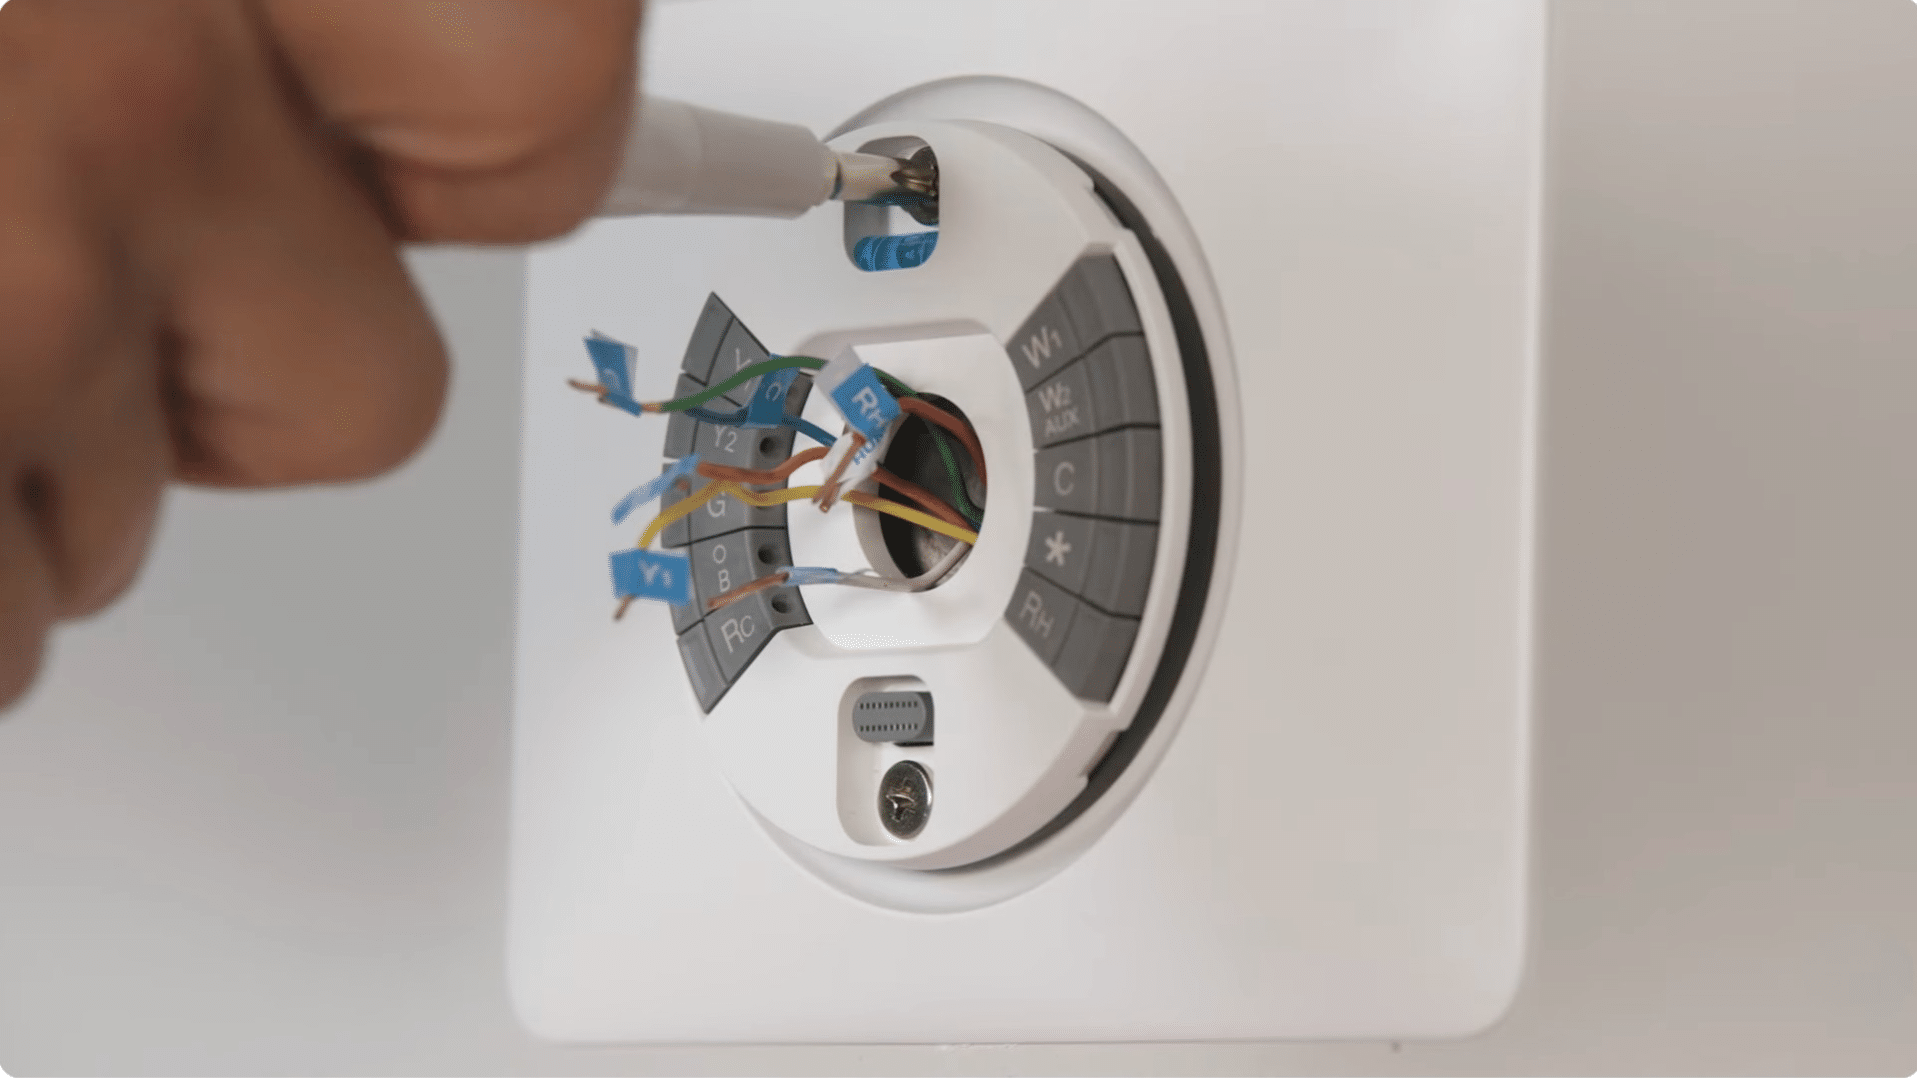
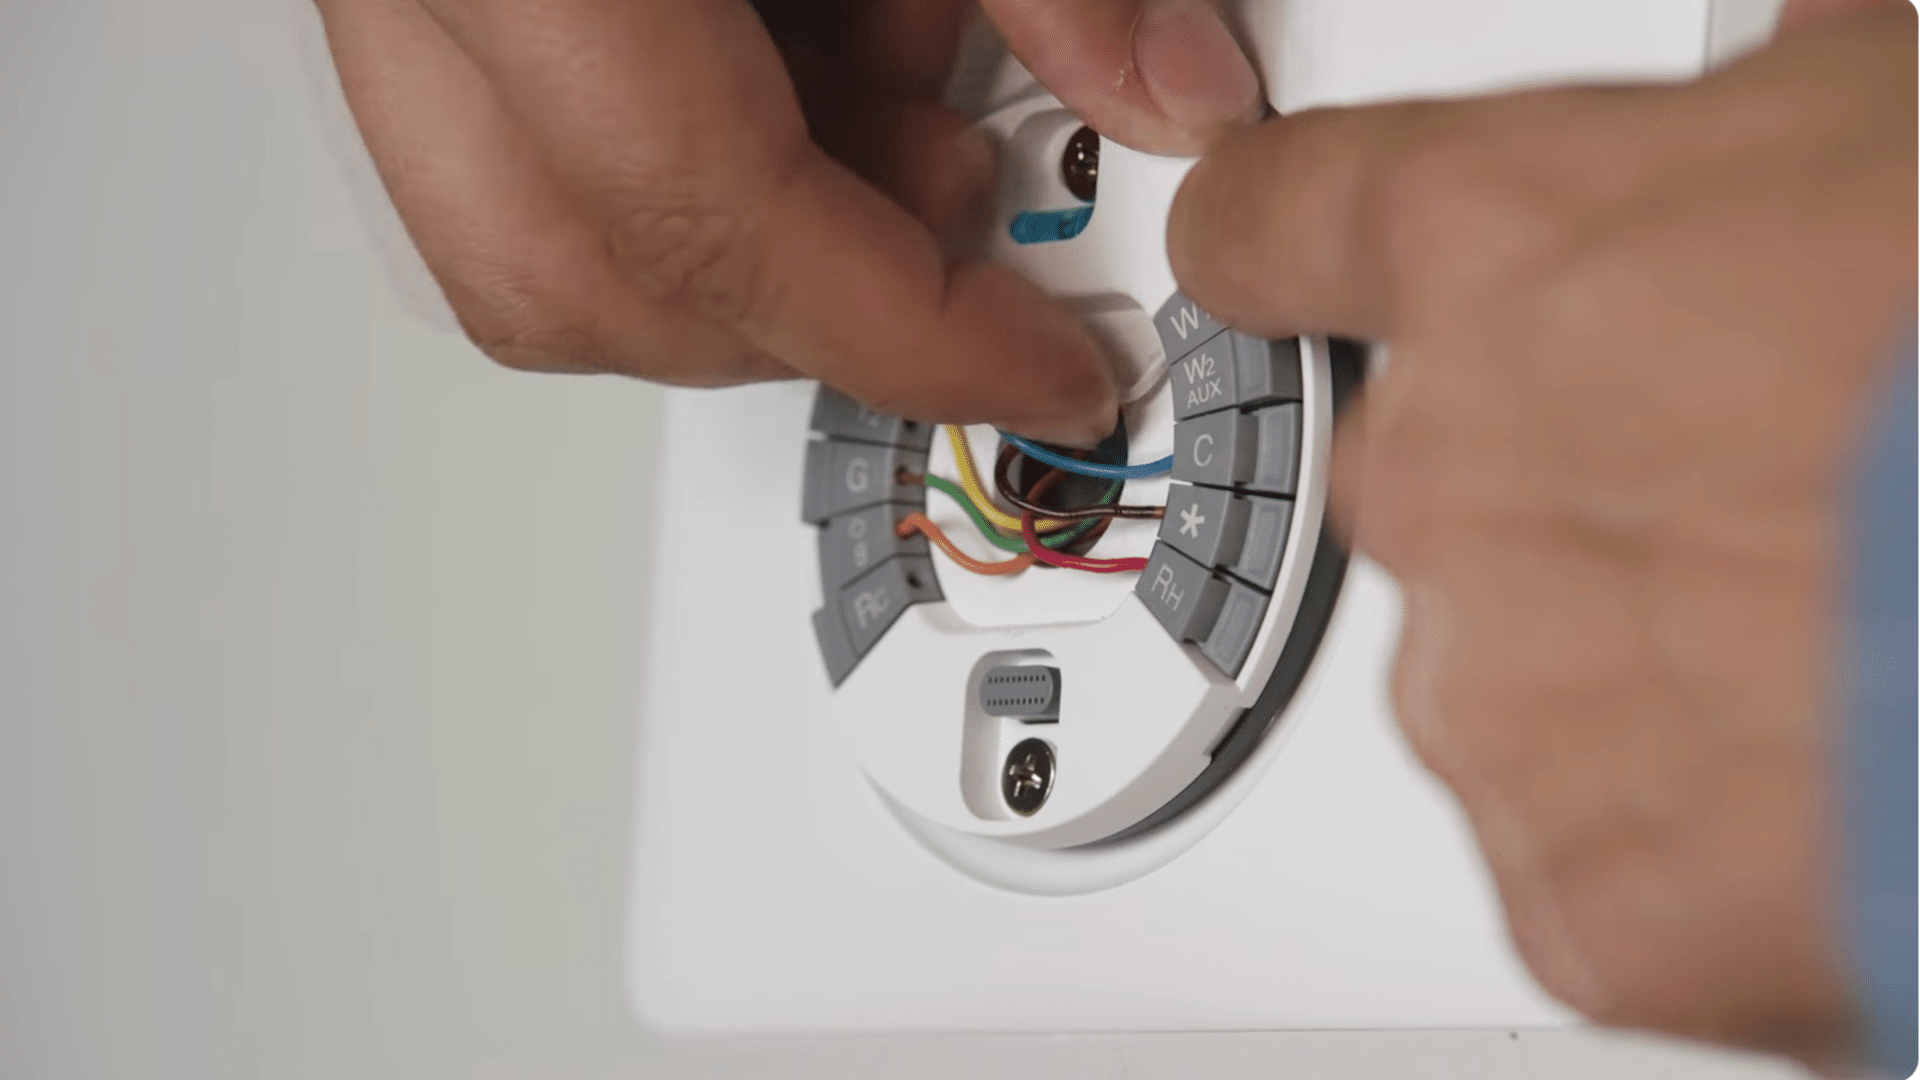
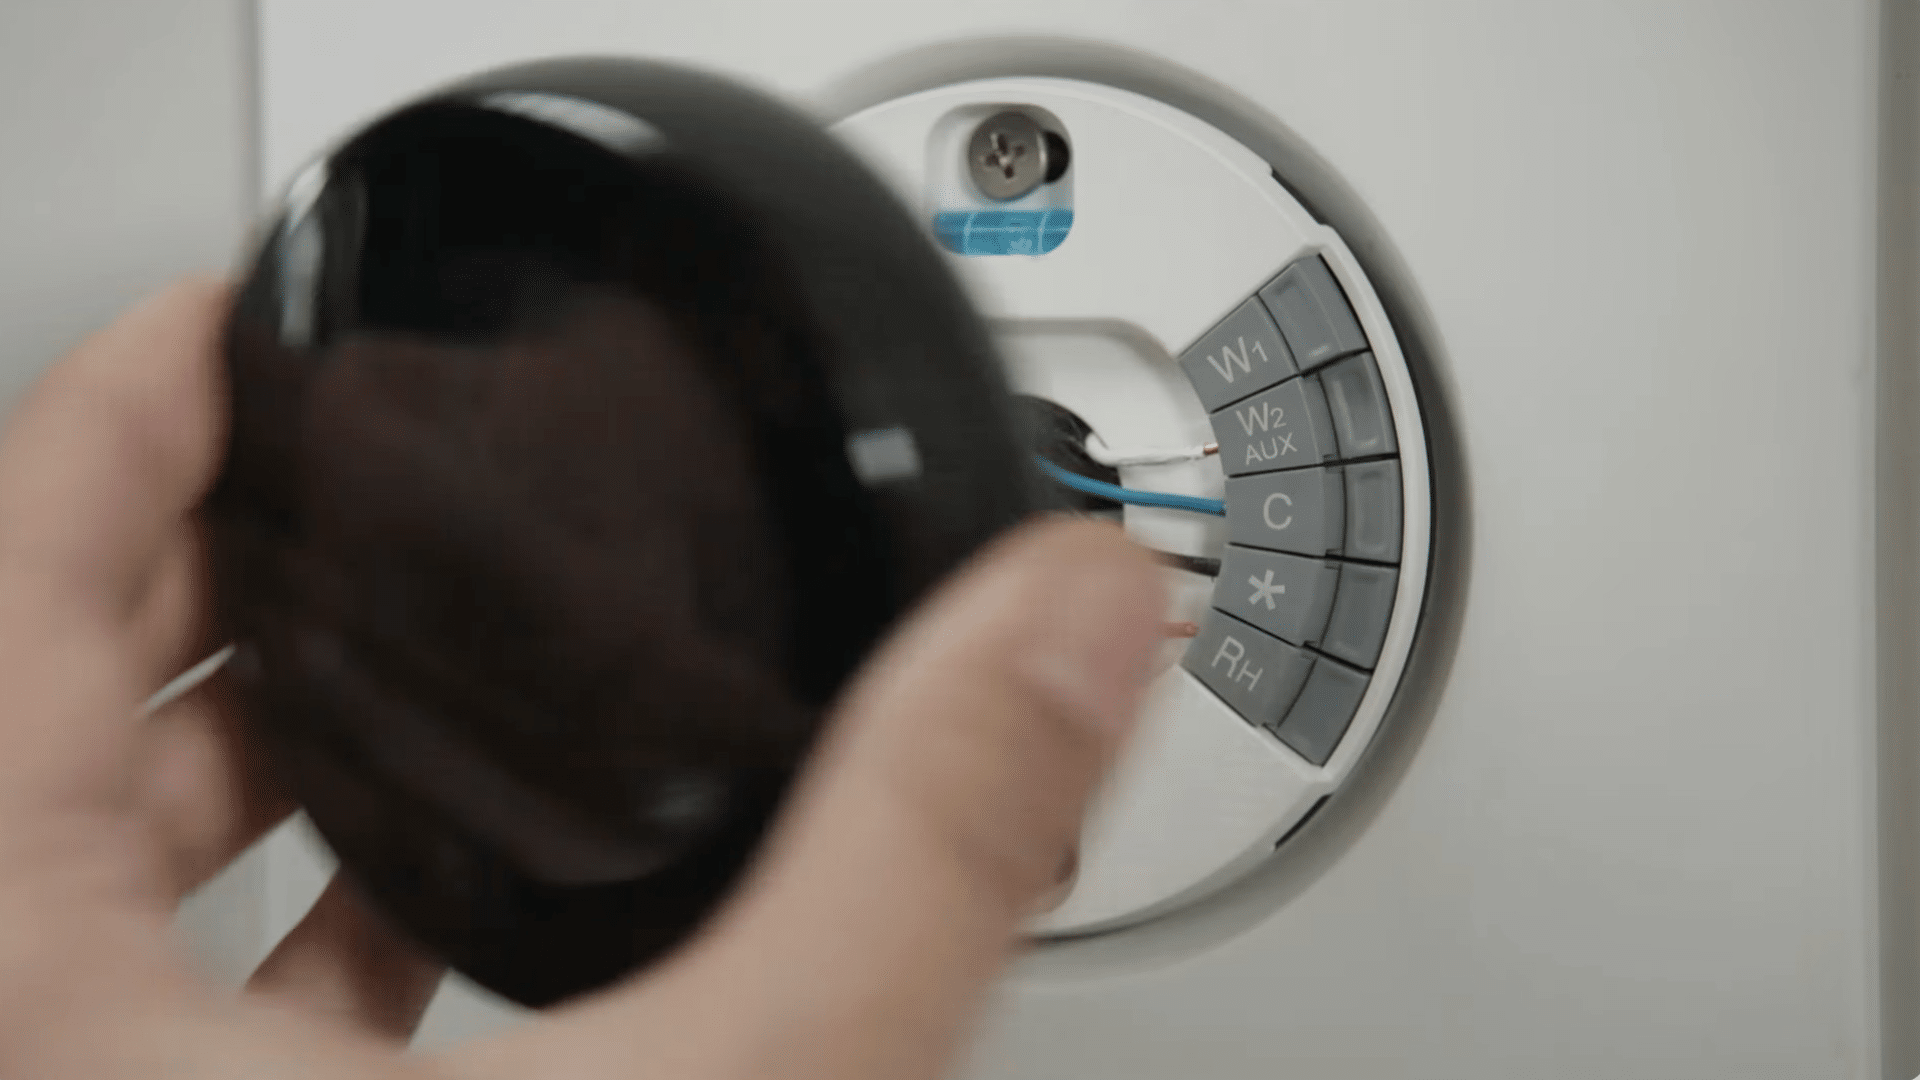
Step 6: Connect the Wires to the New Base
You need about three-eighths of an inch of straight, exposed wire so the connectors can grip properly.
Hold down each connector button on the thermostat base and push the matching wire in until the button stays down.
This tells you the wire is fully seated and secure.
Take a moment to check each connection to ensure nothing is loose, since even a small wiring issue can keep the thermostat from working correctly once the power is turned back on.
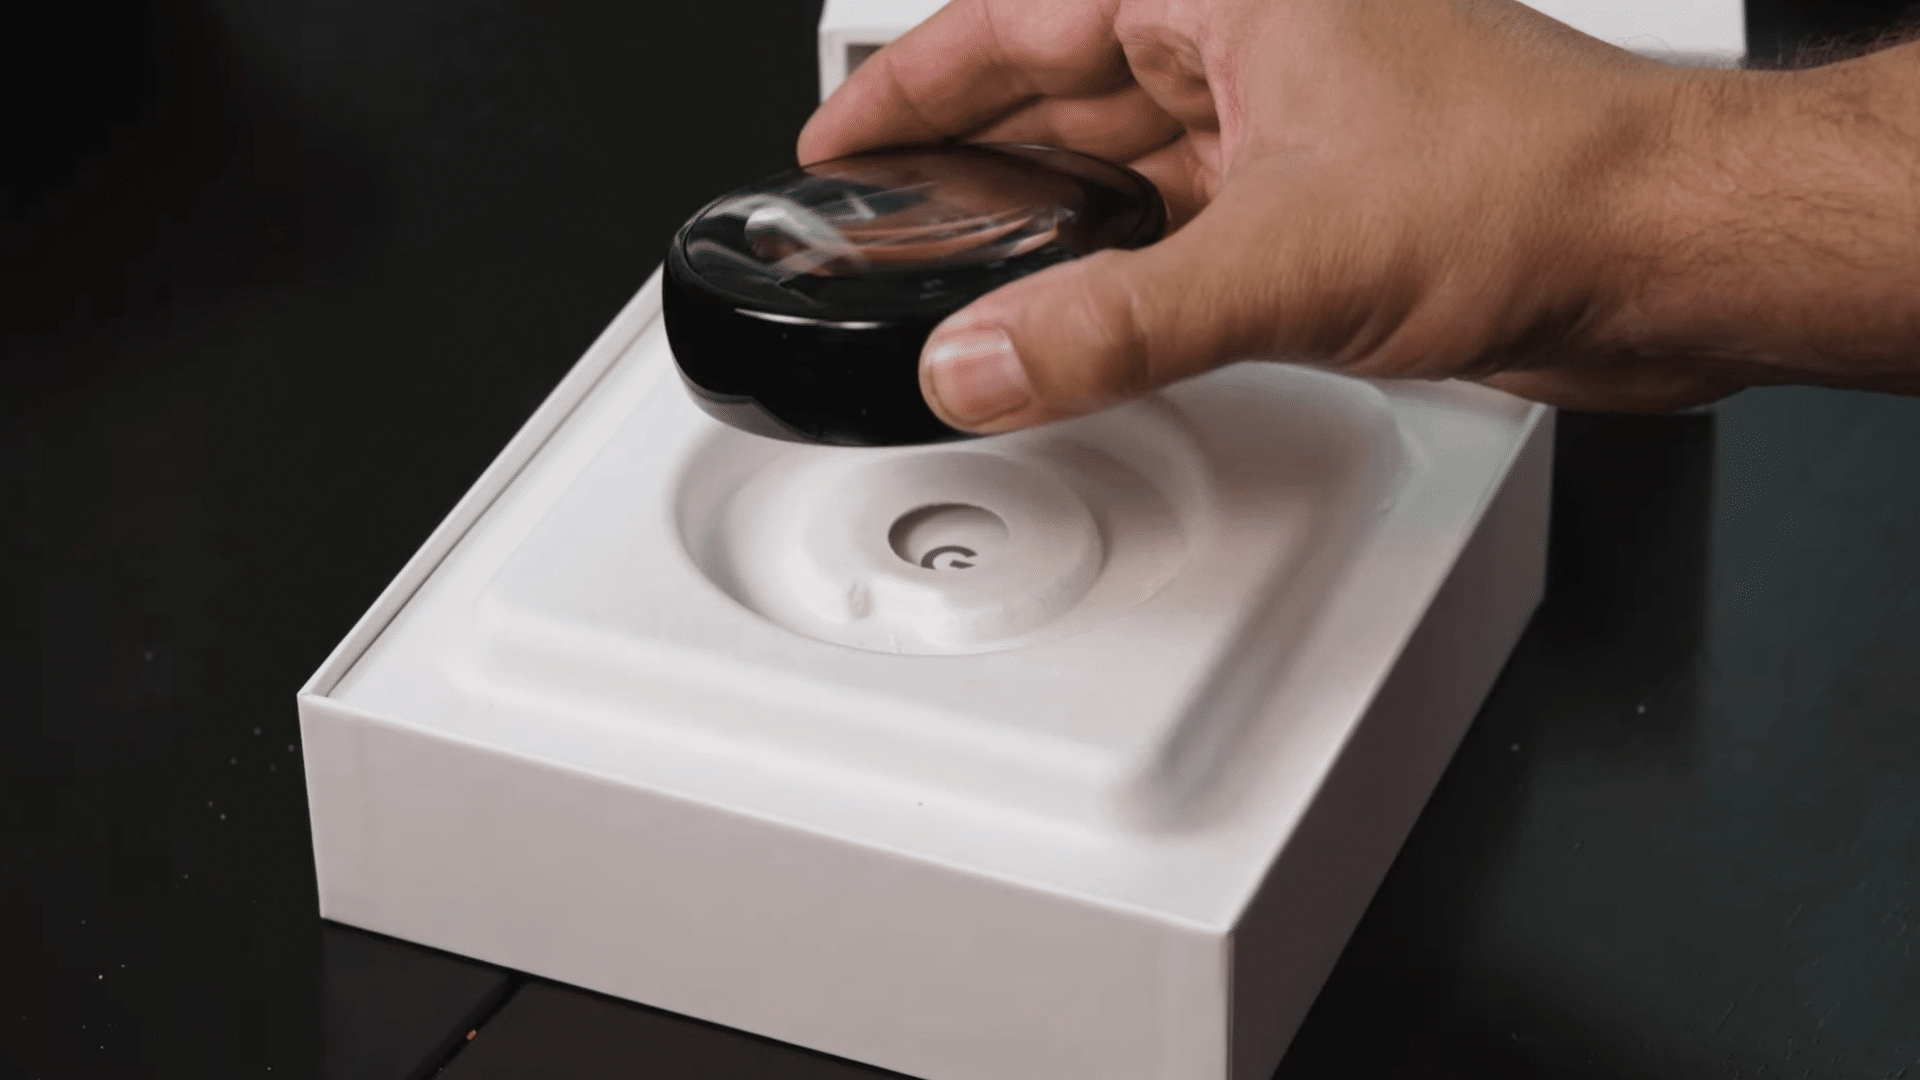
Step 7: Attach the Thermostat Display
You can attach the thermostat display by holding it firmly and pressing it onto the base until you hear a clear click. That sound confirms it’s locked in place. Once the display is secure, turn the breaker back on.
The thermostat should power up right away and begin the guided setup on its own.
A solid click and tight connection are important because they allow the display to communicate properly with the rest of the system, ensuring everything works as it should.
Step 8: Complete the on-Screen Setup Process
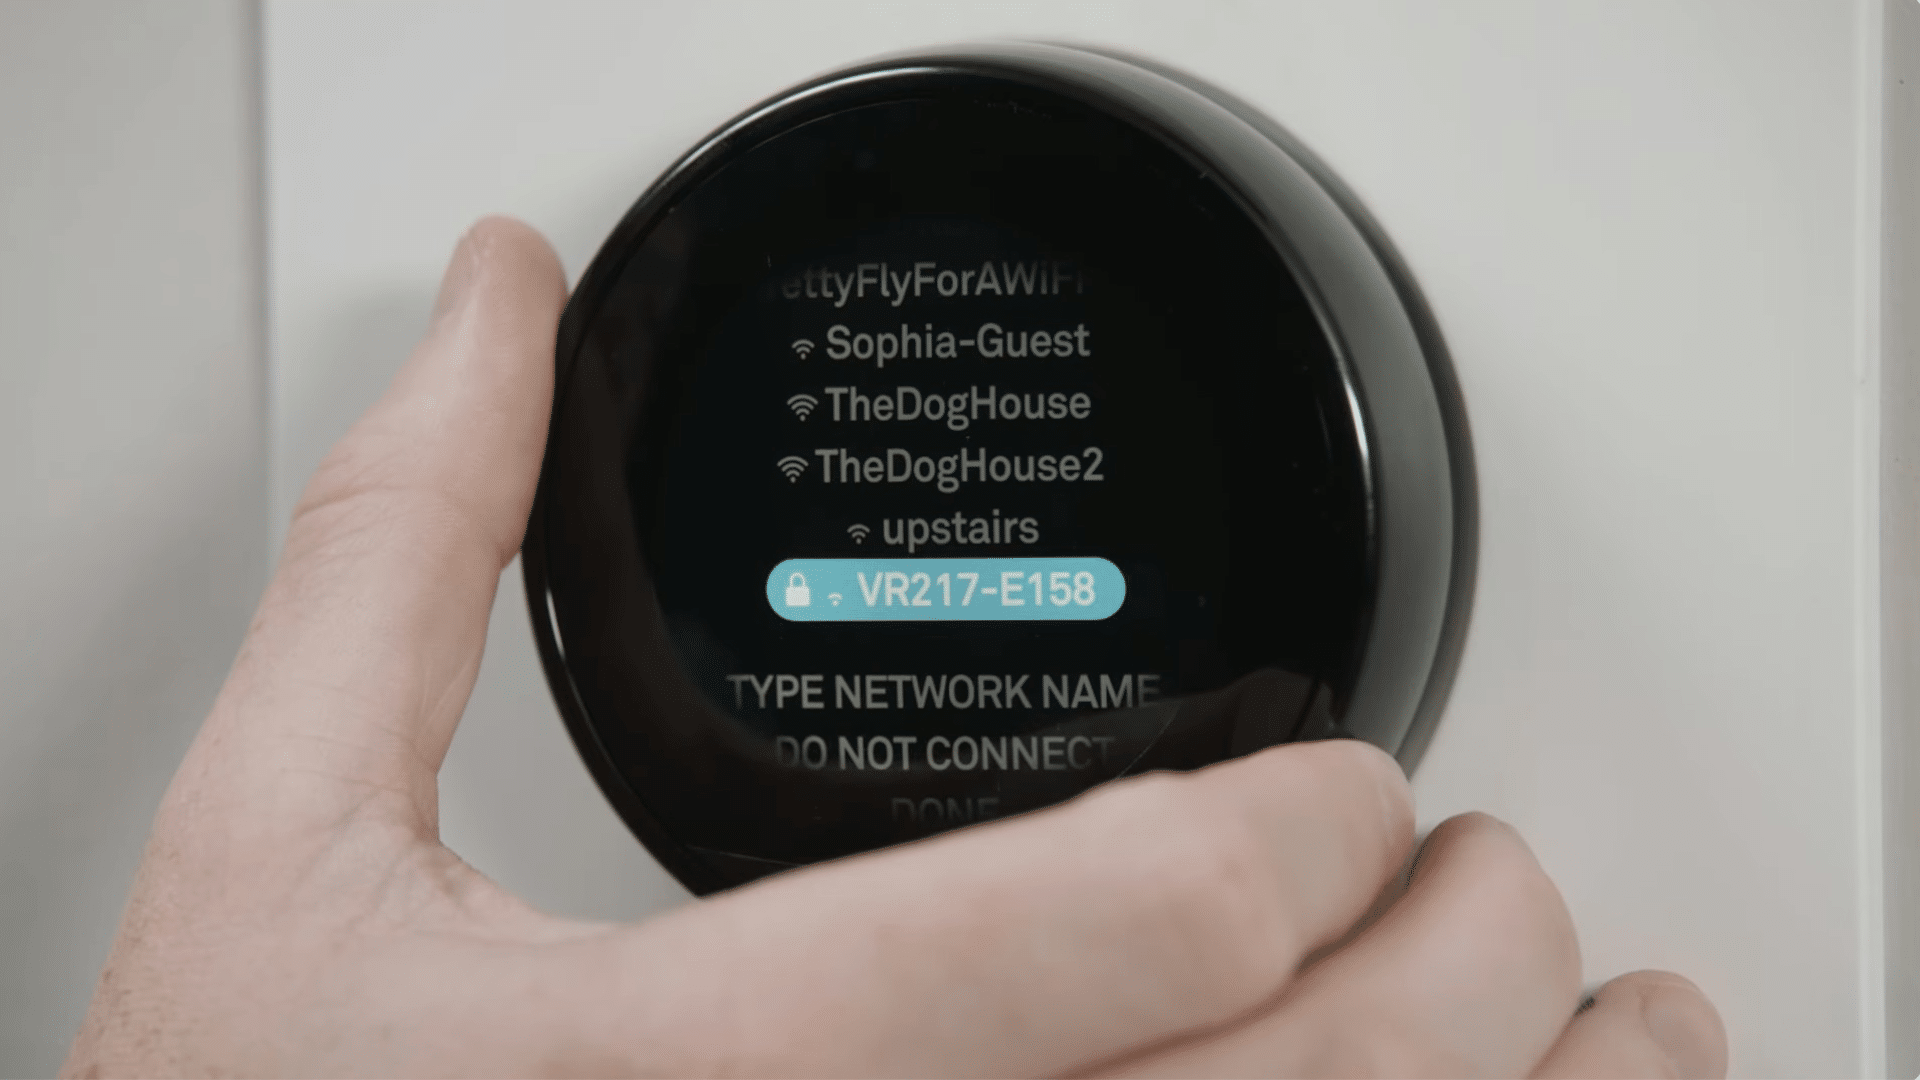
Follow the on-screen prompts to choose your Wi-Fi network, enter your password, and share details about your heating and cooling system.
The thermostat uses this information to create accurate schedules and adjust your home’s temperature the right way.
These steps are simple to follow, even if this is your first time installing a smart thermostat.
Once the setup is finished, the thermostat is ready for daily use and can start managing your home more efficiently, giving you a comfortable and consistent temperature throughout the day.
Step 9: Find Energy Tools and Smart Features
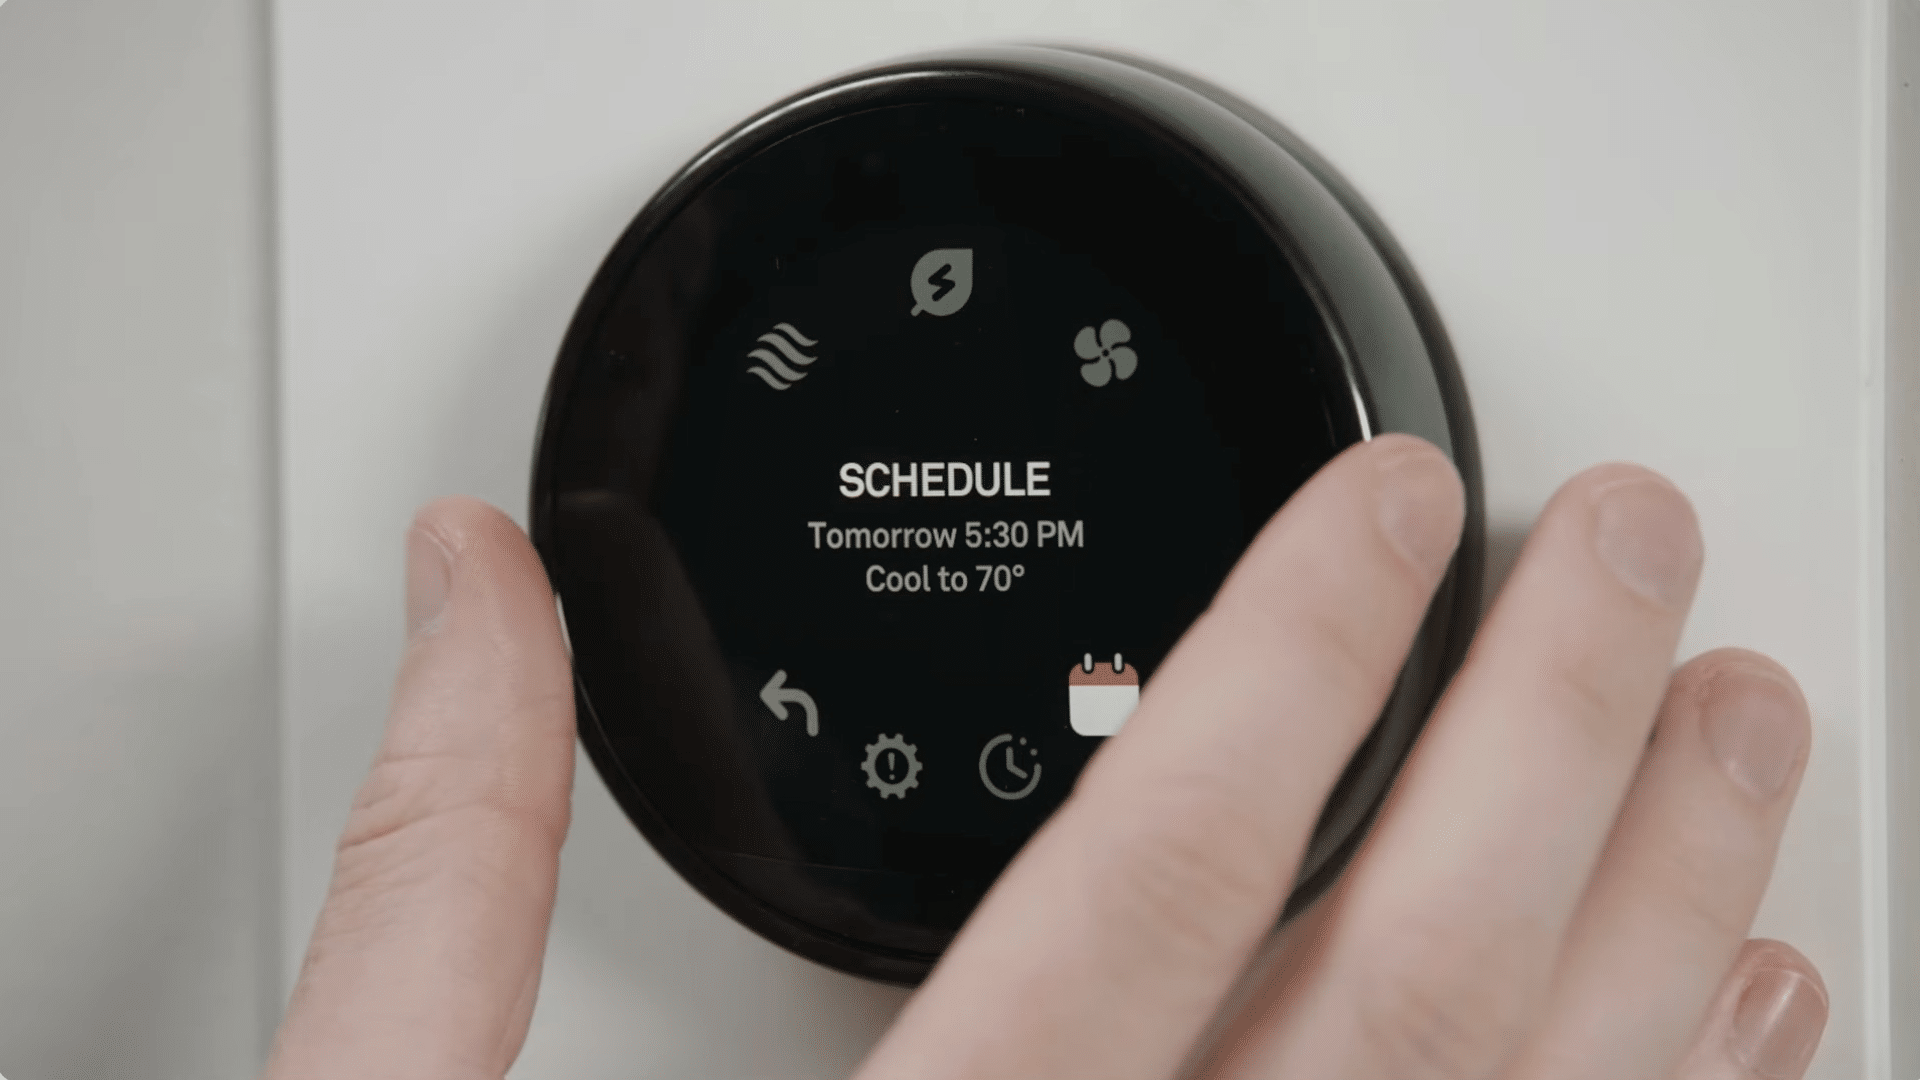
You can start using features like schedule creation, energy-use tracking, temperature adjustments, and on-screen details such as weather and humidity.
These tools help you stay comfortable while using less energy each day.
You can check your usage anytime and adjust your schedule to fit your routine. These features help your thermostat save energy and improve comfort right away.
They’re designed to make your home more efficient and give you better control over how and when your system runs.
This tutorial is based on a helpful video byLowe’s Home Improvement. You can check out the original video on their YouTube channel here or watch it below.
Tips from Homeowners Who Installed One Themselves
Many homeowners on Reddit share tips from their installs that help you avoid common mistakes.
One of the most repeated tips is to label every wire based on the terminal letters, not the colors, because older homes often have unusual wiring.
Many users say taking a photo before disconnecting anything is a lifesaver, especially when you need a quick reference later.
Several people also stressed turning off the breaker first, since leaving the power on can blow a fuse in the furnace.
Some recommend checking the wiring at the furnace, not just the thermostat, to make sure everything matches correctly.
Homeowners also suggest doing the installation during mild weather so you’re not stuck without heat or cooling if something takes longer than expected.
These real-world tips make the process easier and more reliable.
How to Check If an HVAC System Supports a Smart Thermostat?
Before installing a smart thermostat, it helps to know whether your HVAC system can work with one. These steps guide you through simple checks so you can move forward confidently.
1. Identify Your HVAC System Type
Start by finding out what type of HVAC system you have, such as central heating, central cooling, a heat pump, or a boiler system.
Most smart thermostats support common systems, but older or specialty setups may need extra steps.
Look for labels on the furnace, air handler, or existing thermostat for clues.
Understanding your system type helps you choose a thermostat that works correctly and avoids compatibility issues before installation begins.
2. Check for a C-Wire (Common Wire)
Look behind your current thermostat to see if a C-wire is present, since many smart thermostats need it for continuous power.
The C-wire is usually labeled “C” on the terminal. If you don’t see one, check the furnace control board, where the C terminal may still exist. Some systems work with an adapter if a C-wire isn’t available.
Knowing whether you have a C-wire ensures your thermostat powers up reliably without draining batteries or disconnecting unexpectedly.
3. Review Voltage Requirements
Smart thermostats are designed for low-voltage (24V) HVAC systems. Look for markings on your furnace, air handler, or thermostat wiring that mention 24V.
If your system uses high-voltage wiring, such as 120V or 240V baseboard heaters, you’ll need a different type of thermostat made for that setup.
Checking the voltage early helps you avoid installing a device that isn’t designed for your system.
This step keeps your installation safe and ensures the thermostat functions the way it should.
4. Confirm Compatibility Through the Manufacturer’s Tool
Most thermostat brands offer online compatibility checkers or app-based tools.
These tools walk you through simple questions about your wiring and system type. Entering accurate information helps you see instantly whether the thermostat will work with your setup.
This step can prevent installation problems and save you time by pointing out any special parts you may need.
Using the manufacturer’s tool gives you a clear answer before you start installing anything on your wall.
How to Maintain and Clean Your Smart Thermostat?
Maintaining a smart thermostat is simple, and doing it regularly helps it work the right way. Start by wiping the screen and edges with a soft, dry cloth.
This removes dust that can affect the touch display. Avoid using cleaners or sprays because they can damage the surface.
Check your thermostat settings every few weeks to make sure they still match your routine.
Small changes in your schedule can throw off heating and cooling patterns, so reviewing your schedule keeps things efficient.
If your thermostat uses room sensors, make sure they’re clean and not blocked by furniture. Keep the device updated by installing software updates when prompted.
These updates improve performance and fix bugs.
A few minutes of simple upkeep helps your thermostat stay reliable and keeps your home comfortable without extra effort.
Conclusion
Installing a smart thermostat doesn’t have to feel overwhelming, and now that you’ve seen each step laid out clearly, you’re in a strong position to handle the setup with confidence.
You now know how to check the wiring, mount the new unit, connect it to Wi-Fi, and adjust the settings.
With the right approach, this upgrade can make your home more comfortable and help you save energy without much effort.
If you decide to install your own thermostat, I’d love to hear how it goes.
Your experience might help someone else who’s getting ready to try it, too. Share your thoughts, questions, or tips in the comments below.