When I first tried to program a Schlage lock, I realized how much easier the process becomes when everything is laid out step by step.
You might be feeling the same way if you’re searching for the right code or trying to figure out what each button press actually does. That’s why I put this guide together.
In this blog, you’ll learn:
- Your main programming code
- How to add or delete user codes
- How to reset the lock
You won’t need technical skills. I explained each step clearly so you can set up or update your lock easily.
By the end, you’ll know how your Schlage lock works and what each code does, making the whole setup process faster and clearer.
What Does Your Schlage Programming Code Do?
Your Schlage programming code lets you control the main settings of your lock.
It’s the master code that allows you to add new user codes, remove old ones, change features, and reset the lock when needed.
Without it, you can’t update or manage the lock’s security. The code doesn’t unlock the door; it only gives you access to the setup steps.
When you enter the programming code, the lock switches into a mode where it’s ready for changes.
This is why keeping the code private matters. If someone else gets it, they could adjust the lock’s settings.
Your programming code is printed in the user manual or on a label inside the lock, so you’ll always have a backup. Think of it as the control key for your entire lock system.
Understanding Basic Schlage Lock Features
Schlage locks offer a combination of security, convenience, and programmable features that help users easily manage access. Understanding these basics makes it easier to set up, maintain, and troubleshoot the lock.
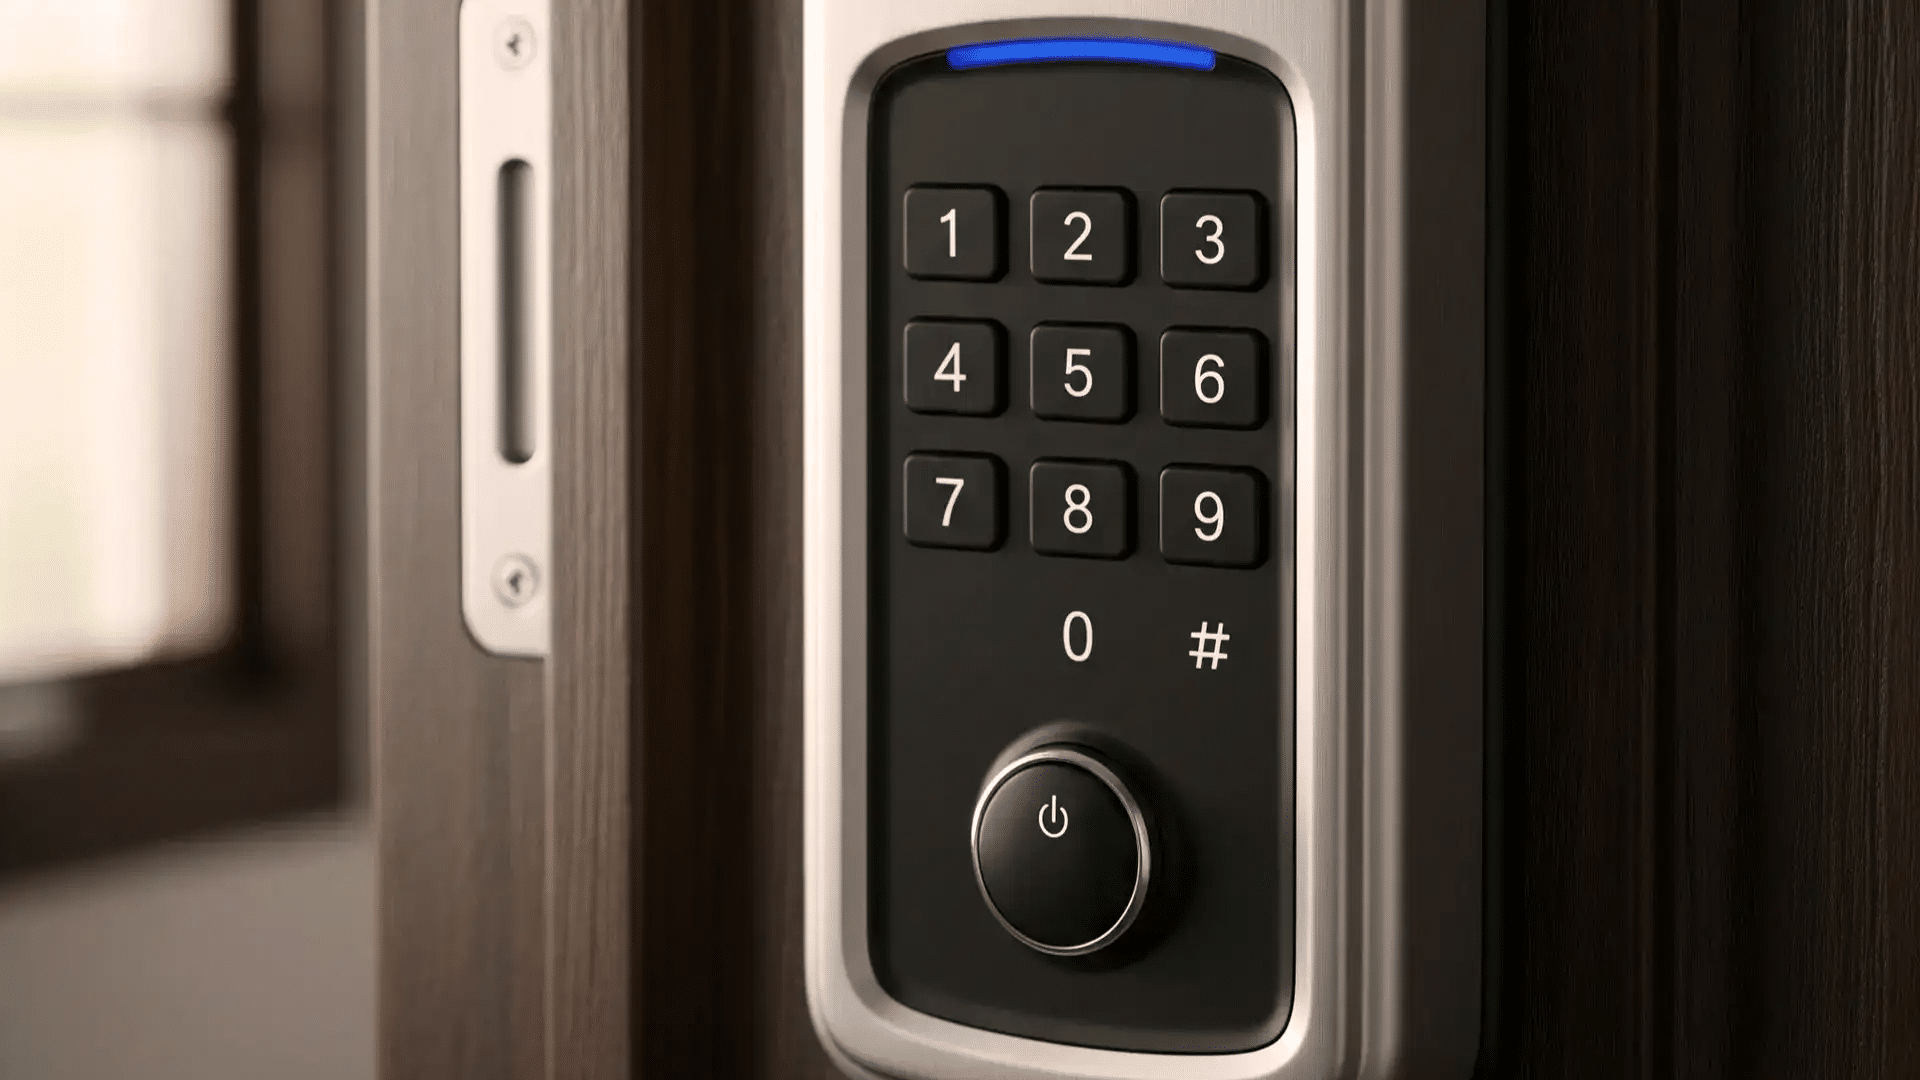
1. Keypad Features and Light Indicators
When I use the keypad on my Schlage lock, I rely heavily on the light indicators because they tell me exactly what the lock is doing.
A green light means the code worked, while a red light means I made an error.
The keypad’s backlighting also helps me at night, making it easier to enter codes without having to search for a light source.
These indicators make the lock feel easier to manage because I get quick feedback every time I interact with it.
2. Auto-Lock and Alarm Setting
The auto-lock and alarm settings are features I appreciate because they give me extra peace of mind. When I enable auto-lock, the door locks itself after a short period, which helps when I forget to lock it manually.
The alarm settings are also helpful because they warn me about tampering or repeated incorrect code attempts.
I like being able to adjust the alarm sensitivity to my needs. Sometimes, I want a louder alert, and other times, a quieter one is enough.
These features make the lock feel more secure and help me stay aware of what’s happening at my door without constantly checking it.
3. Battery Requirements and Warnings
Schlage locks use standard alkaline batteries, usually AA or 9V, depending on the model.
Most last for several months to a year, based on use and features. The lock alerts you to low battery through lights, beeps, or app notifications in smart models.
Ignoring these warnings can lead to keypad failure or temporary lockouts.
Using high-quality alkaline batteries helps prevent power issues and corrosion.
Manuals show safe battery replacement and explain why rechargeable or lithium batteries aren’t advised. Fresh batteries keep the lock reliable.
Step-By-Step Installation Overview
Installing a Schlage lock becomes much easier when the process is broken down into clear steps. This overview outlines the essential stages of setup, from preparing the door to testing the final installation.
Step 1: Prepare the Door and Check Measurements
Before installation begins, the door must be inspected to ensure it meets standard thickness and bore hole requirements.
The existing holes for the latch and deadbolt should match Schlage’s recommended dimensions.
The latch hole should be aligned with the door edge, and the cross bore must allow the lock to sit flush against the door.
Any debris, splinters, or hardware from previous locks should be removed to ensure proper fit.
Step 2: Install the Latch and Strike Plate
The latch is inserted into the edge bore and positioned so the beveled side faces the door frame.
Once aligned, the latch plate is secured with the screws provided in the kit. On the frame side, the strike plate is installed in the mortised area, ensuring it sits flush against the wood.
Proper alignment between the latch and the strike plate is essential for smooth locking and unlocking.
Tightening the screws firmly prevents shifting during use. This step forms the structural foundation for the lock’s operation and ensures the bolt moves freely.
Step 3: Attach the Exterior Lock Assembly
The exterior portion of the Schlage lock is placed through the door’s cross bore, guiding the tailpiece or spindle through the latch mechanism.
Proper alignment ensures that the internal parts engage correctly once the lock is secured. The exterior assembly must sit flat against the door surface, with no gaps.
Careful placement prevents binding or uneven pressure that can affect the lock’s performance.
Once positioned, the assembly is held in place while the interior side is prepared for installation. Ensuring correct alignment at this stage is crucial for smooth operation and long-term reliability.
Step 4: Install the Interior Lock Assembly
The interior assembly is aligned with the tailpiece extending from the exterior side.
Mounting screws are inserted through the interior plate and tightened evenly to connect both sides of the lock.
The thumbturn or knob is then attached according to the model’s design. Ensuring proper tension on the screws prevents wobbling or loose movement.
The lock should rotate freely without resistance, indicating correct internal alignment.
Step 5: Test the Lock and Make Final Adjustments
After installation, the lock is tested to confirm that the latch or deadbolt extends and retracts smoothly with both the key and thumbturn.
The door should close securely without excessive force. If any sticking or misalignment occurs, the strike plate may require minor adjustments.
Ensuring all screws are tightened and components are seated properly enhances durability.
Testing multiple times verifies consistent performance. This final step ensures the Schlage lock functions correctly, providing secure and reliable operation for everyday use.
How to Find Your Schlage Programming Code?
Your Schlage programming code is listed in the user manual that came with the lock, usually on a sticker near the front.
If you no longer have the manual, you can find the code on a label inside the lock. Remove the lock from the door, and you’ll see the sticker on the interior plate.
This code is printed before the lock leaves the factory, so it’s the same for every new unit until you change it.
Write it down and store it in a safe place. If the code has been changed in the past, you can restore the lock to its factory settings, which brings back the original programming code.
This reset process varies by model, so check the steps for your specific lock.
Once you have the code, you can add user codes, remove them, or adjust features with clear and simple steps.
Steps to Change the Programming Code
You can update your Schlage programming code in a few simple steps. These steps work for most keypad models and keep your lock easy to manage.
Step 1: Enter the Current Programming Code
Start by entering your current programming code on the keypad. The lock will flash or beep to confirm it’s ready for changes.
This step puts the lock into programming mode, allowing you to update settings.
If the code isn’t accepted, double-check for past changes or try a factory reset. Once the lock signals correctly, you’re ready to move on to creating a new code that fits your needs.
Step 2: Press the Schlage Button
After entering the current programming code, press the Schlage button to continue. This tells the lock you want to make a change.
You should see a light flash or hear a sound confirming it’s ready. If nothing happens, wait a moment and try again.
Make sure you’re pressing the button firmly. This step prepares the lock for the next command, which is choosing the option to change the programming code.
Step 3: Select the Code Change Option
Press the number that corresponds to changing the programming code, which is usually “3” on most Schlage models.
This tells the lock that you want to create a new programming code.
You’ll get a signal showing it’s ready for the new code. If your lock doesn’t respond, check your manual or model number to confirm the correct button.
Once the lock confirms, you can enter the new code you want to use.
Step 4: Enter and Confirm the New Code
Type in your new six-digit programming code. The lock will flash or beep to confirm it.
Make sure the code is easy for you to remember but hard for others to guess. Avoid simple patterns like repeating numbers.
If the lock gives an error signal, enter the code again slowly to avoid mistakes.
After the lock confirms the new code, test it once more to be sure it works and is fully saved.
How to Connect the Lock (WiFi, Bluetooth, Z-Wave)?
These connection options help you control the lock from your phone. Choose the method your model supports for the simplest setup.
- Check your lock’s model to confirm if it supports WiFi, Bluetooth, or Z-Wave.
- Download the required app, such as the Schlage Home or a compatible smart-home app.
- Follow the app’s prompts to add a new device and select your lock model.
- Put the lock into pairing mode by pressing the Schlage button and entering the programming code.
- For WiFi models, connect to your home network when the app requests it.
- For Bluetooth, keep your phone close to the lock during setup.
- For Z-Wave, pair the lock with your smart hub following the hub’s instructions.
- Wait for the confirmation message that shows the lock is connected and ready to use.
How to Add or Delete User Codes?
Adding and deleting user codes becomes much easier when I follow a simple process. I rely on keypad feedback to know when the lock accepts a new code or removes an old one.
Step 1: Enter the Programming Code
Start by entering your programming code on the keypad. The lock will flash or beep to confirm it’s in programming mode.
This code allows you to make changes to all user codes. If the lock doesn’t respond, check that you’re entering the correct code or try again slowly.
Once the signal appears, the lock is ready for the next step, which is choosing to add or delete a user code.
Step 2: Choose the Add or Delete Option
Press the button for the action you want to take. Most Schlage locks use “1” to add a user code and “2” to delete one.
The lock will flash or beep to confirm your choice. If nothing happens, check your model’s manual to confirm the correct button.
After the lock signals, it’s ready for you to enter the user code you want to add or remove from the system.
Step 3: Enter the User Code
Type the four-digit user code you want to add or delete. The lock will give a confirmation signal when the code is accepted.
If you are adding a code, choose one that’s simple for the user to remember but not easy for others to guess.
If the lock shows an error, try entering the code again more slowly. Once confirmed, the code is either added for access or removed from the lock.
Step 4: Confirm the Action
Most models require you to re-enter the same user code to confirm the change. This prevents mistakes and ensures the correct code is added or deleted.
Wait for the final confirmation signal from the lock. If the lock shows an error, repeat the steps carefully.
Once the signal appears, test the code to make sure it works or has been removed. This helps ensure the update saved correctly and the lock is ready to use.
When to Use the Default Codes?
You should use the default codes when you’re setting up the lock for the first time or when you need to reset it back to factory settings.
These codes help you start fresh if the programming code was changed and you no longer know what it is.
They’re also useful when troubleshooting issues like failed programming steps or codes that no longer work.
After a factory reset, the default programming and user codes return, giving you a clean starting point. Use them only for setup because they aren’t secure for long-term use.
Once the lock is working again, replace the default codes with your own. This keeps the lock secure and ensures only trusted users can change settings or unlock the door.
Common Programming Errors and Fixes
These issues often show up when you’re updating or setting up a Schlage lock. Most can be fixed with simple steps, even if you’re new to the lock.
1. Wrong Programming Code
If the lock doesn’t respond or gives an error signal, you may be entering the wrong programming code. Try typing it more slowly to avoid keypad mistakes.
If it still fails, check the user manual or look for the sticker inside the lock that lists the default factory code. A previous owner may have changed it, so you might be using an outdated code.
If you can’t recover it, a full factory reset restores the original code and lets you start fresh with programming.
2. User Code Already Exists
If the lock flashes red or beeps twice, the user code you’re entering may already be saved in the system.
Try a different four-digit code or delete the old one before adding a new one.
Sometimes a family member or previous owner has already created a similar code, so test the number on the keypad to confirm.
Clearing out old or duplicate codes helps the lock accept new entries smoothly. After removing the old code, enter the new one again to confirm it’s saved.
3. Low Battery Problems
Low batteries can cause slow responses, failed programming steps, or random error signals.
If the lock flashes red or stops responding, replace the batteries with fresh alkaline ones. Avoid rechargeable or lithium batteries because they may cause inconsistent power.
After installing new batteries, try the programming steps again. You’ll often notice the keypad responds faster and more reliably.
Keeping the batteries fresh prevents many common issues and helps the lock stay stable during setup or code changes.
4. Lock Not Entering Programming Mode
If the lock won’t go into programming mode, check that you’re entering the programming code correctly and pressing the buttons firmly.
Worn keys, dust, or rushed entry can cause missed inputs.
Clean the keypad gently and try again at a steady pace. If the lock still doesn’t respond, replace the batteries or check the wiring on smart models to rule out power issues.
Once the keypad shows the right signal, you can continue adding codes or adjusting settings without interruptions.
Troubleshooting a Schlage Lock that Won’t Program
These steps help you figure out why your lock isn’t accepting changes. Work through each one to get the lock responding again.
- Make sure you’re using the correct programming code by checking the manual or the sticker inside the lock.
- Enter the code slowly to avoid keypad errors or missed button presses.
- Replace low batteries with fresh alkaline ones to fix weak or inconsistent power.
- Clean the keypad to remove dust or debris that may interrupt button input.
- Check if too many user codes are stored and delete unused ones if needed.
- Try a factory reset if you can’t recover the programming code or if previous steps fail.
- Confirm the lock is fully installed and the interior plate isn’t loose or misaligned.
- For smart models, reconnect the lock to the app or hub to restore proper communication.
Conclusion
Setting up and managing a Schlage lock becomes much easier once you understand the programming code, basic features, and the steps for adding or removing user codes.
With the right information in front of you, you can handle most tasks on your own without guessing or worrying about making a mistake.
I wanted to give you clear steps you can follow easily, if you’re installing a new lock or fixing an older one.
If you’ve worked with a Schlage lock before or run into a challenge while programming it, I’d love to hear about your experience.
Share your questions or tips in the comments below so other readers can learn from them too.