Having trouble syncing your LiftMaster remote to your garage door opener? It’s a common issue, but once you understand the process, it becomes much easier.
This blog outlines the steps for programming the LiftMaster remote, breaking them down into clear, manageable parts.
With the right preparation and a few simple actions, you can avoid frustration and ensure a smooth setup.
If you’re new to this or need a refresher, this blog will help you get your remote work set up properly. I’ll cover the essentials, including button locations, common issues, and syncing tips, so nothing is left to chance.
By following these steps carefully, you’ll have your remote programmed in no time, saving you both time and effort.
What is a Liftmaster Remote?
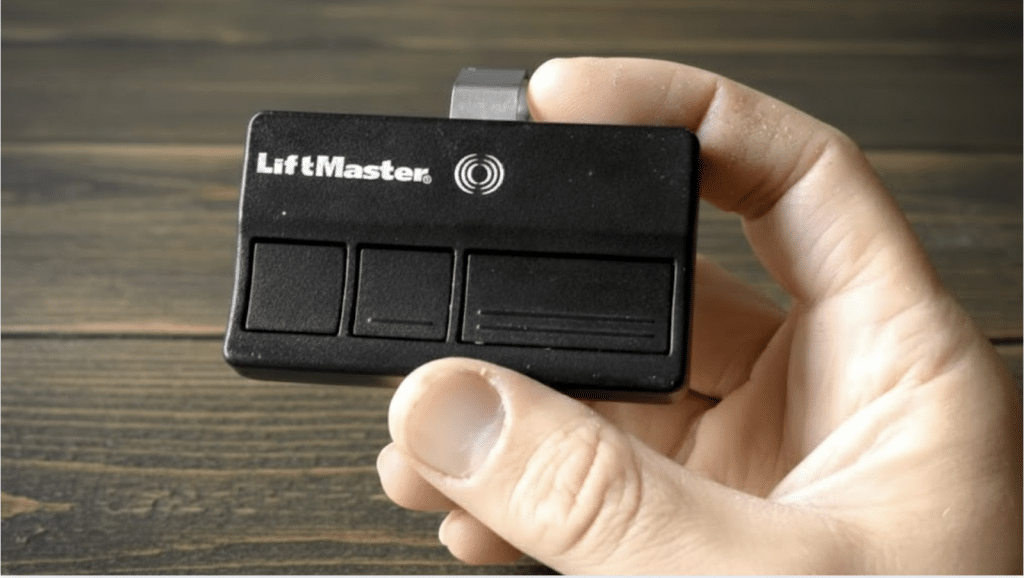
A LiftMaster remote is a wireless control device that operates compatible garage door openers from a distance.
It sends a secure radio signal to the opener, allowing doors to open, close, or stop with the press of a button.
LiftMaster remotes are commonly used with LiftMaster, Chamberlain, and Craftsman openers manufactured after 1993 that include safety sensors.
Many models feature multiple buttons, letting one remote control more than one garage door or gate.
Modern LiftMaster remotes use rolling code technology to improve security by changing the access code after each use.
Once programmed, the remote provides convenient, reliable access without needing wall controls or keypad entry for daily residential garage access needs.
Step-by-Step Process of Programming Liftmaster Remote
This step-by-step guide explains how to sync a LiftMaster remote with a compatible garage door opener using the Learn button for quick, safe, and reliable operation.
Step 1: Prepare for Programming
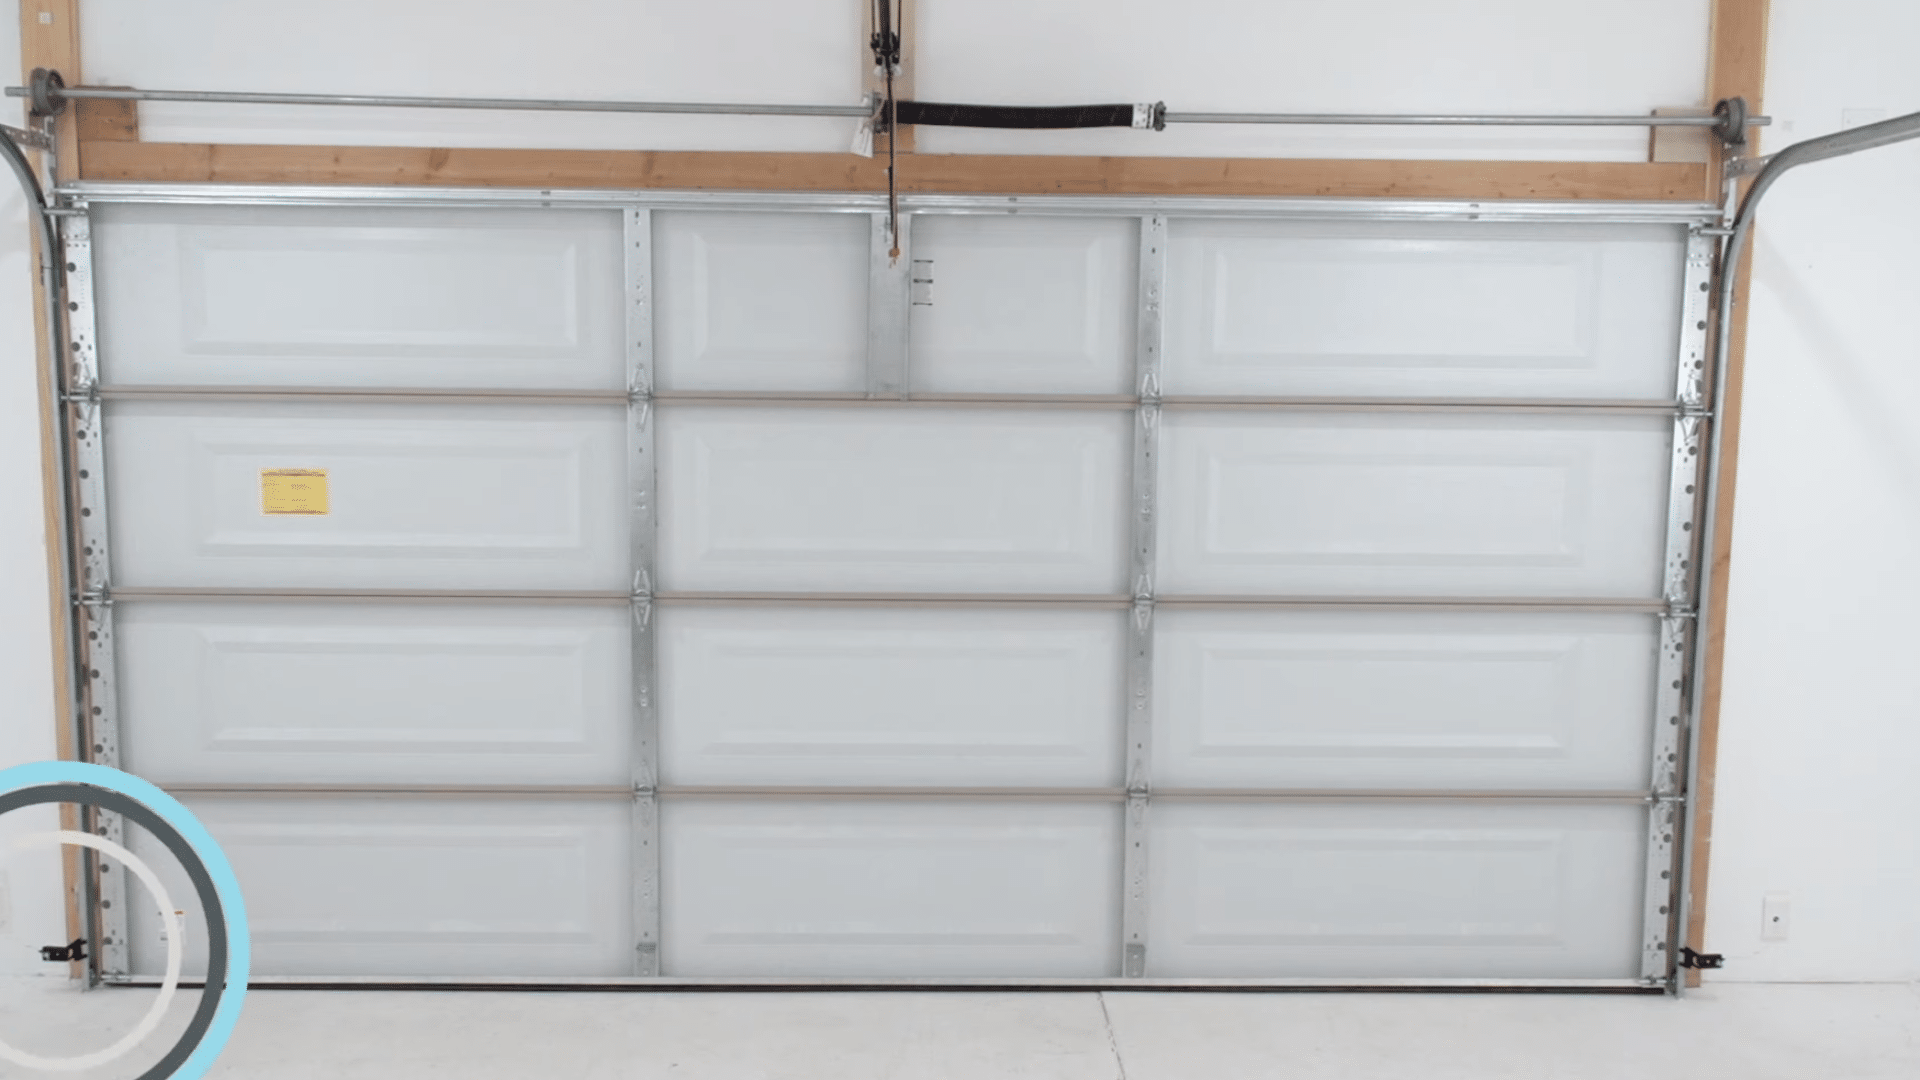
Begin by confirming compatibility and preparing the area before programming the LiftMaster remote. The garage door must be fully closed to prevent unexpected movement during setup.
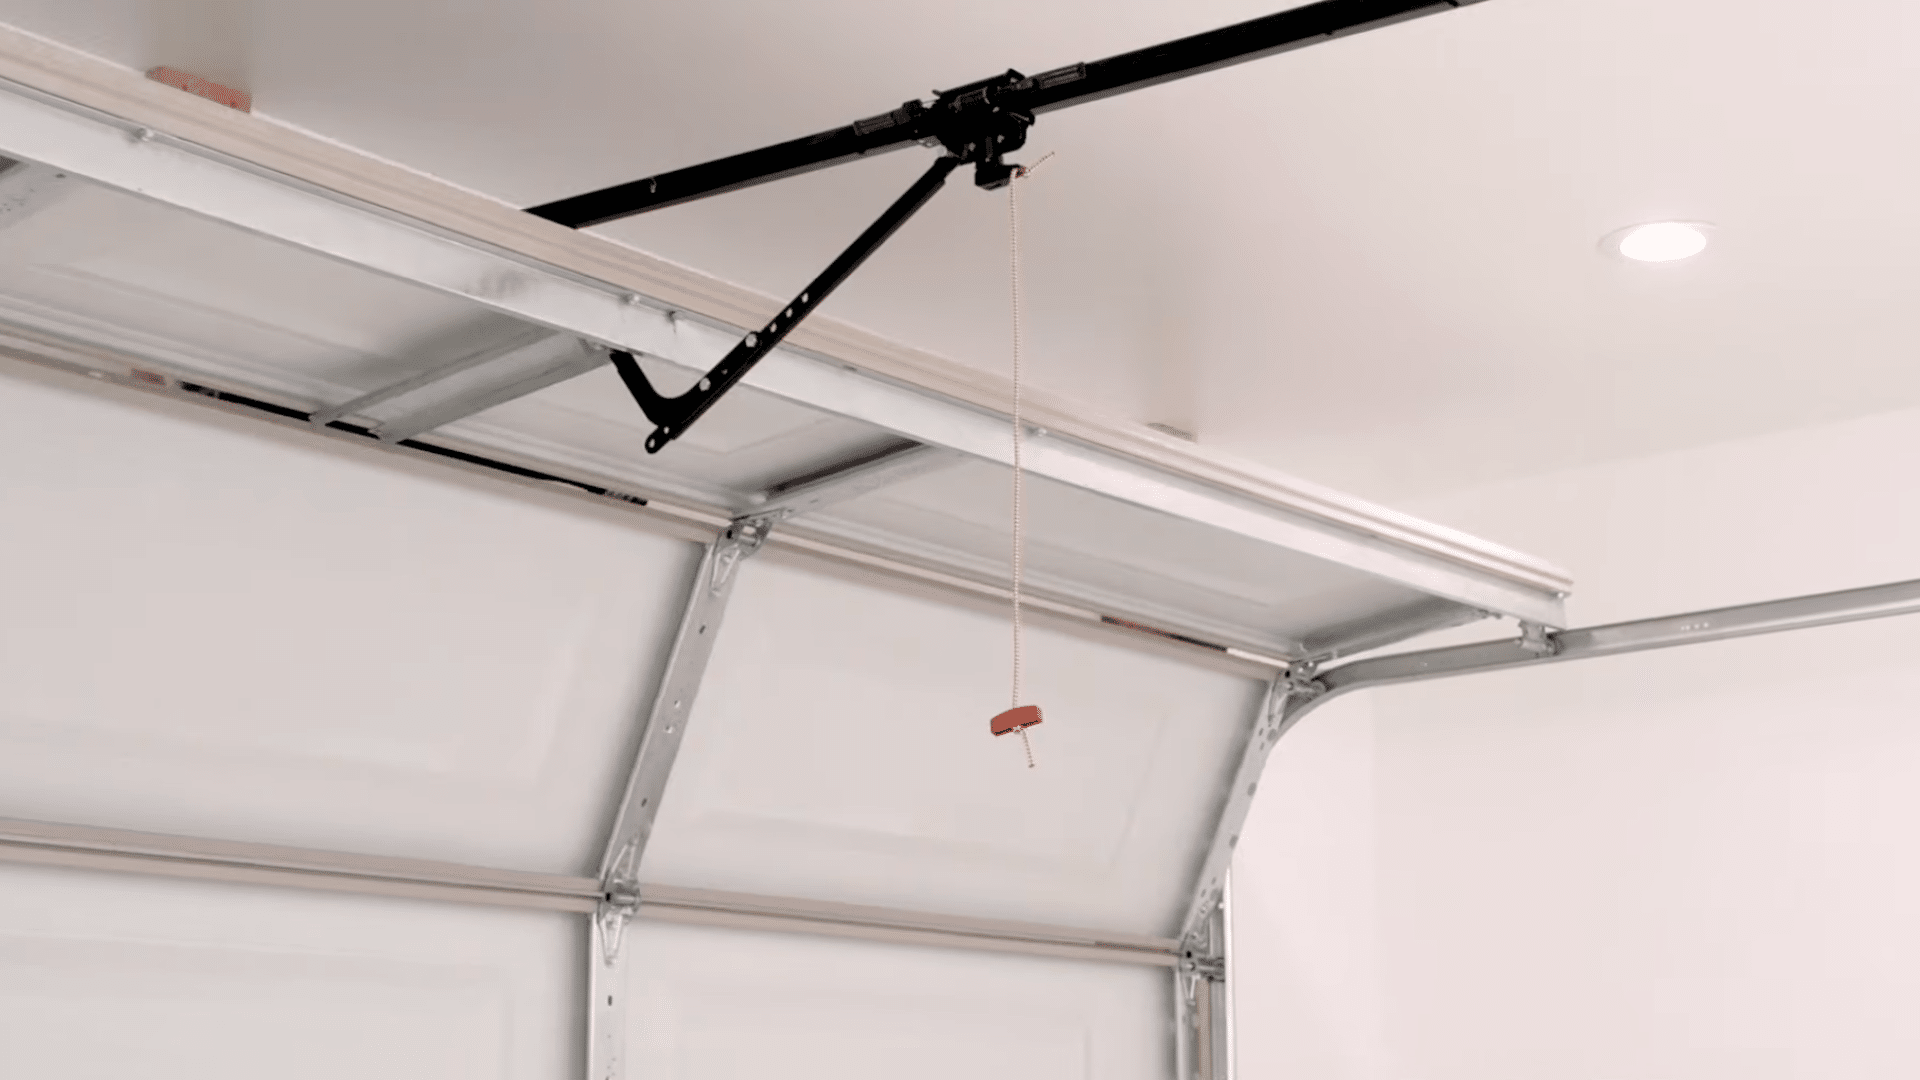
Verify the garage door opener was manufactured after 1993 and uses photoelectric safety sensors mounted near the bottom of the door track.
Ensure the opener brand is LiftMaster, Chamberlain, or Craftsman with a yellow Learn button, as the 891LM and 893LM remotes only work with these models.
Install a working light bulb in the opener, since flashing lights confirm successful programming. Locate the owner’s manual for safety guidance if needed.
Step 2: Locate the Learn Button or Control Panel
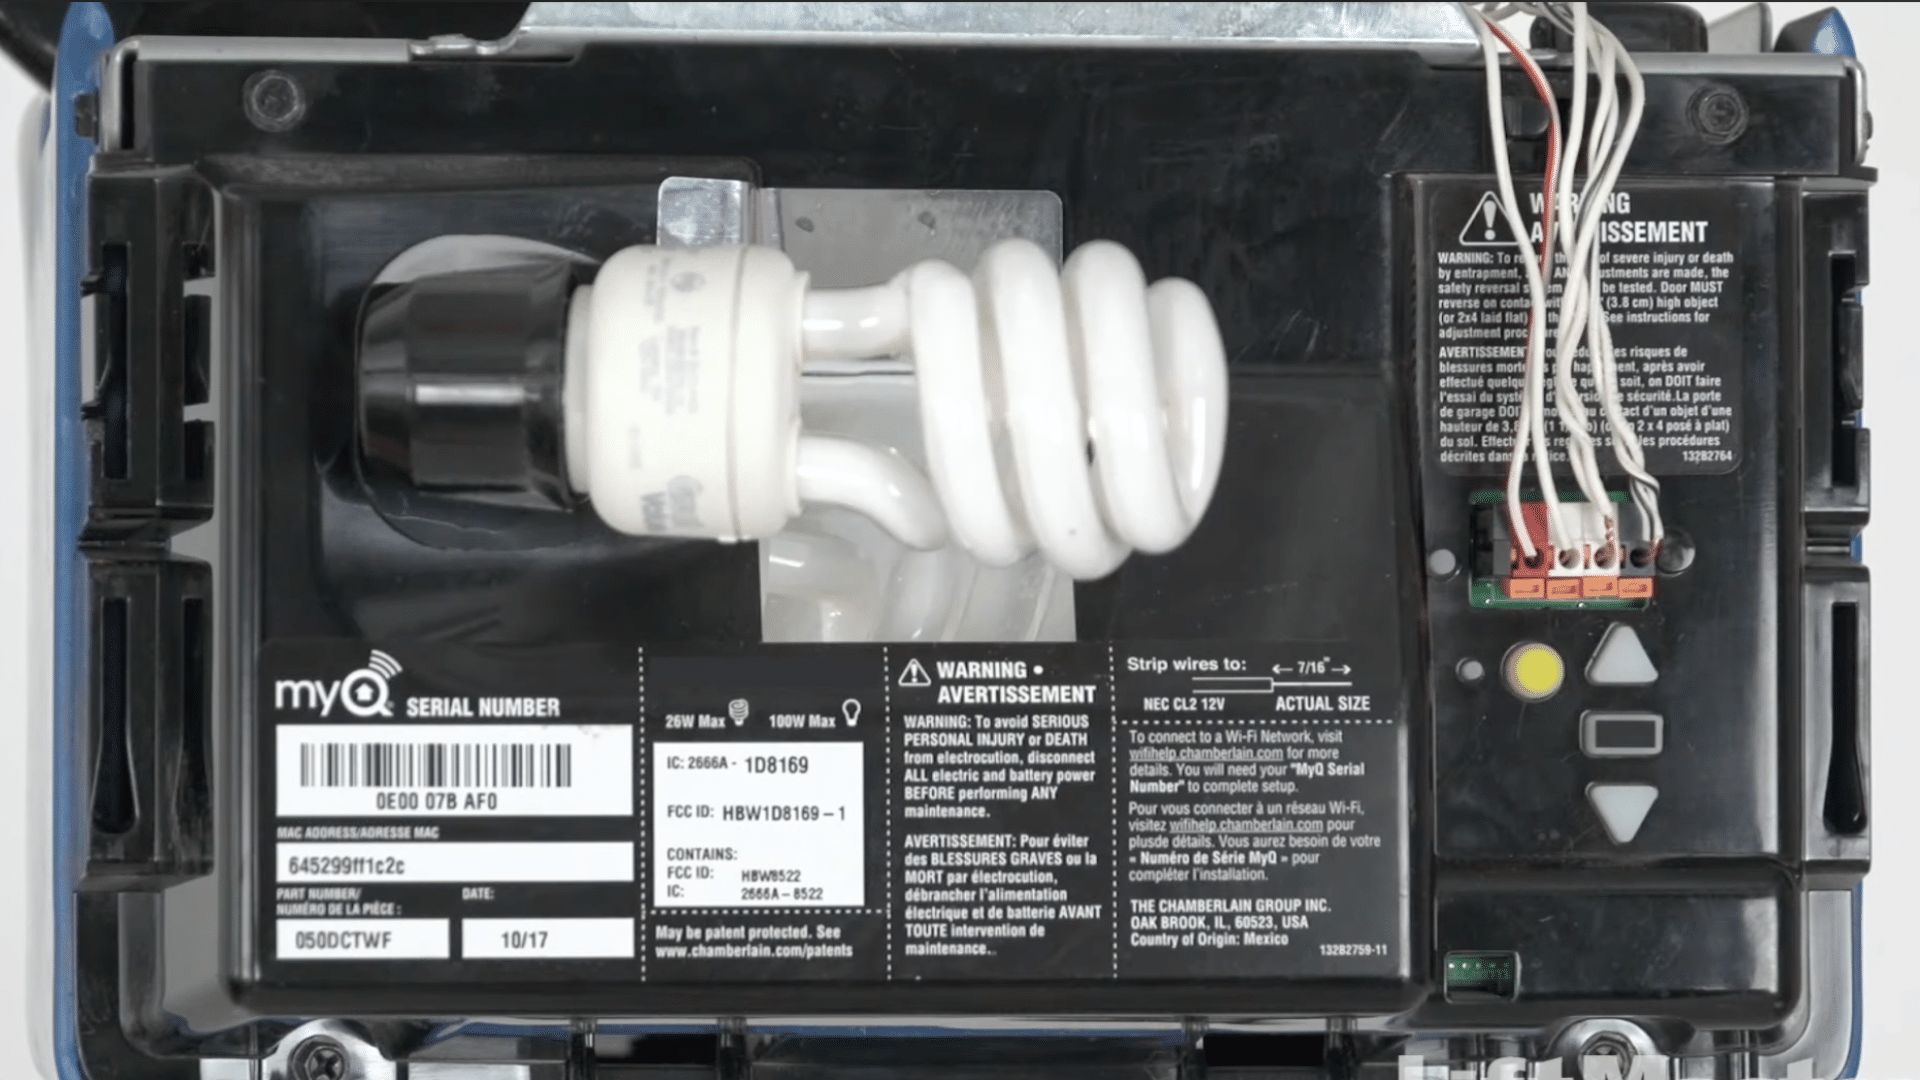
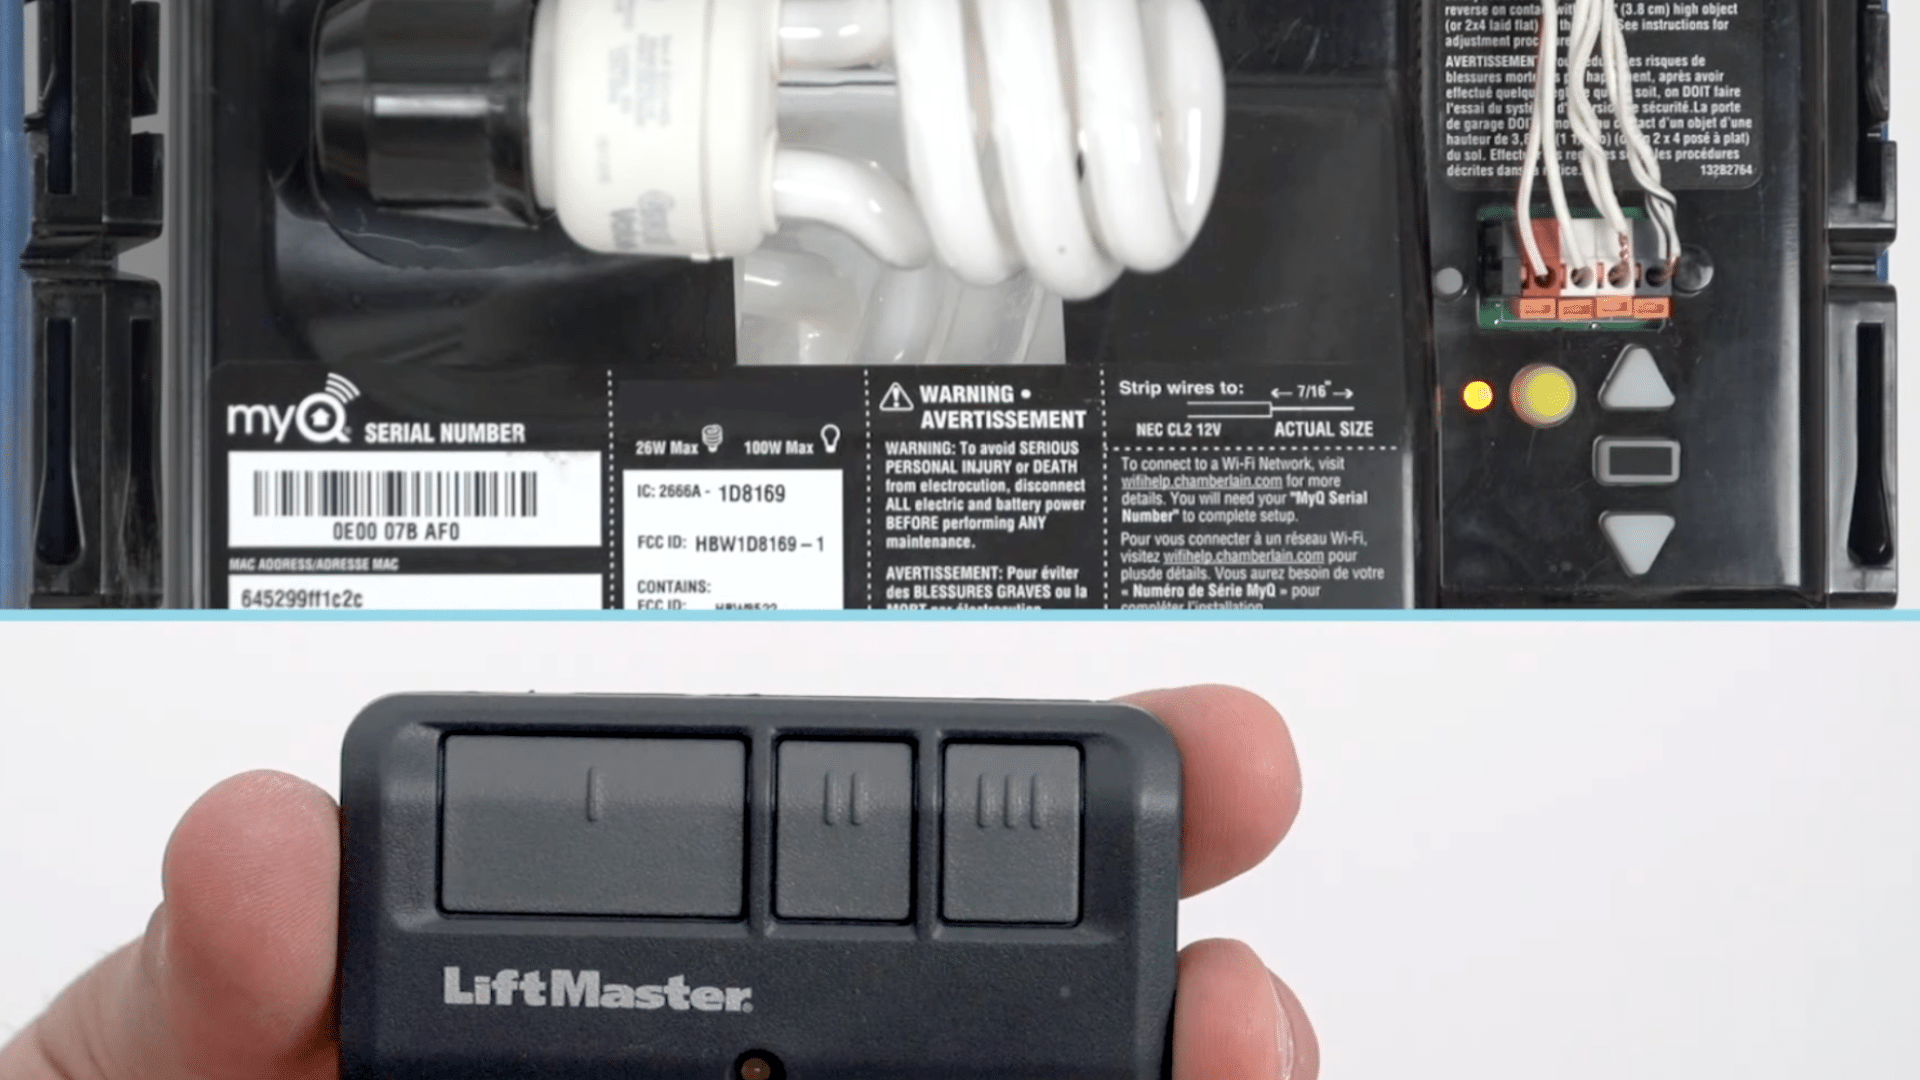
Locate the Learn button on the garage door opener to begin the programming sequence.
The Learn button is typically found on the back or side panel of the motor unit, close to where the antenna wire hangs down.
The antenna wire color usually matches the Learn button color, making identification easier without climbing unnecessarily.
If the button is hidden, open the light lens cover to access it. Yellow Learn buttons indicate compatibility with the 891LM and 893LM remotes.
Step 3: Activate Learning Mode
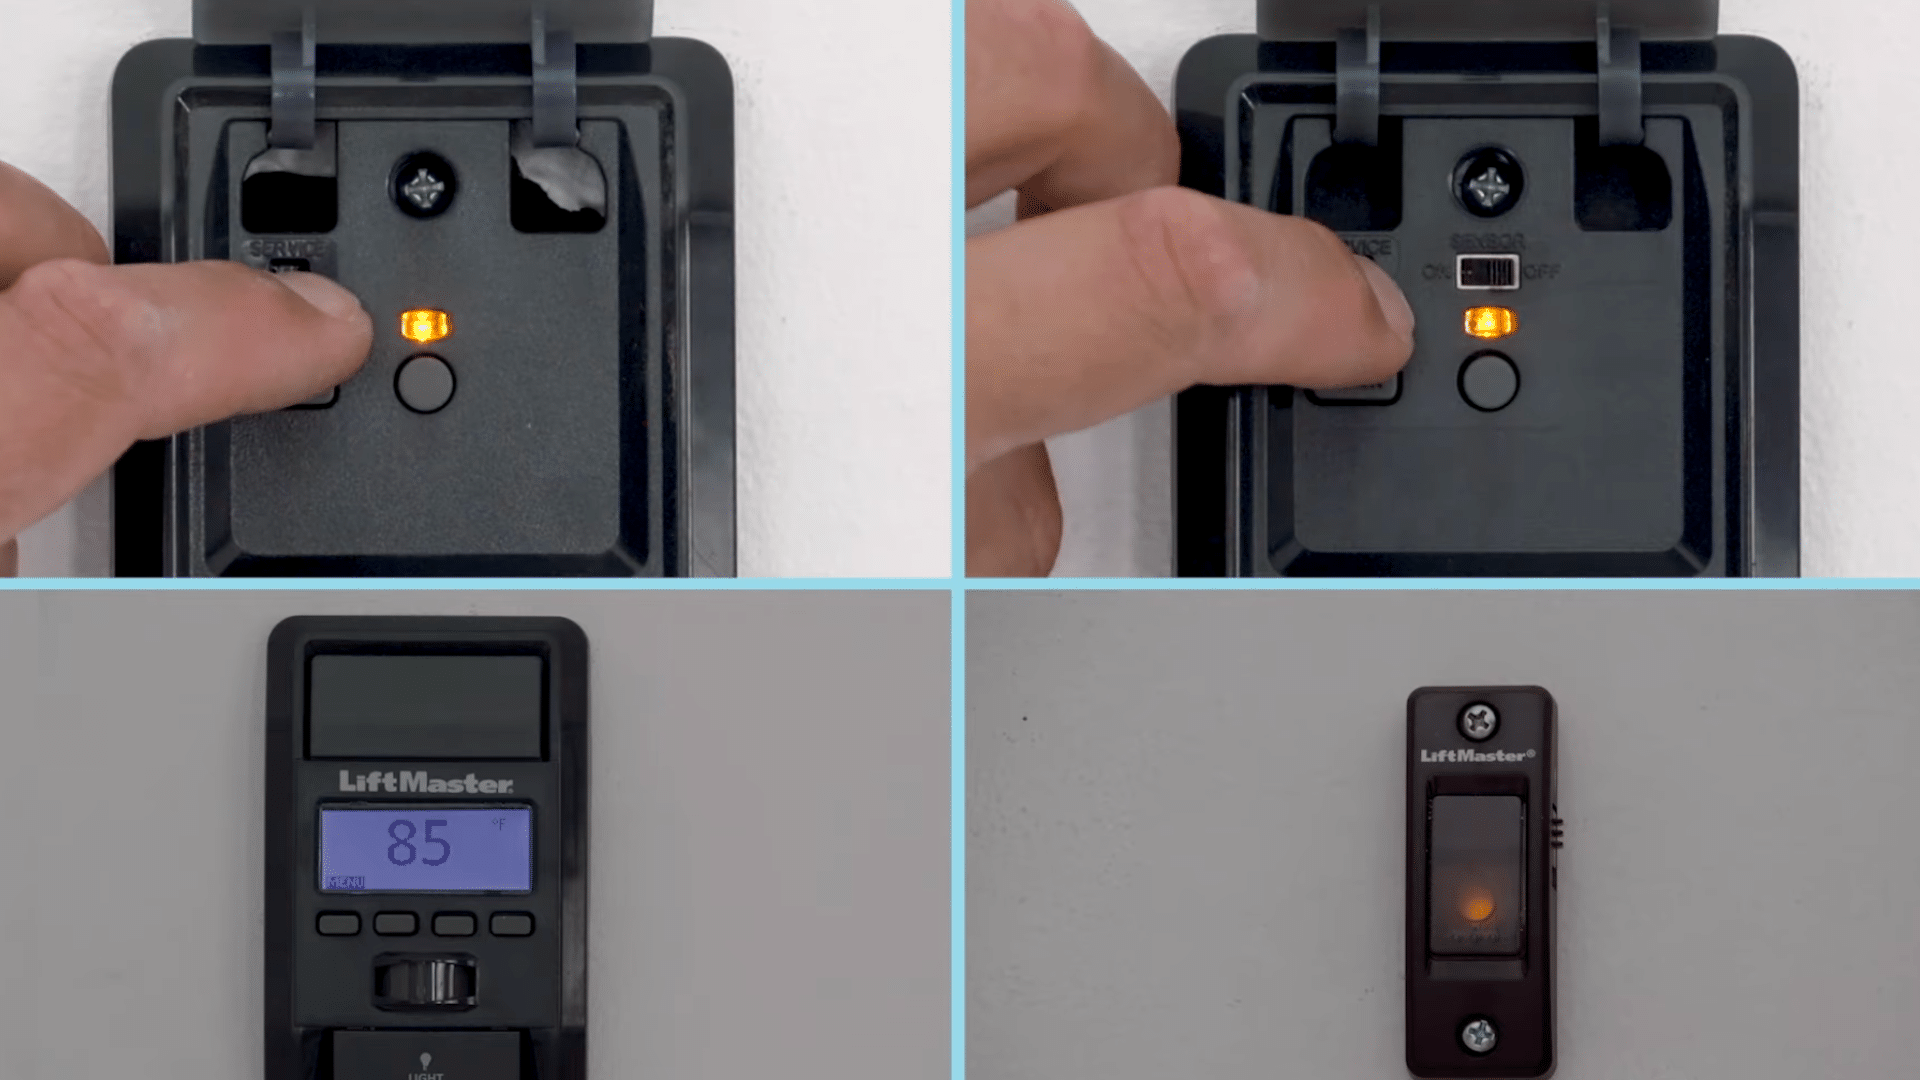
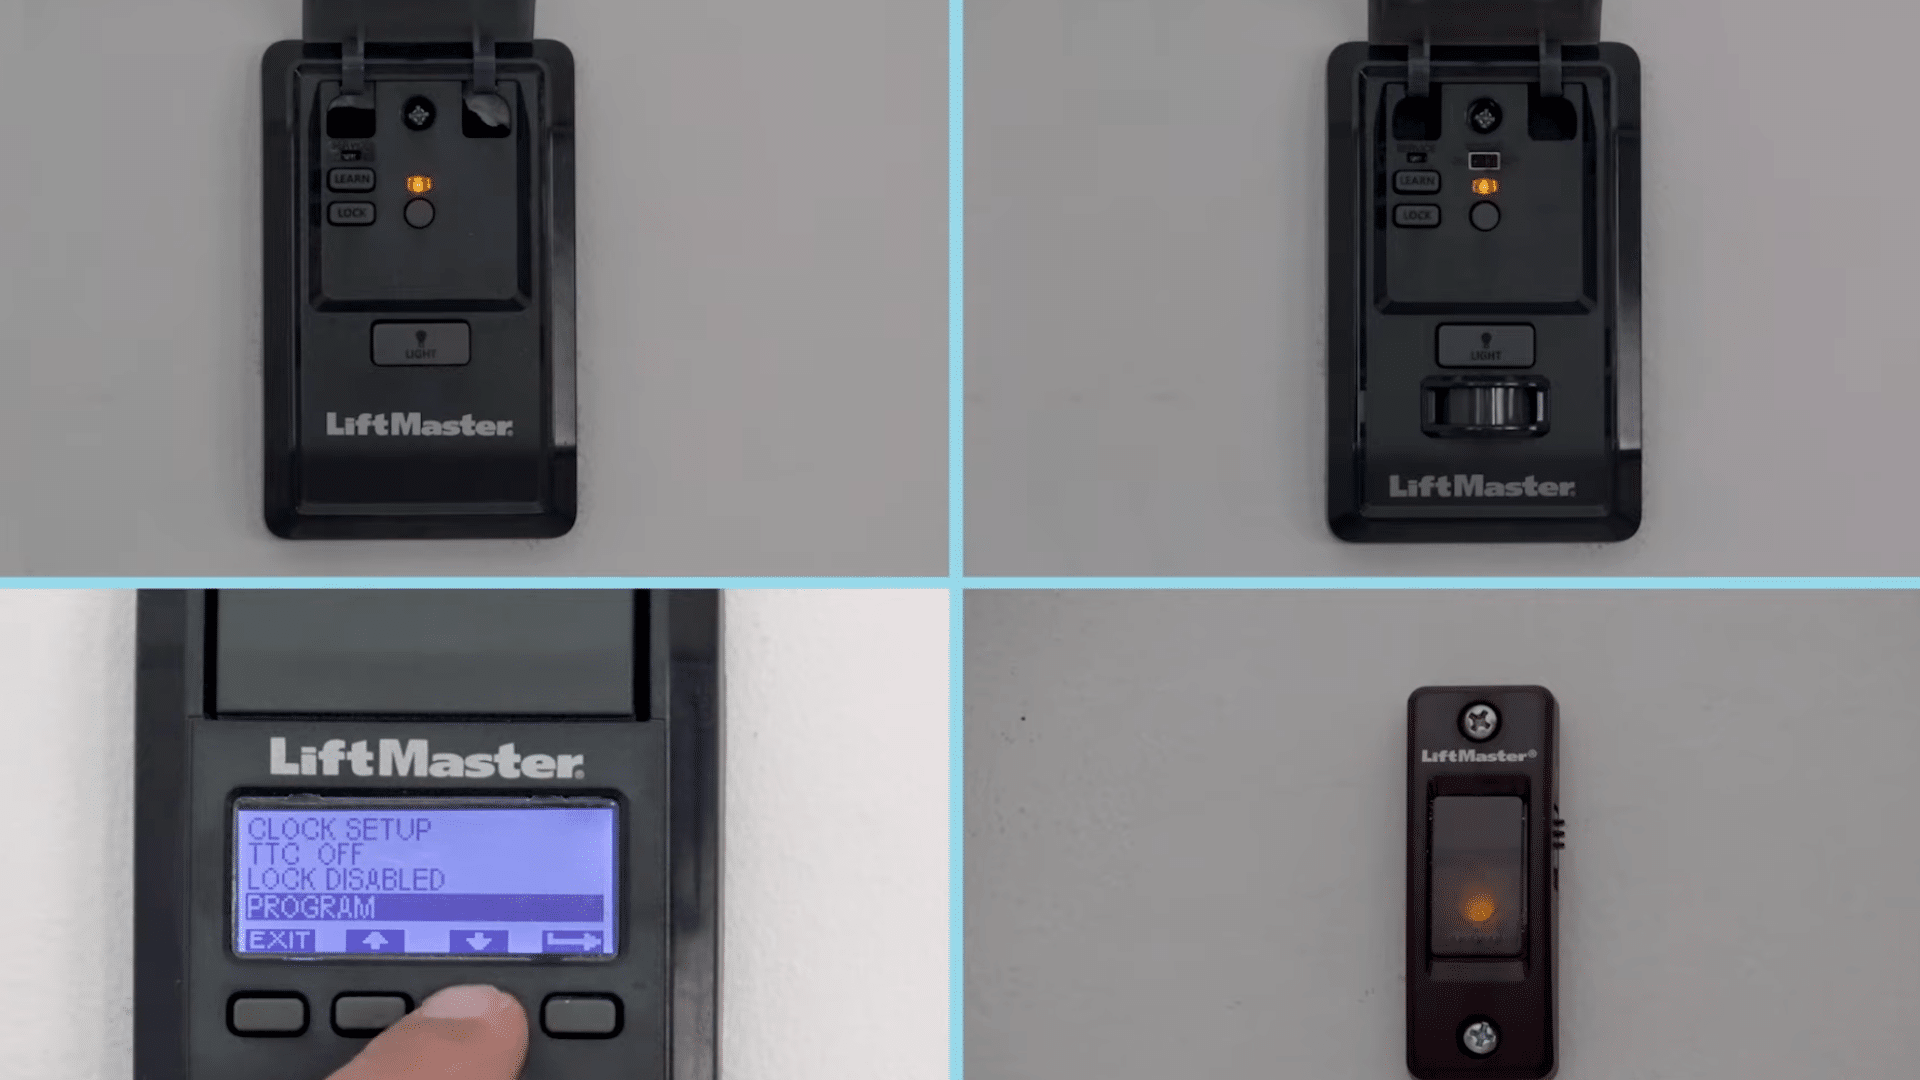
Activate programming mode using the appropriate door control method or the motor unit itself.
If the door control panel includes a dedicated Learn button, press and release that button two times to place the opener into programming mode.
For LCD smart control panels, press the Menu button, use the down arrow to highlight Program, then press the side arrow to select.
Continue scrolling until Remote is highlighted, then select it to activate learning mode. For doorbell-style controls, press and hold the Light button on the side while pressing and releasing the front button.
Step 4: Program the Remote Button
Program the remote by selecting a button, then transmit its signal to the opener. Choose which button on the 891LM or 893LM remote will control the garage door.
Press and hold the selected button firmly while the opener remains in learning mode. Continue holding until the garage door opener light blinks, or you hear a clicking sound from the motor unit.
This visual or audible response confirms the remote signal has been stored successfully. Release the button once confirmation occurs.
If no response is seen, repeat the process by reactivating learning mode and holding the remote button again.
Step 5: Test and Program Additional Buttons
Test the programmed remote to confirm it works correctly before finishing the setup. Press the newly programmed button on the remote and observe the garage door movement.
The door should open or close immediately, indicating successful programming.
If the door does not move, repeat the programming steps carefully and verify the opener is still compatible.
Once the first button works correctly, additional buttons on the remote can be programmed using the same process. Each button can control a different door or function if supported by the opener.
Step 6: Final Safety and Completion Checks
Complete the process of programming the Liftmaster remote by reviewing safety considerations and storing the remote properly. Keep the remote out of reach of children to prevent accidental door operation.
Ensure the garage door path remains clear at all times to avoid injury or damage.
If the opener light flashed during programming, the setup was successful, and no further action is required. Refer to the manufacturer’s manual for troubleshooting if problems occur later.
For compatibility updates or additional support, consult the official LiftMaster support resources online. Periodically test the remote and safety sensors to maintain reliable operation.
A big thanks to the creator for providing such a clear and detailed walkthrough. You can check out the original video on their YouTube channel here or watch it below.
Common Programming LiftMaster Remote Issues
These are common problems users face when setting up a LiftMaster remote, and quick explanations to help identify each issue.
- Remote not responding: The remote button is pressed, but the opener shows no light flashes or movement; this is often caused by low batteries or signal interference.
- Wrong Learn button color: The remote is incompatible with the opener because yellow Learn buttons are required, while purple, red, or green buttons do not work.
- Programming mode timed out: The Learn button was pressed, but the remote button was not held in time, causing the opener to exit programming mode.
- Control panel confusion: Using the wrong door control steps for LCD, multifunction, or doorbell-style panels can prevent the opener from entering proper learning mode.
- Old opener technology: Garage door openers using dip switches were made before safety sensor standards and cannot support modern LiftMaster remote programming.
Conclusion
Now you have a clear idea of how to program the LiftMaster remote with ease. Following the steps methodically makes the process straightforward and ensures you don’t miss any crucial details.
No need for frustration or repeated attempts, just a few minutes of careful attention can save time in the long run.
By confirming compatibility, button locations, and common issues in advance, syncing your remote becomes simple and quick.
If this blog post has helped clarify the process or solve any challenges, I’d love to hear from you.
Share your experience or drop any questions, tips, or feedback in the comments below.
Your insights not only help others but also keep the conversation going, ensuring everyone has easy, smooth access to their garage.
Frequently Asked Questions
How Long Does It Take to Program the Liftmaster Remote?
Programming usually takes two to five minutes if the opener is compatible, the Learn button is accessible, and the remote battery is working correctly.
Can I Program a Universal Remote to LiftMaster?
Yes, many universal remotes work with LiftMaster openers, but compatibility depends on the Learn button color and the remote supporting rolling code technology.
What If I Lost My Original Remote?
A new LiftMaster or compatible remote can be programmed directly using the Learn button without the original remote.