When I bought my first camera, I thought the body was everything. Later, I learned the lens changes photos just as much, sometimes even more.
My first trip to a camera shop was confusing. I saw wide-angle, telephoto, prime, and zoom.
I didn’t even know what those words meant. Picking a lens felt like guessing. If you’re new, you probably know that feeling.
This guide is what I wish I had back then. I’ll explain the basics of focal length and aperture in plain words.
I’ll go over different lens types and what they’re best for. I’ll also show you how to match lenses to your camera, how to weigh cost and size, and which mistakes to avoid.
By the end, you’ll feel ready to pick the right lens for your photography.
Understanding the Lens
A lens is what shapes the look of every photo, and understanding the basics makes choosing one less confusing. The first piece is the focal length, which decides how much of the scene you capture.
Wide-angle lenses fit more into the frame, standard lenses give a natural view, and telephoto lenses bring distant subjects closer.
The second is aperture, the opening inside the lens that controls light and depth of field.
A wide aperture with a low f-number lets in more light and gives soft backgrounds, while a narrow aperture keeps more in focus. Finally, there’s the lens type itself.
Primes offer one fixed focal length with sharp results, while zooms cover a range and give more flexibility.
Key Lens Features Every Photographer Should Know
Understanding how lenses work is key to improving your photography. From focal length to aperture and lens types, these basics will help you choose the right lens for any situation.
1. Focal Length and Angle of View
Focal length is the number on a lens, like 35mm or 200mm. It affects how close or far subjects appear in your photos.
- Wide-angle (10–35mm): Fits more into the frame. Best for landscapes and tight spaces.
- Standard (35–70mm): Similar to human vision. Great for everyday use.
- Telephoto (70mm+): Brings subjects closer. Perfect for sports, wildlife, or portraits with background blur.
If you use a crop sensor (APS-C), multiply the focal length by about 1.5. For example, a 50mm lens works like 75mm on these cameras.
2. Aperture (f-stop)
Aperture is the opening inside the lens that controls how much light reaches the camera sensor. It’s measured in f-stops, such as f/1.8, f/2.8, or f/4.
- Smaller f-number (wider opening): Lets in more light, creates a shallow depth of field, and blurs backgrounds. Good for portraits and low light.
- Larger f-number (narrow opening): Lets in less light but keeps more of the scene sharp. Good for landscapes.
- Fast lenses: Wide apertures are called “fast” because they allow quicker shutter speeds.
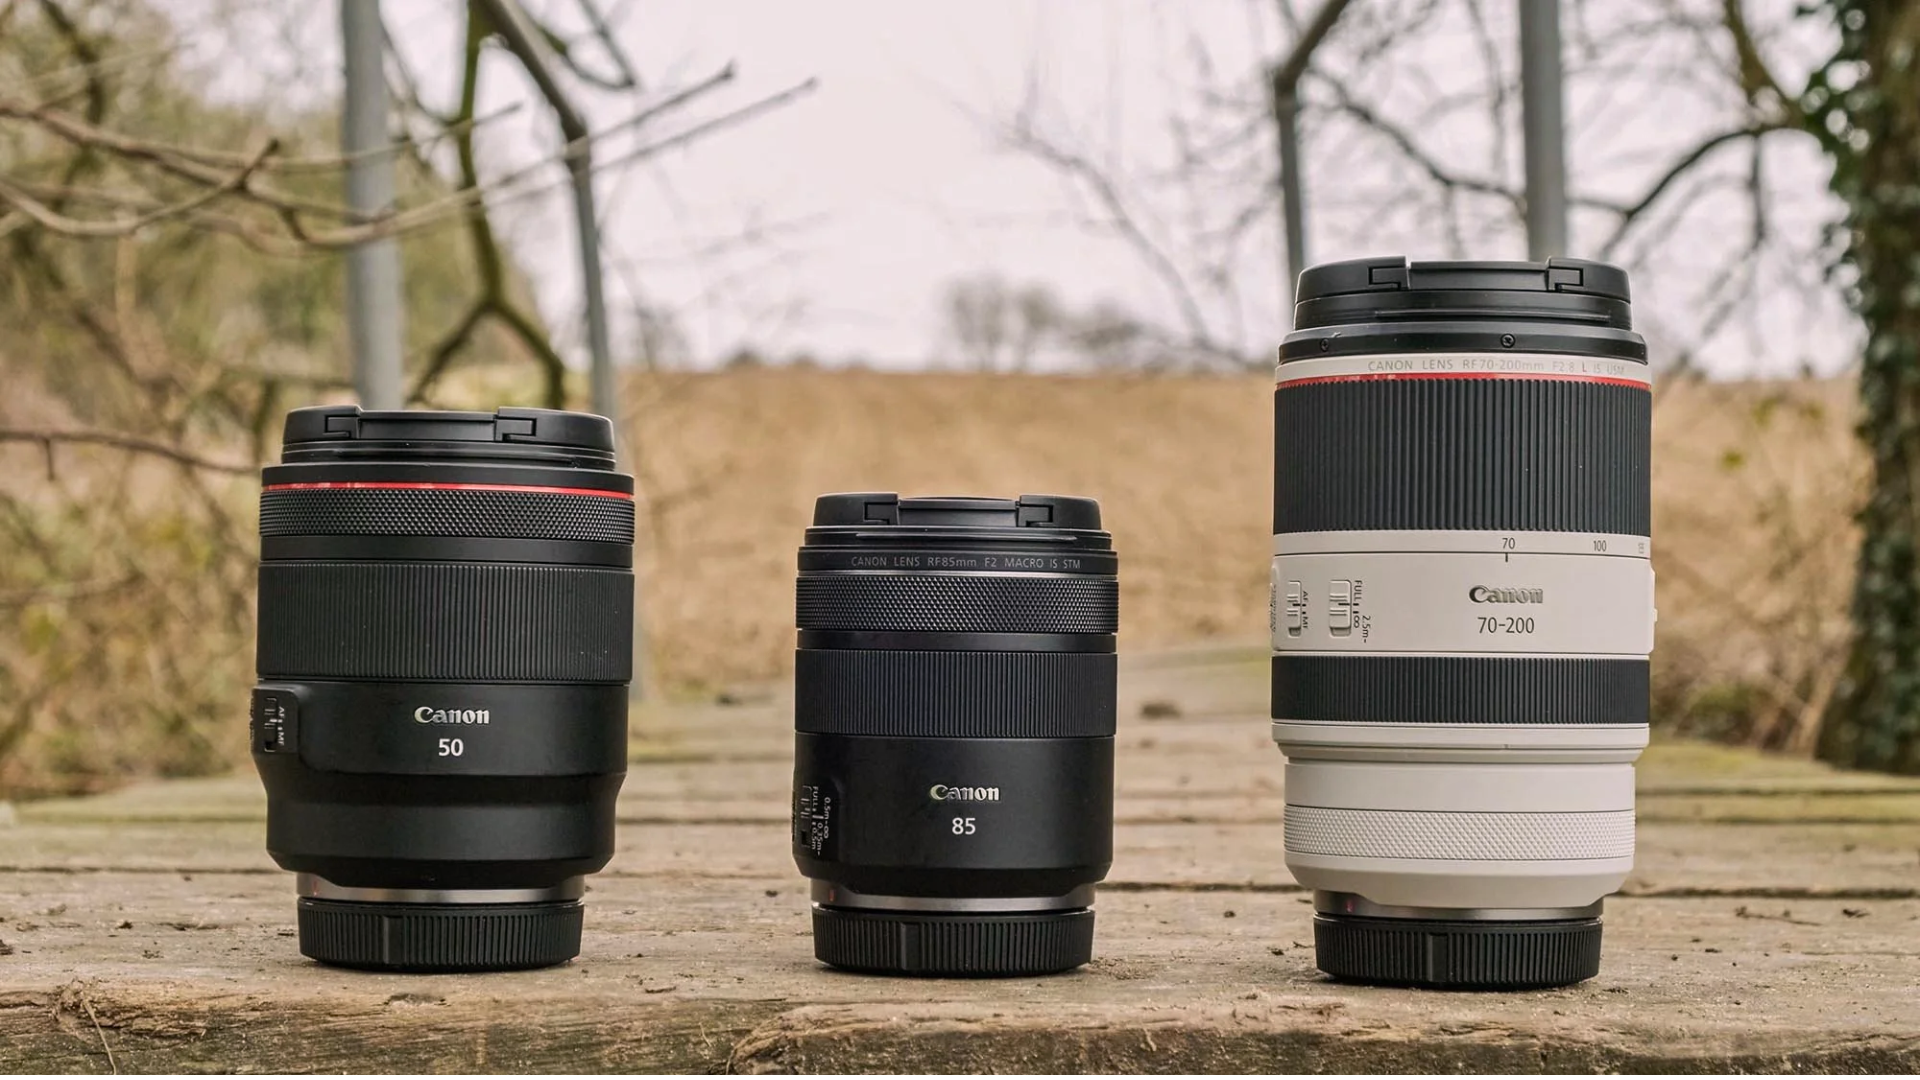
3. Prime vs. Zoom Lenses
Lenses come in two main types, prime and zoom, each with its own benefits.
- Prime lenses: Fixed focal length (e.g., 50mm). Often sharper, lighter, and smaller. They encourage creative composition since you move to frame the shot.
- Zoom lenses: Cover a range (e.g., 24–70mm). Offer flexibility to shoot wide and close without switching lenses. Usually larger and heavier.
I started with a kit zoom, but later found a simple 50mm prime became a favorite. Both types are valuable depending on your shooting style.
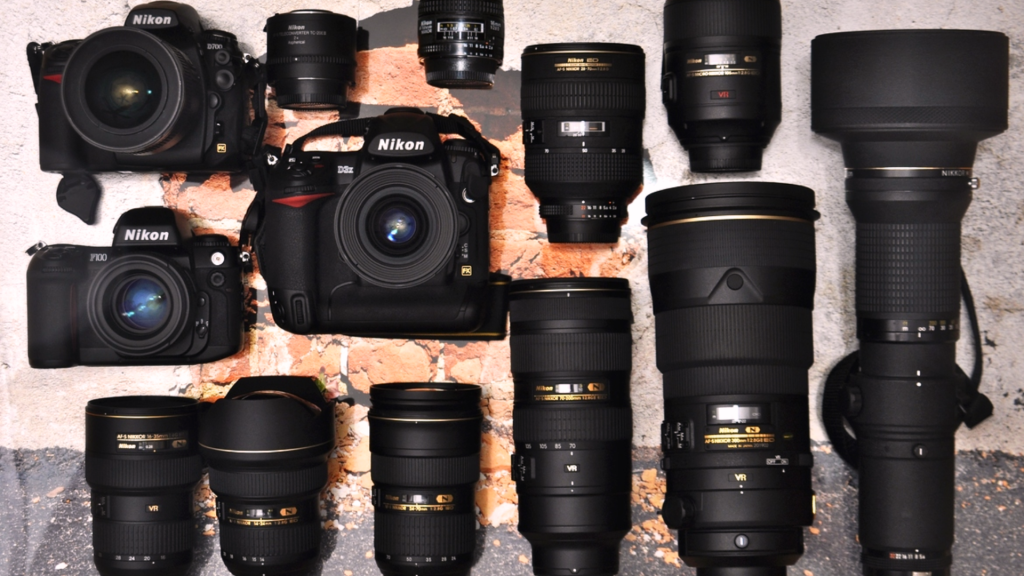
Lens Types and Their Uses
Once you understand the basics, it helps to see how different lenses are used. Each type has its own strengths and works best for certain situations.
- General-purpose: Zooms like 18–55mm. A solid starter lens for everyday use.
- Wide-angle: Fits more into the frame. Great for landscapes and architecture.
- Telephoto: Brings far subjects closer. Useful for sports, wildlife, or portraits.
- Macro: Focuses on tiny details. Perfect for insects, flowers, or textures.
- Specialty lenses: Includes fisheye for dramatic curves or tilt-shift for straight lines.
Knowing what each type does makes it easier to decide which lens fits your style of photography.
Matching the Lens to Your Camera System
Not every lens will work with every camera. Before buying, it’s important to check compatibility and think about how your choice fits with your current setup and future plans.
| Factor | What to Know? |
|---|---|
| Lens Mount Compatibility | Each brand has its own mount. A Canon lens won’t fit a Nikon body without an adapter. Always check if the lens matches your camera. |
| APS-C vs. Full-Frame | Full-frame lenses are larger and more expensive, while APS-C lenses are smaller and cheaper. If you plan to move to full-frame later, be sure your lenses will still work. |
| Third-Party Lenses | Brands like Sigma and Tamron make lenses for multiple systems. They can be more affordable, but quality varies between models. Some perform as well as brand lenses, others may not. |
Technical Features that Influence Lens Performance
Technical details may not seem exciting, but they can change your shooting experience in a big way. These are the key ones to know:
- Optical quality: Sharpness varies, sometimes stronger in the center than at the edges.
- Lens coatings: Reduce glare and ghosting, useful in bright or backlit scenes.
- Autofocus: Fast and quiet focus is vital for sports, wildlife, or video.
- Image stabilization: Cuts down blur when hand-holding.
- Build quality: Weather sealing adds durability for outdoor shooting.
These features might not be the first things you check, but they often decide how practical and enjoyable a lens is to use.
Practical Considerations
When choosing a lens, it helps to think about the practical side, not just the specs. Weight and size matter more than most people expect.
A big telephoto lens can feel like carrying a brick, and after a long day, it takes the joy out of shooting. For travel or casual use, smaller and lighter lenses are often the smarter choice.
Budget is another factor since lenses can cost anywhere from affordable to extremely expensive.
Features like wide apertures or weather sealing usually raise the price, so it’s important to decide what’s worth paying for.
Resale value is also worth noting. Good lenses hold their price well, and I once sold a lens years later for almost what I paid. Think of lenses as long-term tools you’ll keep building around.
What Kind of Photography Do You Do?
The lens you choose should fit the kind of photography you enjoy most. Portraits work well with a 50mm or 85mm prime that creates smooth background blur.
Landscapes call for wide-angle lenses in the 16–35mm range to capture detail across the frame.
Street photography often benefits from a compact 35mm prime that feels natural and easy to carry. Wildlife and sports need telephoto zooms like 70–200mm that bring distant subjects closer with quick focus.
For close-up detail, macro lenses around 100mm f/2.8 are ideal.
If you travel often, an all-in-one zoom such as 24–105mm gives flexibility without swapping lenses.
When buying, it’s always smart to test first, study real-world photos, and make sure the lens adds something new to your kit.
Common Mistakes to Avoid
When choosing lenses, it’s easy to get caught up in details that don’t really help your photography. These are a few pitfalls to watch out for:
- Chasing specs: The fastest or most expensive lens isn’t always the right fit for your style.
- Ignoring sensor size: Crop factor changes how a lens performs, so always factor it in.
- Overpacking: Carrying heavy gear you rarely use makes shooting less enjoyable.
- Overspending: Professional lenses are great, but not worth it if you won’t use them often.
Keeping these points in mind will save you money, reduce frustration, and help you build a lens kit that suits your actual needs.
Conclusion
Choosing a lens is simpler once you know what matters. I look at what I shoot, the focal length that fits it, and the aperture I can handle.
I match the mount, check how it balances on my camera, and decide if the size and weight make sense for real days out. I scan the features that affect use: autofocus, stabilization, coatings, and build.
I would suggest that you set a budget and stick to it. You can rent or borrow when you can, study sample photos, and avoid buying overlap for your kit.
Now you’ve walked through the same steps. You know the types, the trade-offs, and the common traps.
You can pick a lens that serves your style, not the other way around. Take the checklist, trust your eye, and make the choice with confidence.