Getting ready for a big event can feel a little overwhelming, and I know how easy it is to second-guess every makeup choice.
You want to look your best without spending hours on tricky steps, and this guide will help you do that.
In this blog, I’ll walk you through simple ways to prep your skin, choose the right products, and apply makeup that lasts through the whole event.
You’ll learn practical tips you can use even if you don’t feel like a makeup expert.
I’ll also share the small tricks that make a big difference, from blending the right way to picking colors that work for you.
By the end, you’ll feel more confident and ready to create a polished look for any event. Let’s make your routine easier and help you show up feeling great.
How Event Makeup Differs from Everyday Makeup?
Event makeup is different from everyday makeup because it has to last longer, look sharper, and handle bright lights or long hours.
It uses products with stronger hold, so your look stays in place without constant touch-ups.
Everyday makeup is usually light and quick, but event makeup adds more steps for coverage, blending, and shaping. It also focuses on details like smooth skin, defined eyes, and even tones that show well in photos.
You may use primers, setting sprays, and long-wear formulas that you wouldn’t reach for on a normal day.
Event makeup also needs colors that match the lighting and the dress code, while daily makeup sticks to simple shades.
The goal is not to look heavy, but to look polished and steady through the whole event.
This makes event makeup more planned and purpose-driven than everyday makeup.
Step-By-Step Event Makeup Tutorial
This routine gives you a long-lasting, camera-ready look that holds up from start to finish. Follow each step with care and build your layers so your makeup lasts and photographs well through the whole event.
Step 1: Skin Prep
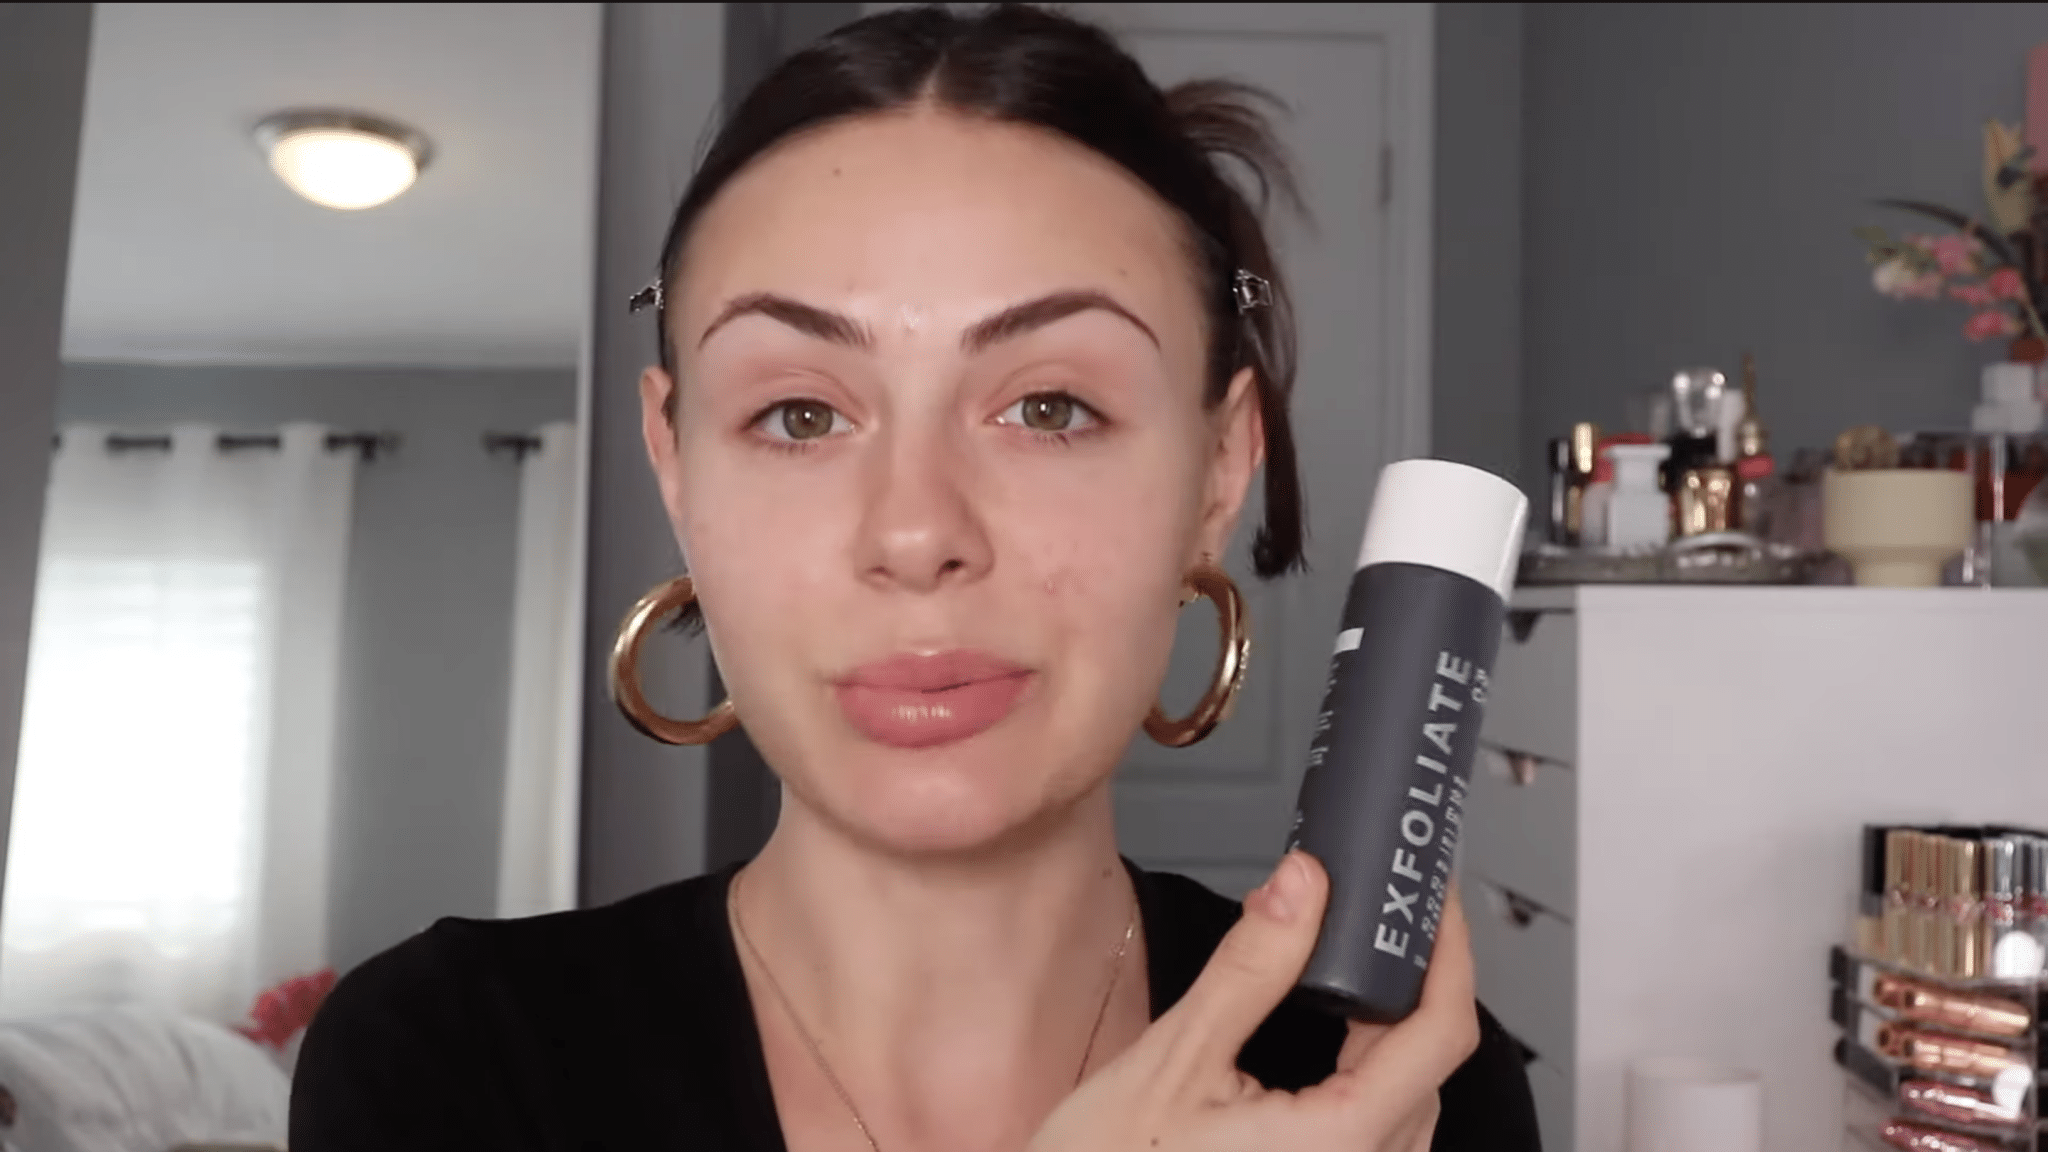
Proper skin prep is absolutely everything for makeup that lasts. Always exfoliate the night before using a gentle chemical exfoliant like Paula’s Choice 2% BHA to create that baby-soft, smooth canvas.
In the morning, apply a hydrating moisturizer like Charlotte Tilbury Magic Cream and let it fully absorb to prevent pilling.
Add eye cream around the delicate area for extra hydration, then finish with an illuminating product like MAC Strobe Cream for that lit-from-within glow.
Step 2: Primer for Long Wear
Primer acts as your secret barrier between skin and makeup, making everything last significantly longer. Apply a mattifying primer like MAC Studio Fix only where you get oily, typically your T-zone area.
This targeted approach prevents makeup from sliding off while maintaining a natural finish in drier areas.
Let the primer set for about a minute before moving to foundation, and avoid over-priming, as too much product can cause makeup to separate or pill throughout the day.
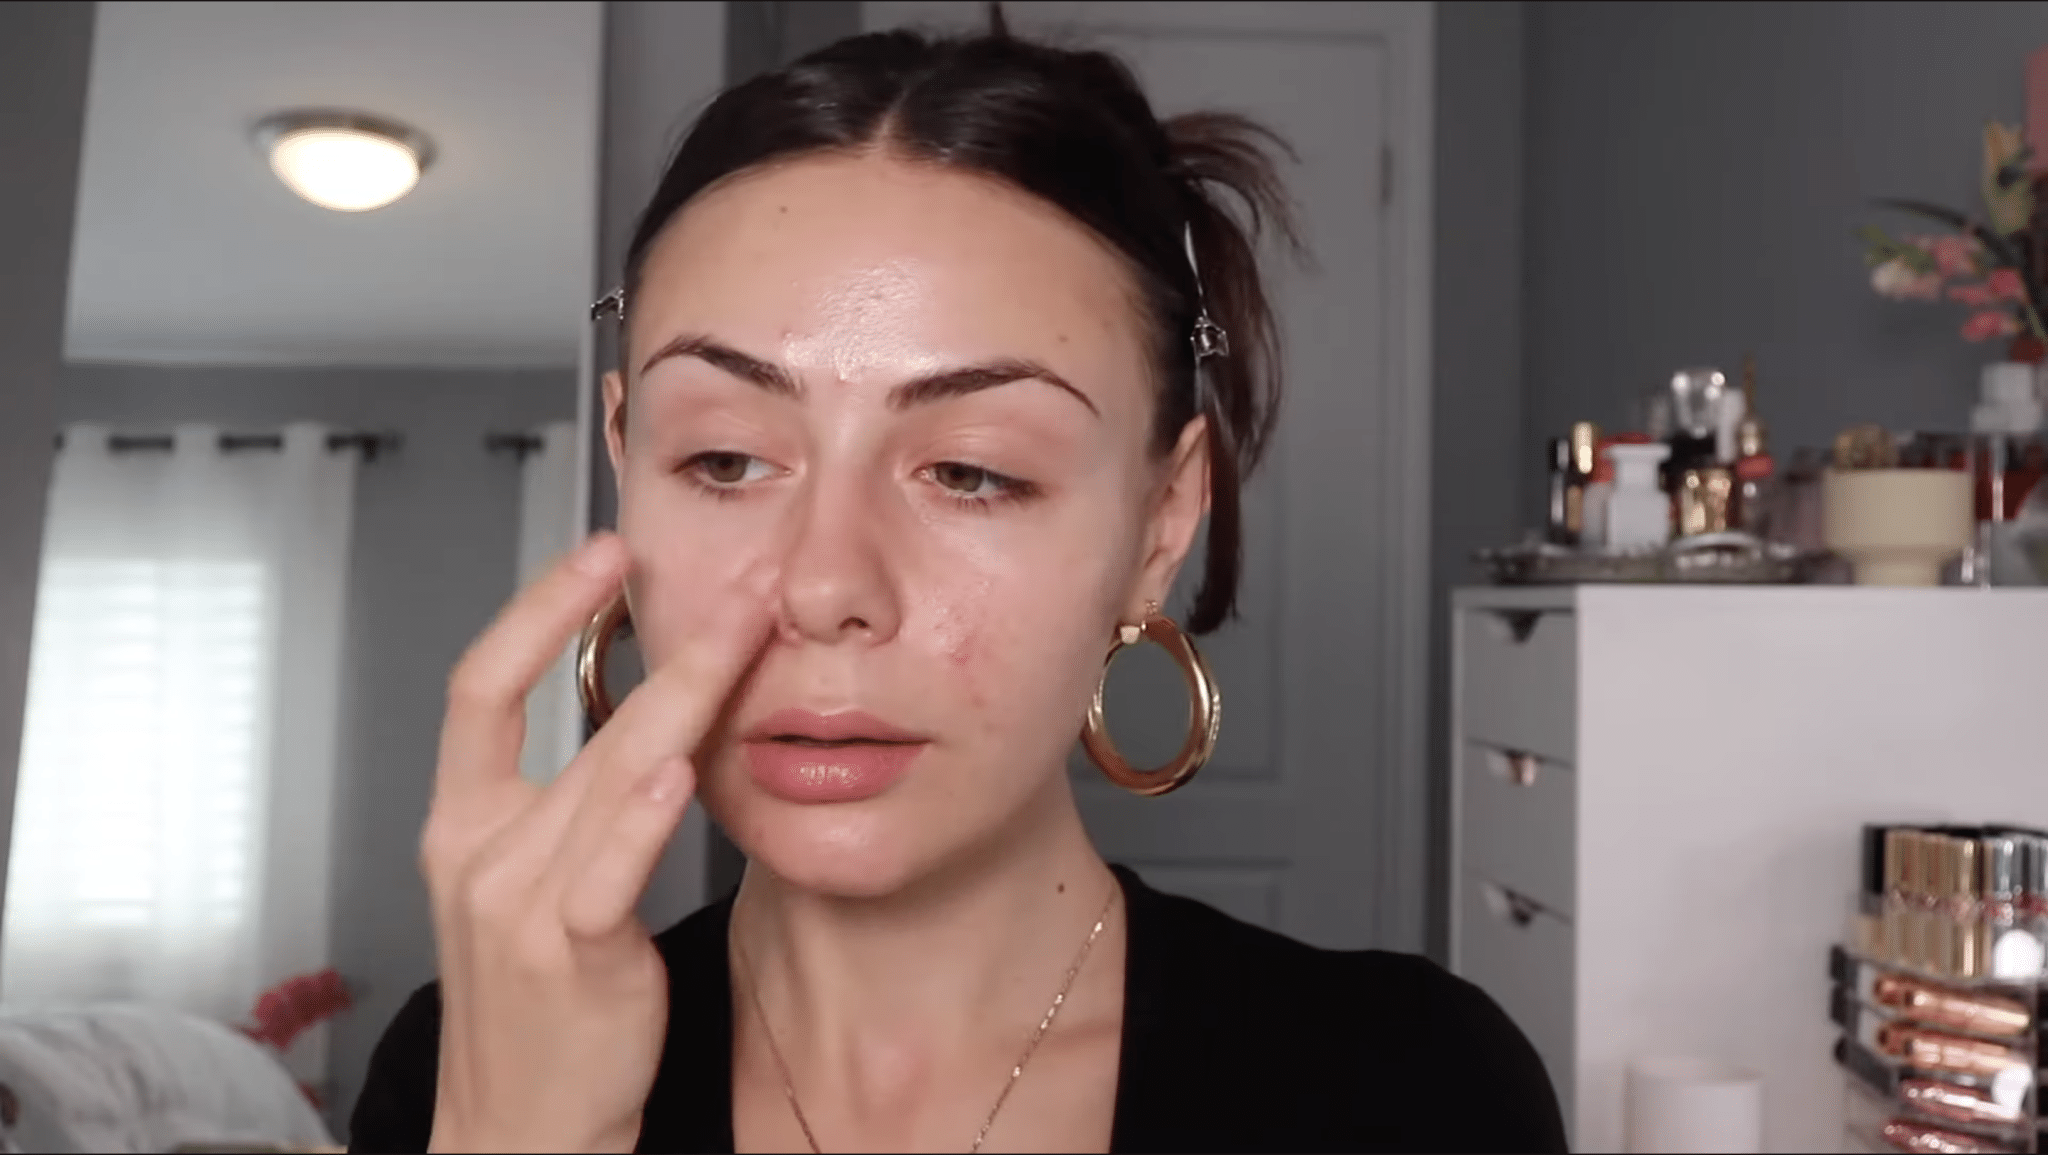
Step 3: Foundation for Events
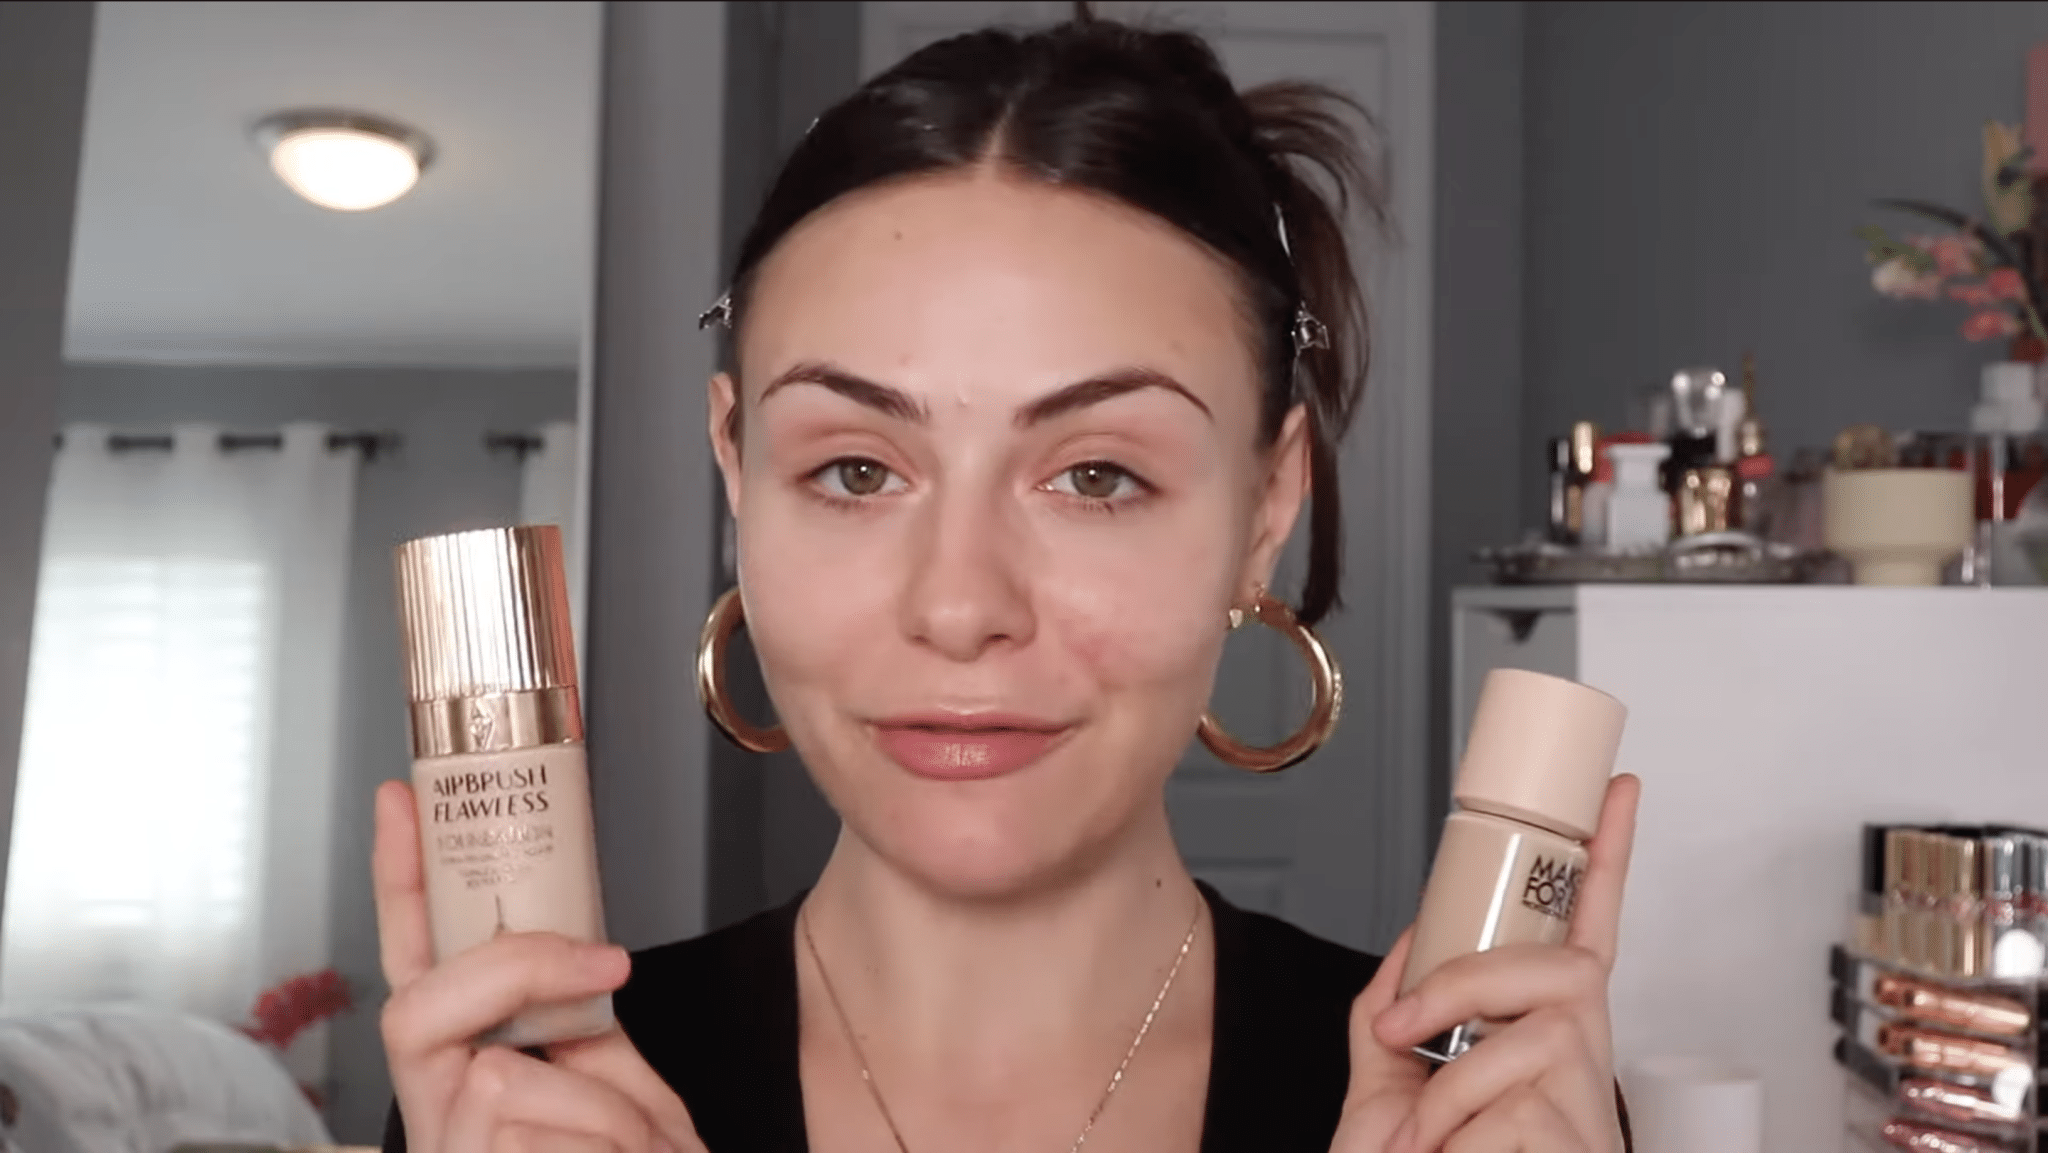
Foundation choice is absolutely critical for events where you’ll be photographed constantly.
Apply foundation with your fingers first for even distribution, then push it into the skin with a brush for better coverage and that flawless finish.
Brushes provide more coverage than beauty blenders, which is precisely what you want for events. Blend foundation into your neck, ears, the back of your ears, and your hairline to avoid harsh lines in photos.
Always avoid foundations with SPF, as they cause flashback in flash photography.
Step 4: Cream Contour and Blush
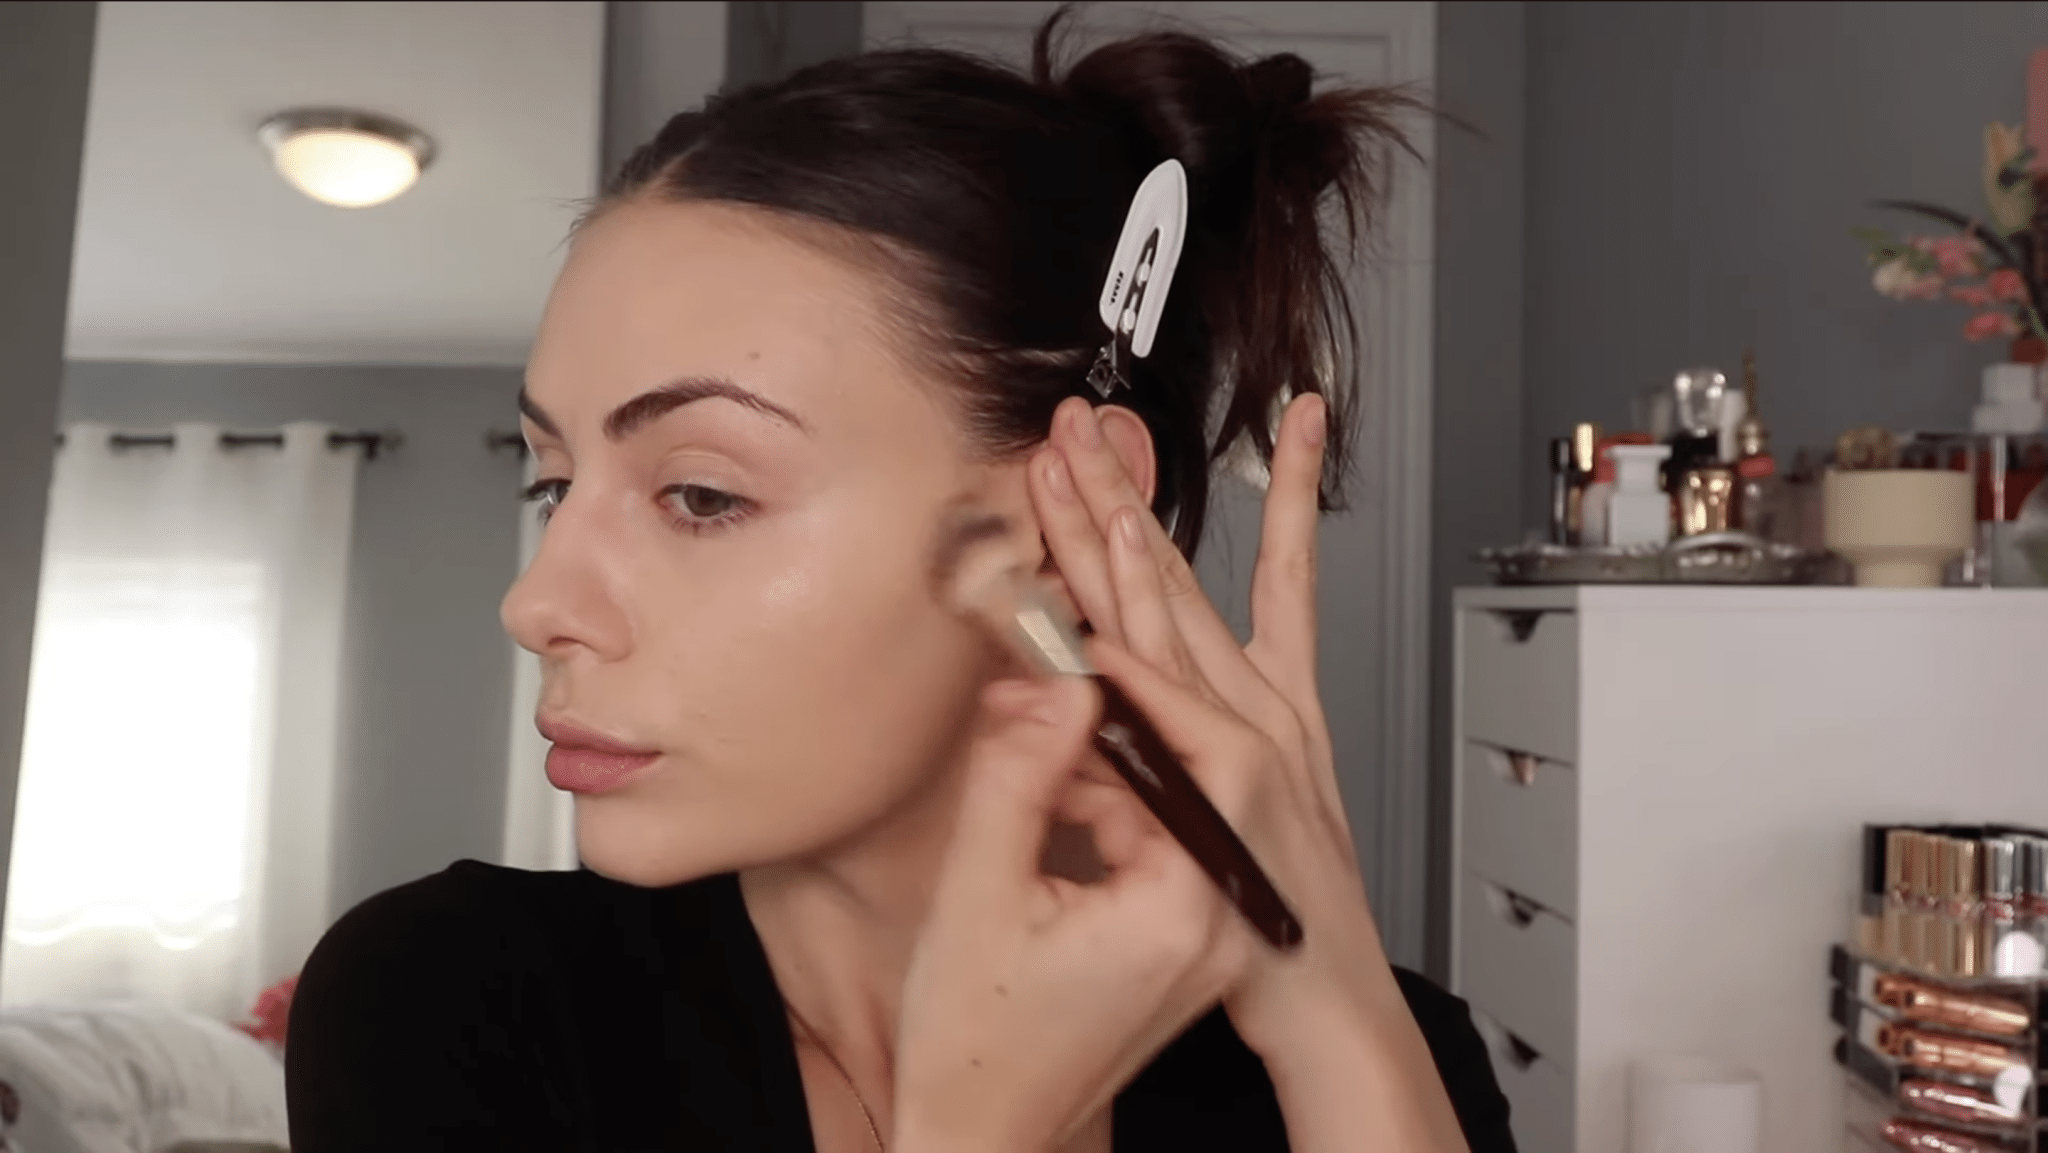
Working with cream products first creates a dimension that actually lasts through hours of celebration.
Pick up cream contour like Milk Makeup Sculpt Stick with a fluffy brush, then press it into the cheek hollows, following your natural bone structure.
Add contour along your jawline and down the sides of your nose for extra definition that photographs beautifully.
Apply cream blush like Saie Dew Blush to the apples of your cheeks and blend upward toward your temples. The cream-first method ensures these products wear longer when sealed with powder.
Step 5: Concealer and Spot Coverage
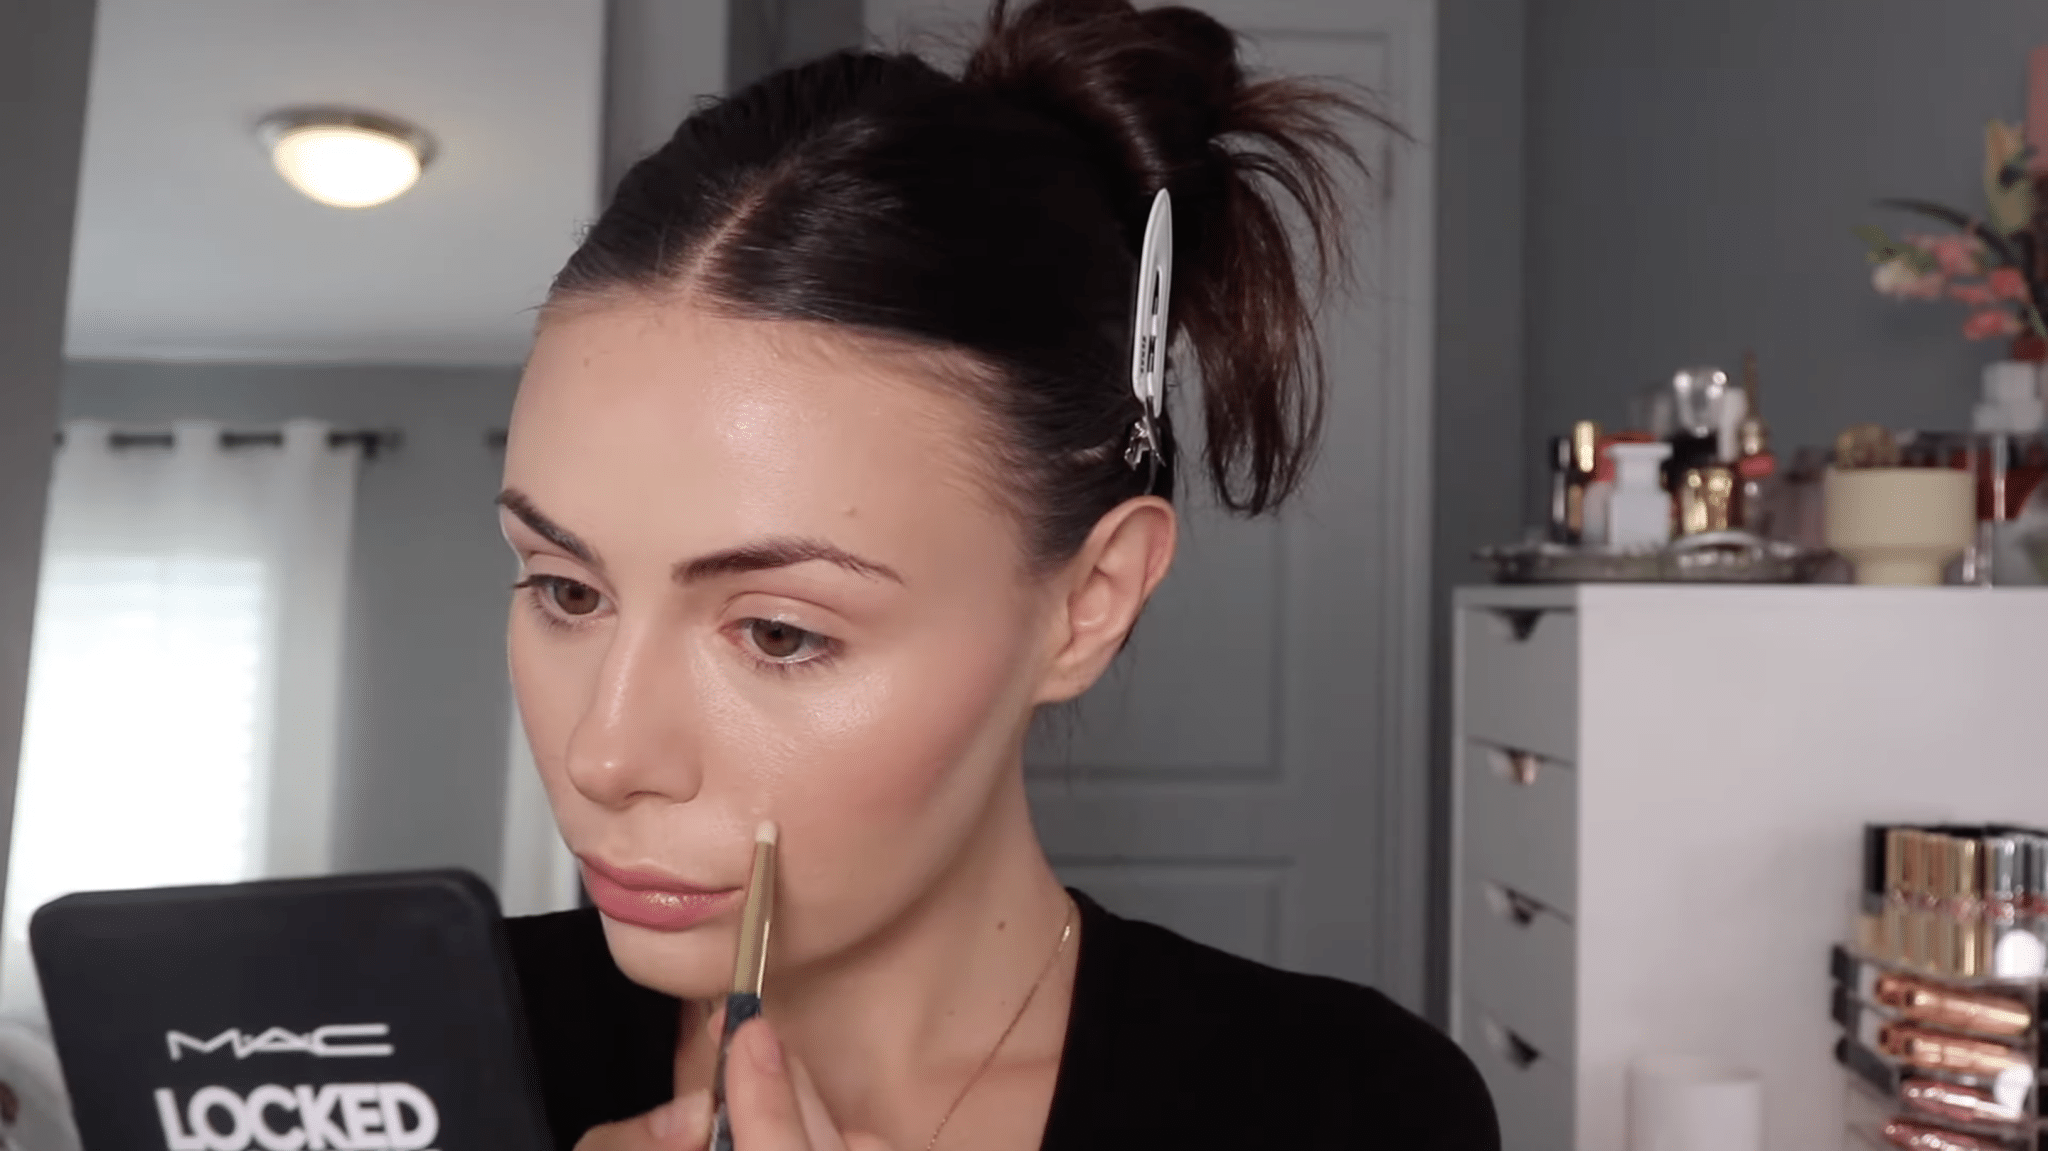
Strategic concealer application brightens and perfects without adding unnecessary layers that look cakey.
Apply concealer like Hourglass Vanish in a triangle under the eyes to brighten, then use the excess on your brush to highlight the forehead and chin.
This technique uses minimal product while achieving maximum impact for photos.
For blemishes, use a separate concealer like NARS Soft Matte, applied with a small brush, and tap gently with your finger to blend.
This targeted spot concealer ensures full coverage without overloading skin.
Step 6: Layer one of Setting Spray
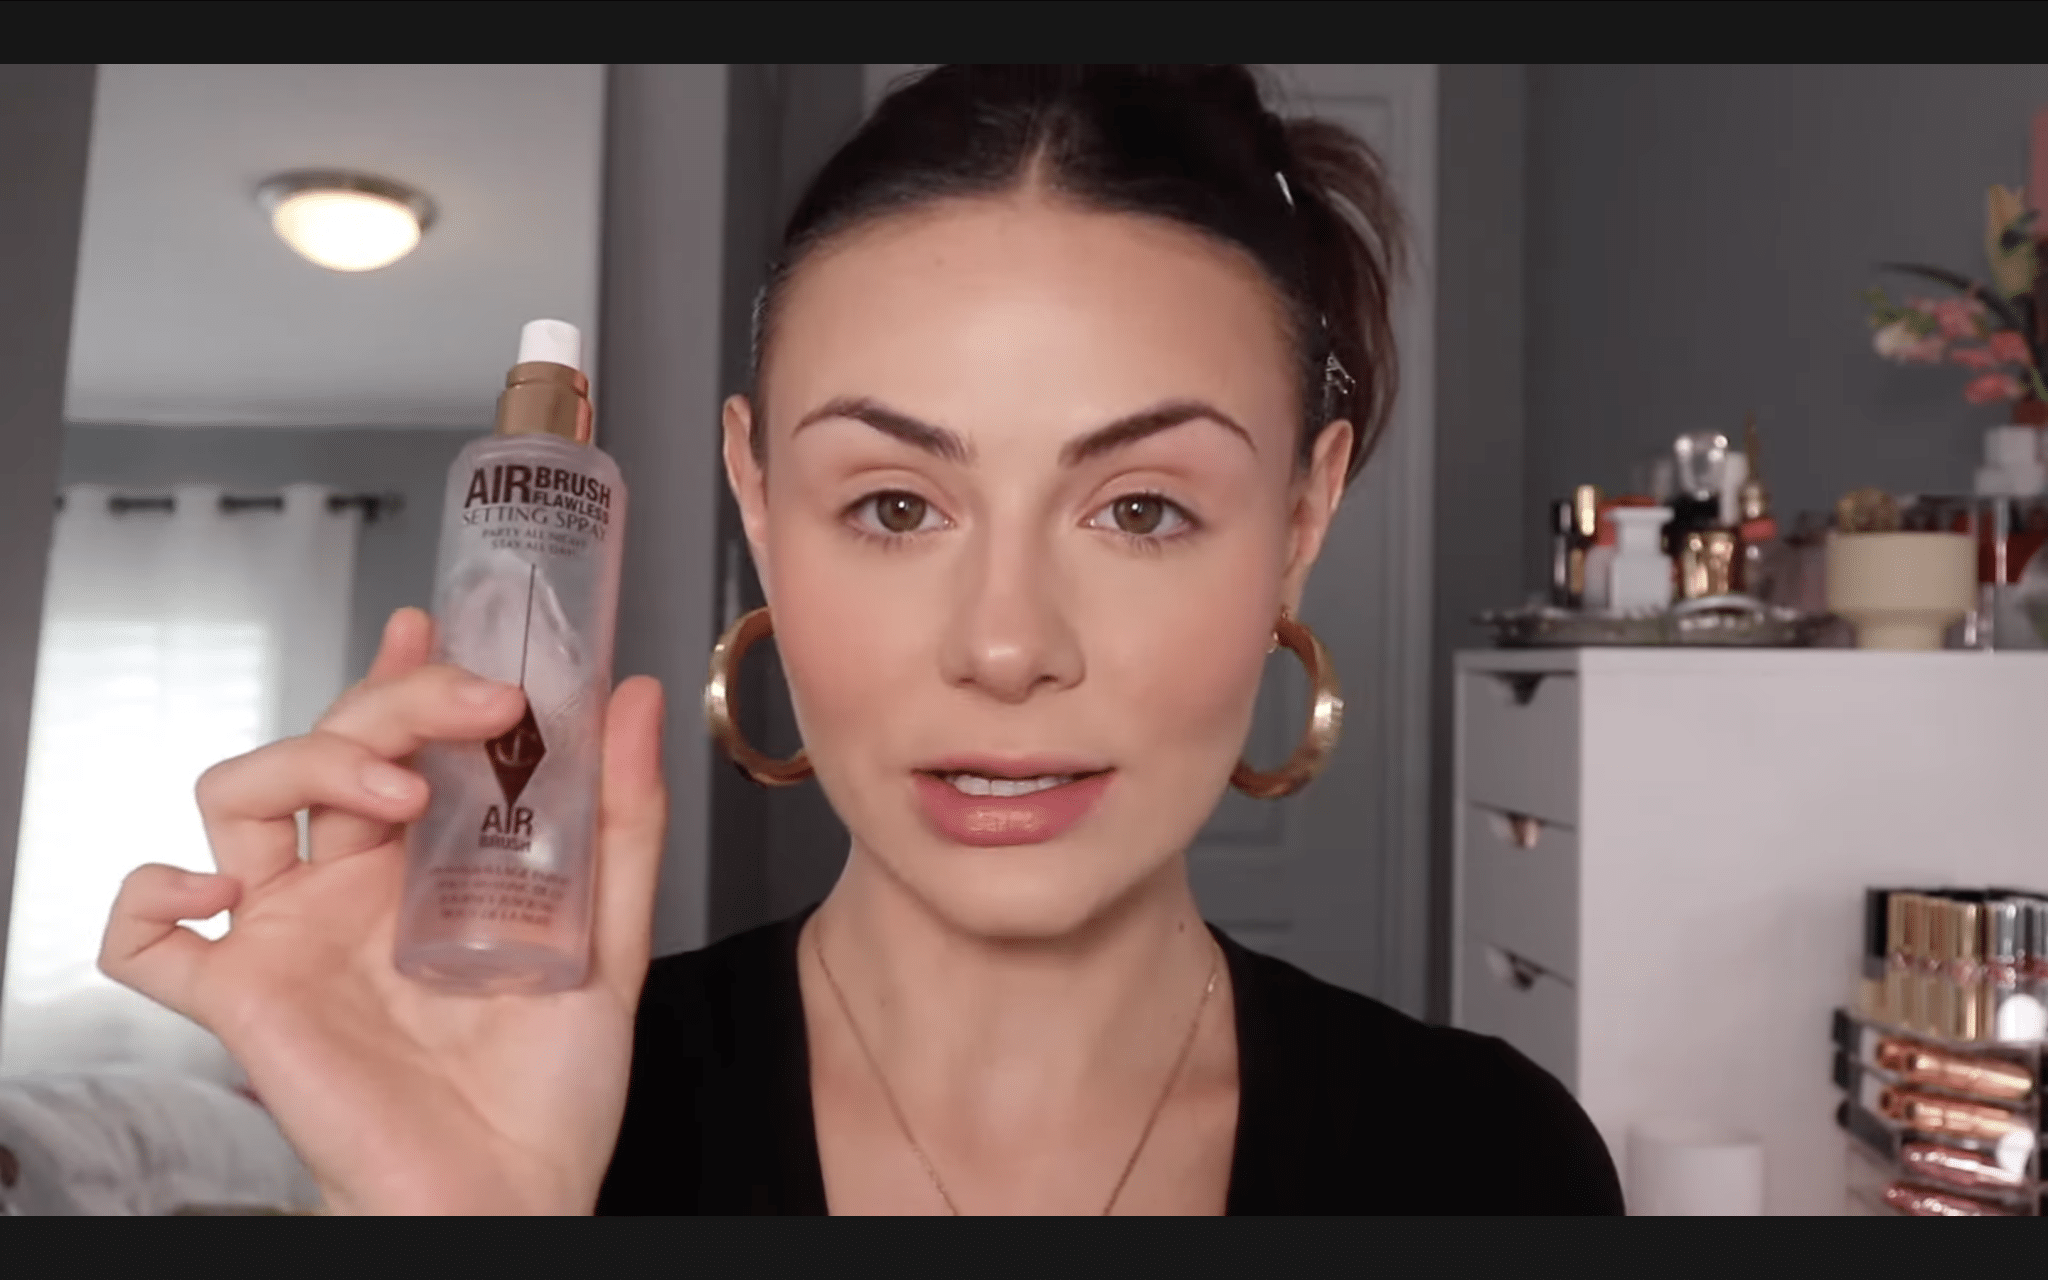
The first layer of setting spray locks in all liquid and cream products before powder application begins.
Hold the spray like Charlotte Tilbury Airbrush about 10 inches from your face and mist in an X and T pattern.
This step is absolutely crucial because it creates a barrier that helps powder adhere better and prevents separation throughout the night.
Please don’t skip this layer: it’s what makes the difference between makeup that lasts and makeup that fades after two hours of celebrating.
Step 7: Powder Contour and Blush
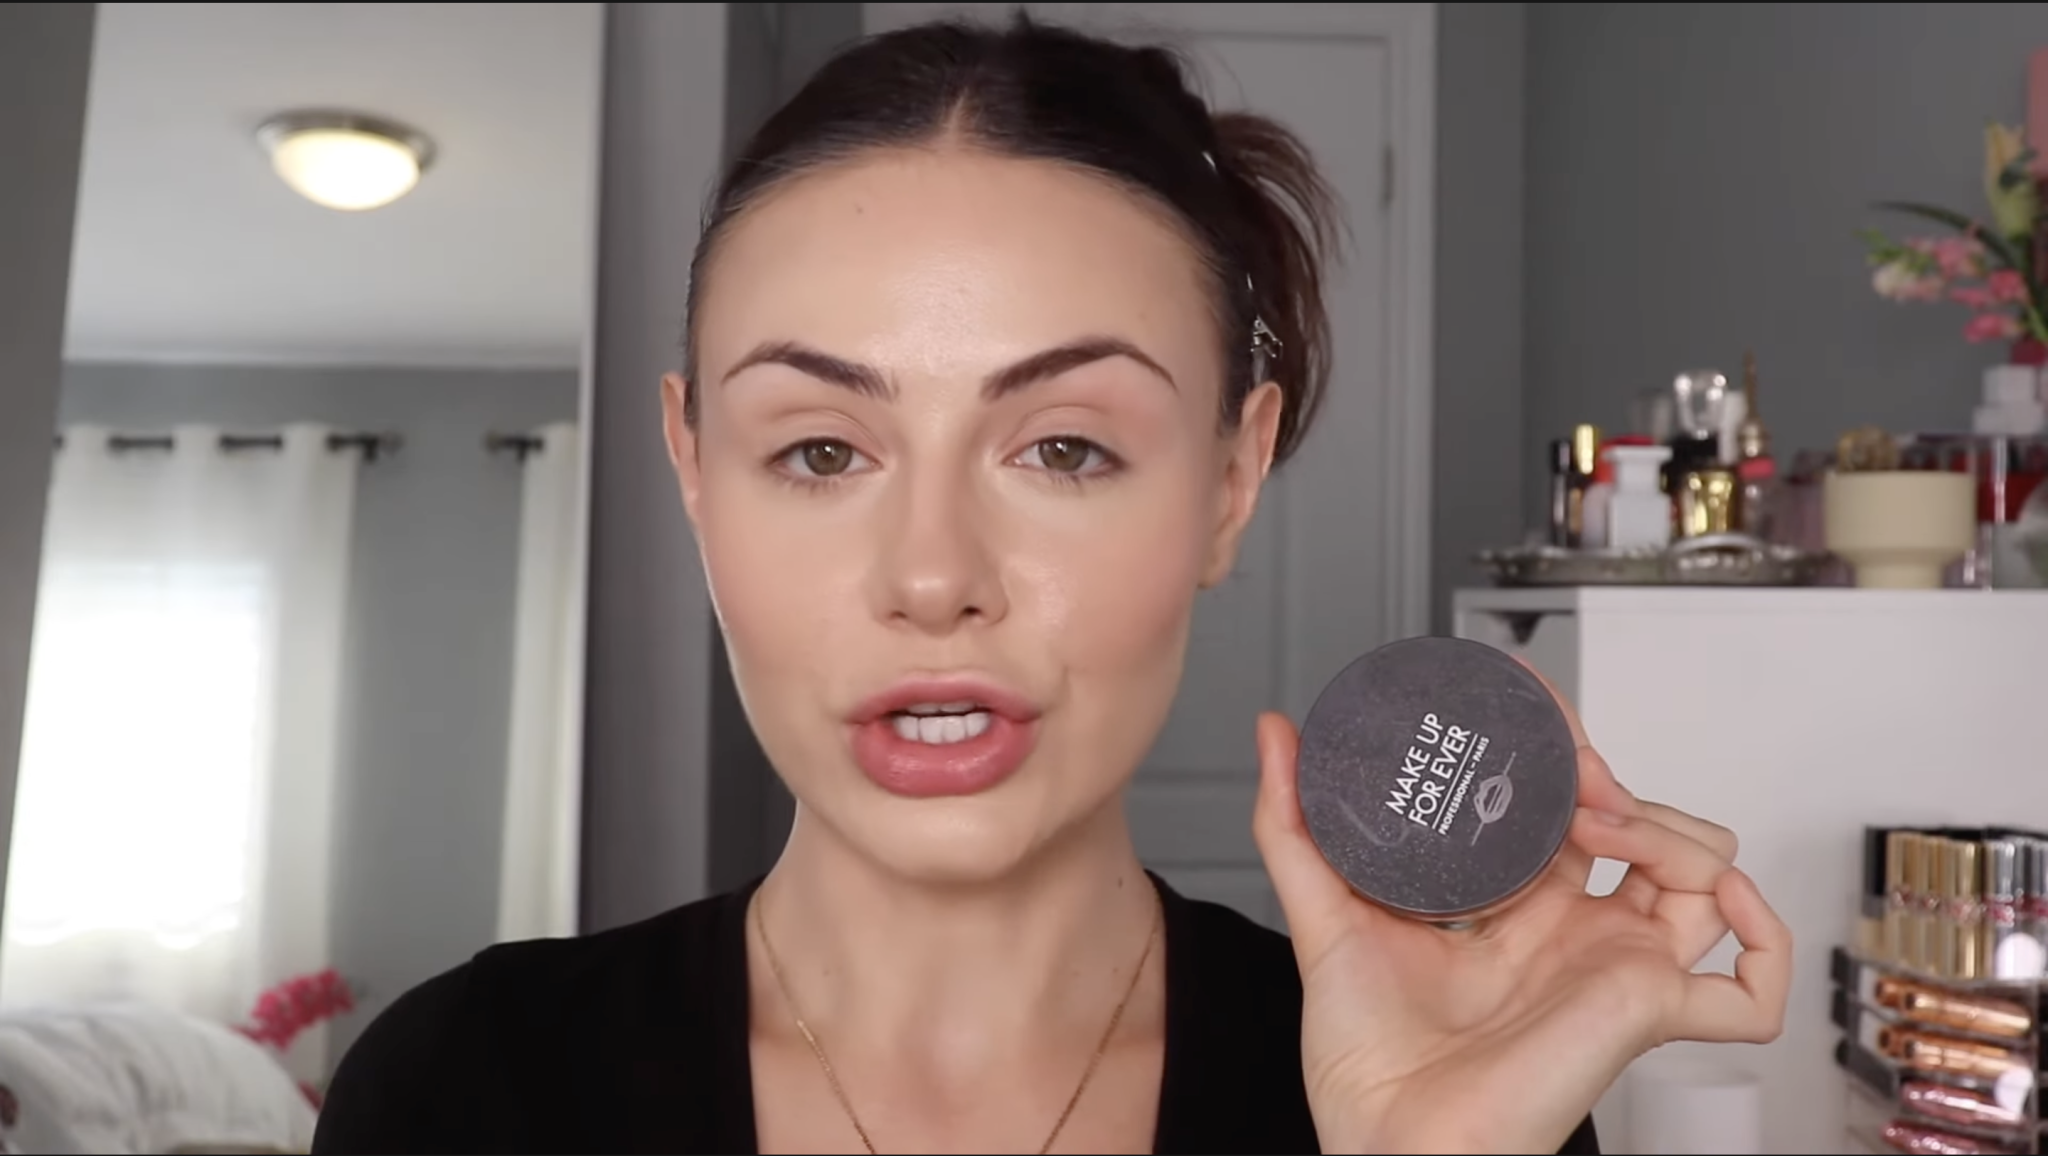
Setting powder blurs imperfections and creates that smooth, photo-ready finish everyone wants in pictures.
Use a powder puff to pick up loose or pressed powder like Makeup Forever Ultra HD, and tap off excess on your palm.
Press the powder into the skin rather than sweeping it on for better staying power. Focus on areas prone to creasing: under eyes, forehead, chin, and under contour.
Also, powder down the neck to prevent makeup from transferring to clothing, which is super essential for events.
Step 8: Brows and Mascara
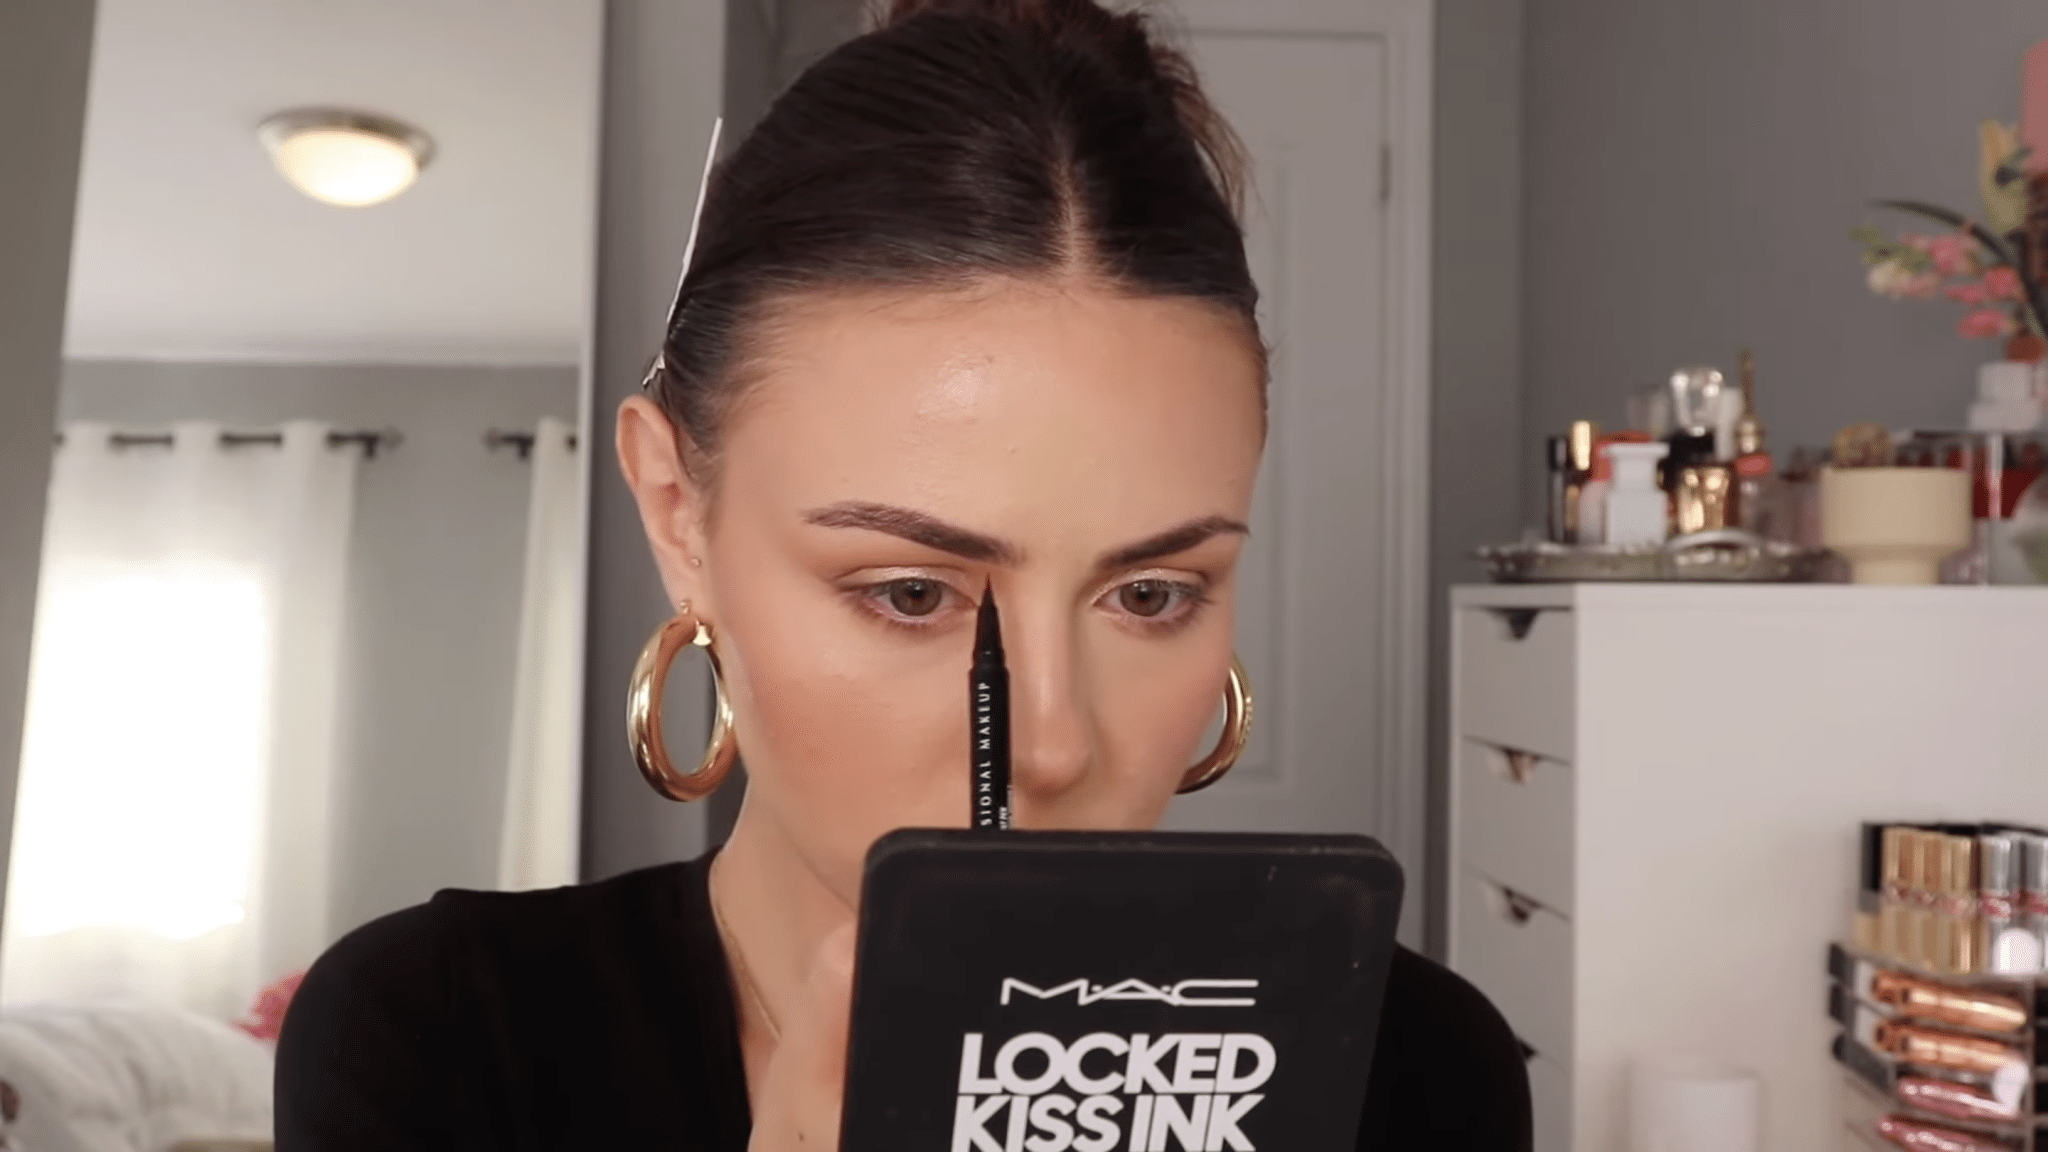
Well-groomed brows frame your face perfectly in photos and complete your entire makeup look beautifully.
Fill in brows lightly with a brow pen like NYX Brow Pen, following your natural shape without overworking them.
The key is using a strong-hold brow gel like Benefit 24-Hour Brow Setter to keep every single hair in place throughout the entire event.
Apply mascara like Lancôme Lash Idôle to upper and lower lashes, wiggling the wand at the base for maximum length and dramatic volume.
Step 9: Half Lashes Trick
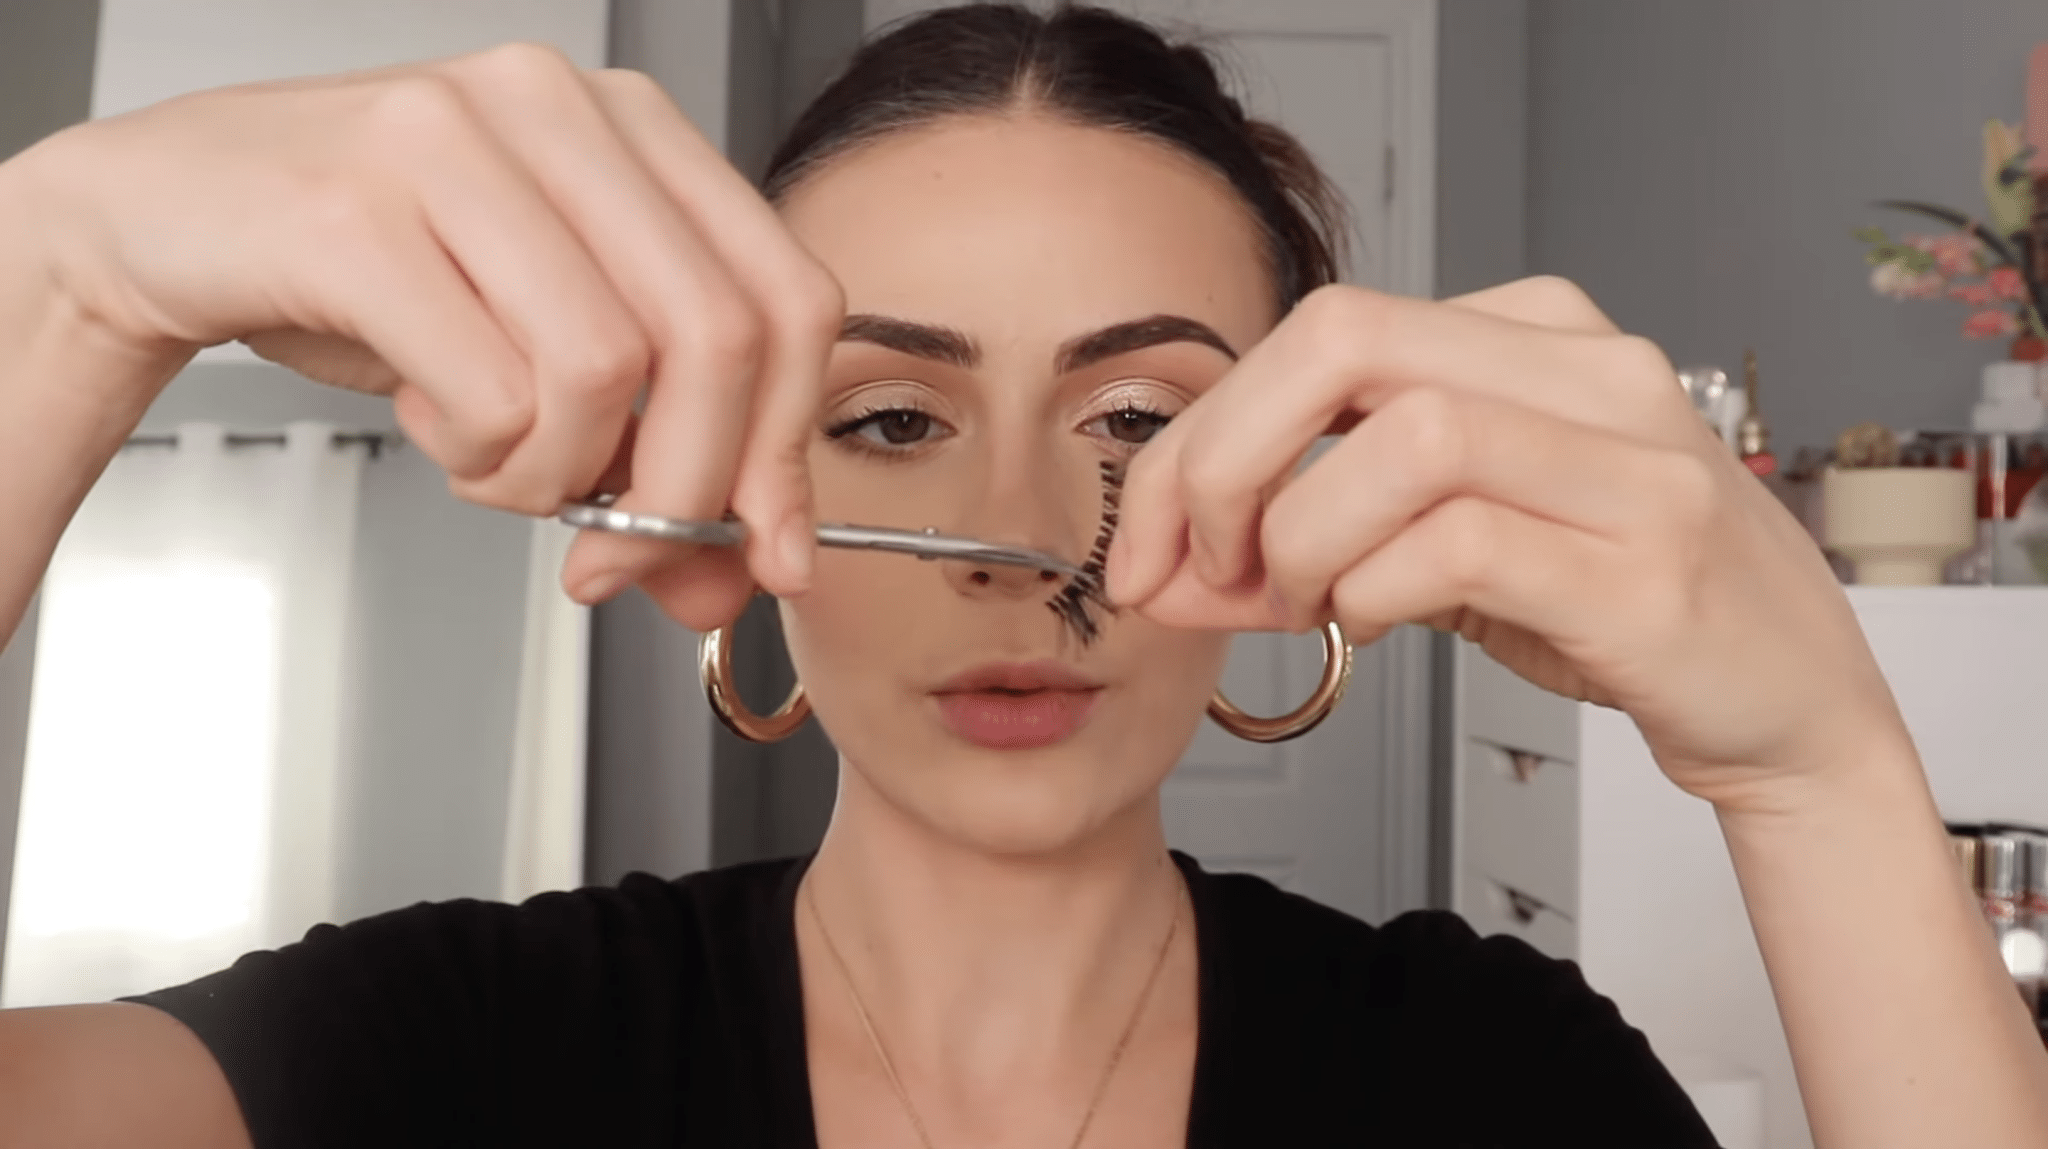
Half lashes are absolutely perfect for events because they’re easier to apply and won’t lift in the inner corner as full strips do.
Cut your lash strip like Kiss Pompadour to fit just the outer two-thirds of your eye perfectly.
Apply a thin layer of lash glue directly to your natural lash line, then apply another layer to the lash band and wait until tacky.
This double-glue method ensures lashes stay put through tears or humidity during your special event.
Step 10: Long-Wearing Lips
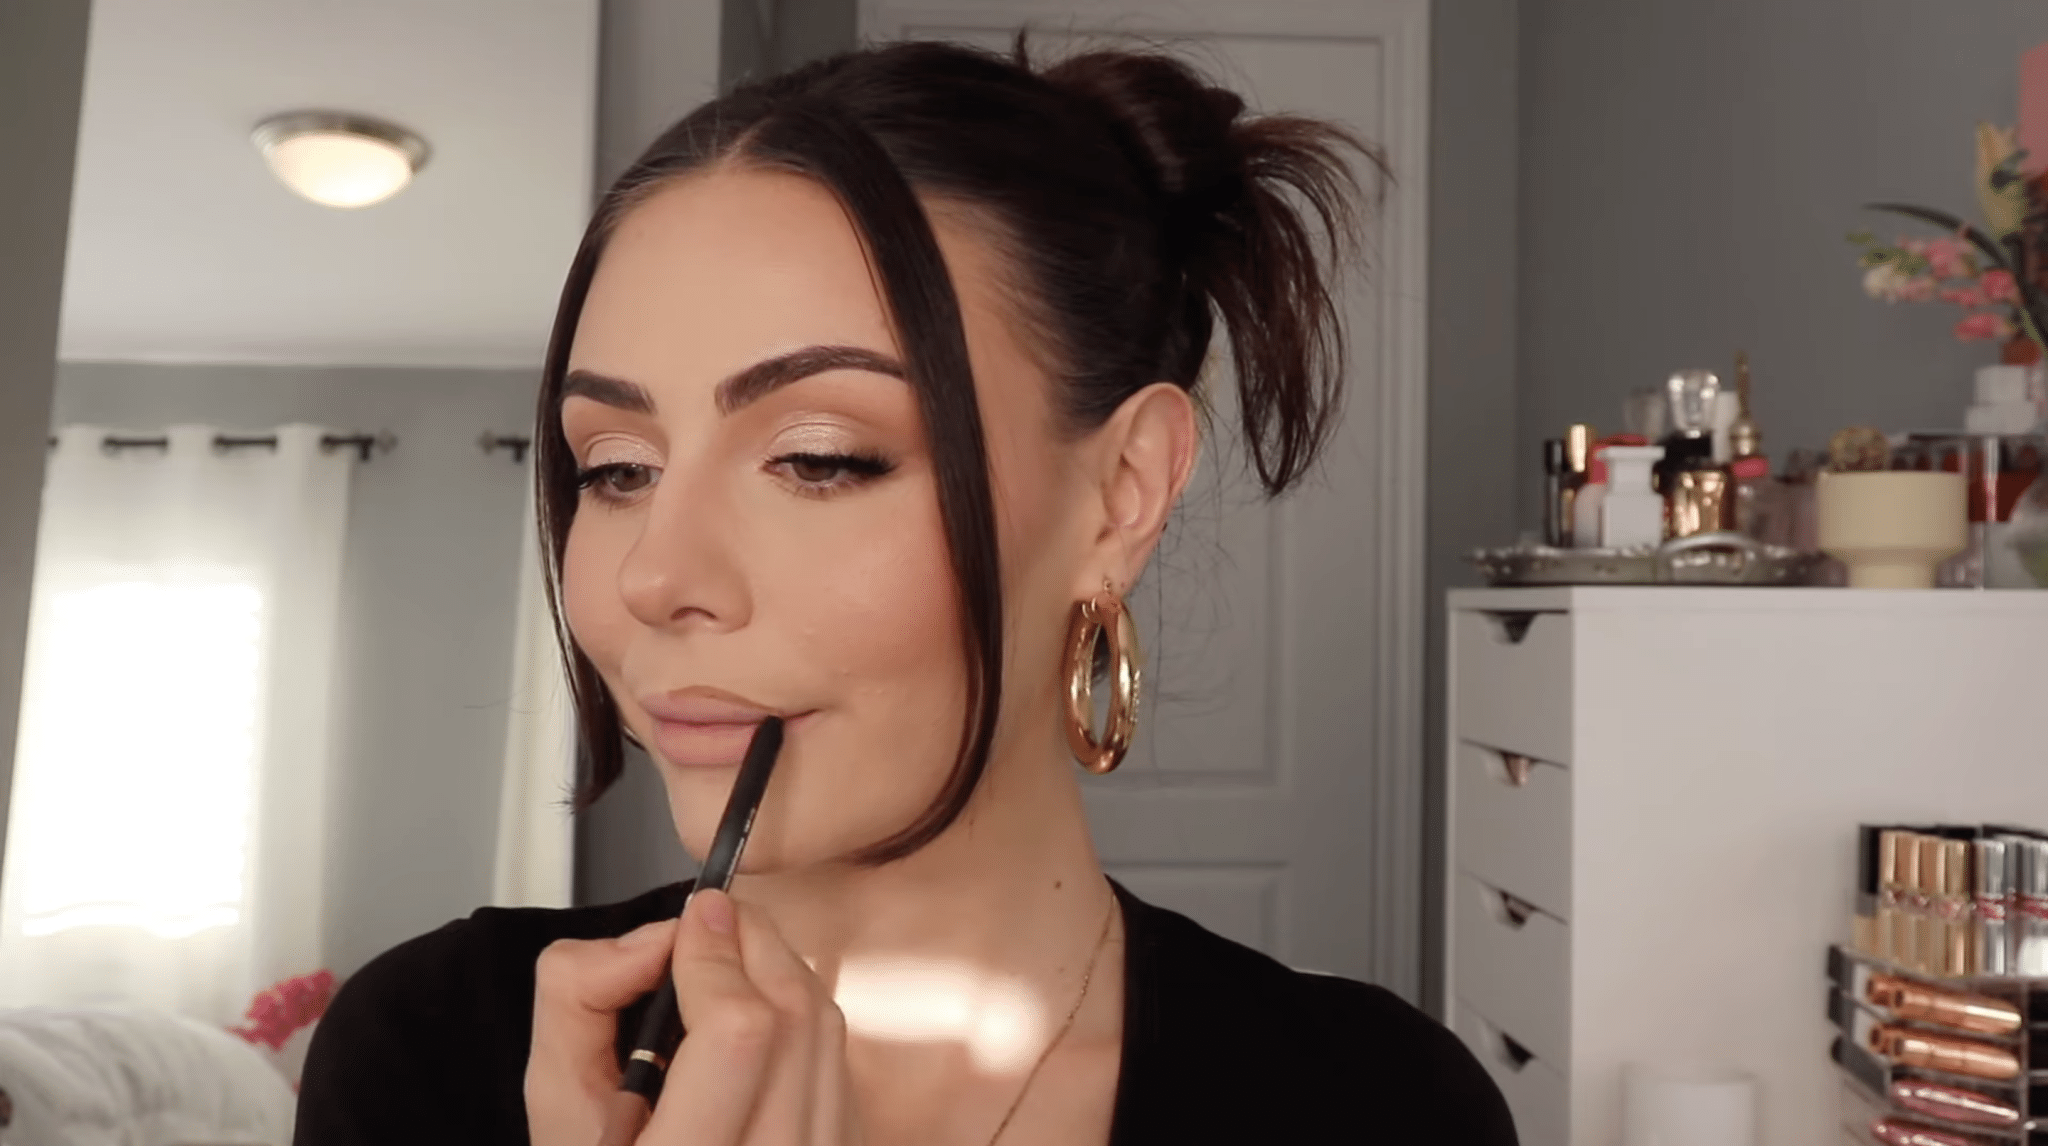
Creating lips that last starts with the right base preparation for maximum staying power throughout your event. Press loose powder over bare lips using a powder puff to make a dry surface that helps color adhere better.
Line and fill in your entire lip with a long-wearing lip liner like L’Oréal Color Riche Matte in a nude shade.
Apply lipstick like Charlotte Tilbury Penelope Pink over the liner, choosing formulas known for longevity that won’t transfer onto glasses or fade after eating.
Step 11: Final Setting Spray
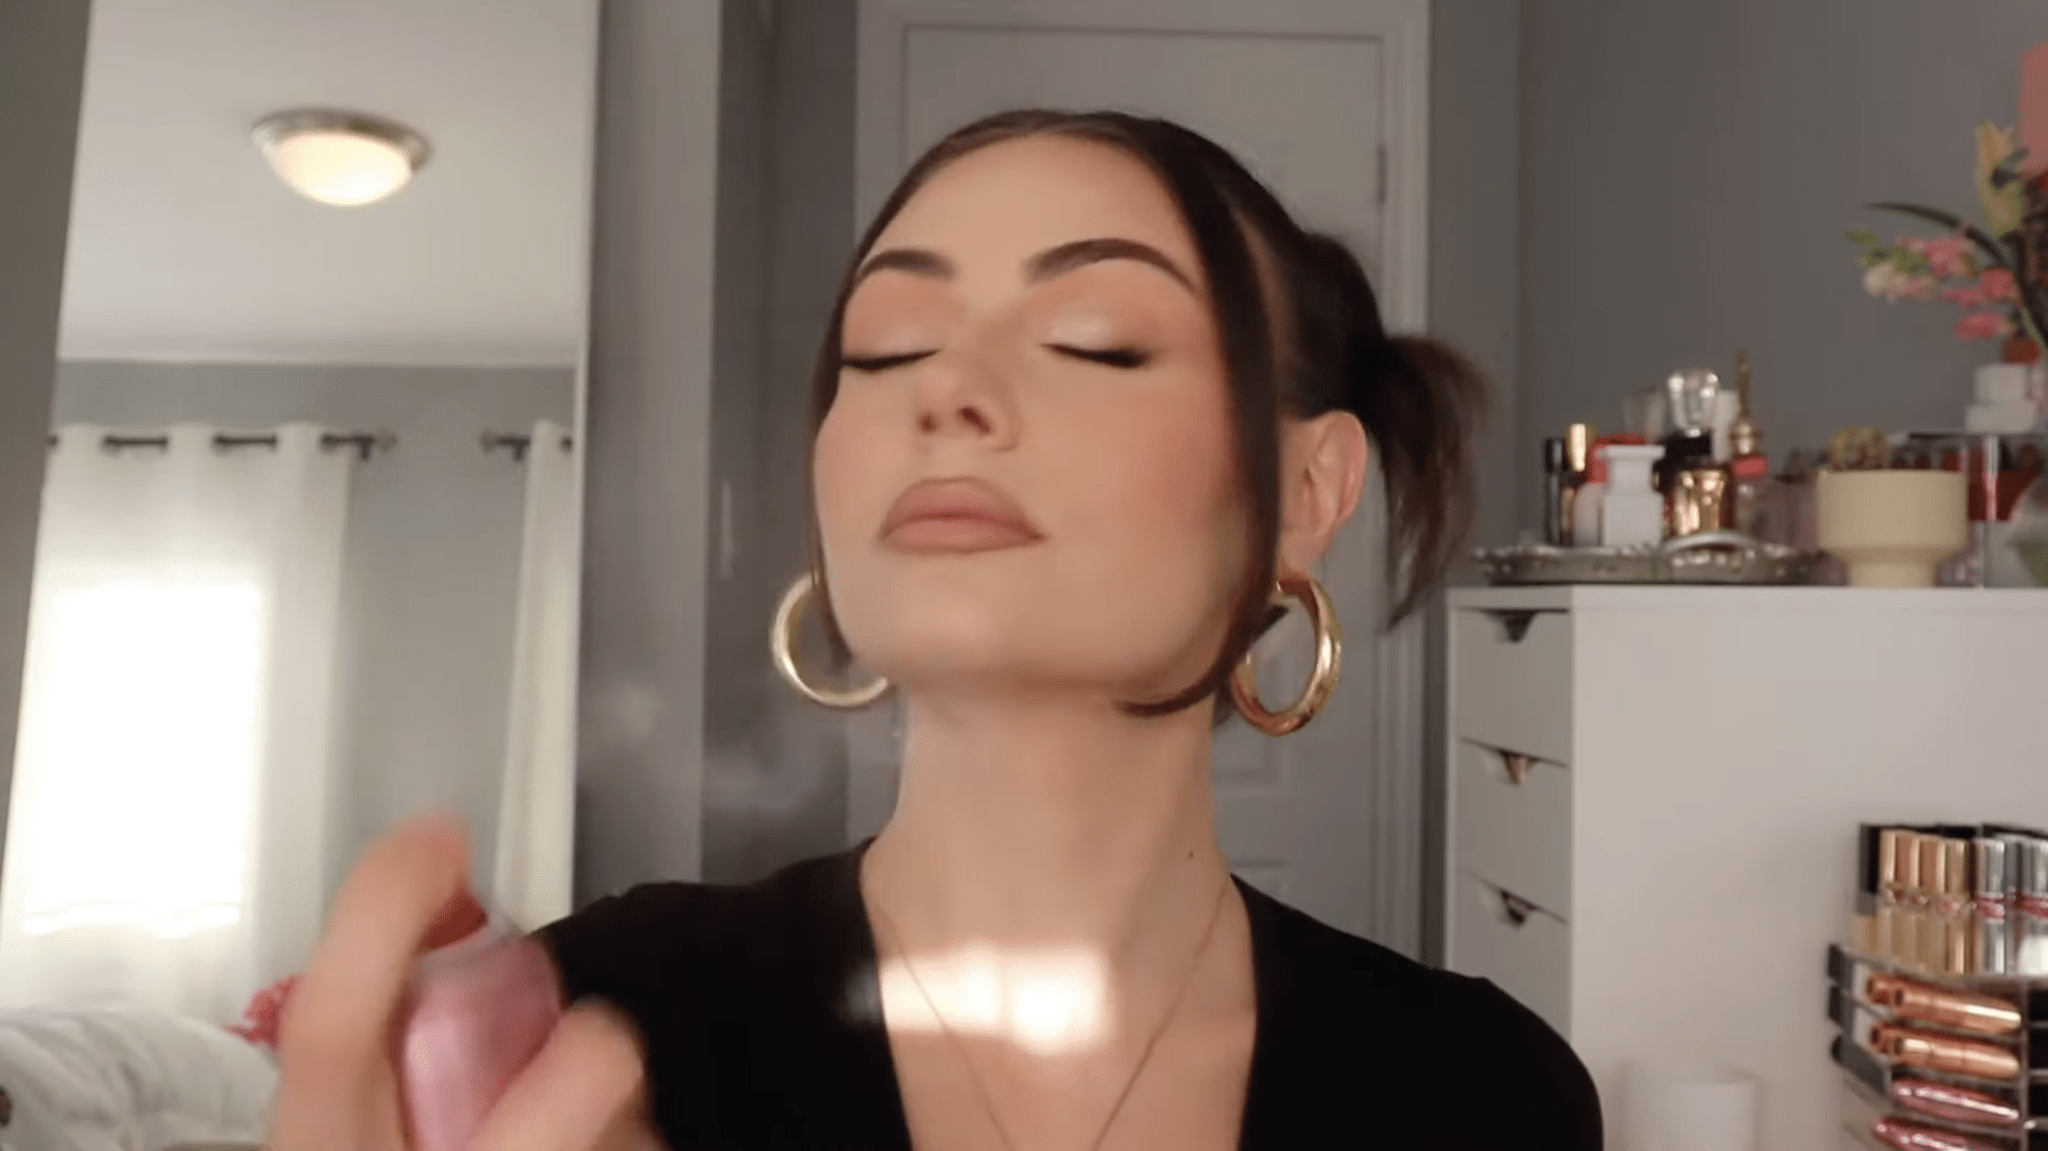
The final setting spray locks everything together for all-night wear that withstands anything your event throws at you.
Hold the bottle like One Size Until Dawn at arm’s length and spray your entire face with even coverage.
This third and final layer seals everything in place, creating a protective barrier that helps your makeup withstand dancing, hugging, laughing, and even happy tears.
Now you’re ready to enjoy your event without worrying about touch-ups or makeup meltdown throughout the celebration.
This tutorial is based on a helpful video by @AnifeToupeva. You can check out the original video on their YouTube channel here or watch it below.
Event Makeup Tips You Should Know
These essential tips will help ensure your event makeup performs exactly as intended, staying fresh and photo-ready from start to finish.
Master these techniques, and you’ll never worry about your makeup letting you down during essential celebrations.
- Prep Your Skin Properly: Clean, well-prepped skin helps makeup stay put. Start with fresh skin, add a moisturizer that suits your needs, and use oil-control products only on your T-zone.
- Build Thin Layers to Avoid Caking: Light, buildable layers keep event makeup smooth instead of heavy. Apply each product in thin coats and blend well before moving on.
- Choose Long-Wear, Photo-Safe Products: Pick products that last and look good on camera. Use foundations without SPF to prevent flashback, HD powders to blur, and long-wear formulas to reduce touch-ups.
- Blend Into the Neck and Ears: Harsh lines show quickly in photos. Blend your foundation down your neck and over your ears for a smooth, natural look.
- Use Setting Spray at Key Stages: Use setting spray after liquids, after powders, and at the end. This three-step method locks everything in for long wear.
Conclusion
Event makeup can feel like a big task, but once you understand the right steps and products, it becomes much easier to manage.
With careful prep, smart layering, and the right long-wear formulas, you can create a look that stays smooth and confident from the first photo to the last.
The goal isn’t perfection, it’s feeling comfortable, polished, and ready for every moment of your event.
If you try this routine, you’ll notice how much longer your makeup lasts and how much better it holds up under lights, cameras, and long hours.
I’d love to hear how these tips work for you. Did your makeup last longer?
Did you feel more confident? Share your experience in the comments below so others can learn from your results too.