I used to wonder why my action camera footage didn’t look like the movies I watched. After trying different things, I found some simple changes that made a big difference. Cinematic tips for shooting with action cameras helped me get smoother shots, better light, and a real mood in my videos.
Now, I want to help you do the same. Here, you’ll learn how to set your frame rate, shutter speed, and ISO to get that cinematic look. You’ll also pick up easy tips for lighting, motion, and framing.
These steps are simple, and you don’t need fancy gear. If you want your videos to feel more like a film, this will guide you in the right direction.
What Makes a Video Look Cinematic?
The word cinematic means a video looks like a movie, rich, smooth, and full of feeling. It pulls you in and makes you feel something, like you’re part of the story.
So, what makes a video look this way?
- Composition: This means how the shot is framed. A good frame leads your eyes where they need to go.
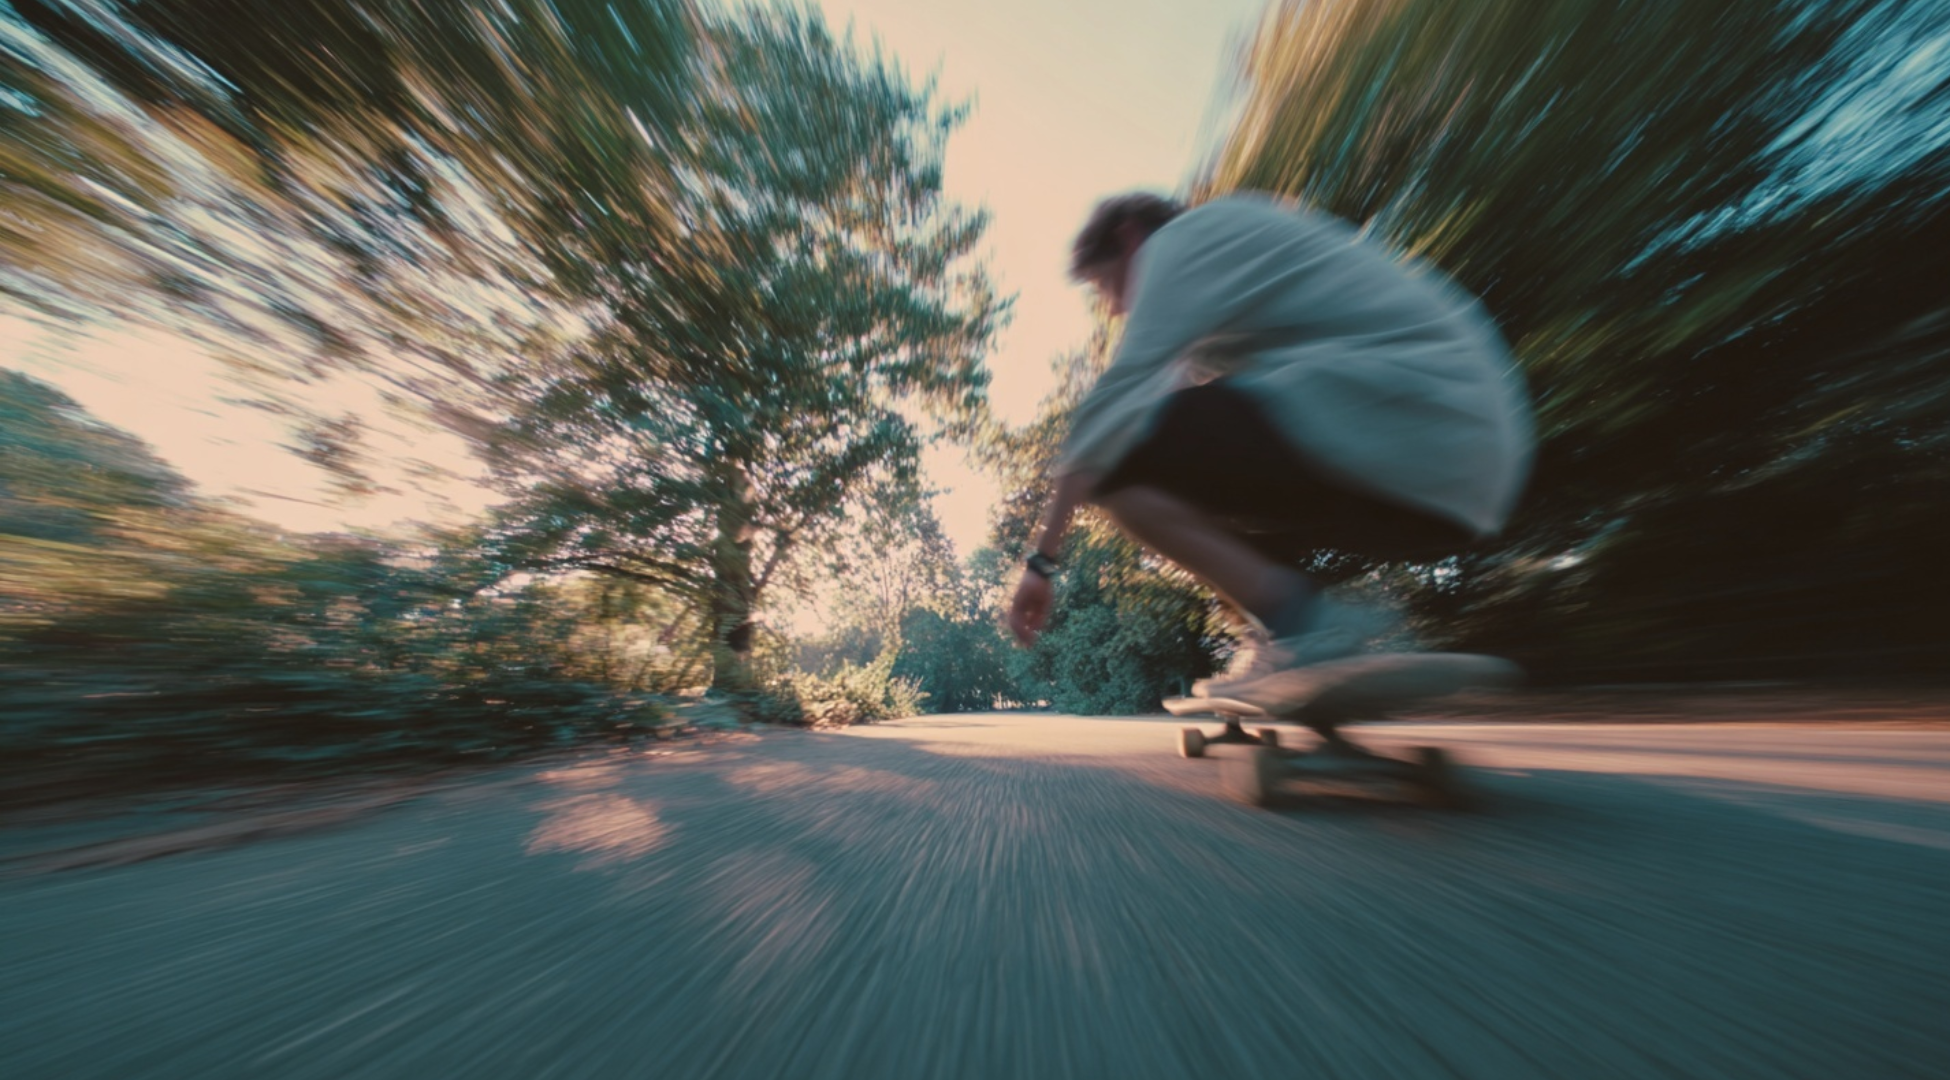
- Motion blur: This gives movement a smooth, natural look. It feels more like what our eyes see.
- Lighting: Light sets the mood. Soft light feels calm, while harsh light feels intense.
- Color: Color can change the emotion of a scene. Cool tones feel sad. Warm tones feel cozy.
- Mood: All the above elements work together to make the viewer feel something. That’s the real power behind a cinematic video.
Best Cinematic Settings for Action Cameras
Want your action camera footage to look more like a real movie and less like home video? It all comes down to your settings. With just a few smart changes, you can make your shots look smooth, rich, and full of feeling. Here’s what to focus on:
Resolution and Frame Rate
For a cinematic look, 4K is usually better than 1080p. It gives more detail, sharper edges, and better results if you want to crop later. But if space or speed is an issue, 1080p still works well.
Use 24 fps (frames per second) for that movie-like motion. It’s slower, so it feels more natural and smooth to the eyes. Use 60 fps for action scenes or slow motion. It captures more details but feels more like real life—not always cinematic. Choose based on what you want the viewer to feel.
Shutter Speed and the 180-Degree Rule
Shutter speed controls how long your camera’s sensor sees light. For cinematic motion, follow the 180-degree rule: your shutter speed should be double your frame rate. So if you shoot at 24 fps, use 1/48 or 1/50 shutter speed.
This gives smooth, natural motion blur—like what our eyes see in real life. A faster shutter (like 1/1000) looks sharp and choppy, which feels less like a movie and more like a sports clip. Stick to the rule when you want smooth and natural-looking motion.
ISO, Sharpness, and White Balance
Keep the ISO low, around 100–400, to avoid grainy footage. Only raise it if you’re shooting in low light. For sharpness, set it to medium or slightly low in-camera. You can always add more sharpness while editing, but removing it later is harder.
White balance sets the color temperature. Avoid auto mode. Use 5600K for daylight and 3200K for indoor or warm light. Set it based on your light source to keep colors true and avoid weird color shifts during your shot. Simple tweaks here can really shape your footage.
Cinematic Tips for Shooting with Action Cameras
Action cameras are small but powerful. If you know how to use them right, you can make your footage look just like a movie. Before you hit record, here are a few tips to help you shoot in a more cinematic way:
1. Use 24–25 FPS for a Film Look

If you want that smooth, movie-like feel, set your action camera to 24 or 25 frames per second. This frame rate mimics traditional cinema and helps create natural motion blur. It’s perfect for storytelling scenes or moody travel footage.
Avoid high frame rates unless you plan to slow the footage down later. Pair this setting with proper lighting to avoid choppy or noisy visuals in low light.
2. Follow the 180-Degree Shutter Rule
Set your shutter speed to double your frame rate. For example, if you’re shooting at 25 fps, use a shutter speed of 1/50. This keeps motion blur looking natural and avoids the harsh, jittery effect you get with fast shutters.
Most cameras have manual or pro modes where you can adjust this. It’s one of the easiest ways to instantly make your footage feel more cinematic.
3. Lower the ISO for Cleaner Footage
Cinematic video needs clean, noise-free images. That’s why your ISO should be as low as possible—ideally under 400. Higher ISO adds grain, which can ruin night shots or soft indoor scenes.
Use natural light, portable LED lights, or reflectors to keep things bright while keeping ISO low. Also, avoid auto ISO if possible—it tends to fluctuate mid-shot and mess up the look of your footage.
4. Switch to Linear Field of View
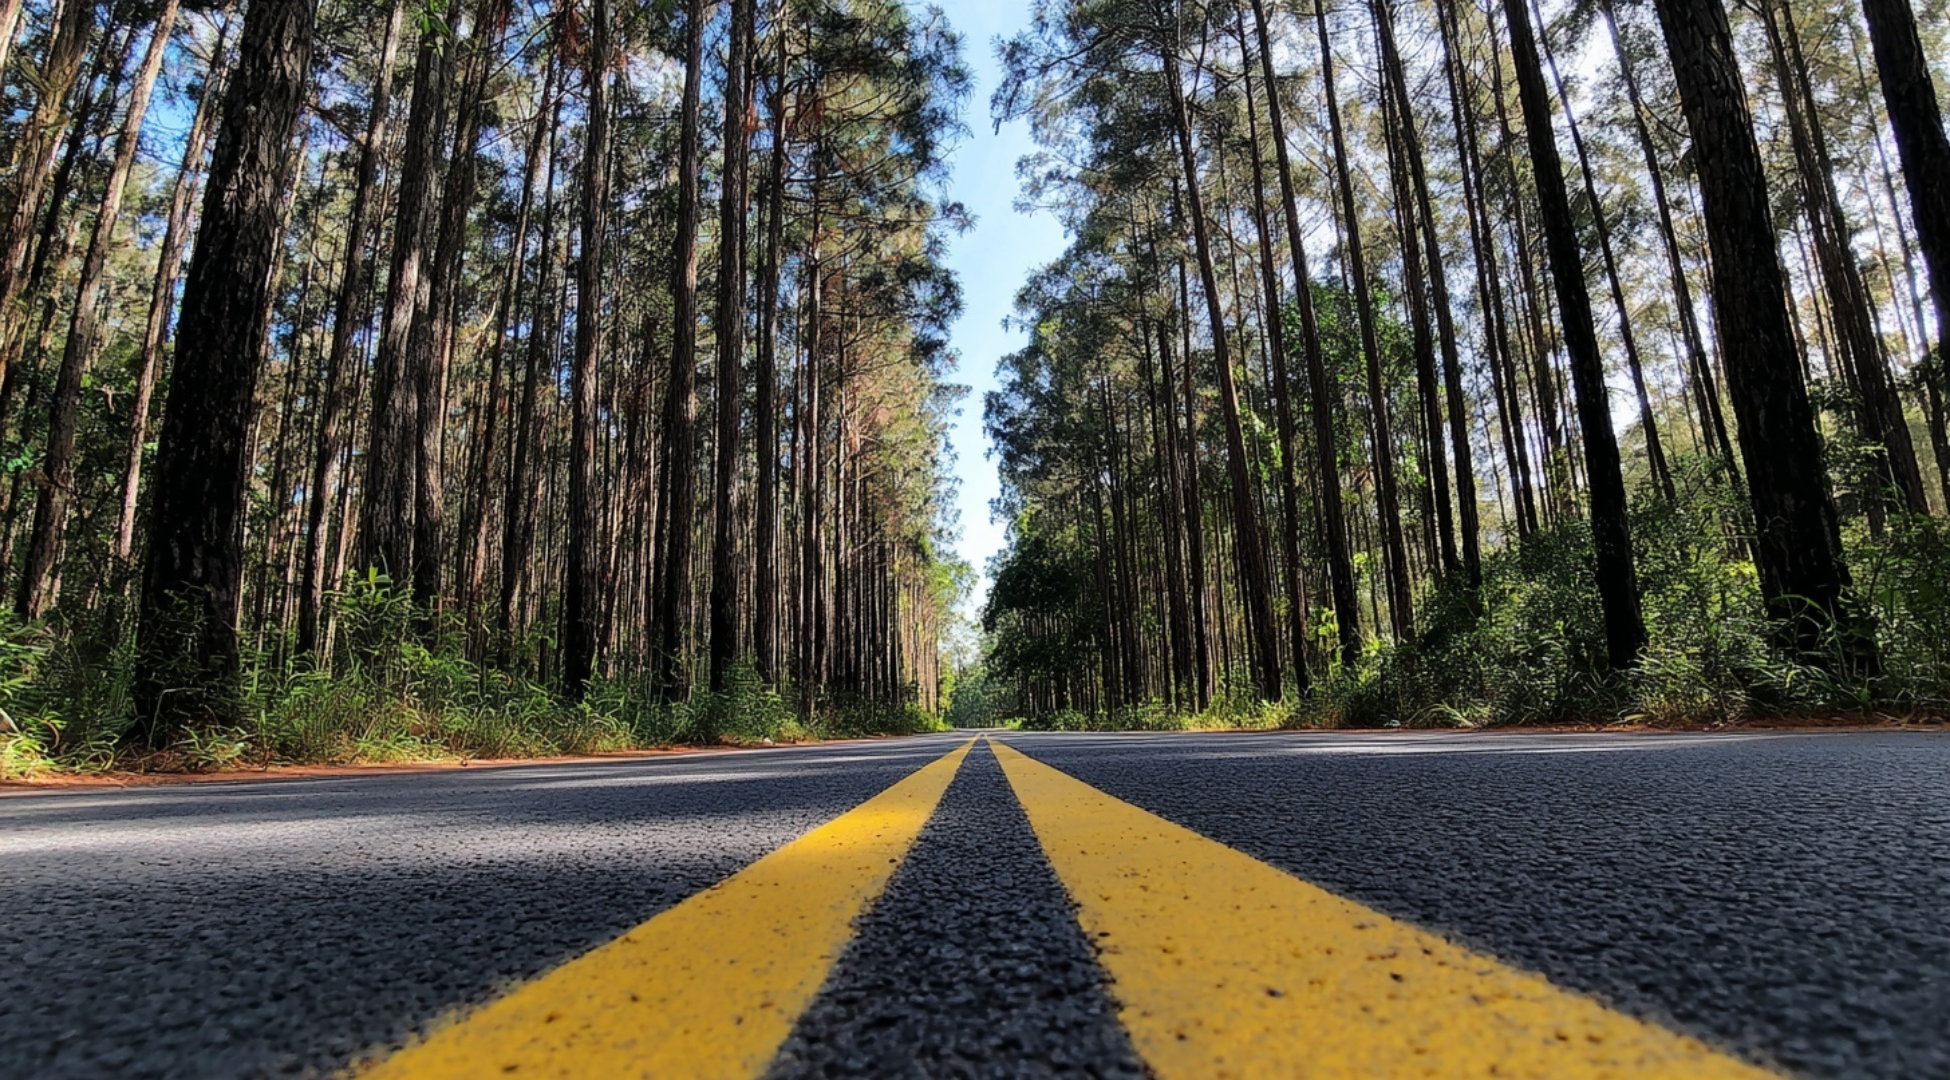
Most action cams shoot with a wide or fisheye view, which distorts the edges of your footage. For a more natural look, switch to “Linear” mode in your settings. This removes the bubble effect and makes straight lines stay straight.
It’s great for establishing shots, people, and scenery. Linear mode also makes your footage easier to crop or frame during editing, especially if you’re adding titles or overlays later.
5. Use Natural and Intentional Camera Movements
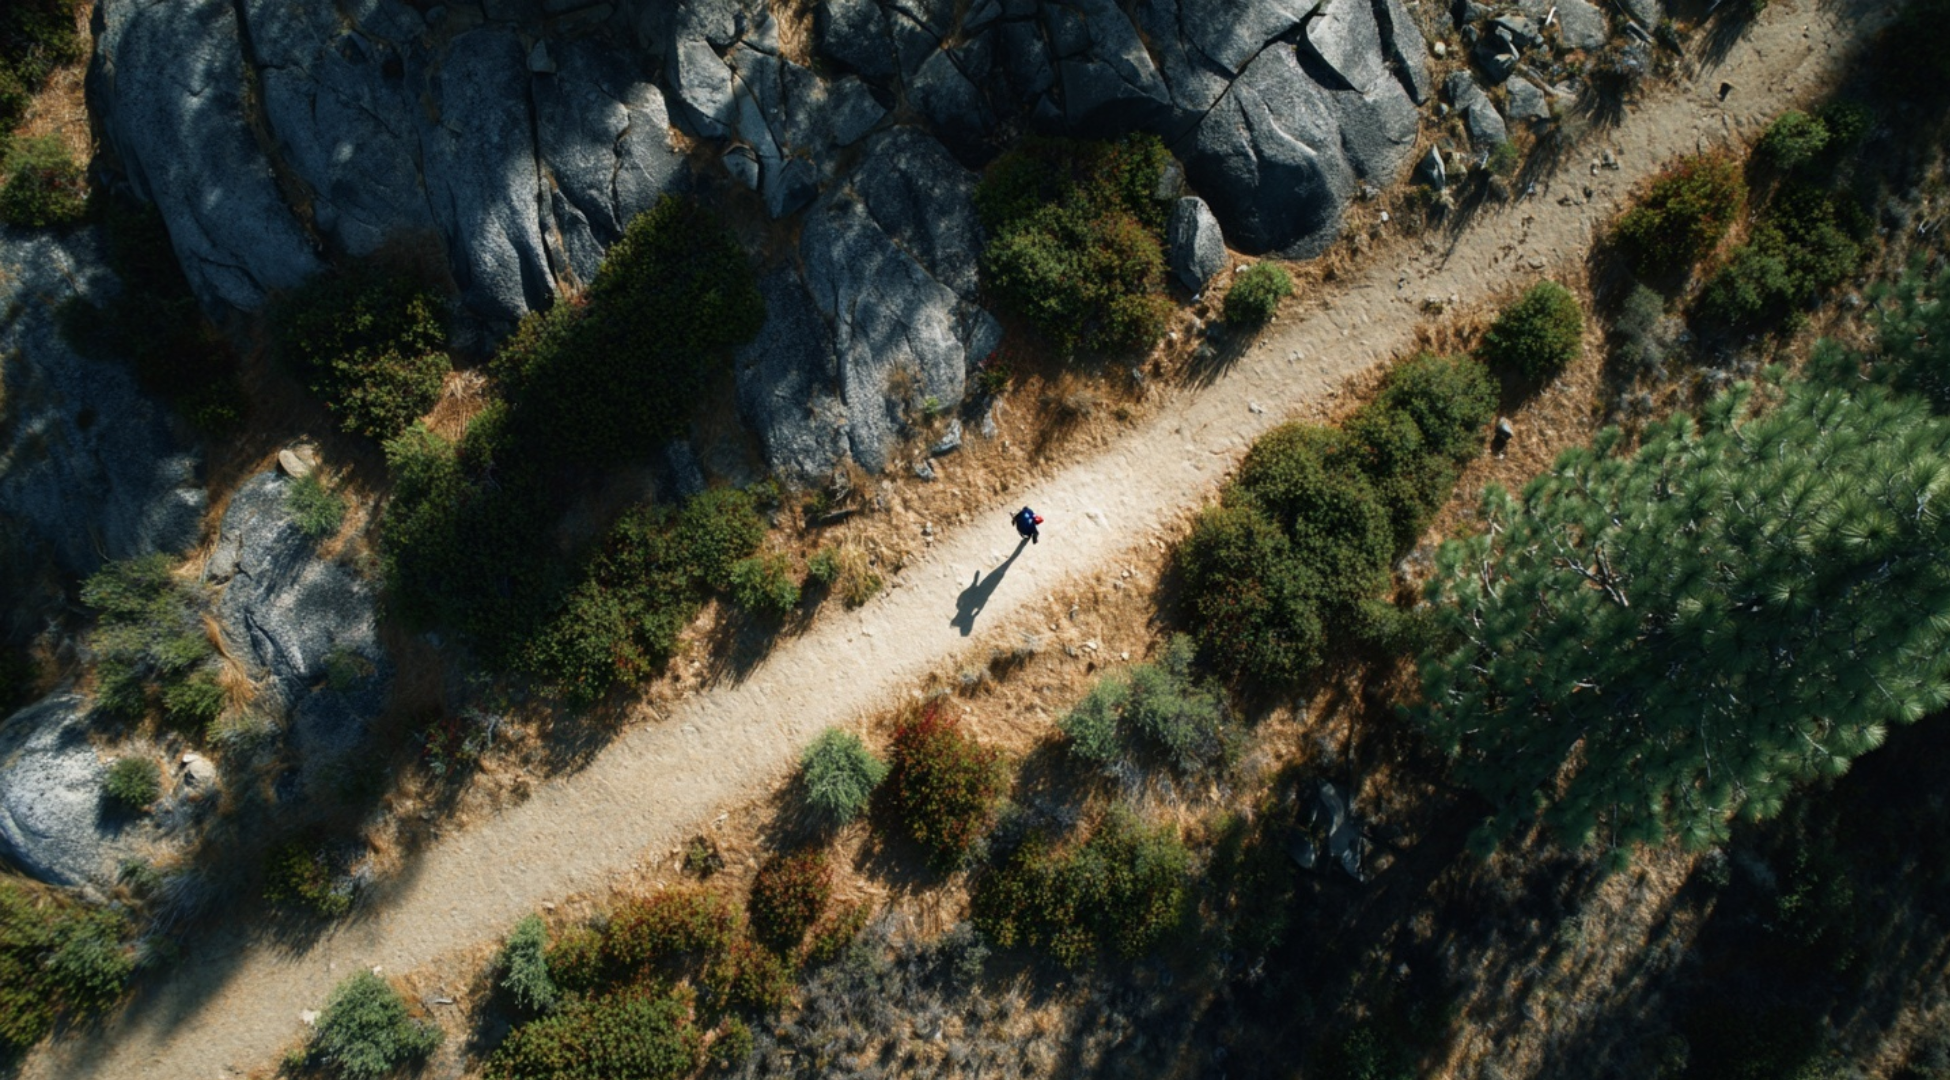
Instead of waving the camera around, plan your movements. Try smooth pans, tilts, or tracking shots using a tripod or a stabilized selfie stick. Hold a shot longer than you think you should. Cinematic footage often breathes, less is more.
Think about movement with purpose, like following a bike ride or revealing a mountain view. The steadier the footage, the more polished and professional it’ll feel in post.
6. Plan Your Lighting Like a Pro

You don’t need fancy lights; just think about how light hits your subject. Soft morning or golden hour light adds depth. Avoid harsh midday sun when possible, or use a reflector to bounce light and reduce shadows.
For indoor scenes, use lamps, string lights, or even windows to create contrast and mood. Cinematic lighting isn’t about gear—it’s about understanding shadows, highlights, and what they say in the scene.
7. Tell a Story With Every Shot
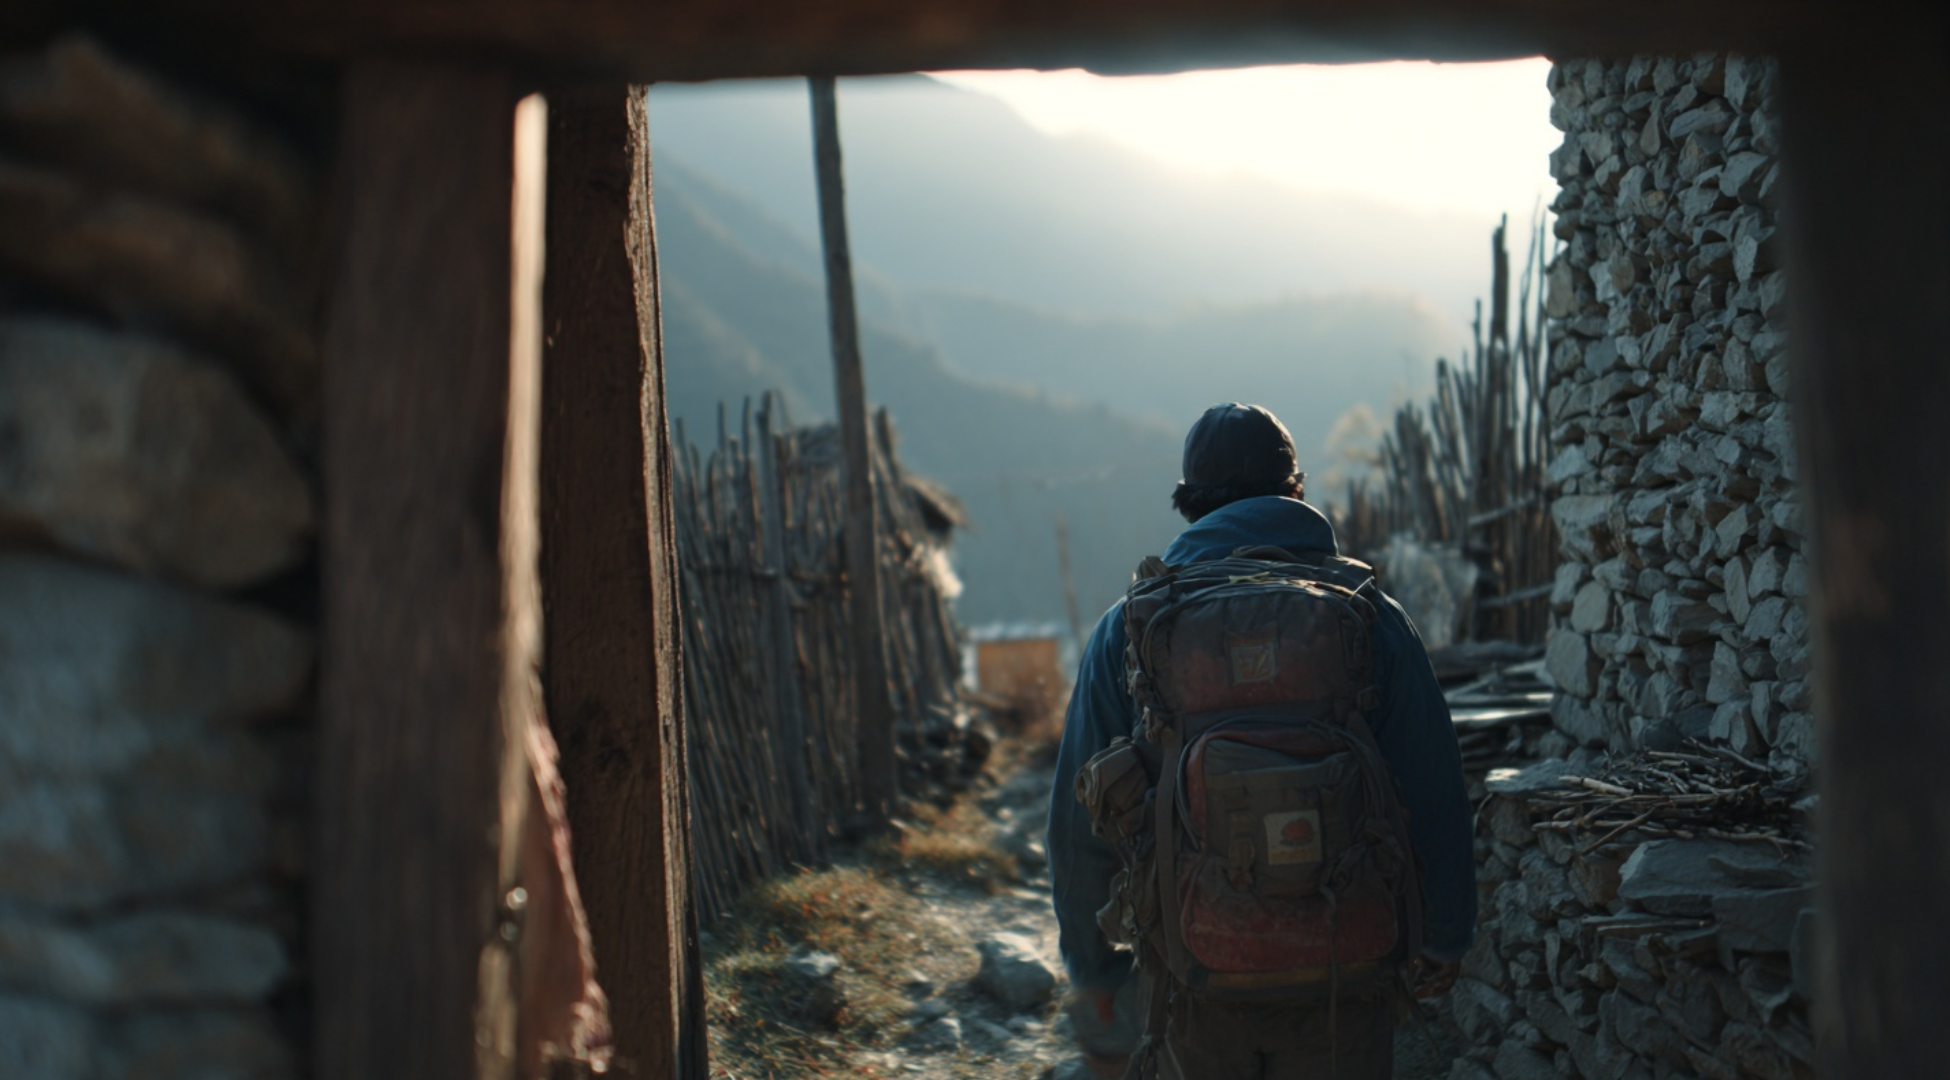
A good video isn’t just about how it looks, it’s about what it says. Before filming, ask yourself what story you’re telling. Are you showing a journey, a mood, or a moment? Frame your shots to support that.
Show the setting, the subject, and a bit of action. Use different angles for emotion. Always shoot with a beginning, middle, and end in mind; even if it’s just a 30-second clip.
8. Color Grade to Set the Mood
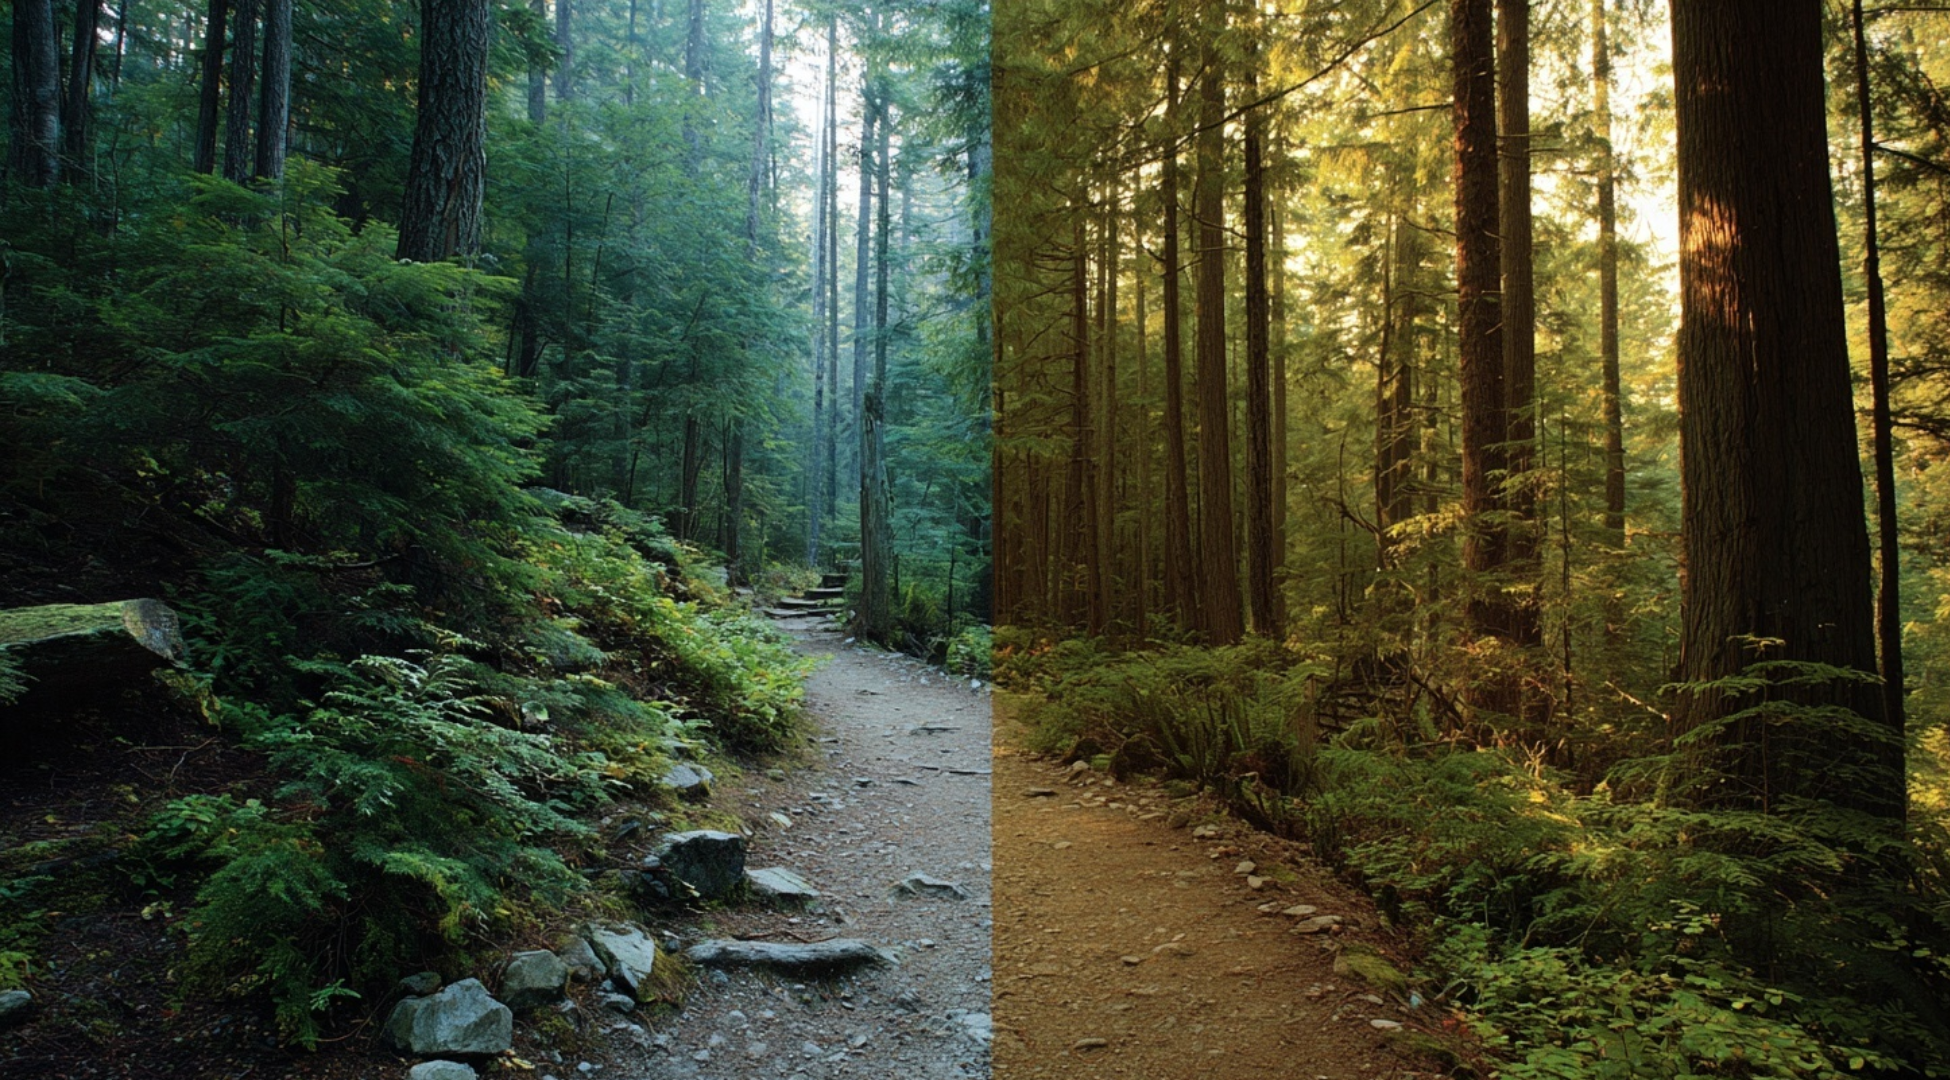
Once you’ve shot your video, apply basic color grading during editing to give it that film-like finish. Even small tweaks, like lowering contrast or adding warm tones, can shift the entire mood. Use built-in LUTs (Look-Up Tables) or manually adjust shadows, highlights, and saturation.
Don’t overdo it. Aim for a subtle color balance that feels consistent across clips. This is what separates raw-looking footage from something that feels cinematic and cohesive.
9. Use Music to Shape Emotion
Music isn’t just background—it’s emotional glue. Choose a soundtrack that matches the feel of your footage. Slow piano or ambient tones work well for travel or nature. High-energy beats fit sports and fast-paced content. Time your cuts and transitions to match the rhythm.
Don’t use copyrighted music unless you have a license—royalty-free music libraries are a great option. Music can make your shots feel way more cinematic instantly.
10. Avoid Overprocessing in Camera Settings

Many action cameras apply excessive sharpening, saturation, and noise reduction by default. These settings make footage look artificial and overdone. Go into the settings menu and reduce sharpness and noise reduction.
Choose a neutral or flat color profile for more control during editing. This way, you keep more dynamic range and detail in your footage, giving you the flexibility to fine-tune the cinematic look later in post-production.
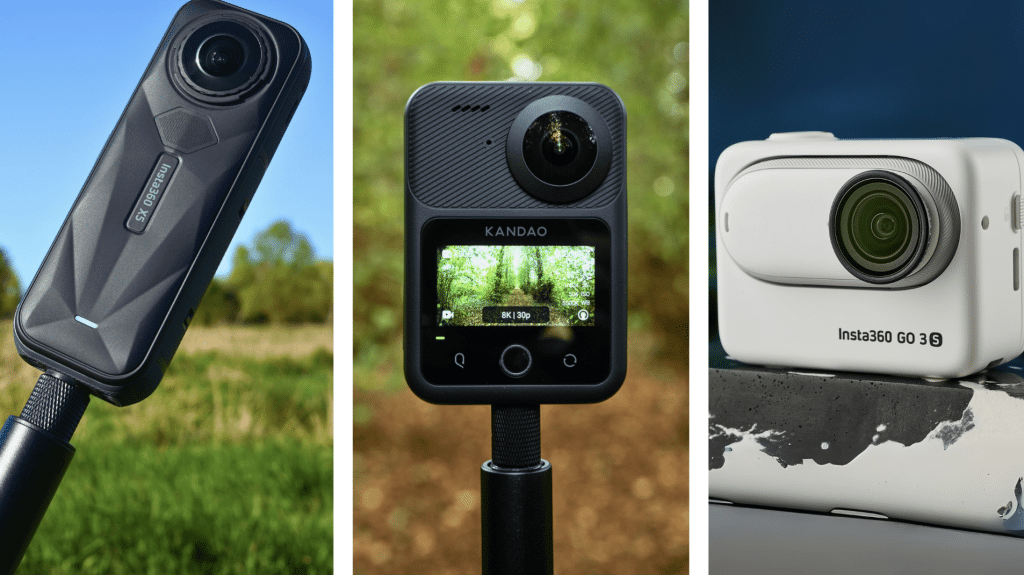
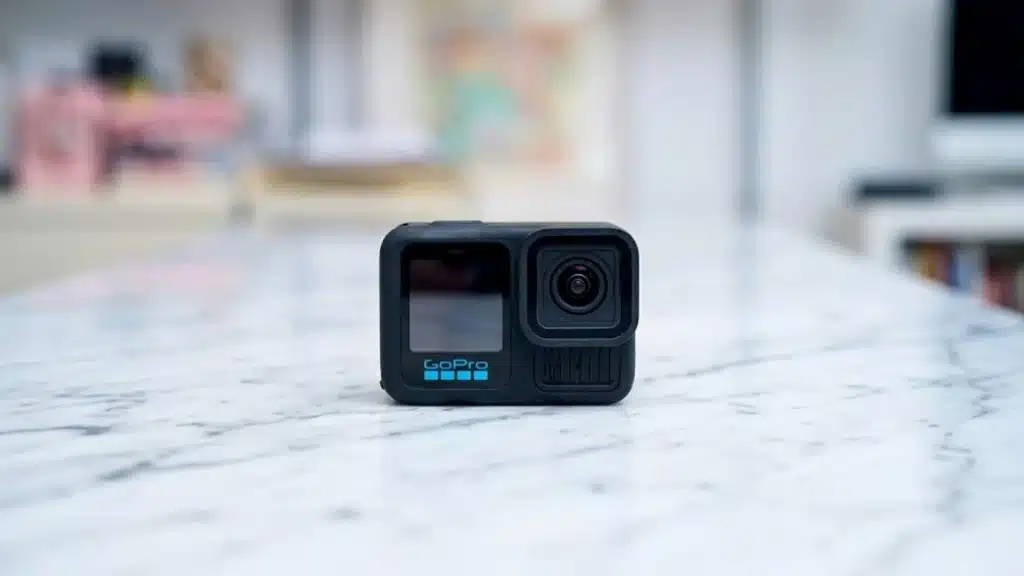
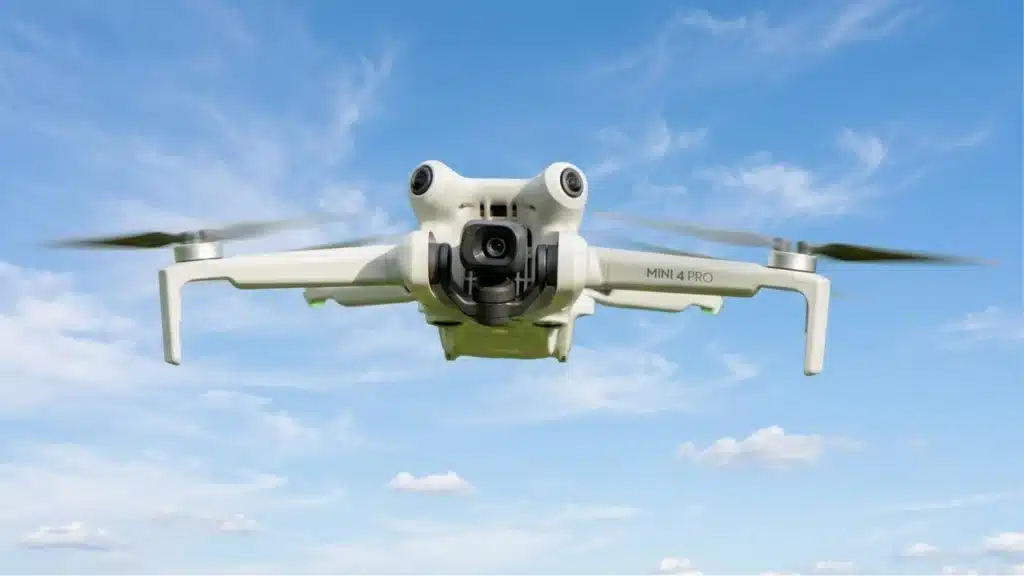
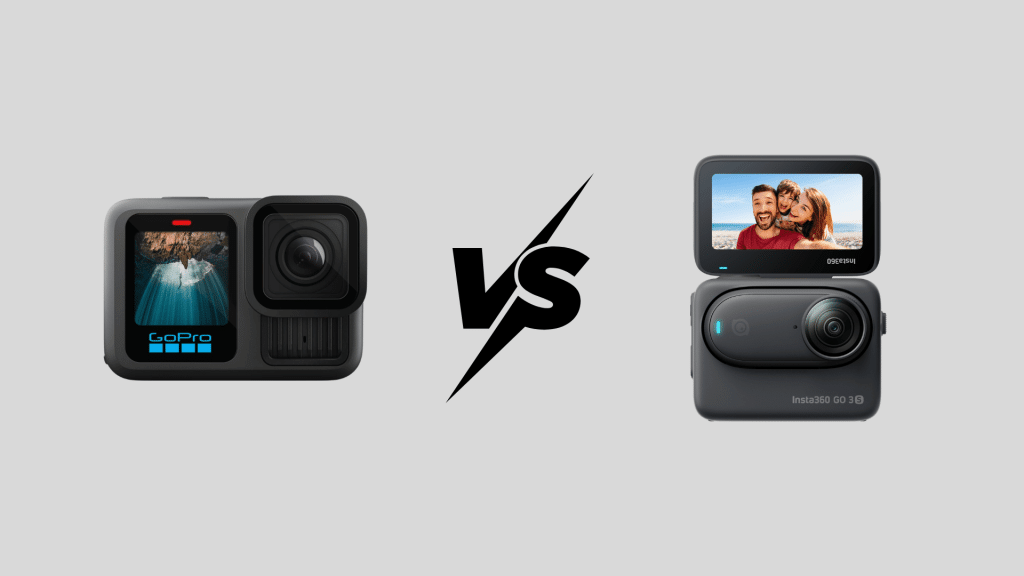
Gear Guide: Action Cameras That Can Shoot Cinematic
Not all action cameras are made the same. If you want that smooth, movie-like look, some models stand out with better image quality, frame rate options, and low-light performance. Here are action cameras that are great for shooting cinematic footage:
1. DJI Osmo Action 5 Pro: This camera delivers high-quality 4K footage at 120 fps, perfect for cinematic slow motion. It features a large sensor that captures more light, making it ideal for darker scenes. With built-in color profiles and sharp image stabilization, it’s ready to shoot smooth, natural-looking videos straight out of the box.
2. GoPro Hero 13: The Hero 13 offers crisp 5.3K video, built-in 10-bit color for smooth grading, and improved stabilization. It’s ideal for fast-paced shots and still manages to hold detail in motion. With its new low-light tech and easy-to-use settings, this GoPro keeps things sharp, stable, and cinematic in nearly any setting.
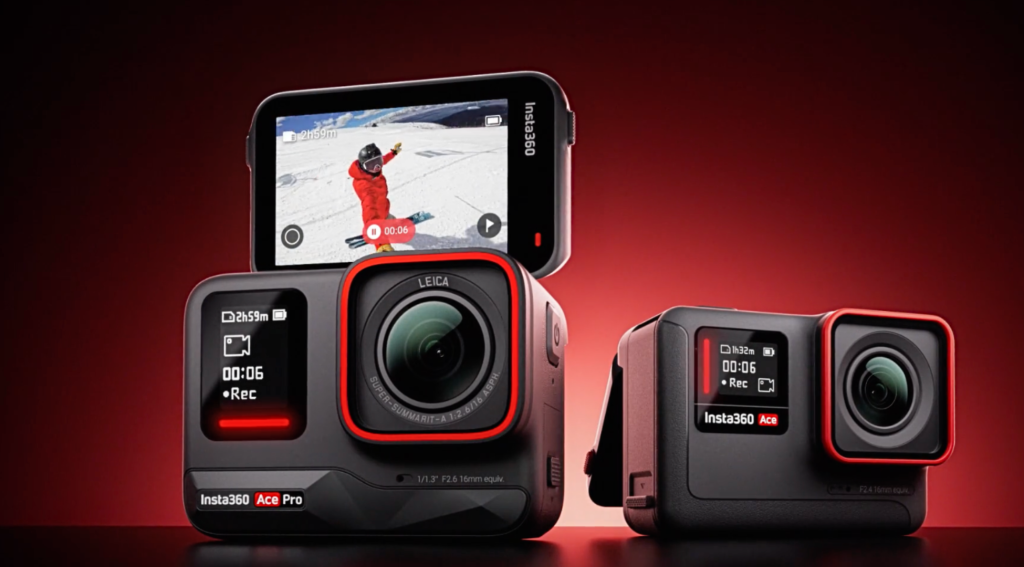
3. Insta360 Ace Pro: This camera gives you flexibility with 4K wide shots and 360 video. It uses a large sensor for better detail and light capture, even in shadows. Its AI features help with auto-framing and smooth motion, making it great for both fast and steady scenes. It’s compact but surprisingly powerful.
4. Sony RX0 II: Though tiny, the RX0 II packs a 1-inch sensor, which is rare in action cameras. It shoots 4K internally and handles low-light better than most others. Manual settings give you full control over shutter, ISO, and white balance. It’s a top pick for shooters who want cinematic control in a small setup.
5. Insta360 One R 1-Inch Edition: With a 1-inch sensor co-developed with Leica, this modular cam delivers detailed 5.3K video. It handles dynamic range and shadows well, perfect for natural lighting. The larger sensor and pro-level lens help it stand out when you want cleaner, smoother footage that feels closer to what you’d see in a film.
Choosing the right action camera helps you start strong. These models give you the image quality, frame rate, and control you need to shoot footage that feels more like a movie and less like a regular clip. Pick one that fits your style and needs.
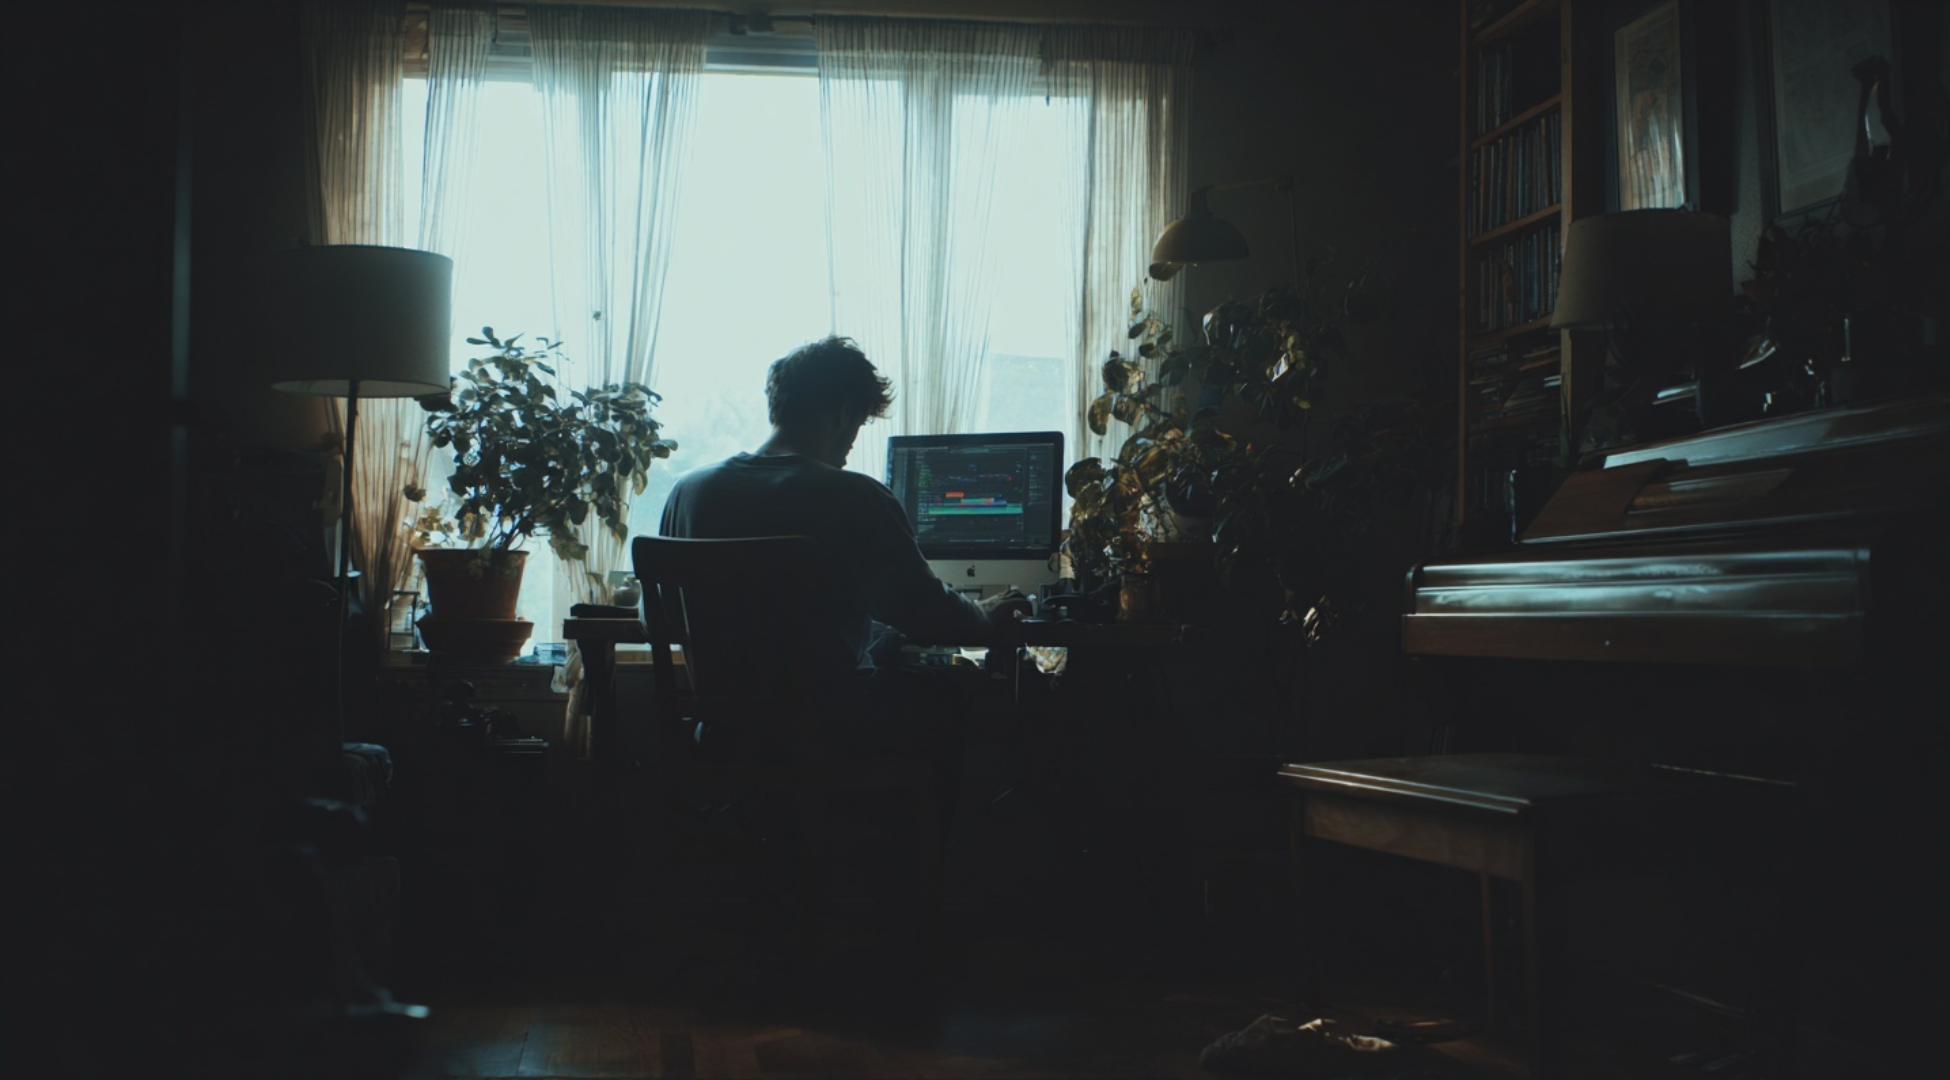
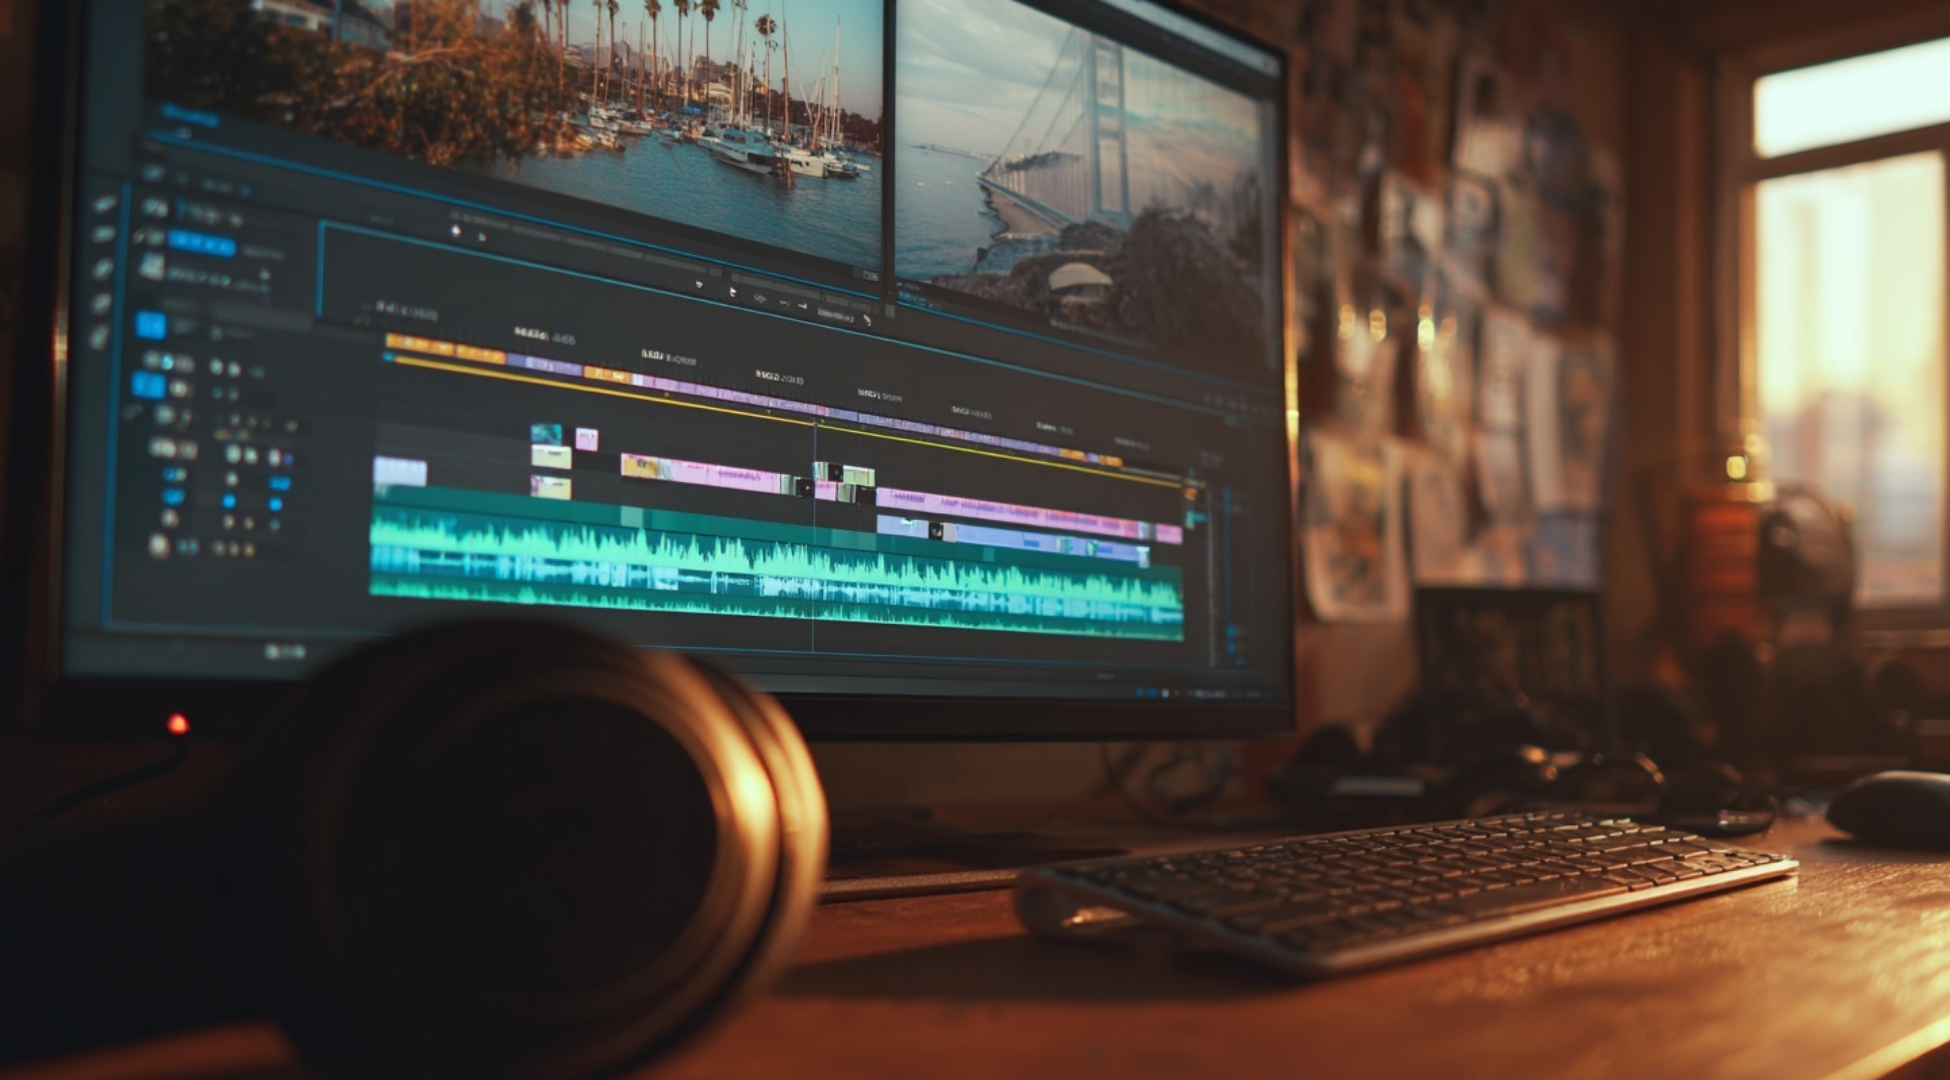
Editing Tips to Enhance Cinematic Feel
Editing is where your video truly takes shape. The right edits can change the mood, improve flow, and make your action camera footage feel like a real movie. Here’s a breakdown of what to focus on during editing to boost the cinematic look:
| Editing Element | What It Does | How to Use It Well |
|---|---|---|
| Color Grading Basics | Sets the tone and mood of your video through color changes. | Keep it balanced. Avoid extreme filters. Match colors to the scene’s emotion. |
| LUTs (Look-Up Tables) | Gives your footage a preset cinematic color look. | Use as a base, then adjust. Don’t rely on them alone. |
| Music Choice | Creates emotional impact and helps with pacing. | Match tempo and mood to the scene. Don’t let it overpower your footage. |
| Sound Design | Adds small sounds that make scenes feel real—like wind, footsteps, or a door closing. | Layer natural sounds under music for depth. |
| Transitions | Moves viewers from one scene to another without breaking the flow. | Use cuts, fades, and simple movement-based transitions. Avoid flashy effects. |
| Pacing | Controls how fast or slow your video feels. | Let shots breathe. Cut faster in action scenes, slower in emotional ones. |
| Crop and Reframe | Helps guide the viewer’s focus. | Use 2.35:1 aspect ratio (cinema bars) for a wide-screen feel. |
| Stabilization | Makes the footage smooth and easier to watch. | Apply post-edit stabilization if shots are shaky. |
| Color Matching | Keeps shots looking consistent across scenes. | Match white balance and tone from clip to clip. |
| Slow Motion | Adds drama and detail to fast movements. | Shoot at 60 fps or higher, then slow down in editing. |
Each of these editing tips helps your video feel more polished and emotional. Stick to what supports the story. Keep it smooth, keep it balanced, and always cut with purpose.
Common Mistakes to Avoid
Even with a good camera and solid ideas, simple mistakes can ruin that cinematic look. Some of these are easy to fix—you just need to know what to watch out for. Here are a few common issues to steer clear of when filming with action cameras:
- Over-sharpened footage can look harsh and fake. Keep in-camera sharpness low or medium.
- Auto settings often change your exposure and color mid-shot. Use manual controls when possible.
- Underexposed shots look dull and hard to fix in editing.
- Blown-out highlights lose all detail. Keep an eye on bright areas like skies or lights.
- Jump cuts or sudden changes in pacing can confuse viewers and break the mood.
Avoiding these mistakes makes a big difference in how your final video feels. A few small changes in how you shoot can lead to cleaner, smoother, and more movie-like results.
Conclusion
I’ve shared the main things that helped me make my videos look more like a movie. These cinematic tips for shooting with action cameras changed the way I shoot, with better lighting, smoother motion, and more control over how everything looks and feels.
Now it’s your turn to try them out. Start with small tweaks like adjusting frame rate or turning off auto mode. Keep learning and testing things as you go. Don’t stress about making it perfect, just focus on making it better each time.
And here’s one last tip: good planning before you hit record saves you a lot of trouble later.
If this helped, go check out my other blogs for more useful and simple tips to keep improving your videos!