Fire sprinkler system installation is something many homeowners consider when they want better safety and peace of mind.
A home system can slow a fire, limit damage, and give everyone more time to get out safely.
Many people also want to understand how the process works before they bring in a licensed installer. In this guide, I walk through the steps in clear and simple terms.
I shared how the system works, what types are used in homes, and what happens during the installation process.
I also cover the main cost factors you should know. My goal is to help you understand each part so you feel prepared when planning a home fire sprinkler project.
This will give you a solid starting point as you decide what your home needs.
What Does a Home Fire Sprinkler System Do?
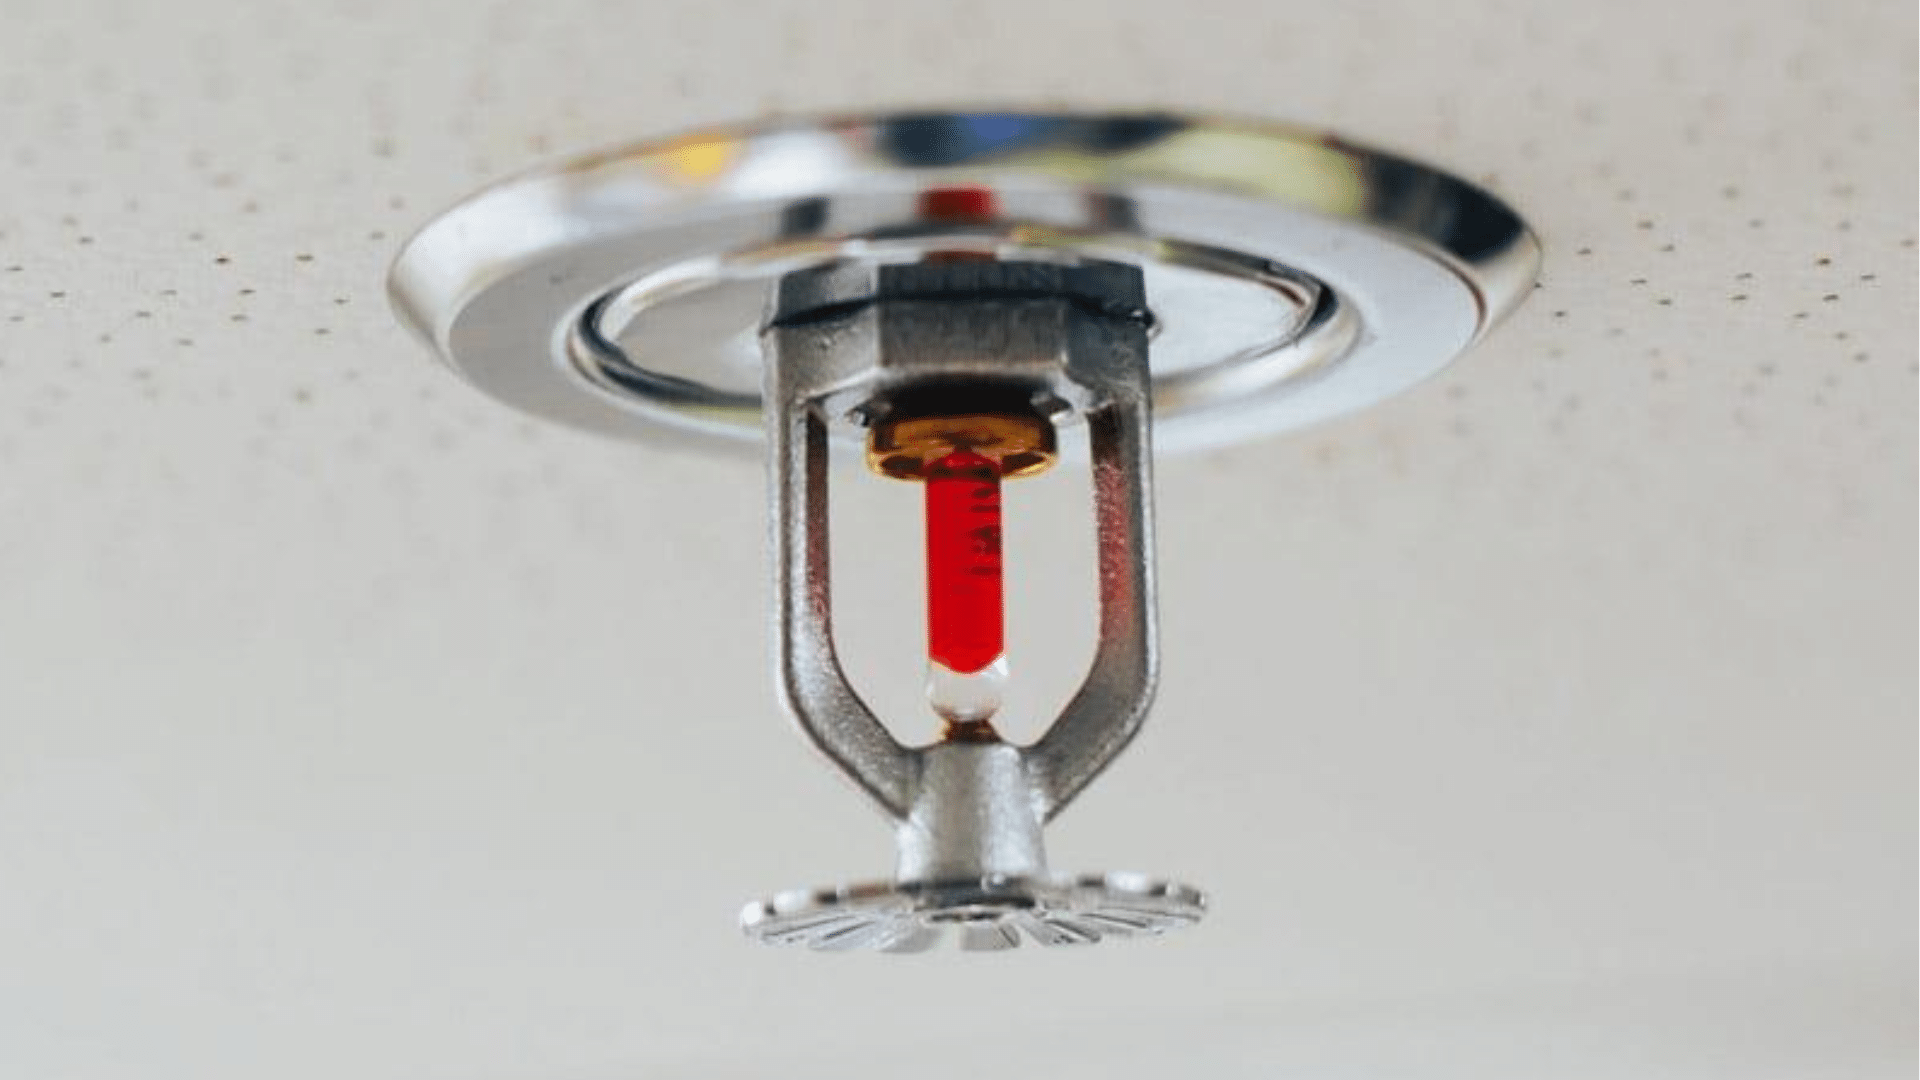
A home fire sprinkler system helps control a fire before it becomes dangerous. It works by detecting heat from a growing fire and releasing water from the nearest sprinkler head.
Only the sprinkler closest to the heat goes off, not the whole system. This slows the fire, reduces smoke, and gives people more time to get out safely.
A sprinkler system also helps firefighters by keeping the fire from spreading through the house.
Most systems use steady water pressure and simple piping placed in the ceiling. When paired with smoke alarms, they offer strong protection.
Many homes install sprinklers to reduce damage and increase safety for families.
A working sprinkler system can stop a small fire from turning into a major emergency, which makes it an important part of home safety.
Installation Steps of Fire Sprinkler System
Installing a home sprinkler system follows a clear process. Each step helps make sure the system fits the home and works the right way.
Step 1: Install Ceiling Blocking for the Sprinkler
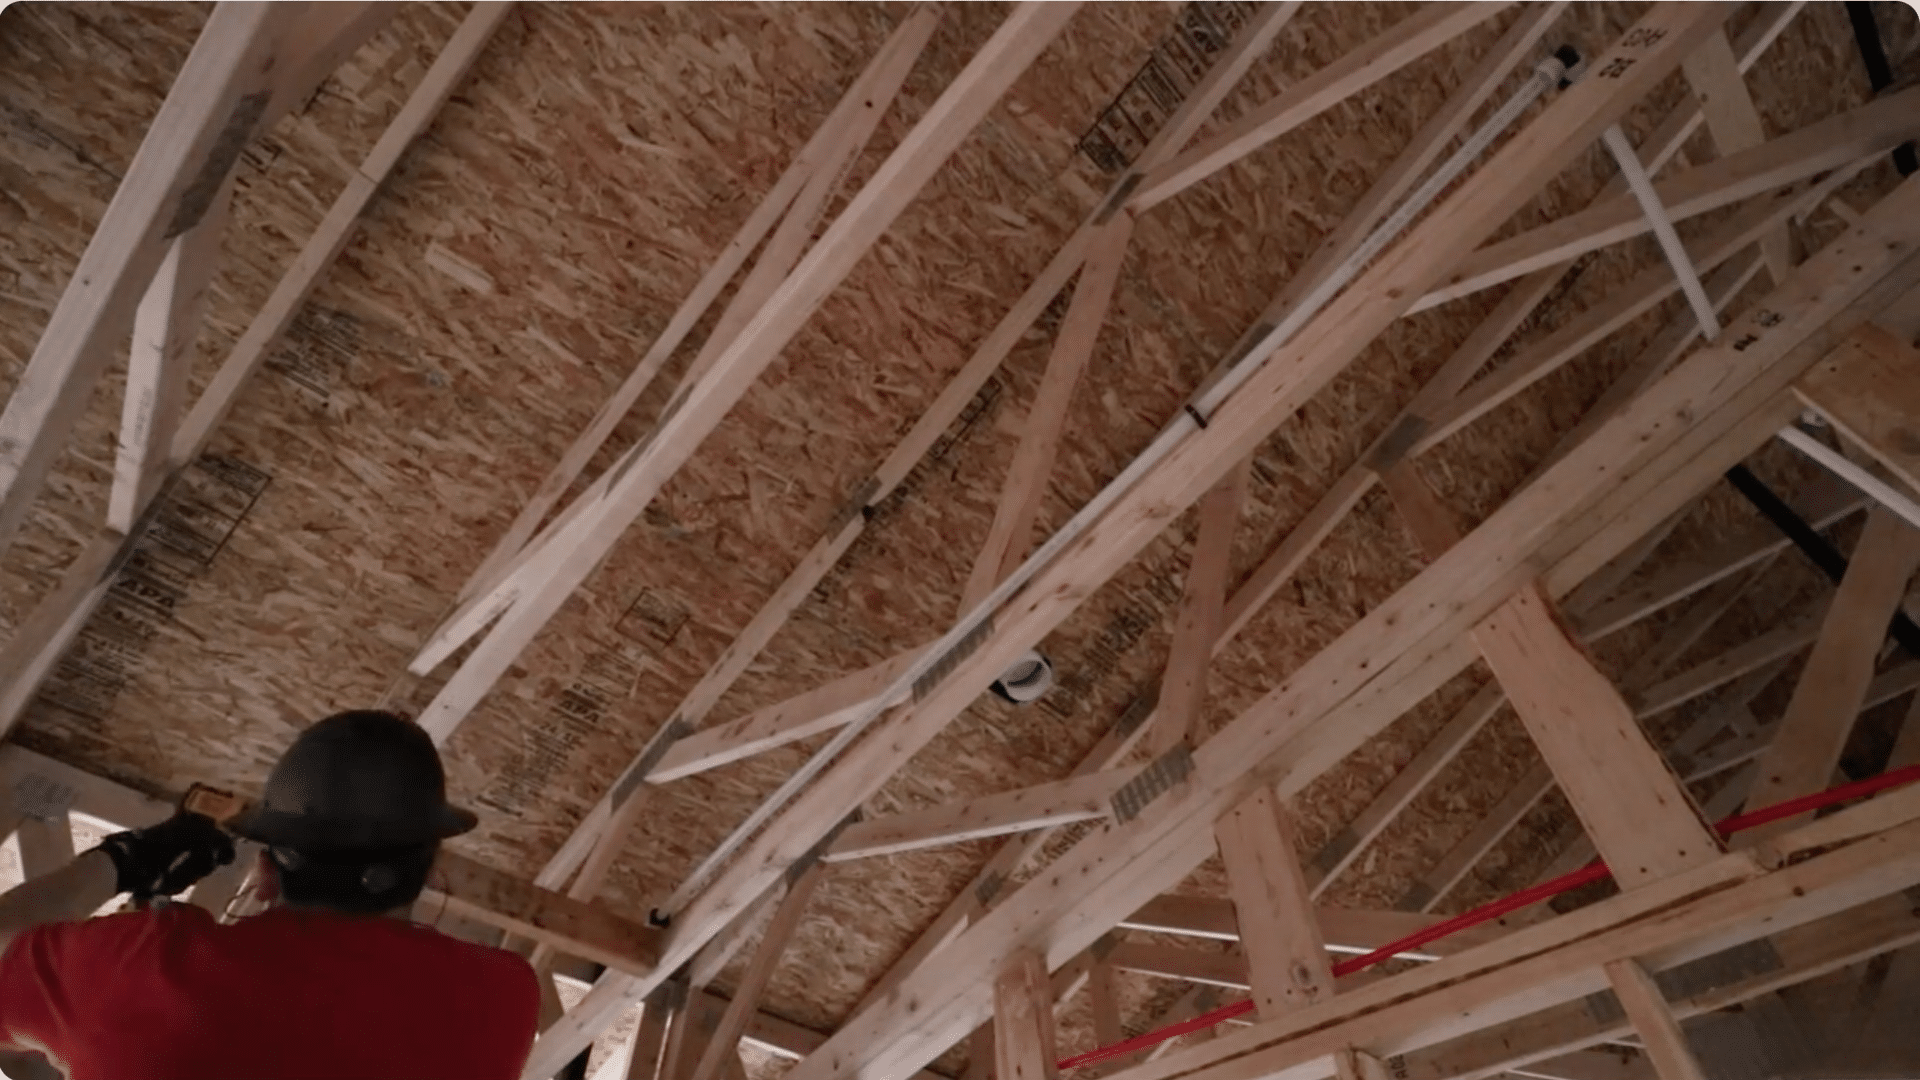
Start by installing strong blocking and cross members in the ceiling so the sprinkler’s tee assembly has a solid foundation.
This support keeps everything aligned and ensures the sprinkler sits in the correct location above the stove once the sheetrock goes in.
Focus on making the structure level and secure because every later measurement depends on this step being accurate.
Without proper blocking, the finished sprinkler head may end up misaligned or unstable.
Step 2: Add the Brace and Measure Stove Distance
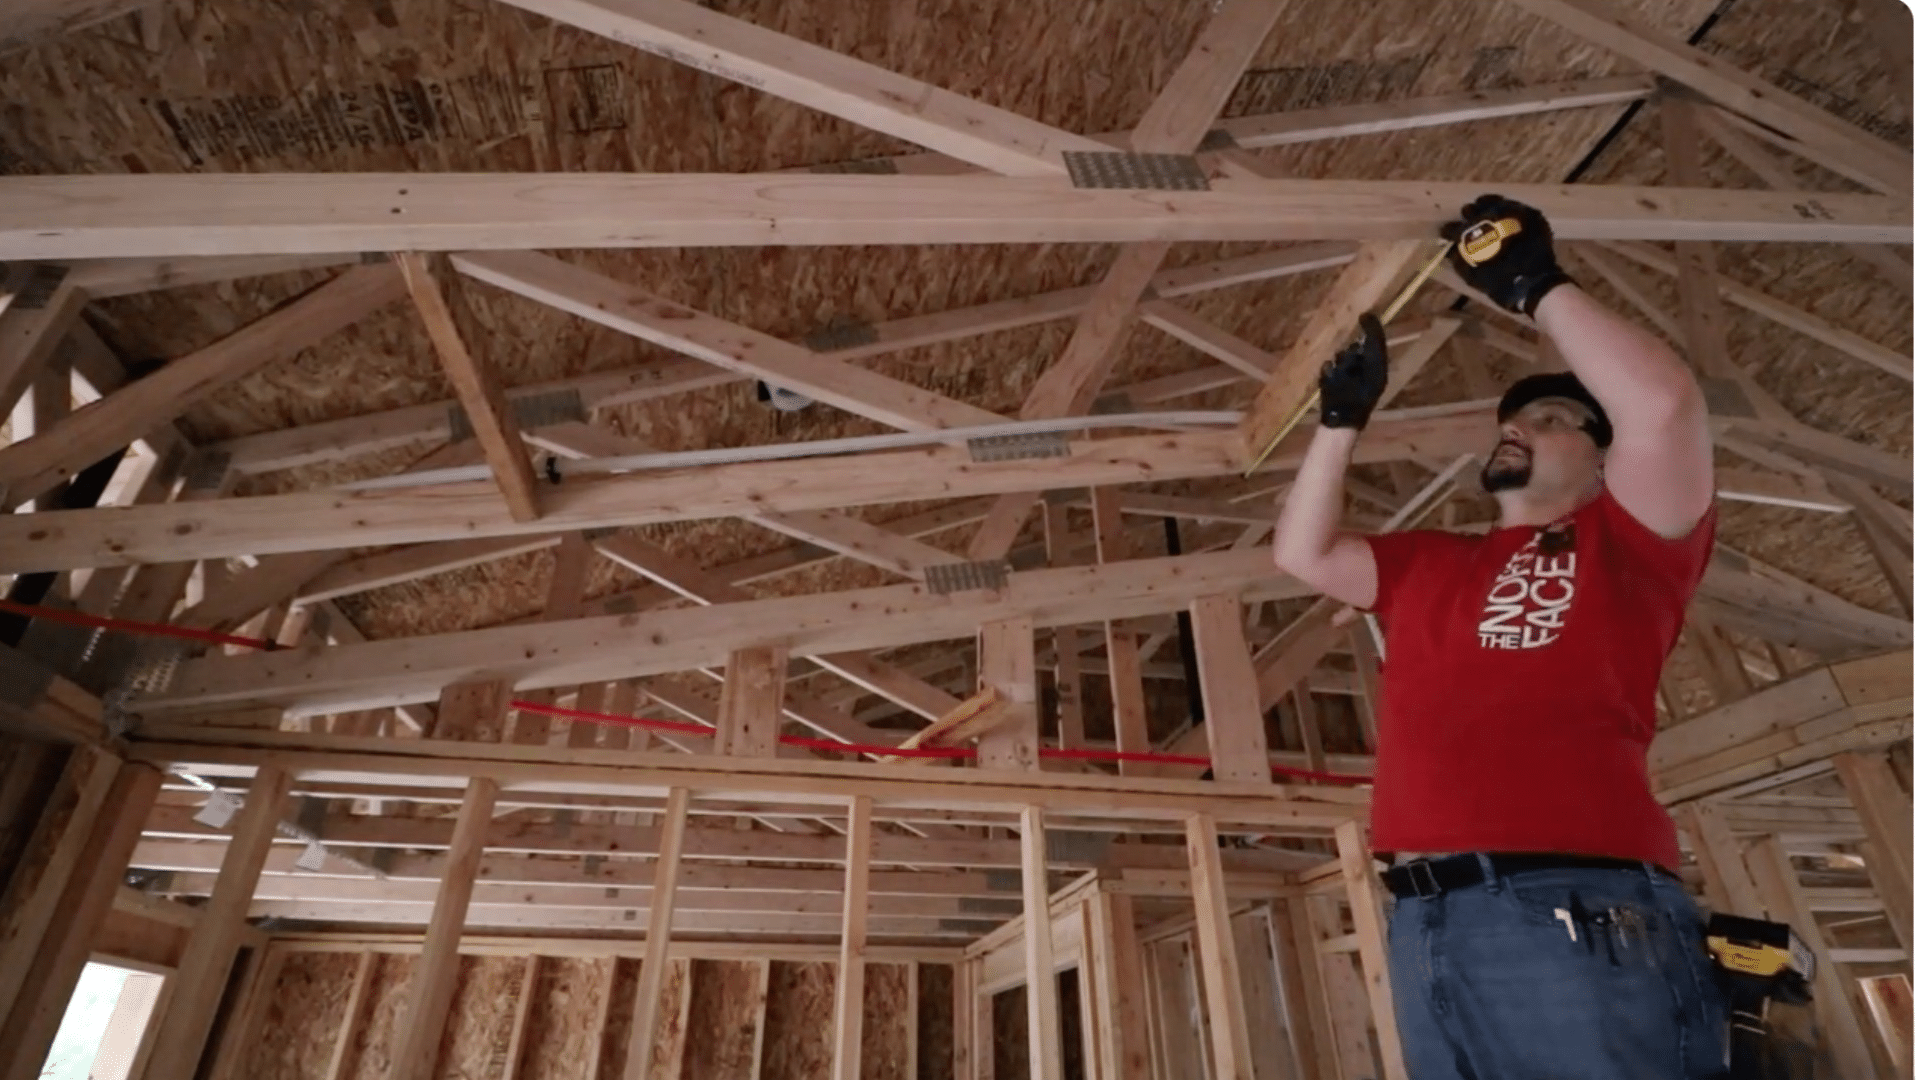
Then attach a brace between the cross members, which becomes the mounting point for the sprinkler head.
Carefully measure from the finished wall to position the head one to two feet from the front of the stove.
Since a standard stove is twenty-five inches deep, you add the required offset for precise placement. This prevents cabinets from blocking spray coverage.
Always double-check the measurements to ensure the sprinkler will properly reach the stove area during activation.
Step 3: Mock up the Assembly for Proper Height
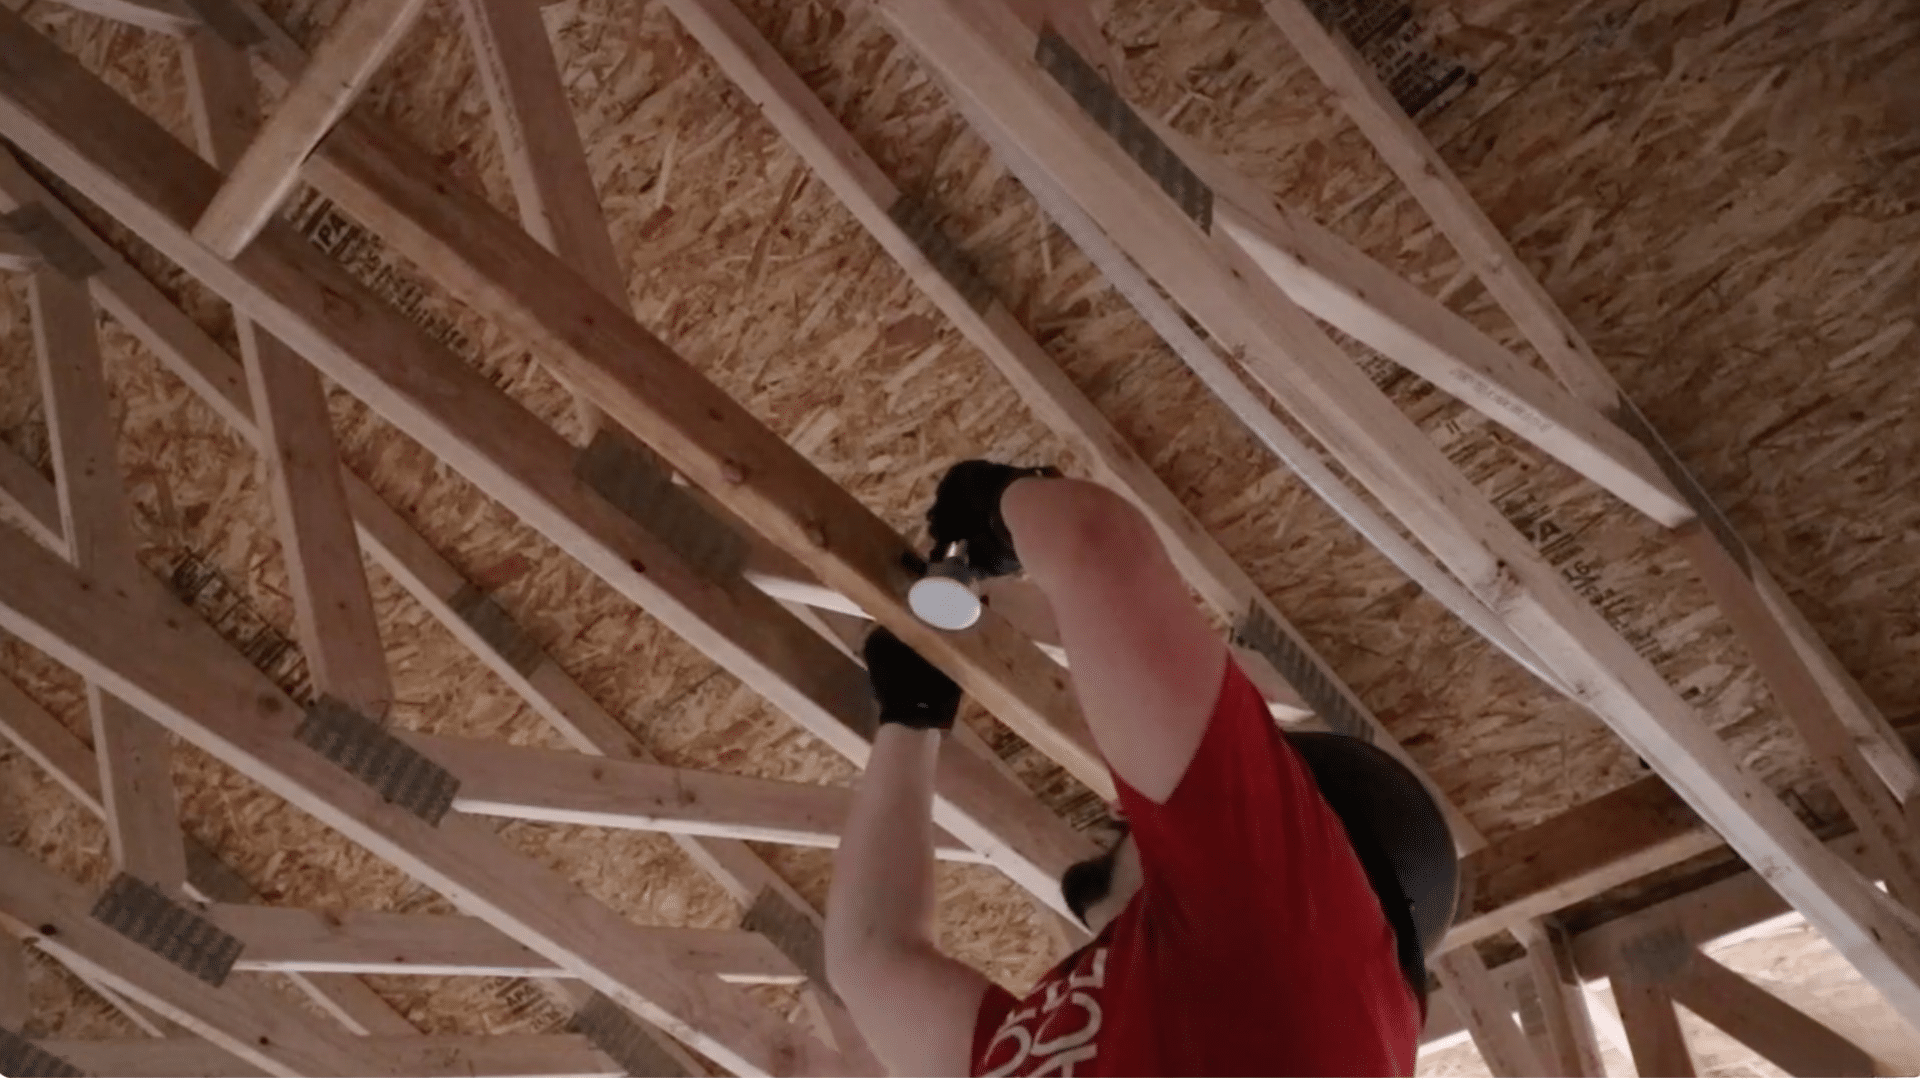
The next step is to loosely assemble the tee fitting, bracket, sprinkler head, and cover plate to find the right mounting height.
Holding this mock-up in place shows where the head will sit once the sheetrock is added.
Nothing is tightened because this temporary setup is only for alignment. After confirming the height, take the parts down so the bracket can be mounted correctly.
This step prevents misalignment later and ensures the sprinkler sits flush with the finished ceiling.
Step 4: Mount the Bracket at the Correct Height
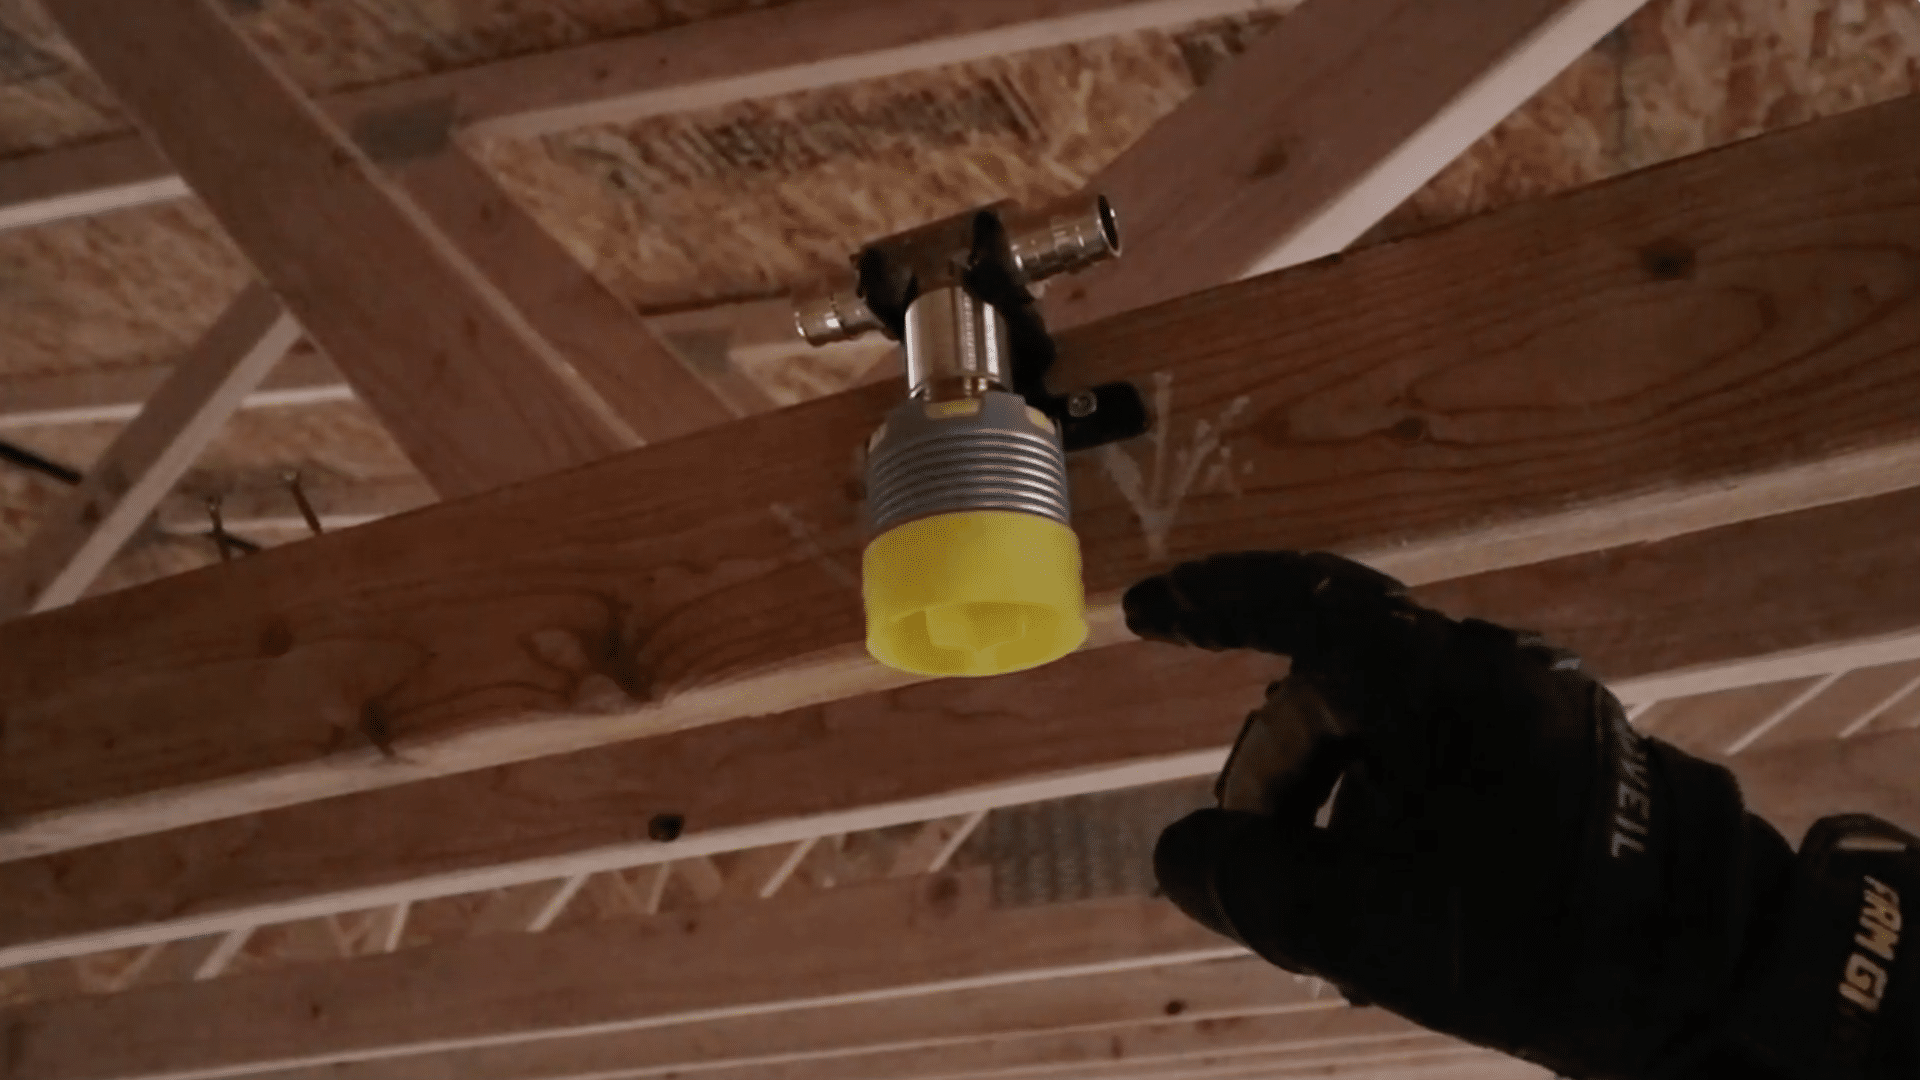
Once the height is confirmed, you permanently mount the bracket. Snap the tee assembly into place and add the yellow protective cap.
This cap includes sheetrock-depth markings that help you verify the correct alignment between the bracket and the final ceiling surface.
These markings prevent the sprinkler from ending up too recessed or too exposed after finishing.
Making sure everything is correct at this stage keeps you from running into problems once the ceiling goes in and the head must sit properly.
Step 5: Connect the Water Supply Line
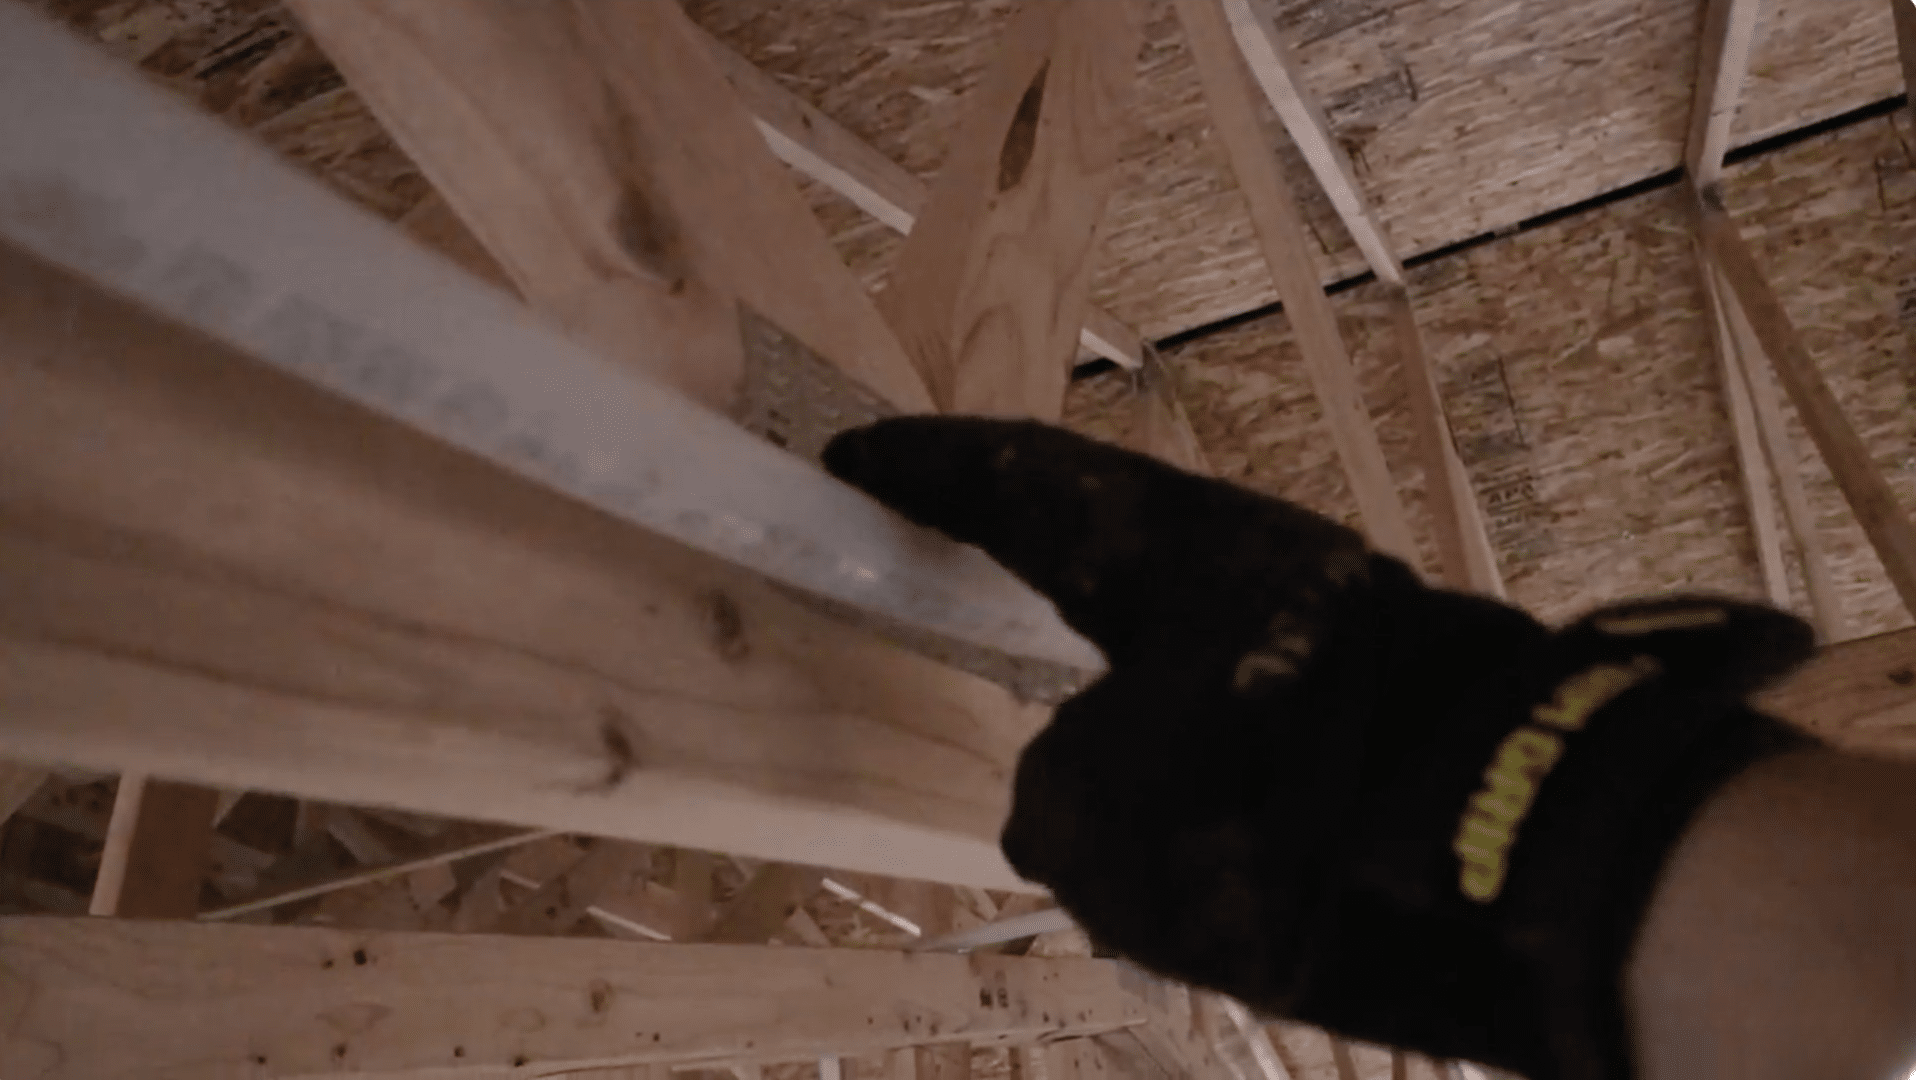
Identify the three-quarter-inch domestic water line that feeds the sprinkler system. Prepare to cut this line so both sides can connect to the tee assembly.
This step ensures the sprinkler receives proper pressure from the home’s water supply.
It’s an important part of the process because the entire system depends on a secure, unrestricted connection.
Then position the plumbing carefully to avoid strain, tight bends, or interference once the final ceiling and cabinet framing are completed.
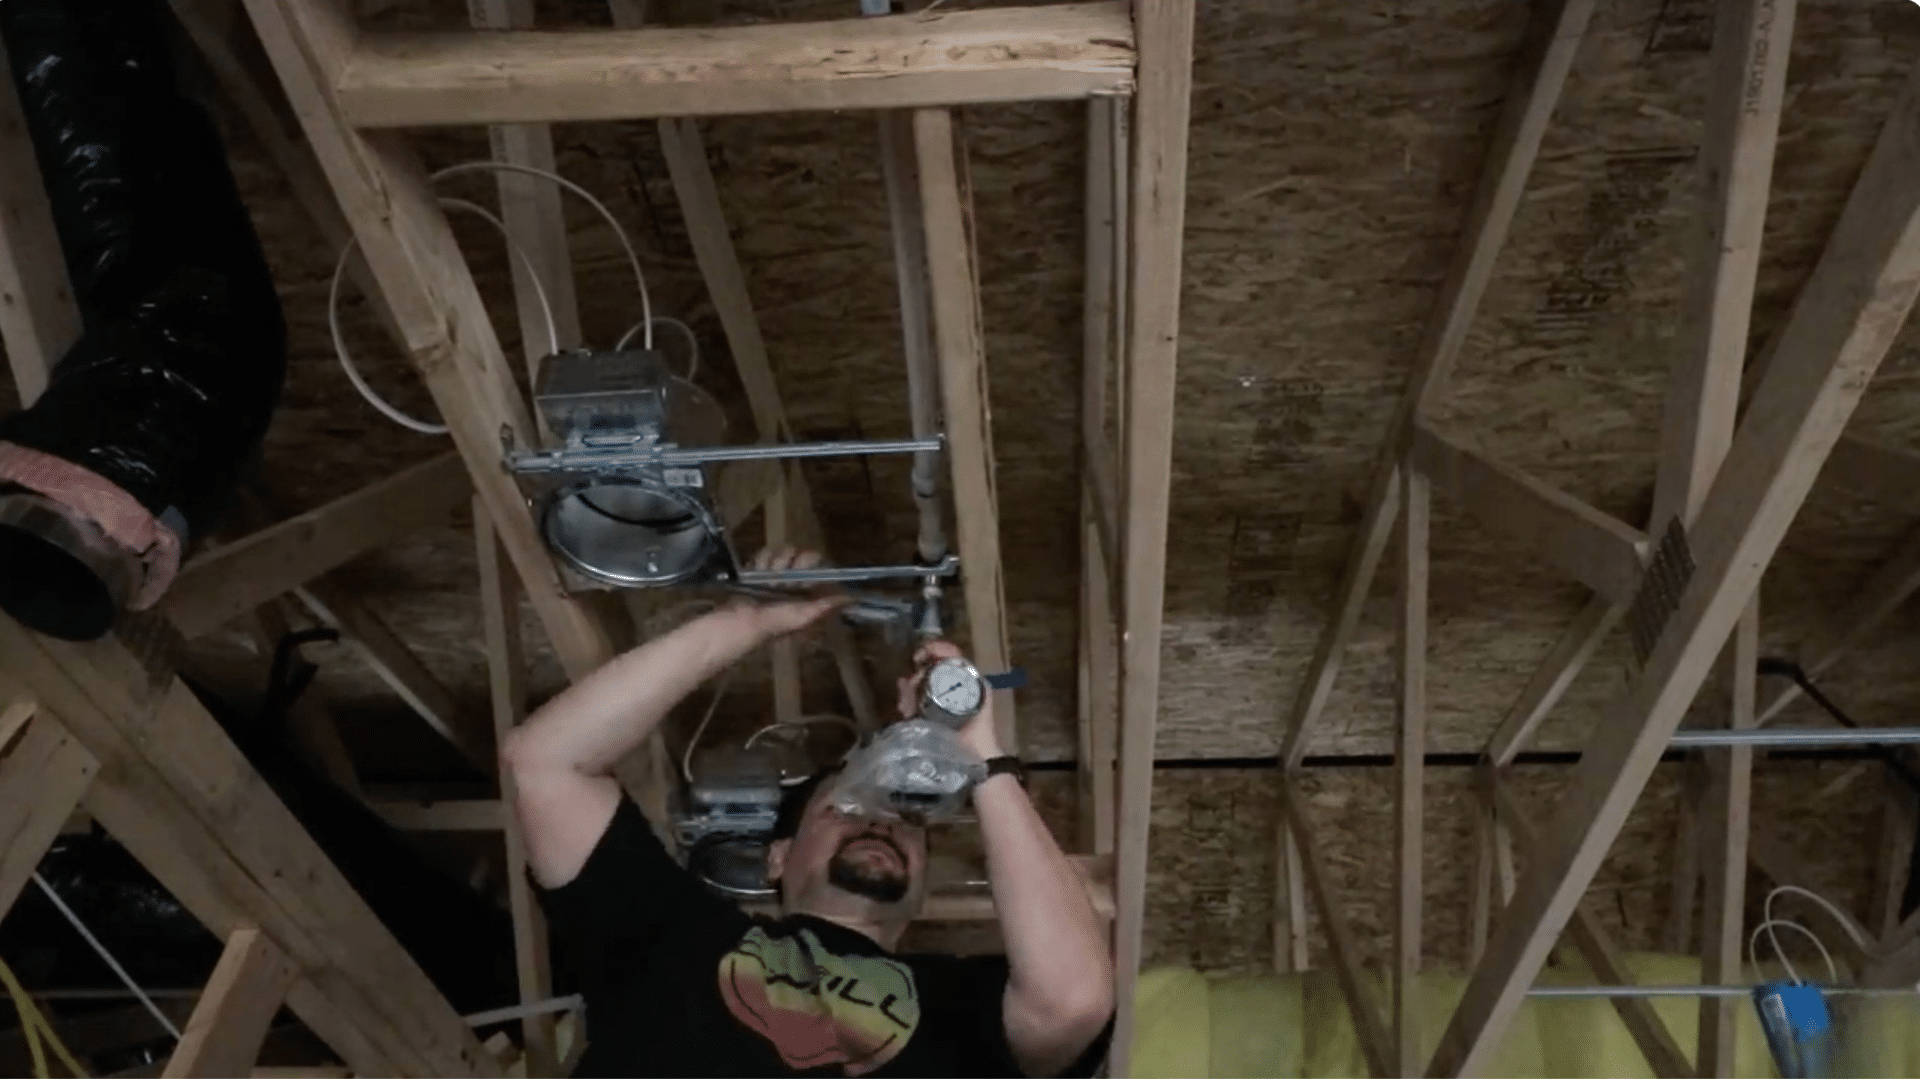
Step 6: Build the Sprinkler Test Assembly
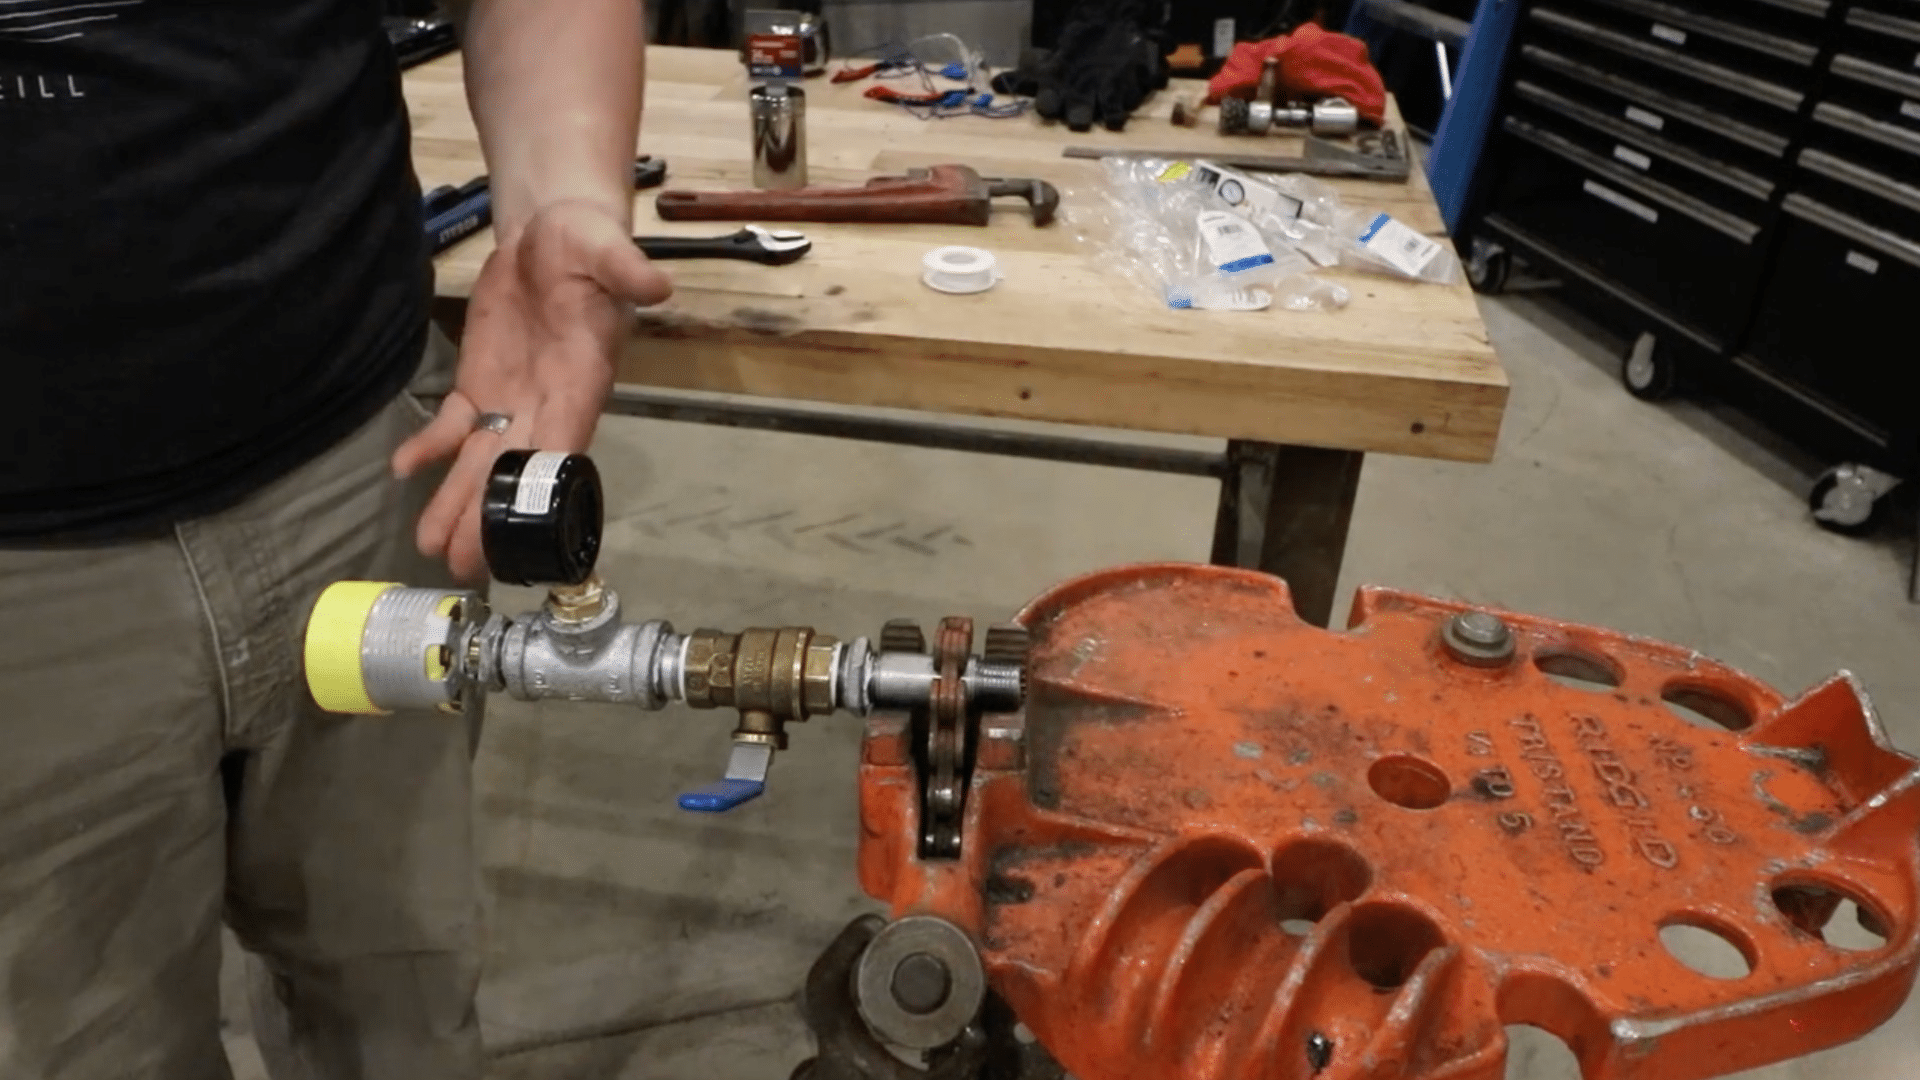
Assemble the full test rig using a sacrificial sprinkler head, nipples, reducer bushings, a ninety-degree quick-open valve, and a tee fitting for the pressure gauge.
Each component is required for testing the flow and meeting local code.
Also, modify a thirty-six-millimeter socket to fit the internal flutes of the sprinkler head, avoiding the cost of the official installation tool.
Once complete, the test assembly becomes your main setup for verifying the sprinkler system before inspection.
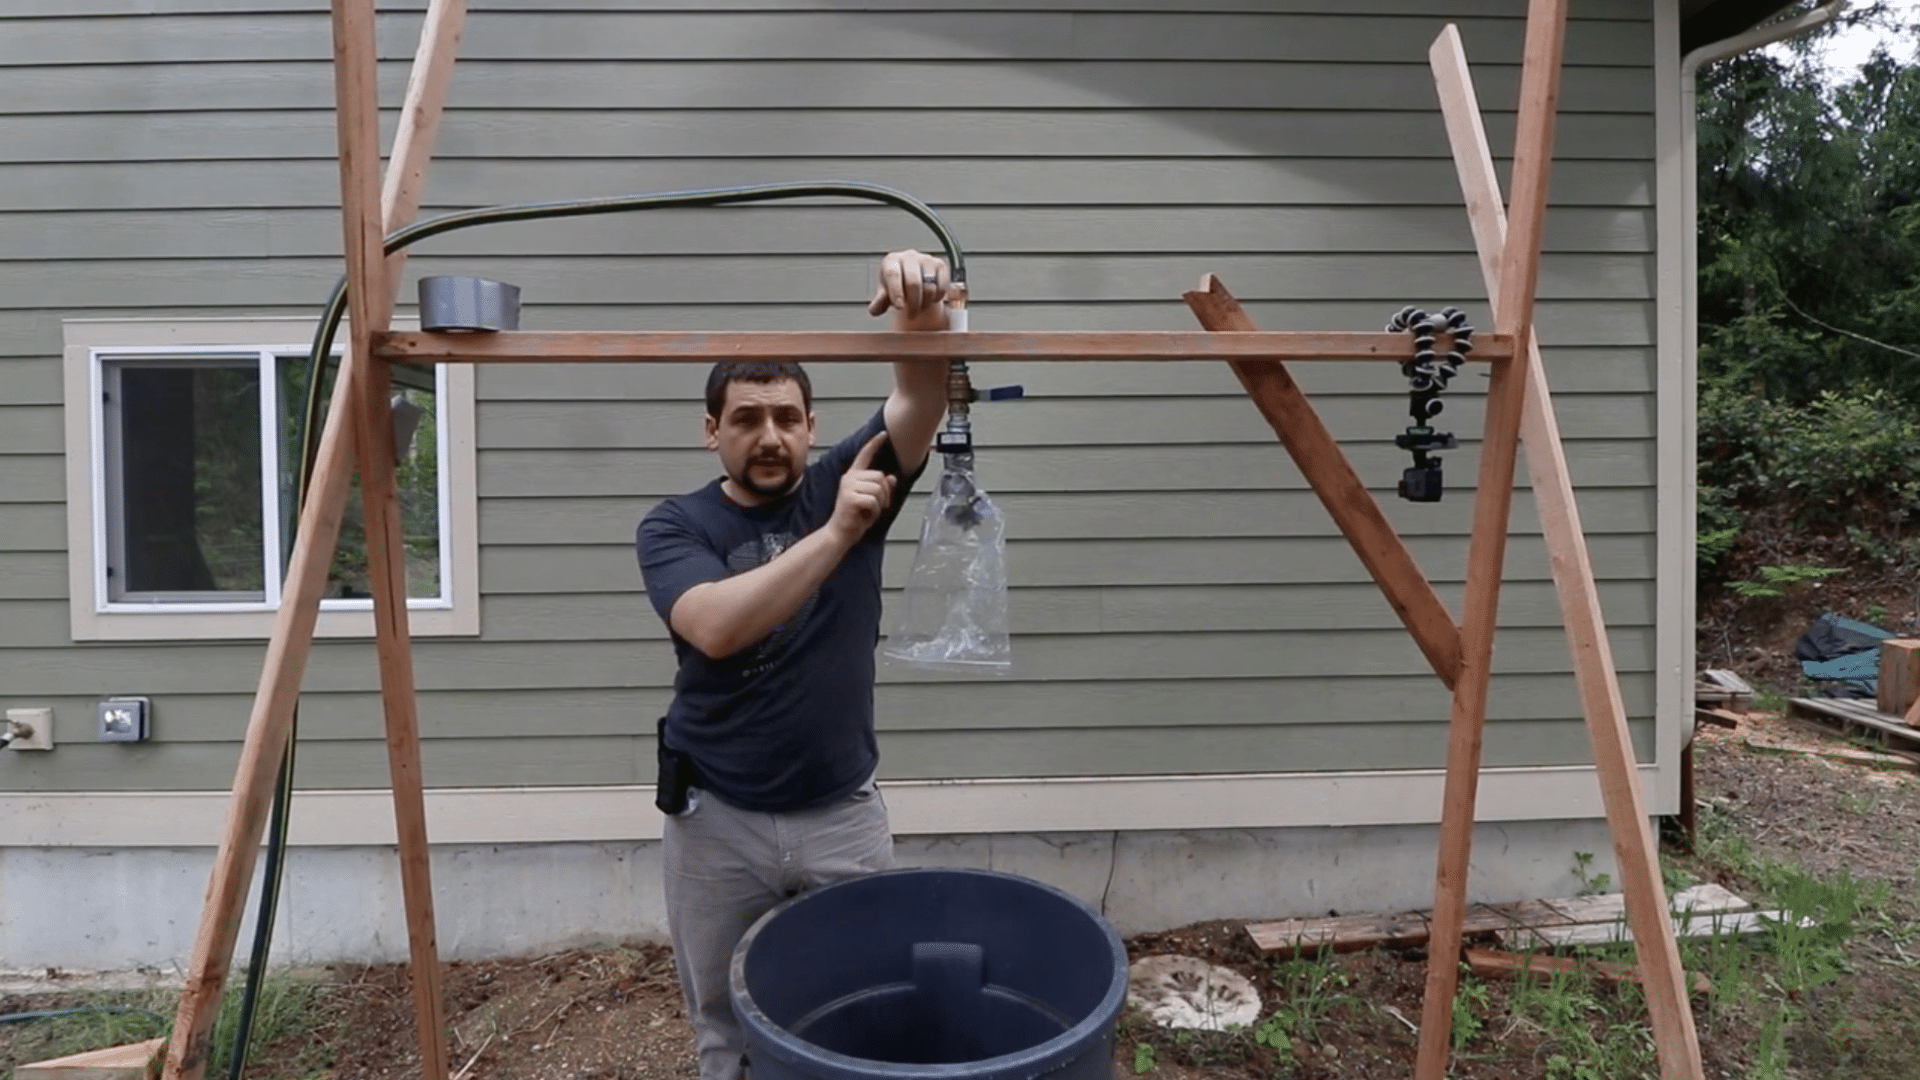
Step 7: Test the Sprinkler Outdoors First

Next, move outside and build a simple frame to test the sprinkler safely.
After pressurizing the line, you trigger the head and observe the spray pattern, which reaches about twelve feet in each direction.
This outdoor test lets you understand how the sprinkler behaves without flooding the house.
Also mark one-gallon increments on your test barrel for accurate measurement later. This early testing helps you spot issues and ensures you’re prepared for the indoor test and inspection.
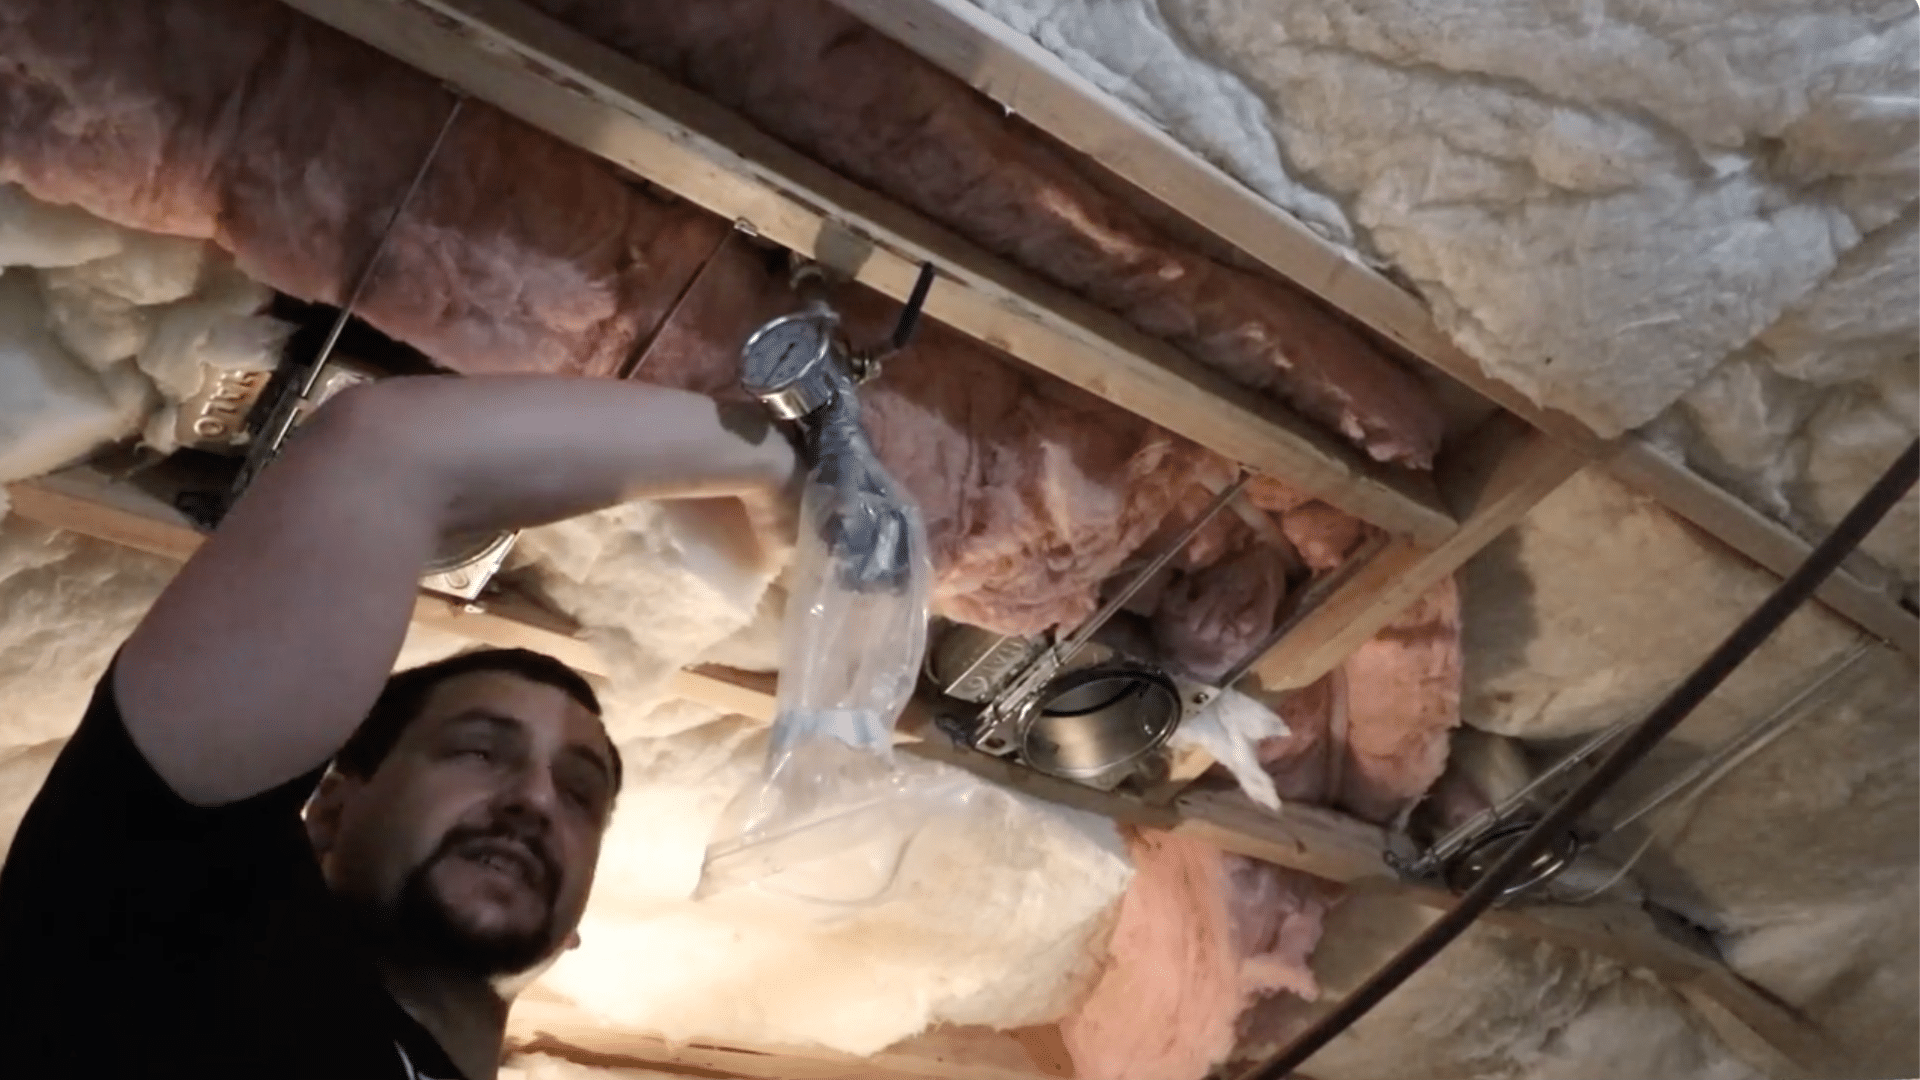
Step 8: Make a Water-Control Sleeve for Indoor Use
If the outdoor spray pattern looks too wide, make a small plastic sleeve to guide the water straight down during the indoor test.
This prevents the spray from flooding the room and directs it cleanly into a bucket.
After that, switch from a 100-psi gauge to a 60-psi gauge. The lower range gives a clearer, easier-to-read measurement during the flow test.
This simple change helps the inspector verify the water pressure without having to struggle with a needle that’s hard to read.
Step 9: Run an Indoor Test Before Inspection
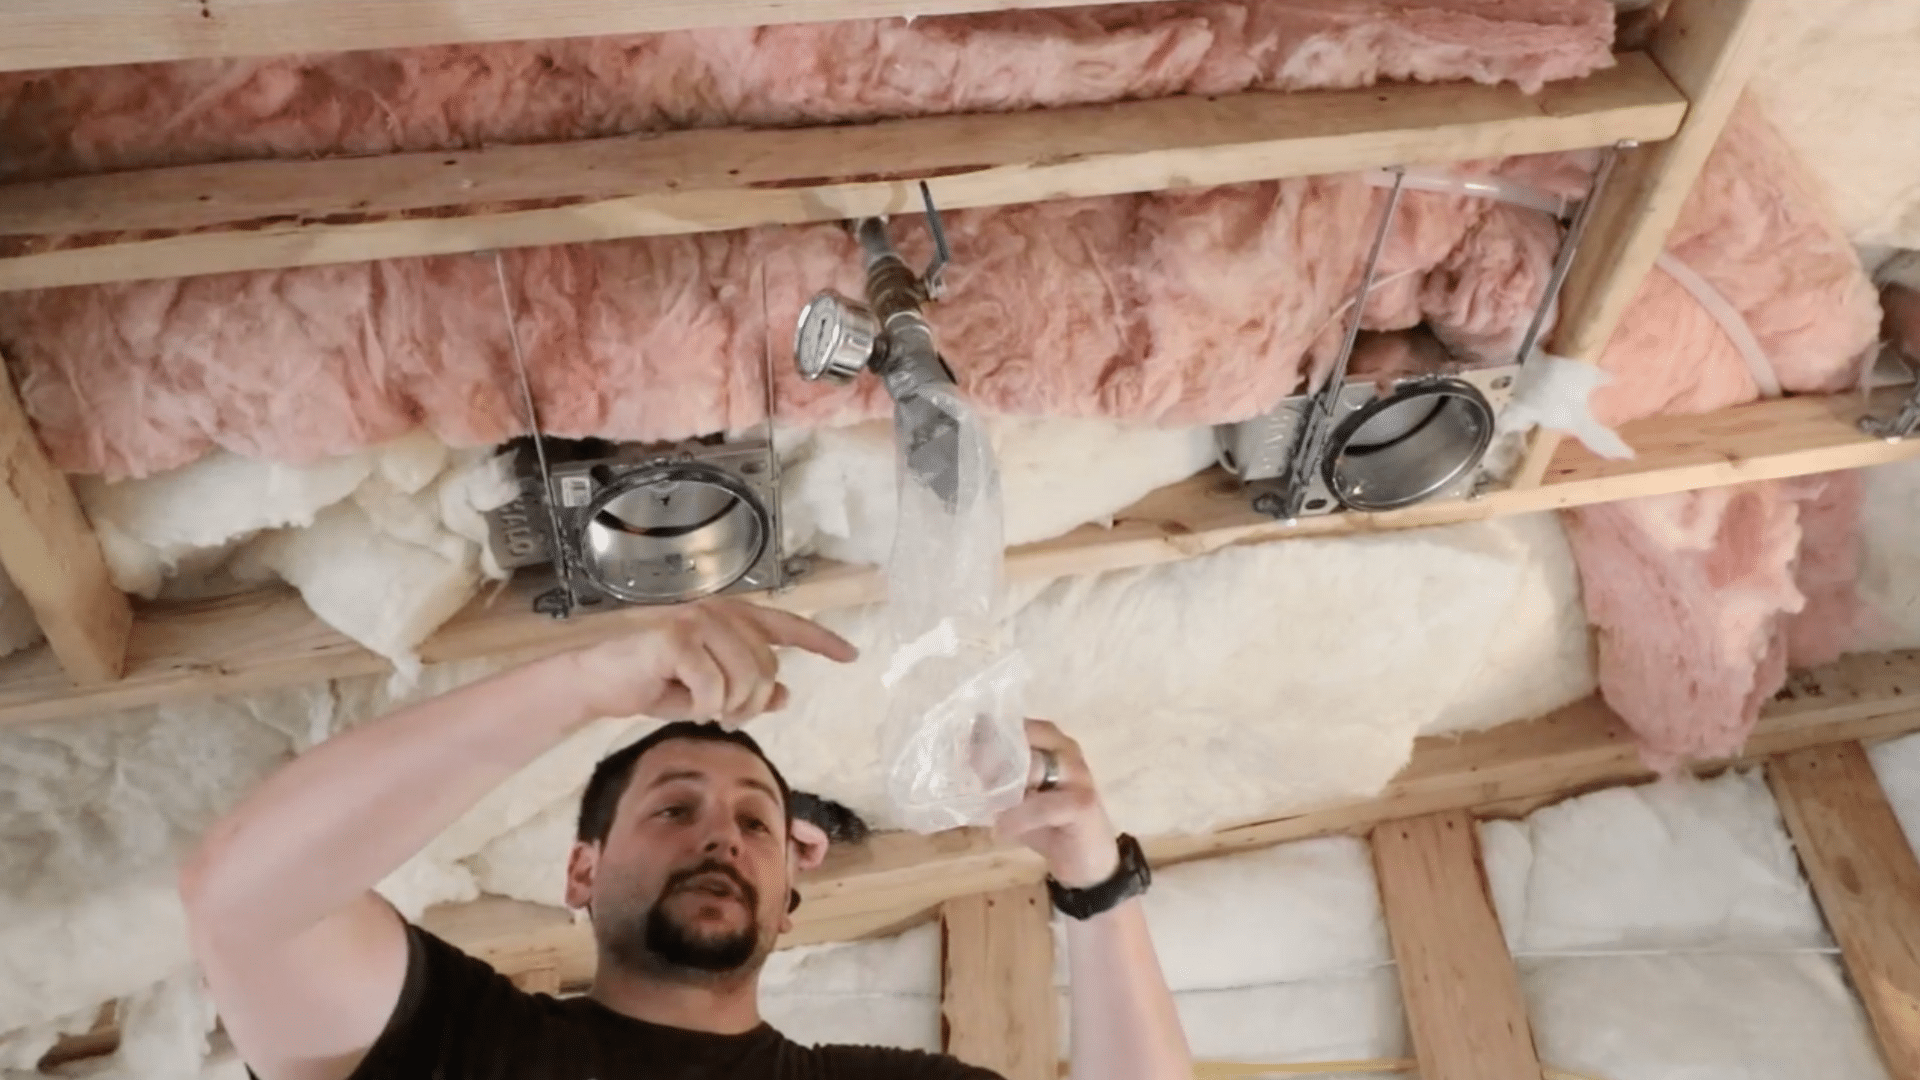
When you return inside, attach the test assembly and place a marked garbage can under the sprinkler.
Open the valve slowly to make sure the water flows cleanly through the sleeve and into the container.
Adjust the opening with tape if needed, then run a one-minute flow test. The sprinkler delivers thirteen gallons, which meets the required specification.
Doing this practice test lets you spot any issues ahead of time and ensures the system is ready for the inspector.
Step 10: Install the Permanent Sprinkler Head
After inspection, shut off the water and relieve system pressure so you can remove the test assembly.
Slide the retaining ring into place on the tee and thread in the permanent sprinkler head using your modified socket.
Add the protective cap so the head stays clean during construction.
When you turn the water back on, check the upper joint carefully for any leaks.
If everything stays dry and sealed, the connection is secure. Once this step is complete, the sprinkler is ready for the sheetrock installation to begin.
Step 11: Add Proper Domed Insulation
Before closing the ceiling, insulate the sprinkler piping by domming insulation over the line rather than wrapping it.
This method leaves an air gap that allows heat from inside the house to reach the pipe and prevent freezing.
Follow this approach anywhere the pipe runs through exterior walls or ceiling bays. Proper insulation is essential for protecting the system during cold weather.
Once all insulation is installed correctly, the ceiling can be finished safely.
This tutorial is based on a helpful video by Daniel Woodell. You can check out the original video on their YouTube channel here or watch it below.
Fire Sprinkler System Installation Cost
The cost of installing a home fire sprinkler system depends on factors like home size, system type, and labor needs.
Most homeowners pay by the square foot, with new construction costing less because installers can run pipes before walls and ceilings are finished.
Retrofits are usually more expensive since workers must navigate existing walls and finished spaces.
Materials, local labor rates, and required equipment also affect pricing, so knowing the typical range helps you plan a clear budget.
Several details influence final costs, including the number of sprinkler heads, pipe length, ceiling height, and water pressure. Dry-pipe or pre-action systems cost more than standard wet systems.
While retrofits require more time and precision, many homeowners still choose them for added safety. Both installation types offer reliable fire protection once completed.
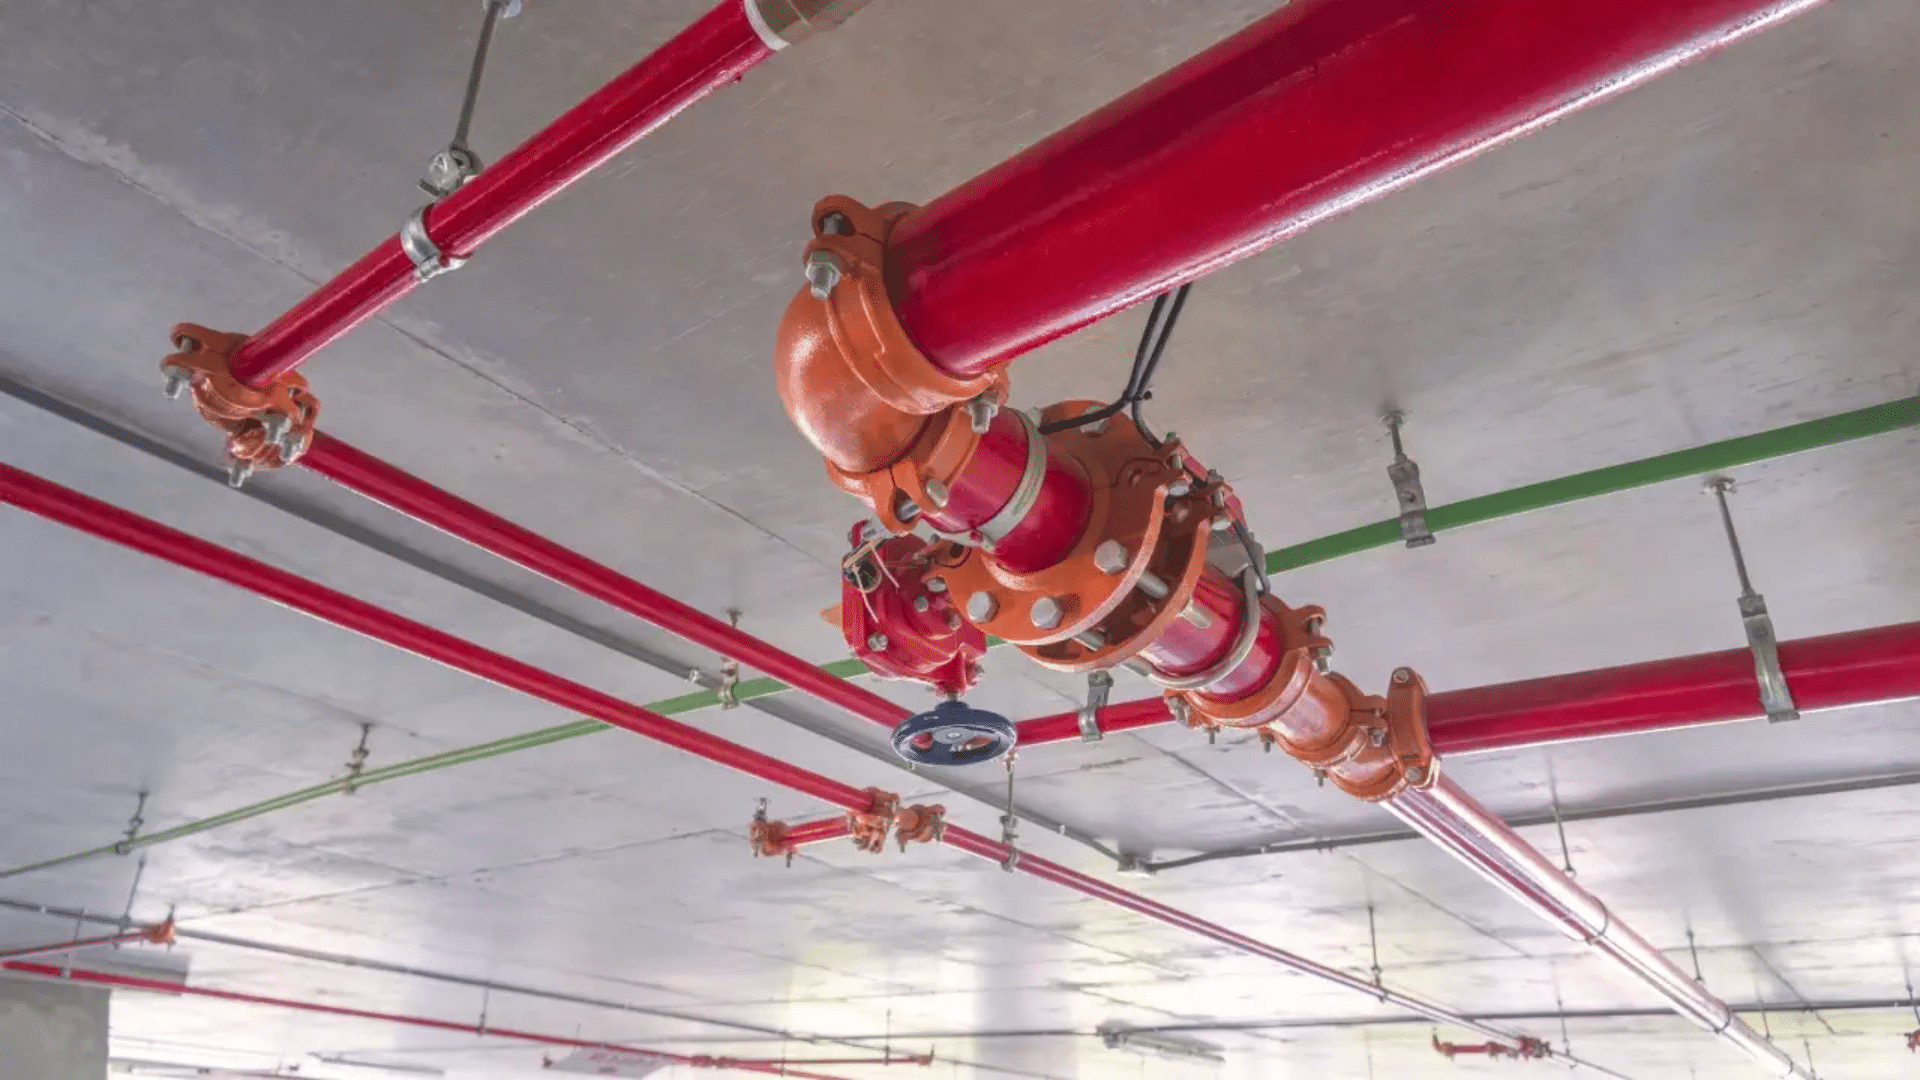
Types of Residential Fire Sprinkler Systems
Homes can use different sprinkler systems based on climate and layout. Each type works in its own way, but all aim to control a fire quickly.
1. Wet Pipe Systems
A wet pipe system keeps water inside the pipes at all times, which allows it to react very quickly when a fire begins. Once the sprinkler head opens due to the heat, water flows out right away and targets the flames.
This type is common in homes because it is simple to maintain and usually costs less to install.
With fewer moving parts, it provides reliable performance and steady protection for most indoor living spaces without requiring frequent service.
2. Dry Pipe Systems
A dry pipe system works by keeping pressurized air inside the pipes instead of water. When heat activates a sprinkler head, the air releases first, followed by water from the main supply.
This setup helps prevent frozen pipes in cold or unheated areas like garages or basements.
Although it reacts slightly slower than a wet system, it still provides strong fire control and reduces the risk of pipe damage in climates with harsh winter temperatures or frequent freezing conditions.
3. Pre-Action Systems

A pre-action system uses both a detection device and a sprinkler head. The detection device must sense heat or smoke before water enters the pipes.
Then the sprinkler head must open due to high heat.
This two-step method lowers the chance of accidental water release. It is not common in most homes, but some use it for rooms with valuable items or sensitive equipment.
Benefits of Installing a Home Fire Sprinkler System
A home fire sprinkler system offers strong protection. It reacts quickly and helps stop a fire before it spreads and causes major loss.
1. Faster Fire Control
A fire sprinkler system reacts to heat within seconds. Only the head closest to the fire activates, releasing water right where it is needed.
This fast action slows the flames and helps protect people in the home.
Because the system works before smoke alarms, it gives everyone more time to escape safely. The quick response is one of the system’s biggest strengths.
2. Lower Home Damage
A sprinkler system releases water directly over the fire, which prevents flames from spreading through the home. This targeted action helps limit smoke, heat, and structural damage.
Because only one head usually activates, the amount of water released stays low.
This can reduce cleanup and repair costs after a fire. The system helps protect both personal items and the home’s structure.
3. Possible Insurance Savings
Many insurance companies offer discounts for homes with fire sprinkler systems.
The system lowers the chance of major fire damage, which reduces the insurer’s risk. These savings can help balance the cost of installation over time.
Homeowners should ask their provider about available discounts.
A sprinkler system can make the home safer while also lowering long-term insurance costs.
How Often Should a Fire Sprinkler Be Maintained?
A home fire sprinkler system should be checked at least once a year to make sure it stays ready to work during an emergency.
Most homeowners schedule a simple annual inspection with a licensed professional who looks for leaks, corrosion, blocked heads, and proper water flow.
You should also do small checks on your own, such as making sure sprinkler heads stay clean, uncovered, and free from paint or dust. If your system has a water shutoff valve, confirm it remains in the open position.
In colder climates, check insulation around pipes before winter to prevent freezing.
Any time you remodel or change ceiling layouts, you should have the system reviewed again.
Regular maintenance keeps the system dependable, extends its lifespan, and ensures it performs correctly when heat activates a sprinkler head.
Conclusion
A home fire sprinkler system gives strong protection by acting fast when the heat rises in a room. It can slow a fire before it spreads and make it easier for people to get out safely.
Many homeowners choose one because it adds a layer of safety that smoke alarms alone cannot provide.
Understanding the system types, installation steps, and long-term care helps you make clear decisions.
It also prepares you for what to expect when working with a licensed installer. A well-planned design will fit your home and follow local safety rules.
Regular upkeep keeps the system ready to work during an emergency.
With the right installer, a solid plan, and steady care, you can add meaningful safety to your home and reduce the risk of major fire damage.